


Replacing a Tub / Shower Valve - Scald Free After All These Years
I took advantage of a plumbing leak repair to replace the bath tub valve in our guest bathroom. Ours was a classic, a 1979 "flush-the-toilet-and-scald-the-hell-out-of-you" style valve.
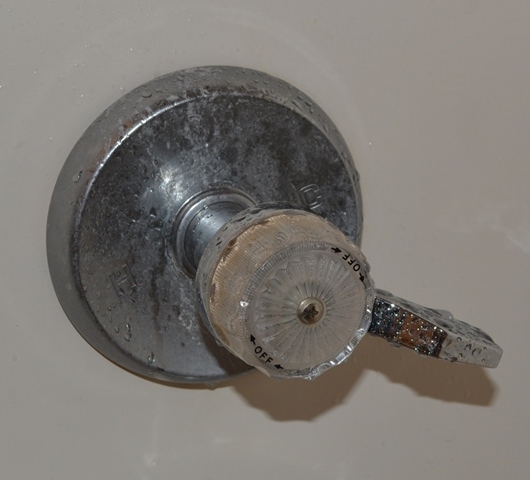
Crusty "scald the hell out of you" valve
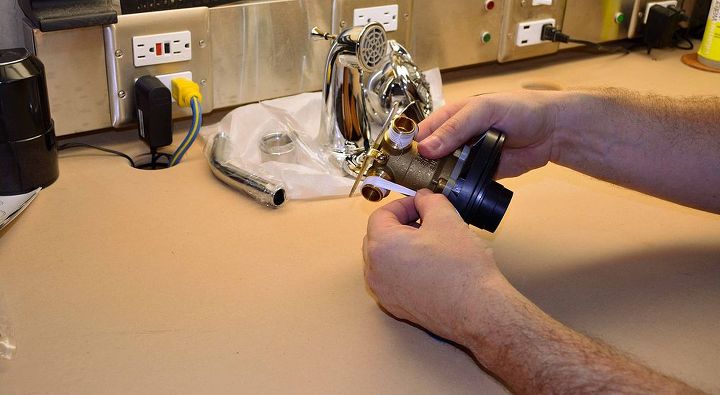
I started the prep work by neatly four of the valve's threaded inlets with teflon tape.
After a bunch of measuring and calculating for size, (see the blog post) I cut the old "flush the toilet and scald the hell out of you" valve out with a mini tubing cutter.
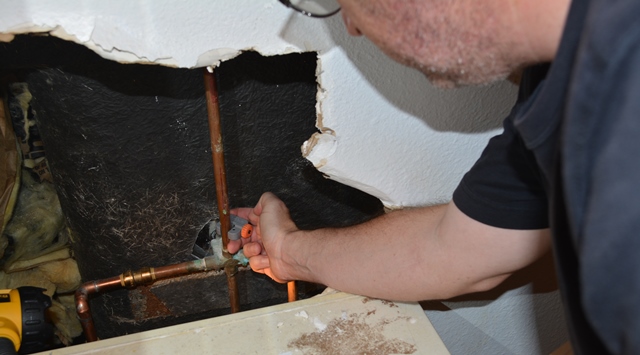
Since there wasn't enough room for the new valve to fit with the existing elbows an there was already so much corrosion, I removed a good chunk of the hot and cold feed lines, including my previous repair.
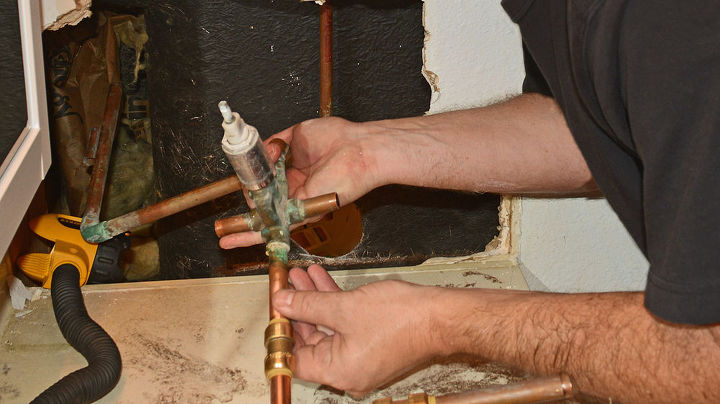
I used some "PEX" plastic tubing and push-in couplings to install the feed lines. This stuff is pretty cool; you can bend it by hand, cut it with a knife, and color code it for hot and cold. I used a corner bracing bracket to keep my bend radius correct.
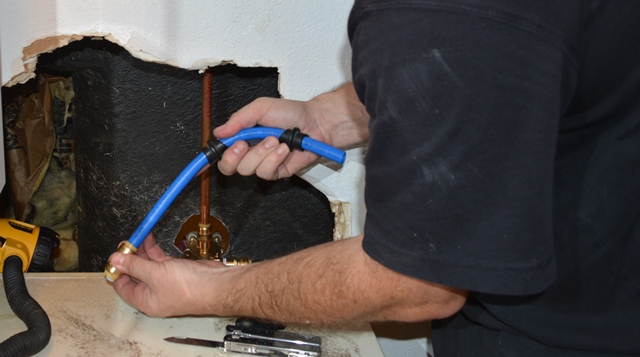
Check it out! Color coded hot and cold feeds with no soldering! Check out the whole story on the blog!
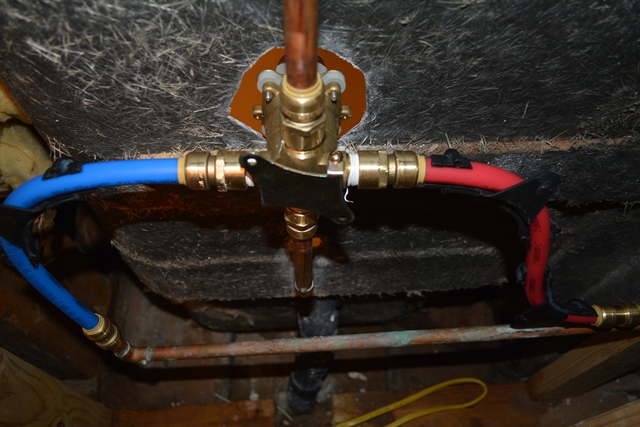
I used the connectors on the valve too.

Want more details about this and other DIY projects? Check out my blog post!
Comments
Join the conversation
2 comments
-
I grew up with one of those! It's a definite must-change.


Frequently asked questions
Have a question about this project?