


Broken Picture Frame Transformation
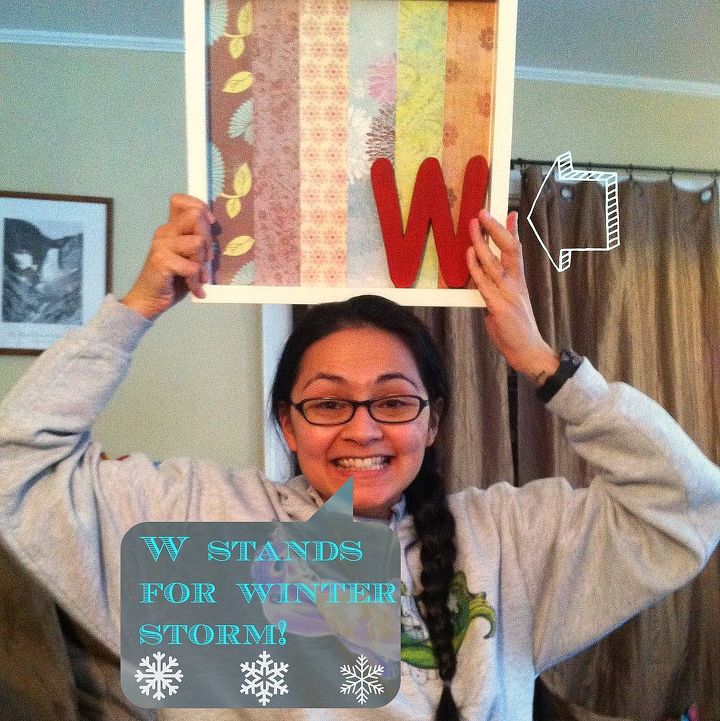
Winter storms = indoor projects! What a great way to keep busy. Not to mention I get to cross off a project on my bucket list.
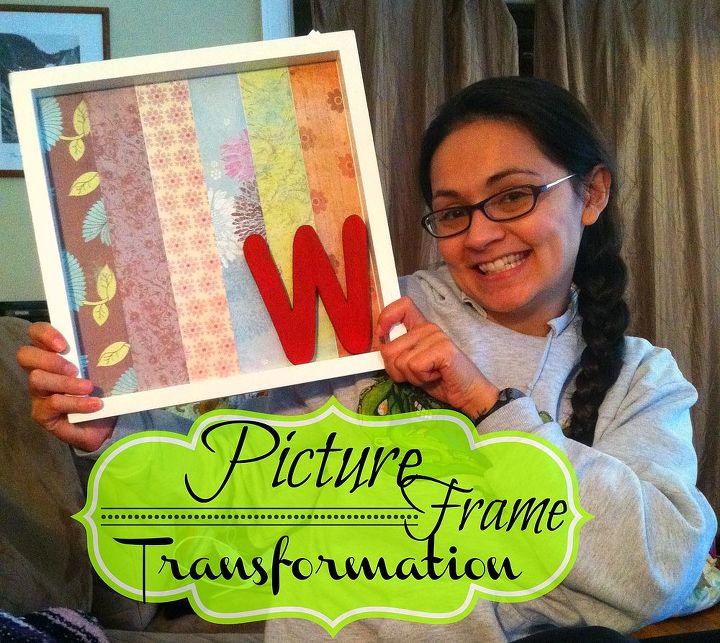
I had this white 12x12 frame from IKEA, which met the misfortune of having a tall friend bump it off of the wall. (I'm not mad, Mish!) The glass broke, but the wooden frame was still intact. It had my first black and white picture from a trip to Massachusetts. Don't worry - The picture has since been placed in a new home.
It's only natural that I kept the broken frame for a future idea I may or may not have. I thought I might be able to use it one day. For something. Or toss it. But hopefully the former.
Well, the day has finally come! And I can finally be happy with its transformation.
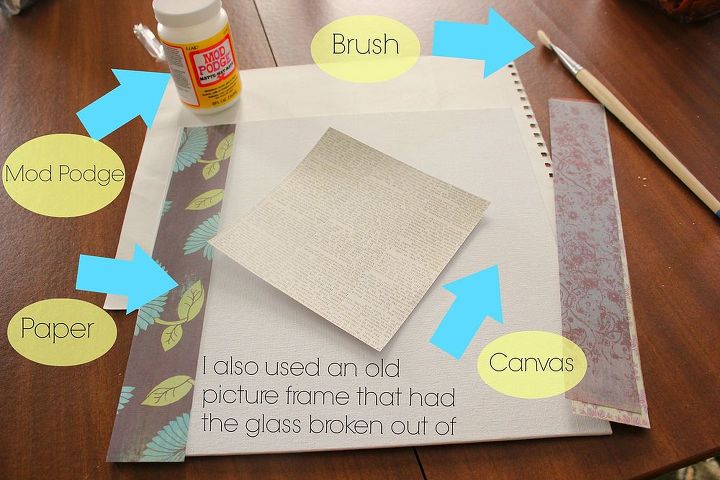
Let's get started. Here are all of the supplies I used to transform my frame:
I honestly didn't know what kind of look I was going for. I wanted this canvas to be displayed in our living room on the faux sofa table, and mesh well with everything in the room. I'm no decor guru, and not everything matches, but it this close enough.
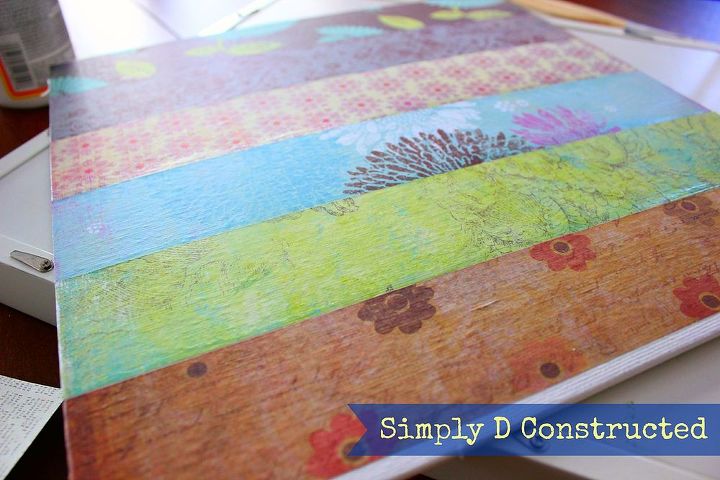
My technique may be different than what you might read elsewhere. Whatever works for you. I spread out a good thin layer of the glue on the canvas and carefully placed one strip down from the center and smoothed it out onto the canvas. Using my fingers, I made sure to smooth out any bubbles or wrinkles and made sure the paper was flush with the canvas edge. The paper wanted to curl up a bit so I kept pressing and kneading until it lay completely flat. I pushed out excess glue in some areas, and brushed it down onto the canvas where the next paper would be placed.
I took a wooden W that I happened to pick up at Walmart (for some random future DIY project I had yet to figure out, ha!) and painted it red. I used a trick I found on Pinterest, which I can't find now, and put push pins on the back so the letter was raised while I painted. I loved how it popped against the patterned paper of the canvas.
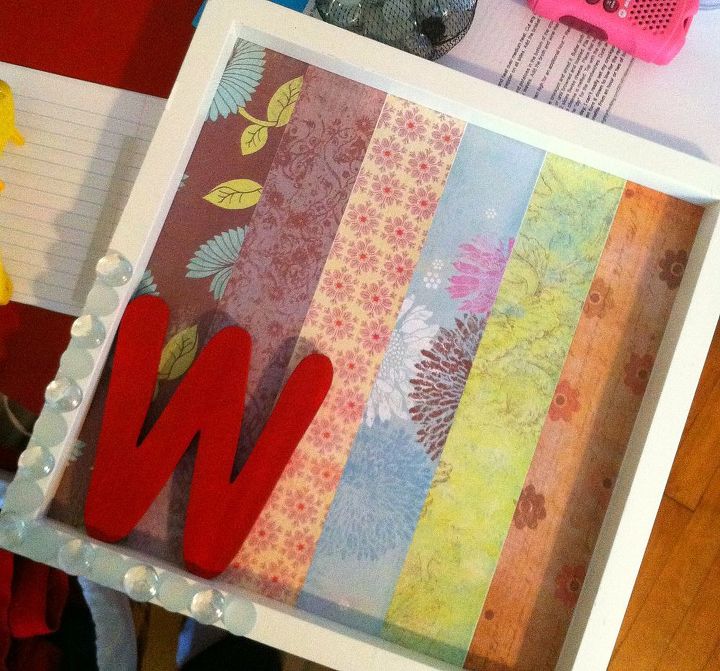
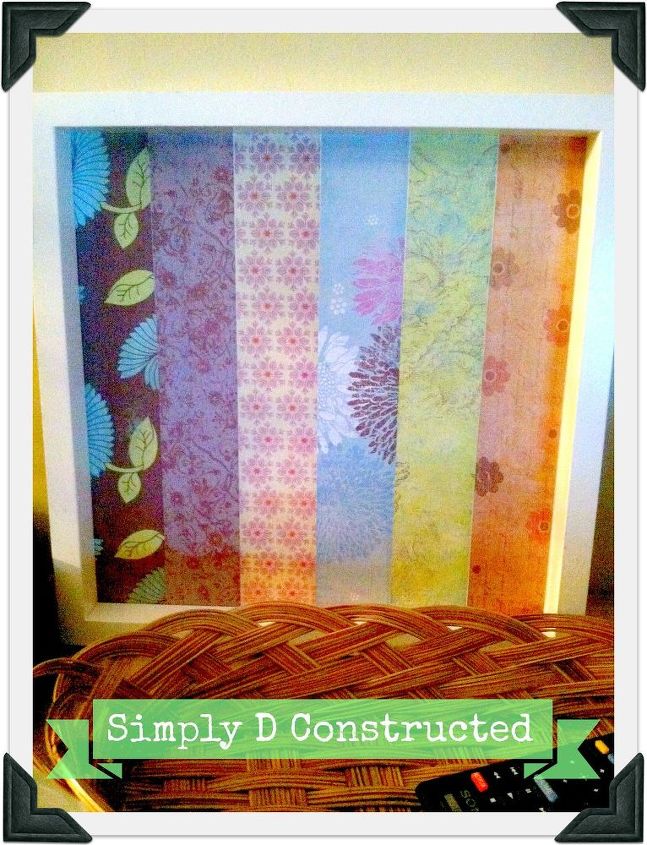
After playing around with the placement of the W...a lot...and toying with the idea of adding some decorative stones... ...I decided to just kept it simple. No need to try too hard, right? The completed project is actually quite pleasing to my eye. I'm tickled that this frame finally has good use for a decorative piece in the house again. I do hate to see something go to waste, especially when I can be so non-committal about projects.

Want more details about this and other DIY projects? Check out my blog post!
Comments
Join the conversation
2 comments
-
I like this idea. I'm thinking that with the papers with designs that are subtle could be put in the frame to represent a landscape, sunset, hills, trees and foreground in golds and greens and brownd. Maybe a paper with tall trees to add to the foreground. The papers you used in this project could be rearanged into a landscape.


Frequently asked questions
Have a question about this project?