


How to Make Candy Corn Coasters

The other day while on Pinterest I came across this post on candy corn coasters! I thought they were the coolest thing ever! I have resurfaced a few countertops with Epoxy so I thought I would give this tutorial a try.
I followed The Resin Crafts Blog tutorial pretty well!
A little blurb on what epoxy is! “Two part epoxy coatings were developed for heavy duty service on metal substrates and use less energy than heat-cured powder coatings. These systems provide a tough, protective coating with excellent hardness.” – Wikepedia
Lets get started! :)
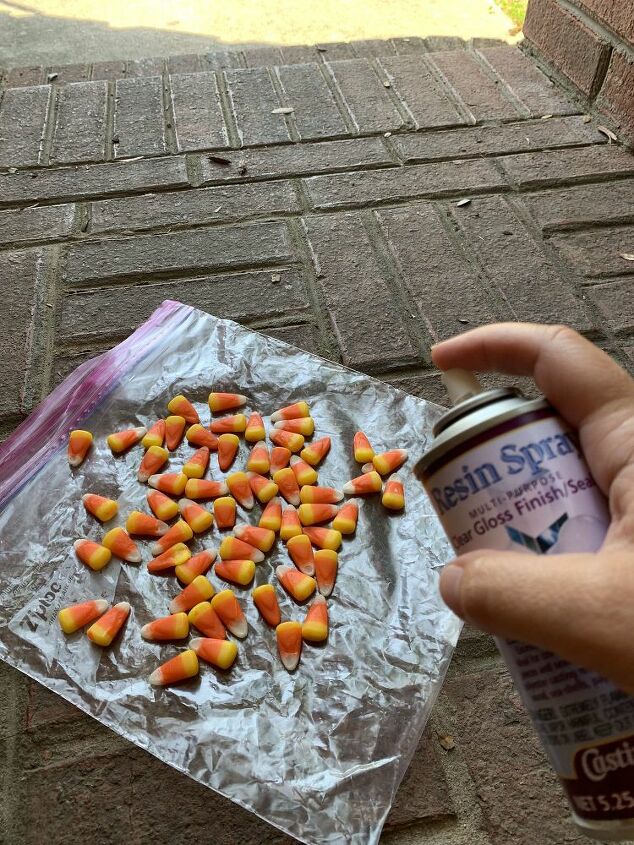
Begin by spraying candy corn with the Resin Spray (Do this outside for good ventilation). I found the resin spray dried pretty quick. Once the first coat of resin spray is dry flip the candy corn over to the other side and spray. Make sure to spray both sides.
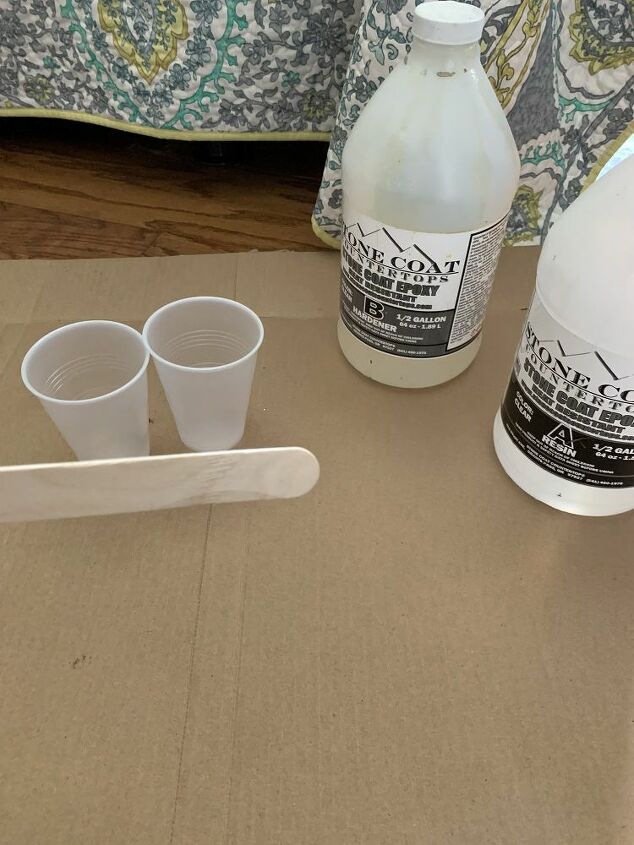
While candy corn is drying you can begin to mix your resin. NOTE: Please wear gloves. Resin has two parts. You’ll want to follow the manufacturers instructions. There will be a part A resin and a part B hardener. You will need equal parts of both. I poured A up to the first line of my disposable cup and B up to the first line of a new disposable cup. Once you have both parts measured in two cups you will pour A and B together and stir with a popsicle stick for two minutes. Make sure to stir the sides well.
After you have stired the resin for two minutes you are ready to pour the resin into your resin molds. I poured just enough to cover the bottom of the molds. You’ll want to let this sit and cure for 4-5 hours. (TIP: You can also use an ART coat that cures MUCH faster. It starts to Harden after about 15 minutes. I had resin from countertop jobs so that is what I used.)
NOTE: To pop any bubbles in the resin use a heat gun! Be careful to not use too much heat!
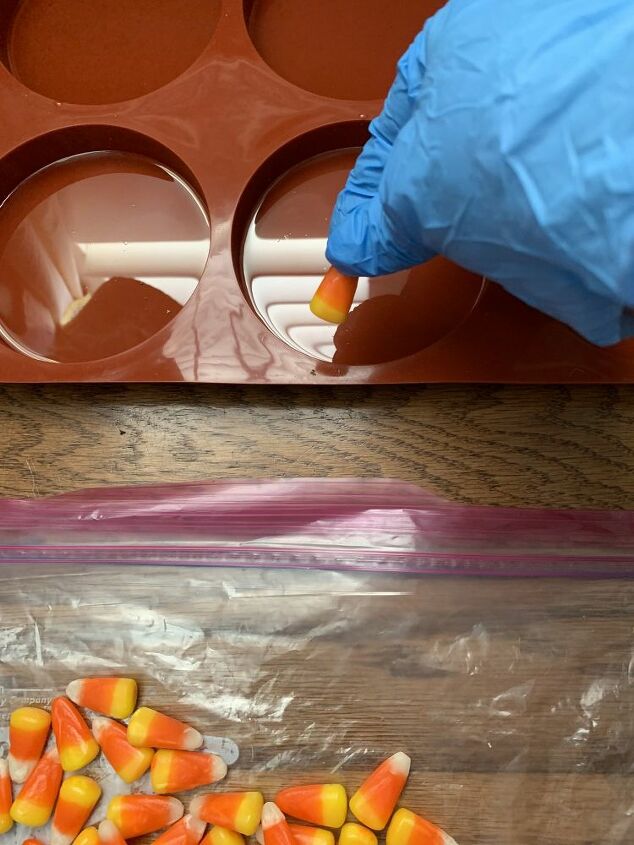
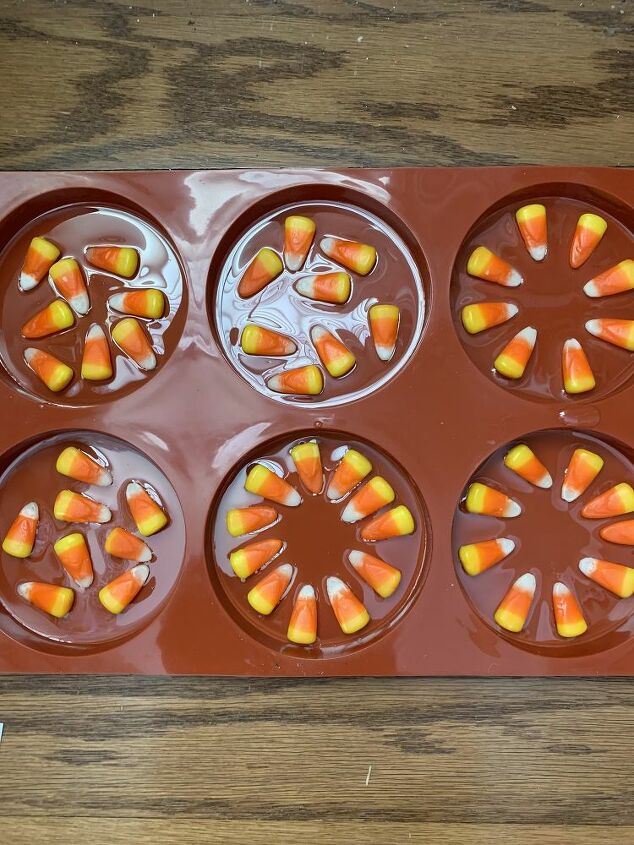
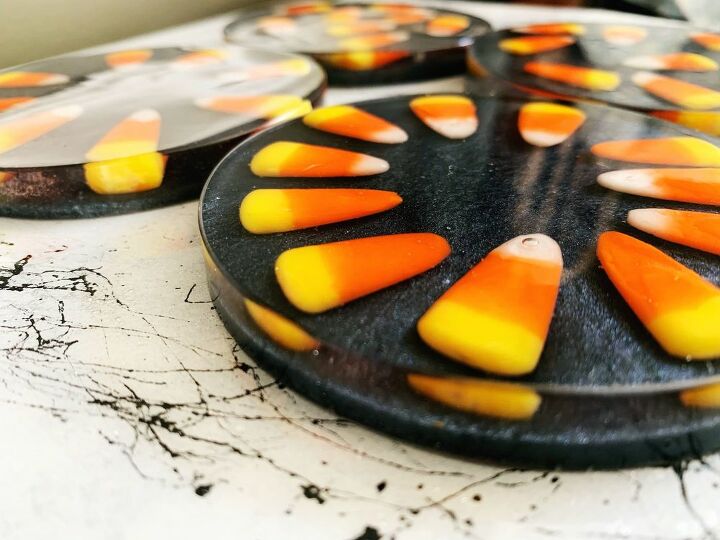
Once resin has cured for 4-5 hours begin to place candy corn lightly into the sticky resin. Just enough to secure the candy corn. Postion the candy corn into any design you like! This is the fun part! Use your imagination. Once you have your candy corn in place let this layer fully cure over night. After layer has cured you are ready to mix another clear coat of resin! Follow the exact same steps above as you did for the first layer! Once you have mixed your second coat of resin you are ready to pour the resin over your candy corn. This doesn’t have to completely cover the candy corn you just want another clear coat to secure the candy corn in place. Let this layer fully cure.
After second layer of resin is cured you are ready for your final layer! This layer is fun because you are adding color! Follow the steps above for mixing resin (pour equal parts of A into equal parts of B and stir for two minutes.) Add a small amount of black acrylic paint to the resin and mix until well blended and the resin is black through out. OPTIONAL this is also where you can add the silver mica powder. This will add shimmer!
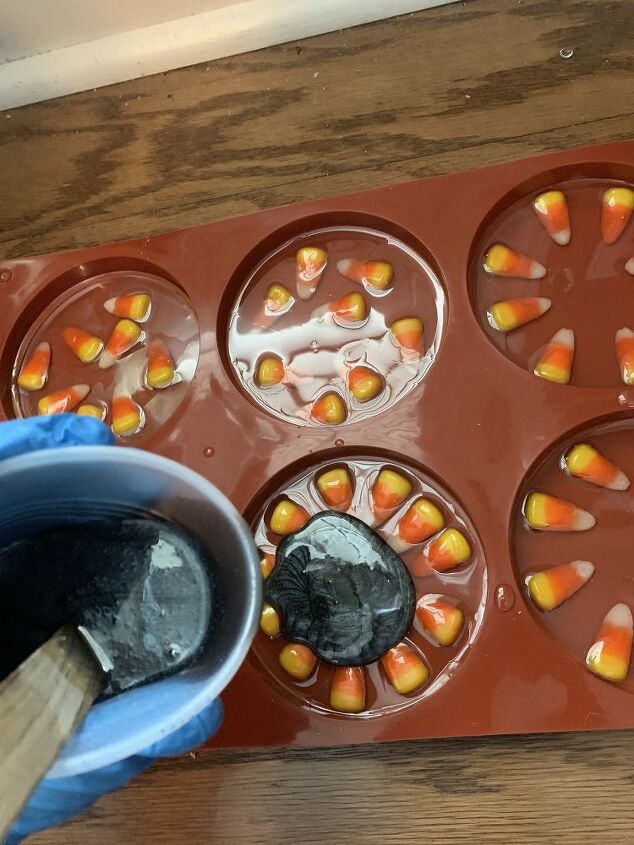
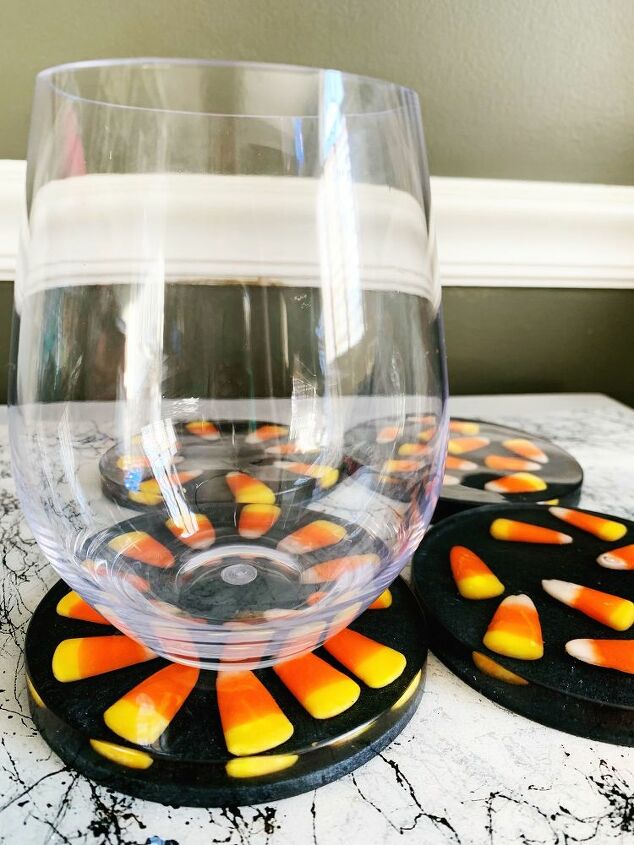
Pour you final coat of resin and let cure! Once fully hard you are ready to remove coasters from their mold! :) Yae! You did a great job! You are officially ready for fall!
These are one of my favorite coaster sets to make for Halloween/ fall!
Resources for this project:
See all materials


Comments
Join the conversation
-
I love the coasters! Great project.
-
😍😍😍😍


Frequently asked questions
Have a question about this project?
Yes well done. Can you use a low blower but high heat, hair dryer to remove air bubbles.? Where to find molds, can you use any silicone molds? Thanks for sharing. Montana
Hey that looks AWESOME!! Love the black background! Makes them really POP. Question, what would happen if you DIDN'T resin spray the candy corns? Would they have melted in the poured resin?
where did you get your silicon mold for the coasters?