


How To Make a Snowflake Wreath
I like making something new and different for my front door for the holidays, and instead of a traditional wreath or swag, I used the unique shape of a snowflake but the traditional evergreen boughs to create this lovely front door display.
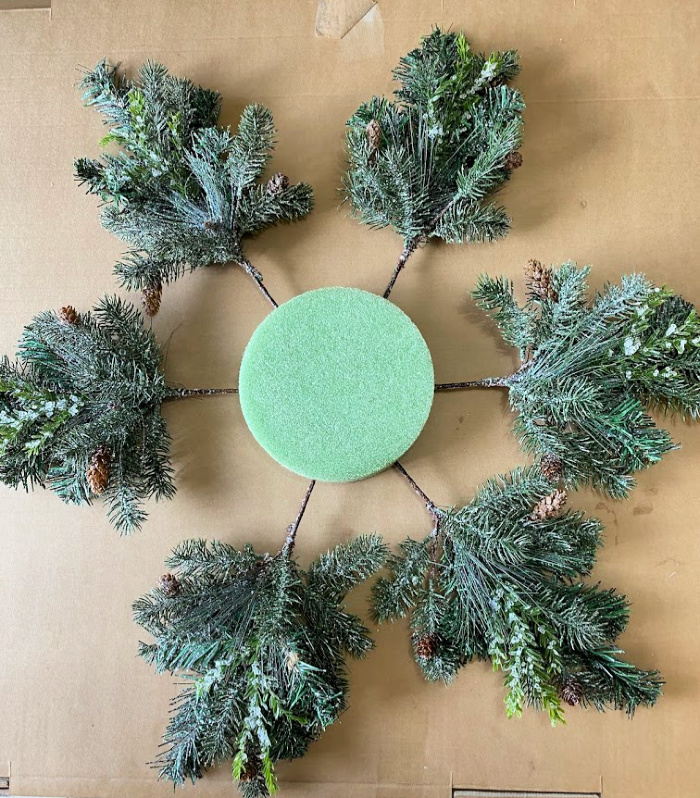
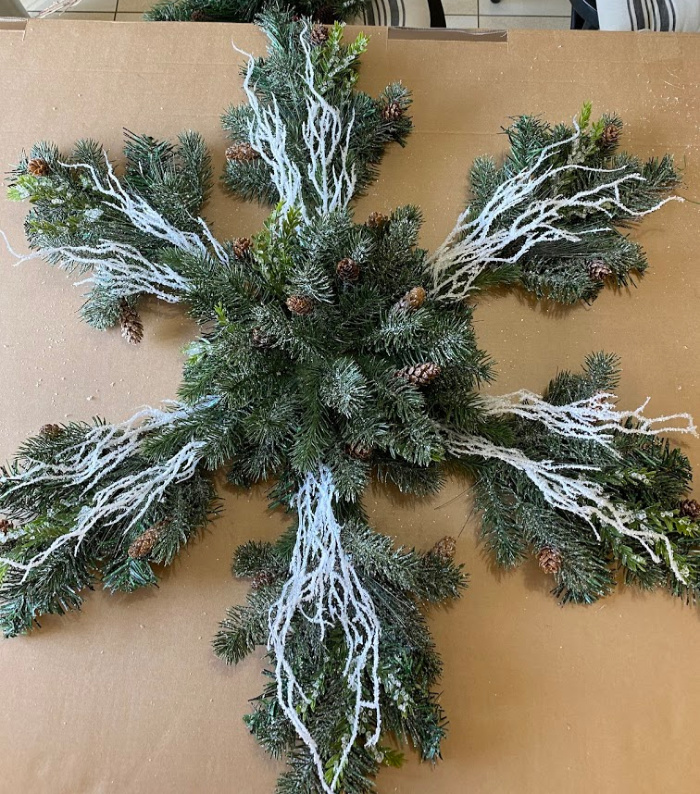
I began with an eight inch styrofoam round and six identical branches all purchased at Michael’s. To secure the branches into the foam well, I used my Steelpix machine. This added a steel pick with barbs on it to each branch to make sure it holds securely in the foam. In lieu of a Steelpix machine, you can use wood wired sticks.
These were the stems I used for my six points of the snowflake. I bought four extra ones and cut them apart to fill in the additional space in the middle of the wreath.
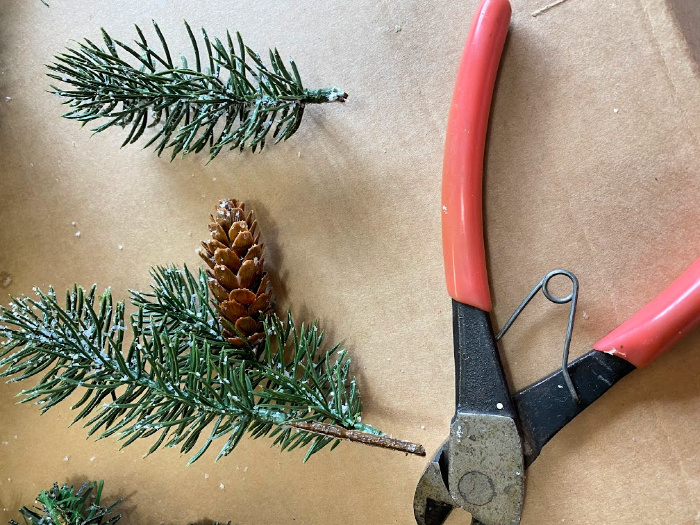
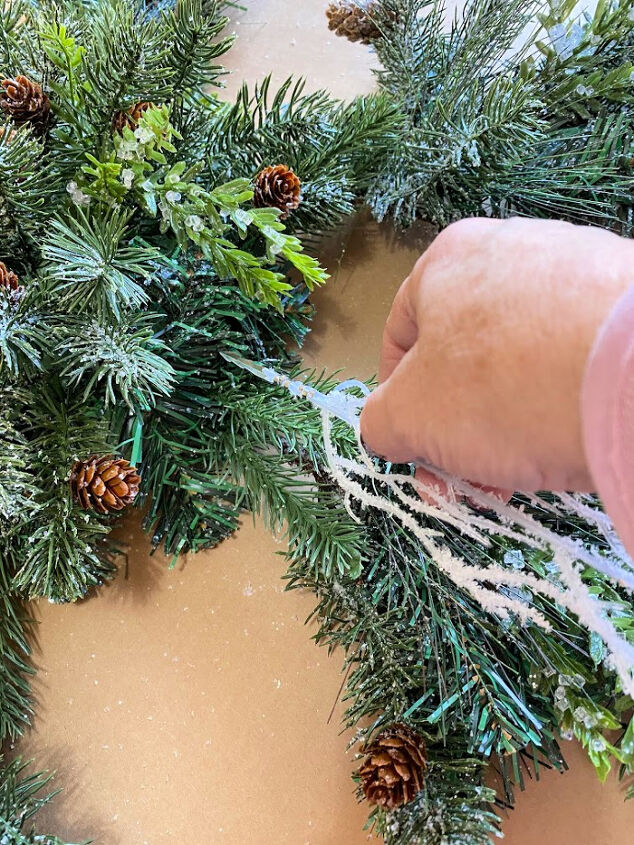
Cut the pieces off of each branch with wire cutters into small pieces. Add a steel pick or a wood wired stick to each of the smaller pieces.
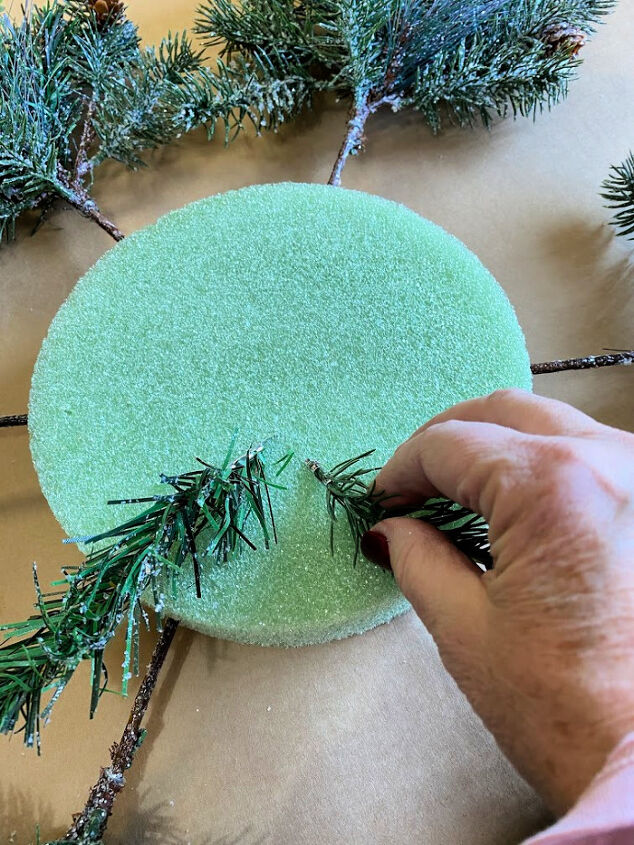
Simply fill in the space in the center with the greens you cut from the extra branches. You can leave a little space for pine cones and berries.
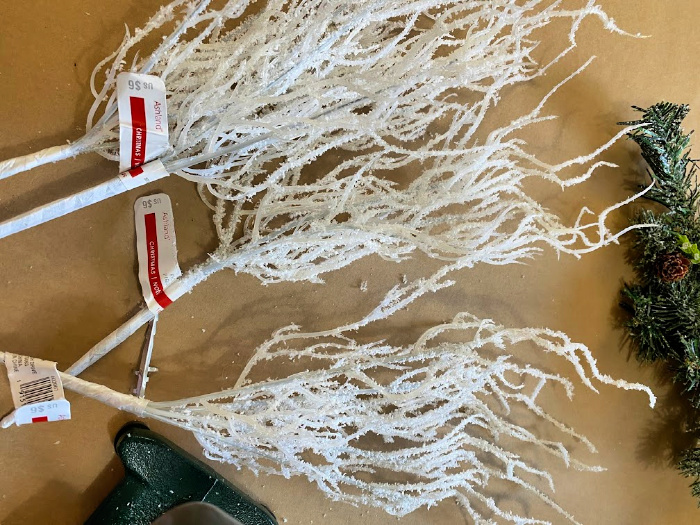
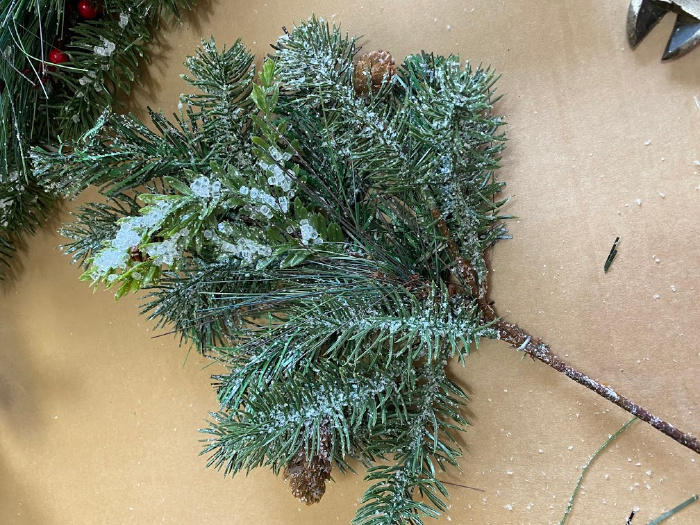
Unable to find the white branches I was looking for, I picked up some of these snowy picks to use.
Two of the pieces of snow branches were added to each point of the snowflake.
These branches along with the icy greenery give a feeling of snow to the wreath.
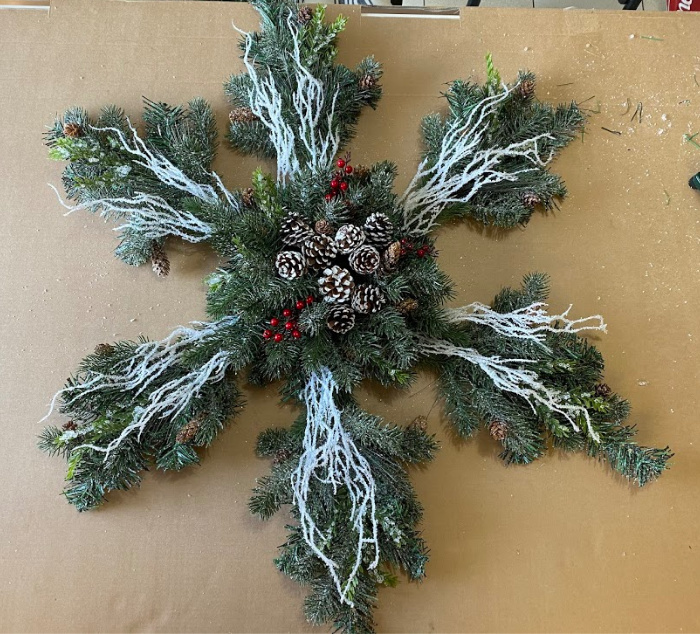
Finish off the center of the snowflake with pinecones and berries.
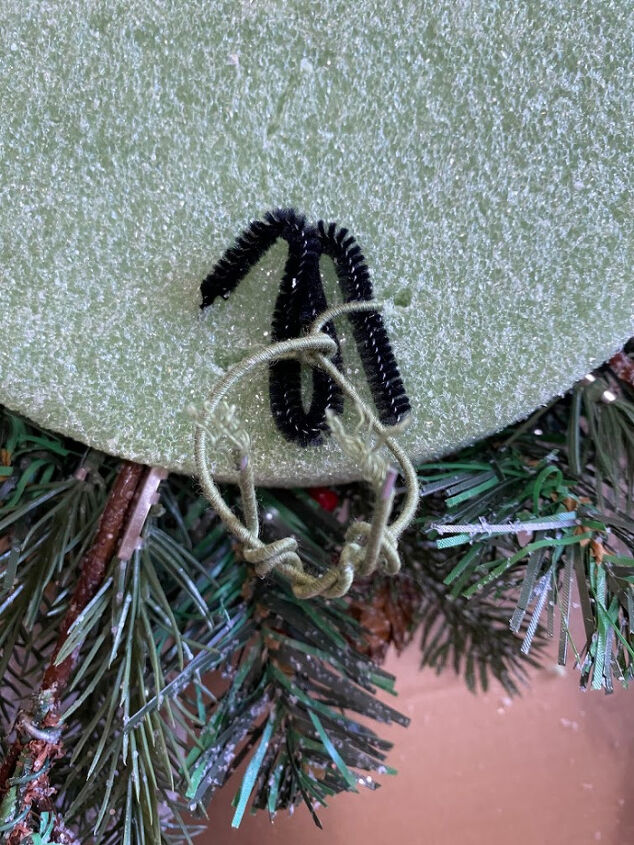
This is the mechanics for how I made my hanger for my wreath, for more details on how I make these, you can check out detailed instructions and photos, check out this post: Catalog Knock Off Door Swag.
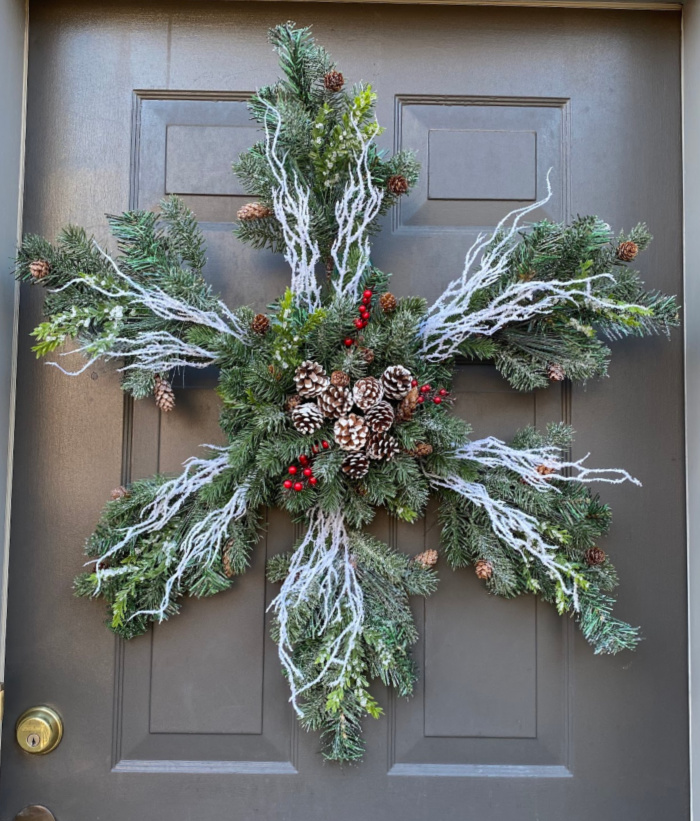
Here is my finished snowflake wreath on my daughter’s front door! Ready to greet holiday guests!
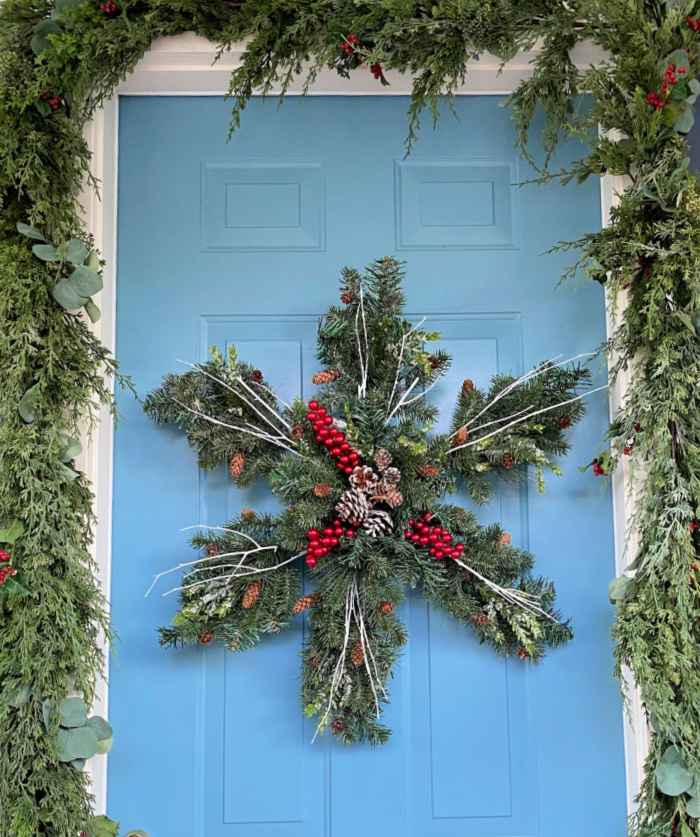
Another version of the wreath I made displayed on my blue front door. Just a little difference in the branches and berries. I used the same greenery for this one.
DIY Christmas Decorations
Resources for this project:


Comments
Join the conversation
-
Very nice...will try this in the future. I like that a snowflake can stay up past the holidays. I live up North where winter is the better part of the year so enjoy snowflake/snowman decor in my windows that can stay up a long time.
-
Yes, it’s beautiful!


Frequently asked questions
Have a question about this project?
That’s beautiful!!!!
How did you secure the pine cones in the middle?
This craft is so great. I love it.