


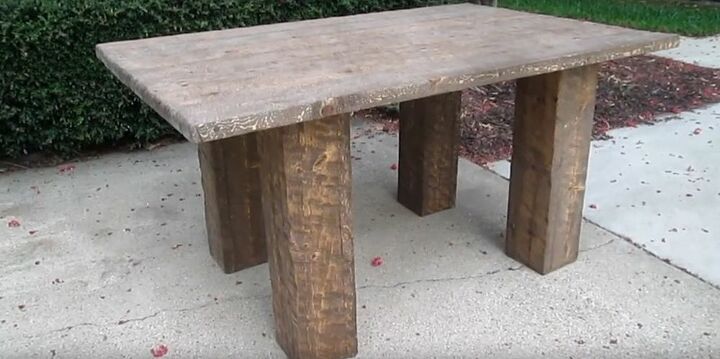
How I Made a Rough-Saw Office Table Desk for Under $100
Can you believe I made this rough-saw office table for under $100? It’s a relatively quick and easy project and, bonus, you don’t need too much equipment to make it either! It makes a great feature in my home office and it’s large enough for two of us to work from at the same time. Whether you’re looking for a DIY home office table or a wood table to use as a feature piece, this is perfect. Now, I’ll show you how I made it.
Step 1: Gather Your Materials
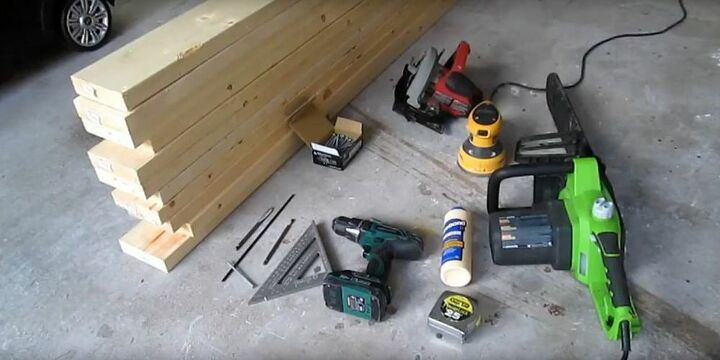
First, I gathered together everything I needed. Doing this saves the last-minute panics of realizing you're missing something at a crucial step. For this project you’ll need:
- 2x6s made of fern, not pine
- A 3/8" drill bit
- A 3/16" drill bit (extra long)
- 4” screws
- A long Philips driver bit
- A square
- A drill
- A tape measure
- Glue
- A chainsaw
- A sander
- A circular saw
- An oscillating or hand saw
- A nail gun or a hammer and nails
- Some clamps
Step 2: Cut to Size
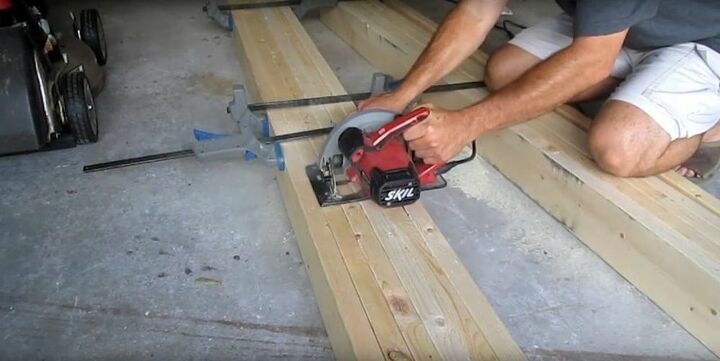
After gathering my tools, I cut the wood down to size. I took the straightest 2x6s and placed six of them side by side in order to make them 44” wide. Once I had measured the width, I then measured the length out to 60” and cut the wood with a saw.
Normally, you’d use a chop saw for this, but if you’re on a remote job like I was, then you can easily use a circular saw.
Step 3: Glue Tabletop Together
Next, I used the six 5-foot-long pieces of wood to make the tabletop and saved the 3-foot-long scraps to use for the legs later.
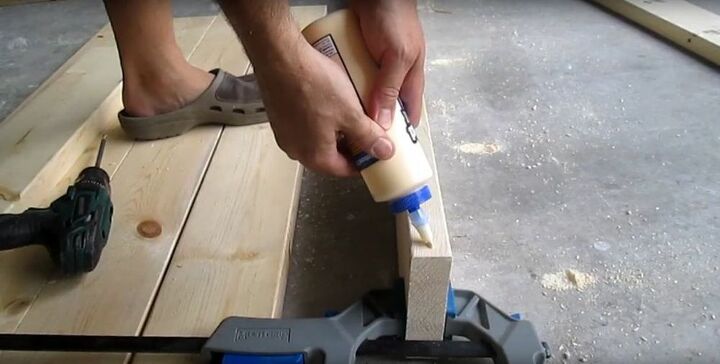
To attach all the 5-foot-long pieces to form the tabletop, I put glue between them to give them a good hold. If you like, you can even use a clamp for support while they dry. Remember though, don’t use too much glue. If you do, it may spill out of the sides. You only need enough to give you a basic hold.
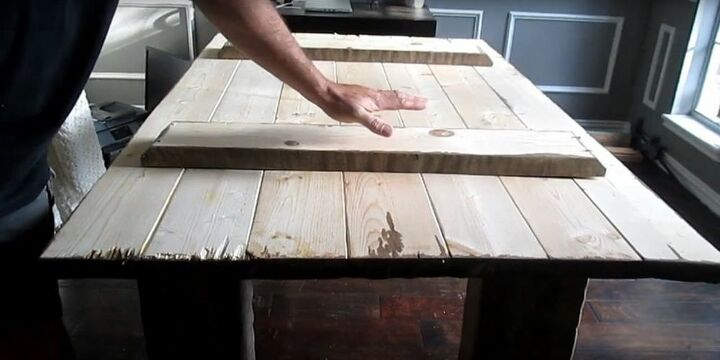
Step 4: Screw Tabletop Together
Once I had glued all the pieces and they’d dried, I screwed everything together to create a lasting hold.
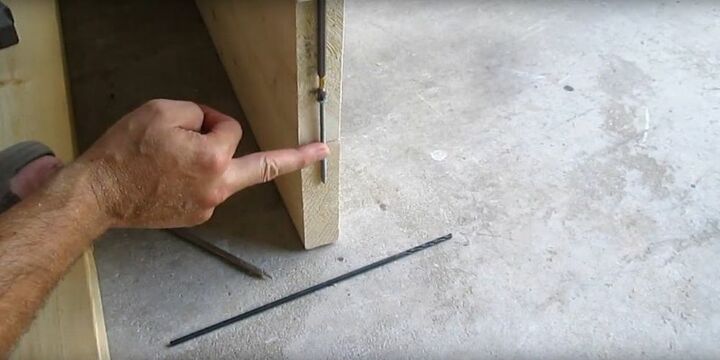
I added a screw to each row in the middle of the two planes of wood. To get that screw in there, I had to drill a 3/8" hole so that the screw would start in the desired position. Then, I used the long drill bit to drill the rest of the way down to about the midpoint. Finally, I used a long screwdriver to drive the screw and tighten it down so it was firmly secured.
Step 5: Patch Holes
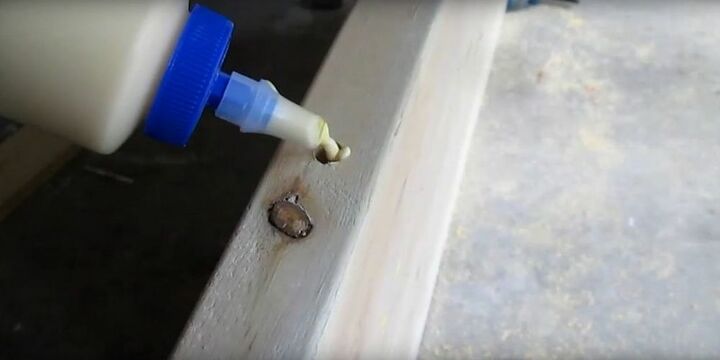
Now, with all the boards together, I needed to patch the holes where I’d inserted the screws.
First, I put some glue down in the hole and pushed in a peg as far as it would go. Once the glue had dried, I cut off the excess using an oscillating saw for a clean finish. Doing this means no one will ever be able to tell that the holes were there originally.
Step 6: Score the Tabletop
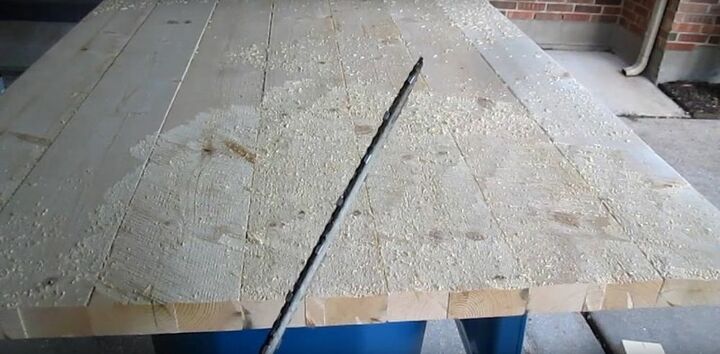
Once the tabletop had been assembled, the real fun began. I took my chainsaw and rotated it around 15 degrees before scoring the top of the table everywhere. You need to go really gently when you do this, but make sure that you get the corners, too. This will help give you that great rough-cut finish.
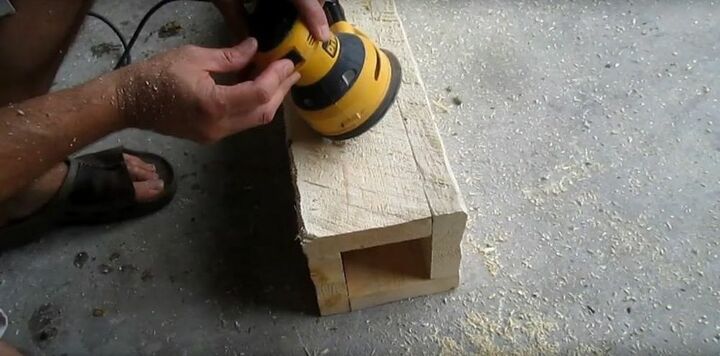
Step 7: Sand
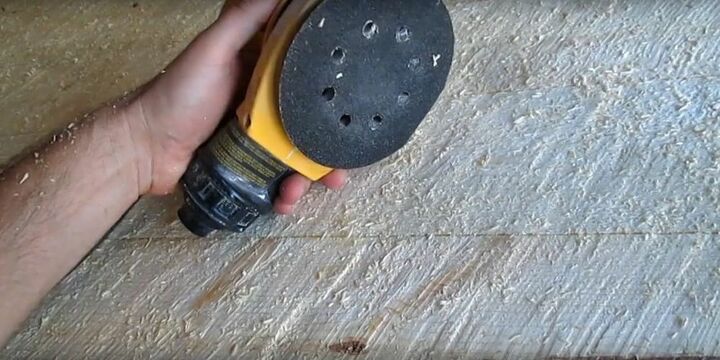
After I’d finished with the chainsaw, I really liked the look. But, some of the wood was still attached slightly. So, I used a 50-grit sander just to help take that down a little bit and improve the quality of the finish.
If you don’t have a hand sander, then you can use sanding sheets. But, a hand sander will help you get the job done a lot quicker.
Once I’d sanded everything, I checked the table to make sure I was happy with the finish. With the noise and mess from the chainsaw, it’s easy to miss bits. So, I went back and found any smooth sections and used the chainsaw before sanding those again.
Just keep doing the process as many times as you like until you’re happy. But, remember to sand it down thoroughly - it’s a table, so you’ll still want a level finish.
Step 8: Cut Legs to Length
With the tabletop finished, I moved on to the legs. Tables are always 30" tall and my table is an inch and a half thick on top, so I measured all the bottoms so that they were 28.5" long. To make sure all the legs were exactly the same size, I made a small guide. If you do this with your project, you’ll also find that it saves a lot of measuring time and gives you a really accurate cut.
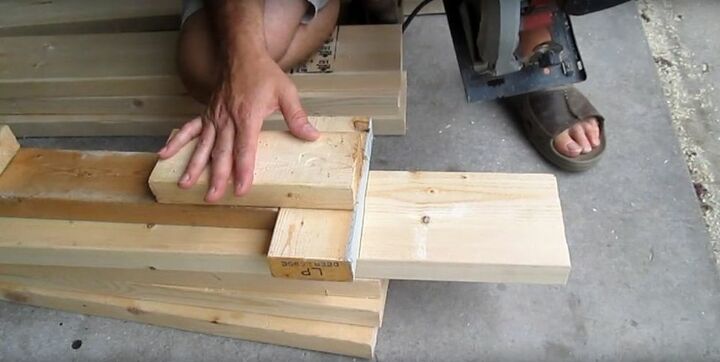
Step 9: Glue the Legs Together
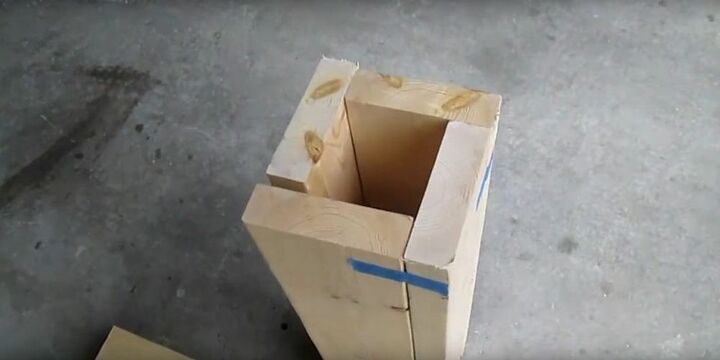
Now, I had 16 pieces of wood at 28.5 inches long, which I used to make four legs using the configuration in the photo above. You don’t need as much strength in the legs as you do in the tabletop, so all you need to do is glue the legs together. If you like, you can also use some nails to hold them while the glue dries.
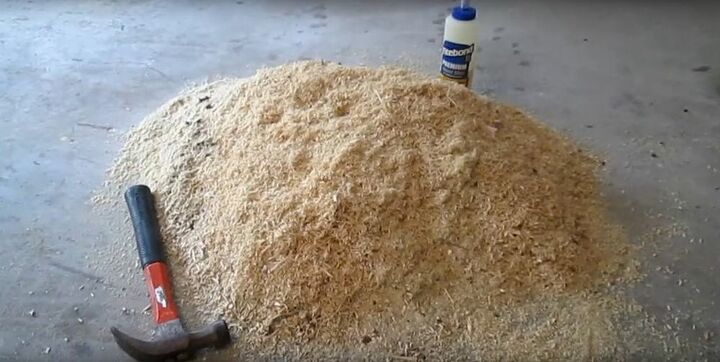
Step 10: Score and Sand the Legs
Once the glue has dried, it’s time for the fun to start again. I just scored and sanded the legs in the same way as I did with the tabletop. This will give you the same finish throughout. For reference, here’s how much sawdust I ended up with after making the table and the legs:
Step 11: Stain
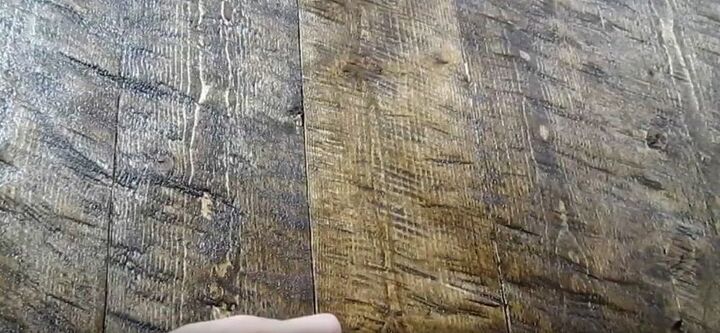
For my table, I decided to use Minwax Special Walnut stain, but you can use any finish you like to help the table blend nicely with your home’s décor. All you’ll need is a brush and some paper towels to help you apply the stain and get a great finish.
Just brush on your stain and then wipe off any excess with the paper towels before leaving the tabletop and the legs to dry fully. You might want to open a window to get rid of some of the smell while you’re waiting for the stain to dry.
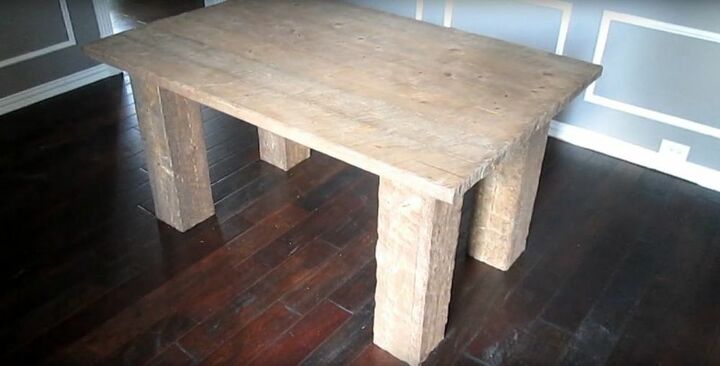
Here’s what it will then look like after drying overnight:
Step 12: Attach Cross Supports
Before I installed the legs, I decided to add two cross supports that would help give the table a little bit of extra strength. I installed these with glue and screws, so the process was quick and easy. Remember, this is on the bottom of the tabletop, so if you don’t feel like roughing up and staining it you don’t have to.
Step 13: Attach the Legs
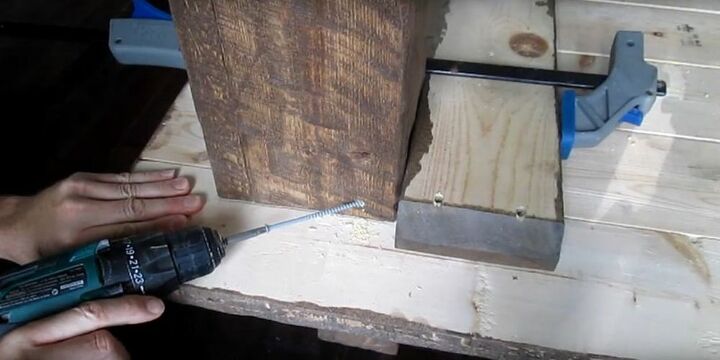
Then, all that was left to do was to attach the legs. You want to install these four inches in from each side. After measuring, I drilled a hole in the leg at a 45-degree angle and put in a screw that reached the cross support. Then, I added further screws so each of the four legs had a screw on each corner. This gave the table the best possible solidity.
If you follow these steps, you’ll get a great-looking wood table for under $100. Remember, you can stain your office table desk any color you like, so it’s easy to make it fit in with your home. If you’re planning to carry out this project, let me know in the comments below. I can’t wait to see your finished projects.


Frequently asked questions
Have a question about this project?