


Bathroom Refresh

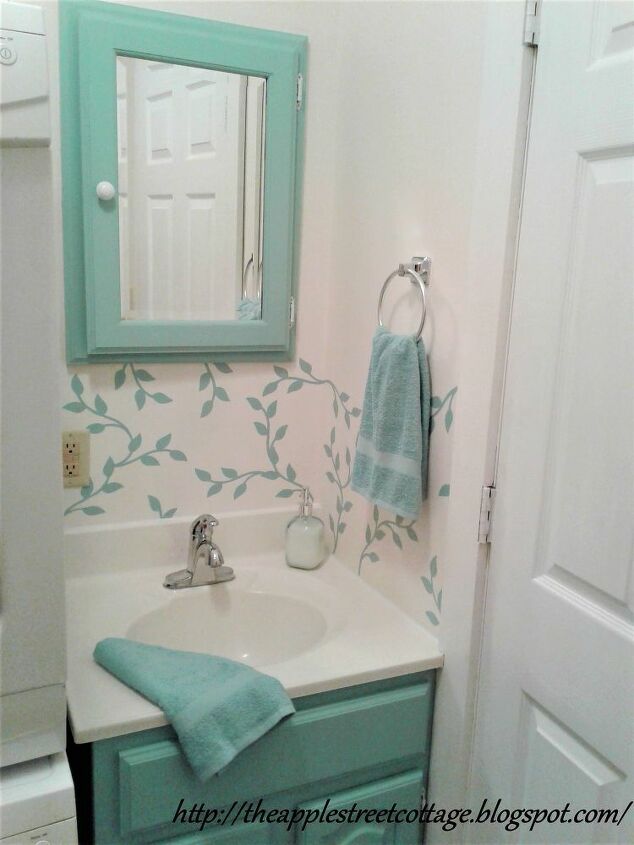
Say hello to the updated powder room. It's a challenging space and my goal was to brighten it up on a budget. The room is approximately 5' x 7'(and I'm rounding up), has no windows, and contains the washer and dryer.
The entire project cost me about $35. Are you ready to see how I did it?
Let's get started...
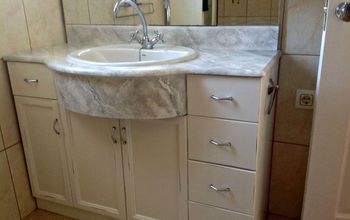
Behold the 1980's oak:
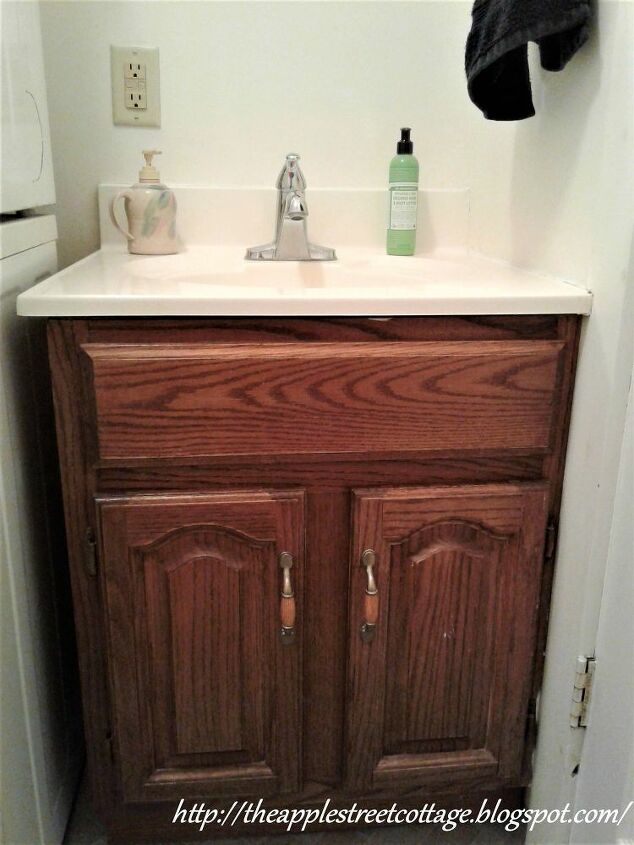
I decided not to paint the walls since the dryer is stacked on top of the washer. See them right next to the vanity? In order to get them out for painting, I'd have to take the door to the room off it's hinges and move it. I wanted this to be an easy makeover, so I opted to paint the medicine cabinet and the vanity.
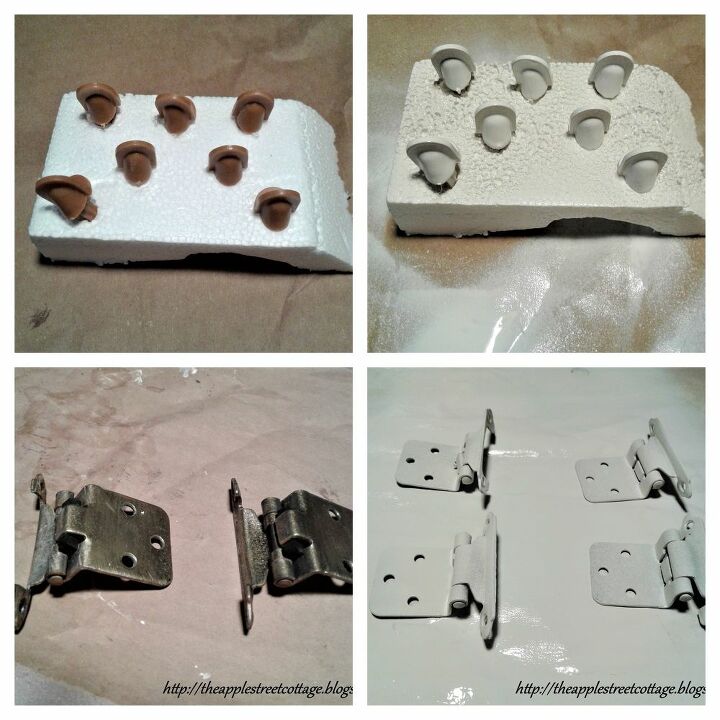
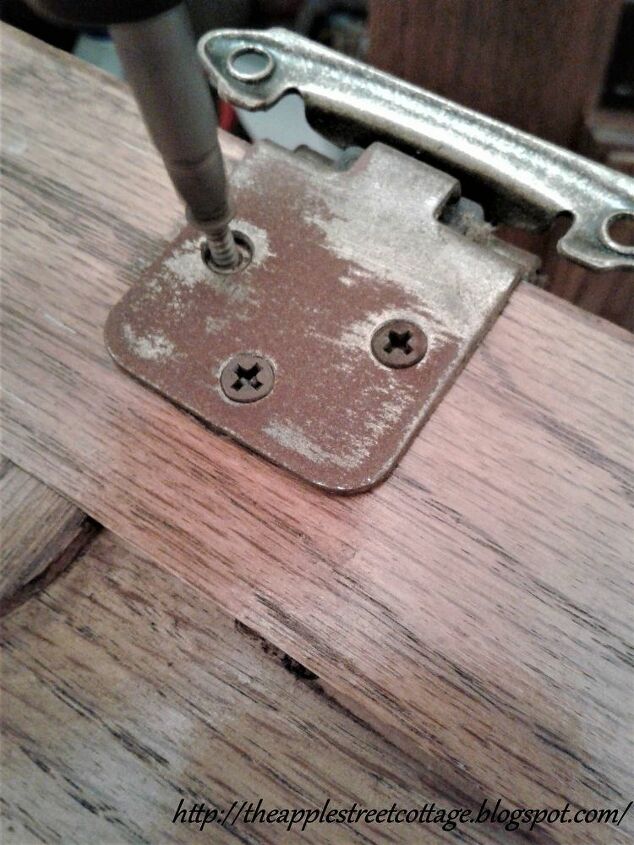
Step 1: Off came the hinges, knobs, shelf pegs, and pulls. The pulls were being replaced, but everything else was spray painted.
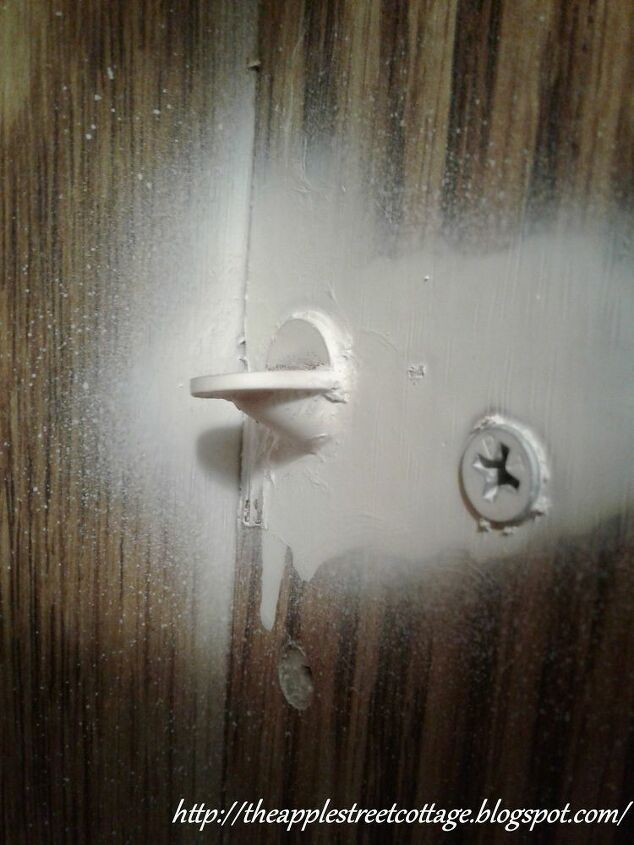
Did you notice there are only seven shelf pegs? Someone decided it was a good idea to glue one of the pegs in the hole and there was no way it was coming out, at least not in one piece. That peg got painted in place.
You may also notice that the hinges look very clean. Trust me when I say they didn't come off that way.
Step 2: They were cleaned with baking soda and boiling water. Any remaining rust was sanded off with fine sandpaper.
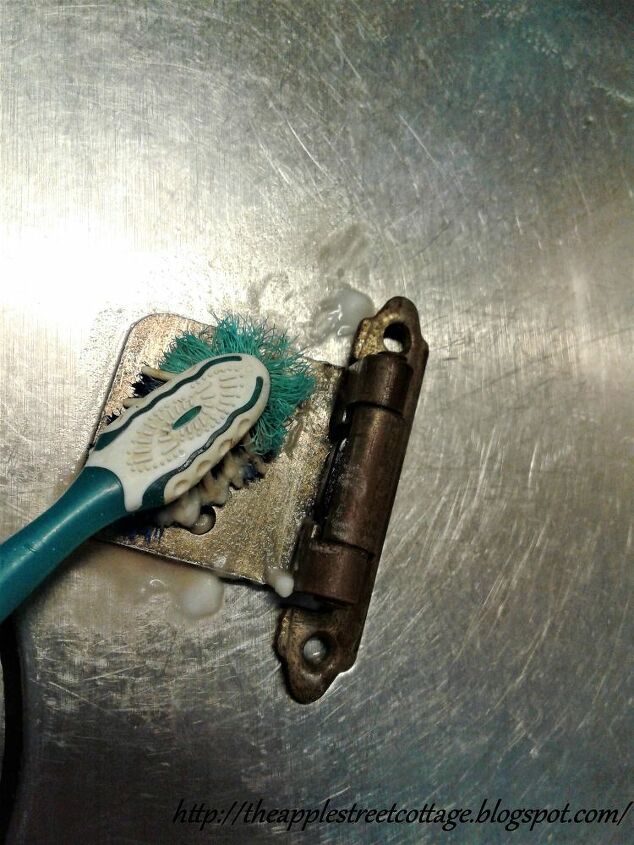
The full details of this process are on my blog: https://theapplestreetcottage.blogspot.com/2016/03/no-chemical-paint-removal.html
This process will also remove paint, but back to this makeover.
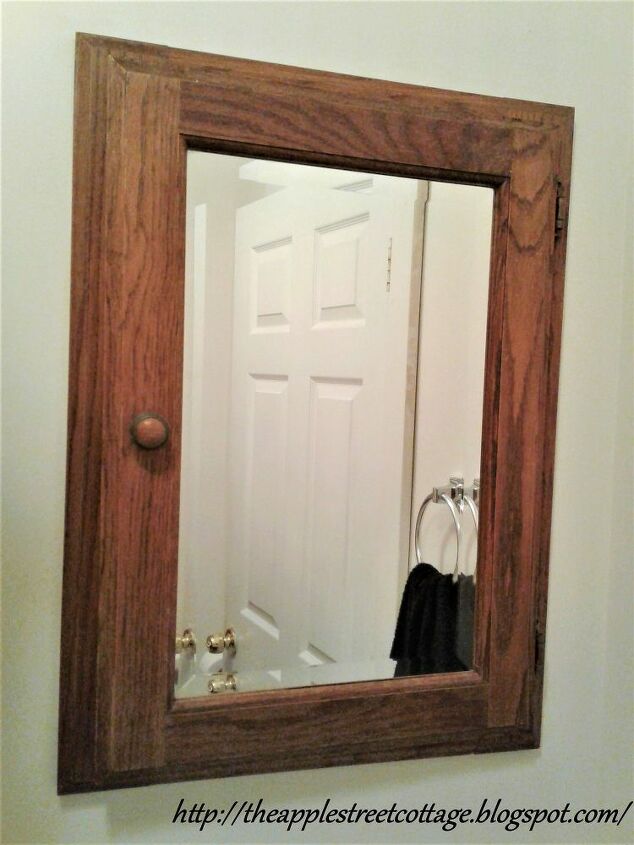
Step 3: The inside of the medicine cabinet was lined with contact paper.
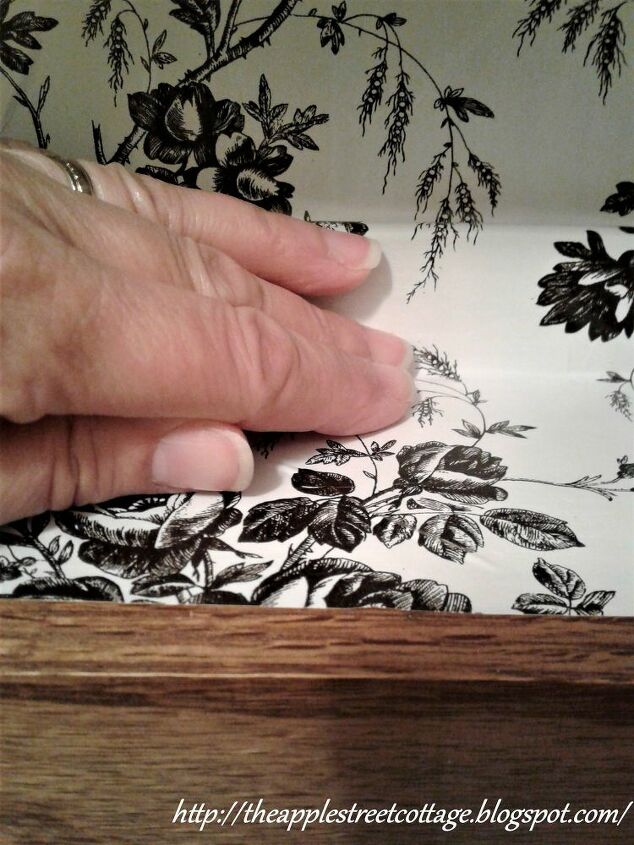
I have another tutorial on how to line your medicine cabinet here:
https://theapplestreetcottage.blogspot.com/2018/06/2-cabinet-makeover.html
Step 4: With the interior relined, it was time to clean, sand, prime, and paint. Everything was washed with Murphy's Oil Soap and all the surfaces were given a 'scuff' with 220 grit sandpaper:
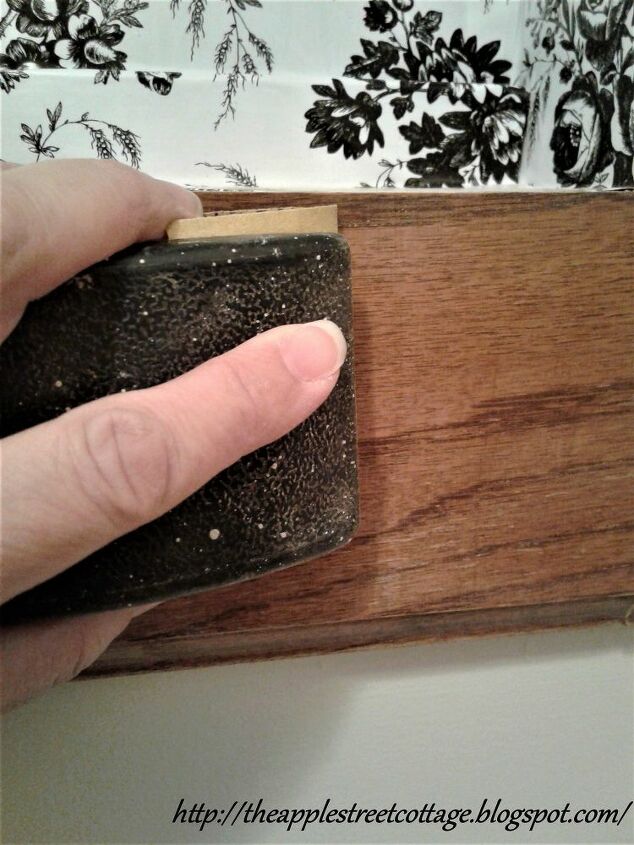
...wiped again, and then they were ready for primer.....all except one cabinet door. It had a little damage:
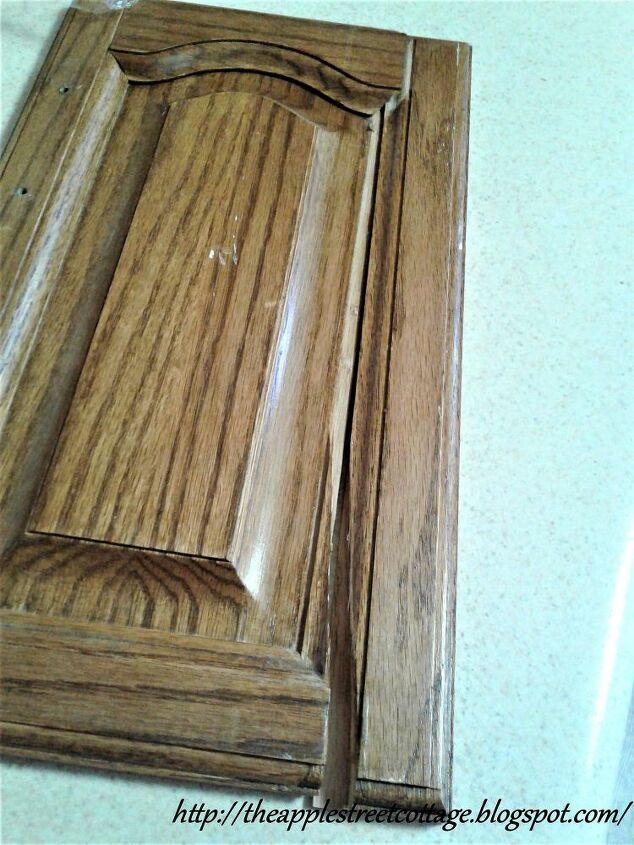
Step 5: Fortunately that was remedied with some wood glue, a clamp, and some large rubber bands.
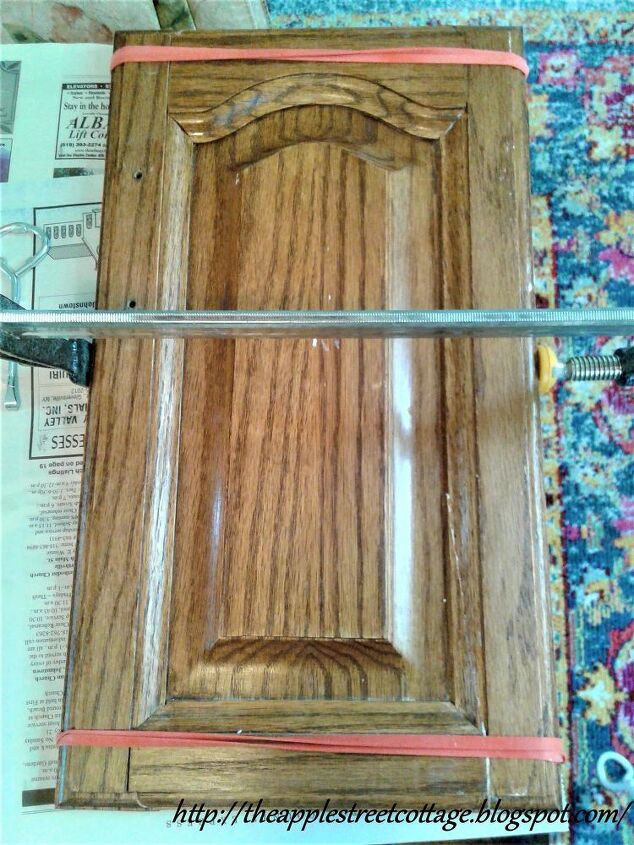
Some wood dough was used to completely fill-in the crack and to cover the second hole from the pulls. Remember, the pulls are being replace with knobs.
Step 6: Next there was primer.
I used two coats since the wood was so dark.
I'm not going to show each piece because, really, how many pictures of primer do you really need?? lol
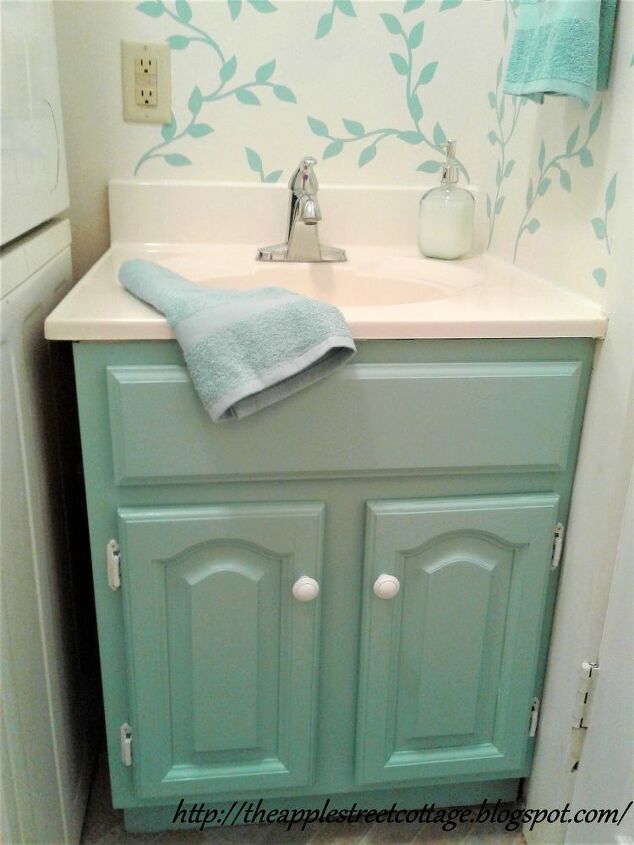
Finally it was time for color! My inspiration was a set of hand towels in a pretty shade of green. I took them to the paint counter and they matched the color for me. I didn't choose the first color recommended, but another in the same family. It's called Spring Stream.
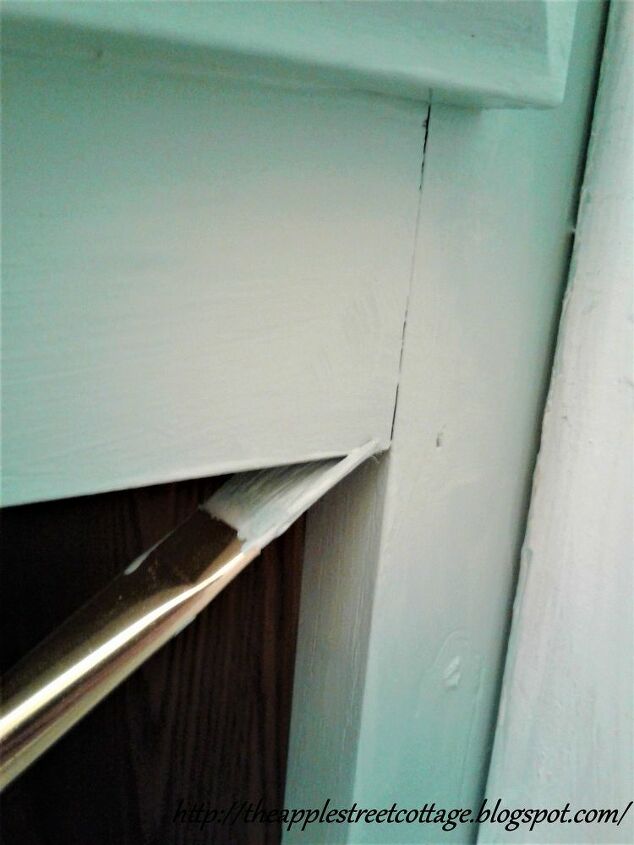
Step 7: Everything got two coats of paint.
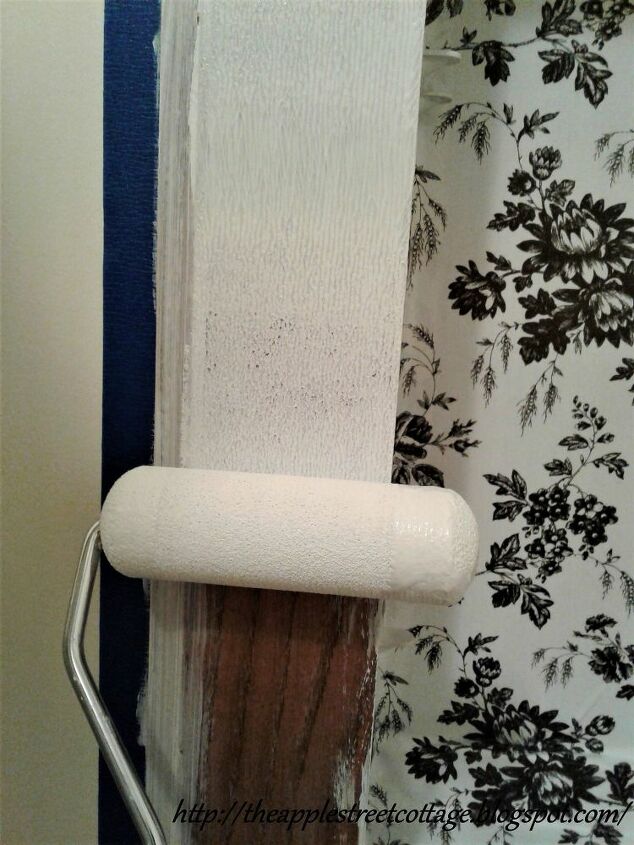
The next thing to consider was the backsplash. I didn't want to get involved in tiling, so I considered peel and stick tiles. I took a look at them in the store and really liked them........until I saw the price. $10 for a 10" x 10" square and the price went up from there. I was going to need 6 or more and that was too rich for my blood so I considered paint.
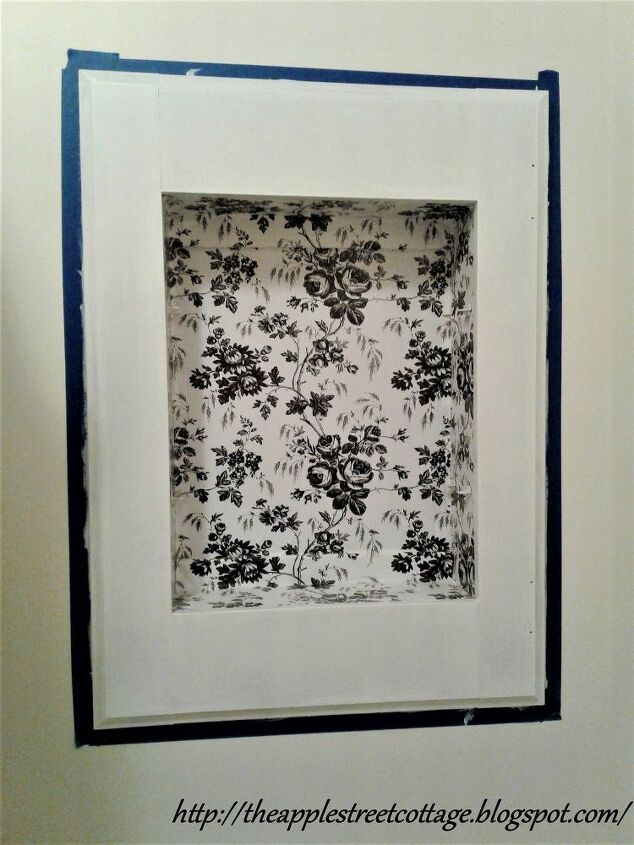
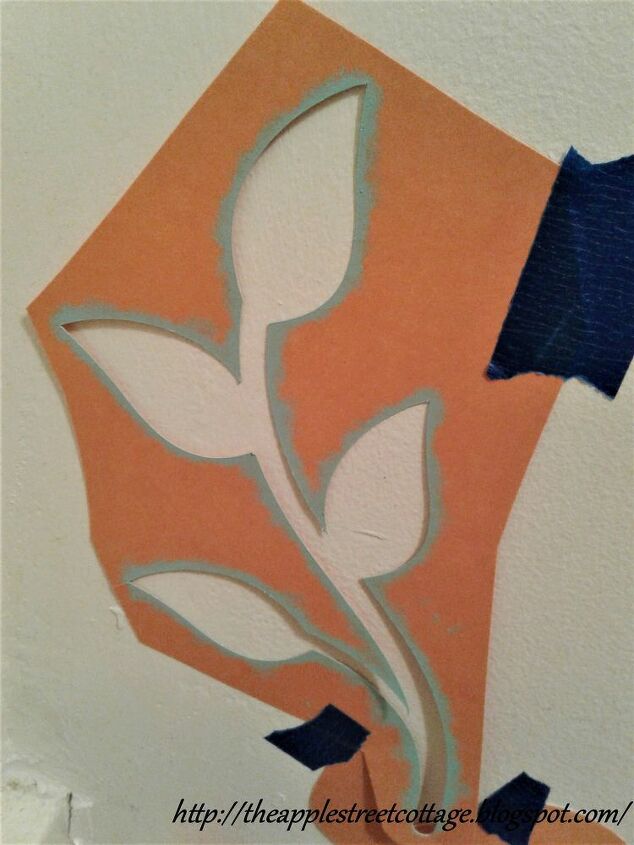
Step 8: I decided to step away from the 'tile look' and found this pretty vine to cut on my Cricut. I cut a few of them out of cardstock and got to work.
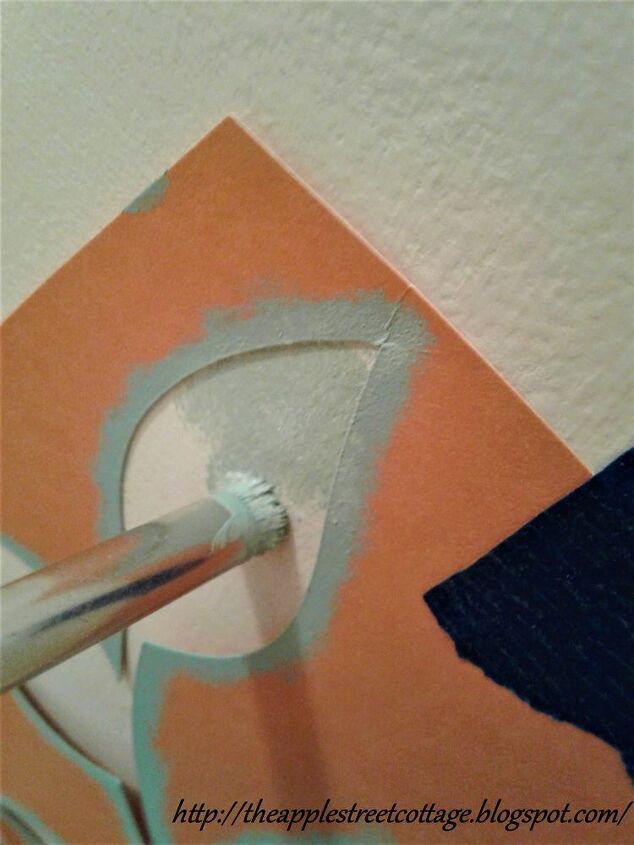
Step 9: Using a stencil brush, the design was filled-in.
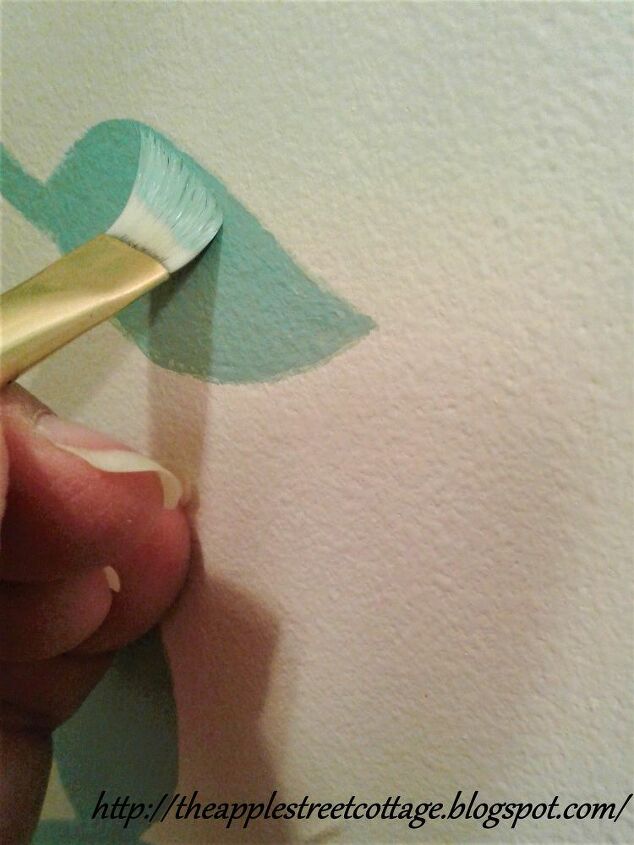
Step 10: I went back over it with a small brush so the color was even.
The last thing was a new soap dispenser. I found this one for $4.99:
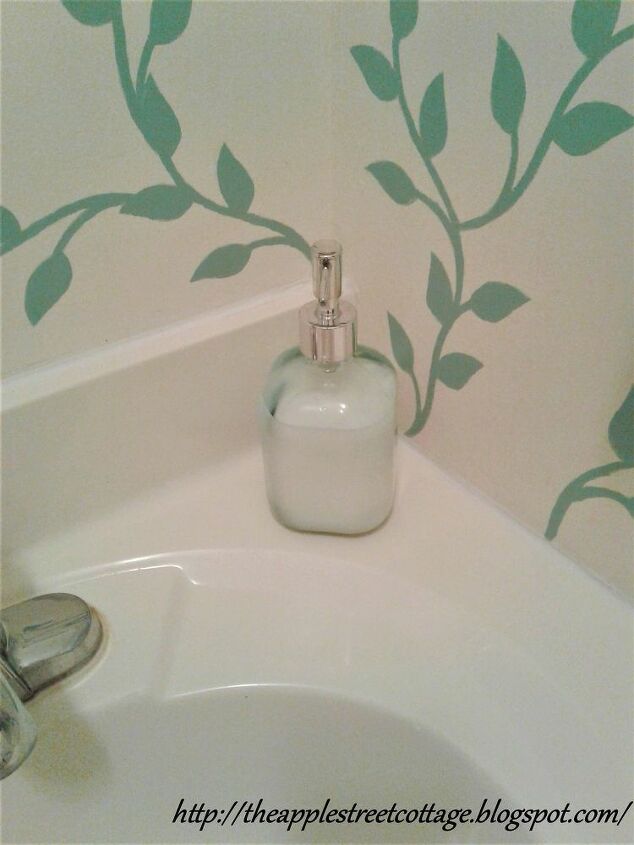
The project was done.
Since I already had sandpaper, baking soda, Murphy's Oil Soap, and spray paint, the cost of this project was very low. If you had to purchase those items, you would add approximately another ten dollars.
I'd love for you to visit my blog to see this and other projects completed at the Cottage!
Resources for this project:
See all materials


Comments
Join the conversation
-
This is so fresh and pretty! And how you keep your nails looking so good through it all is a wonder!

-
Thank you so much, Beth. My nails really do take a beating with all of the diy I do, but, for some reason, they fair better without nail polish on them. Go figure!


Frequently asked questions
Have a question about this project?
Love the colour! ❤️
That area looks so fresh now.
Where is the end result?! I keep scrolling looking for them lol. I’m sure it came out nice
WOW I bet it came out lovely but why didn't you show a pic of the end results ?