


Wood Buffalo Check Bunny

Who doesn’t like buffalo check? Well, it’s been a big favorite of mine for the last couple of years but today I'm showing you one of my favorites. It’s super easy! I used buffalo check fabric and modge podge to do this easy craft. I prefer using fabric compared to paper because this doesn’t wrinkle. 😊 Let’s get started!
What you’ll need:
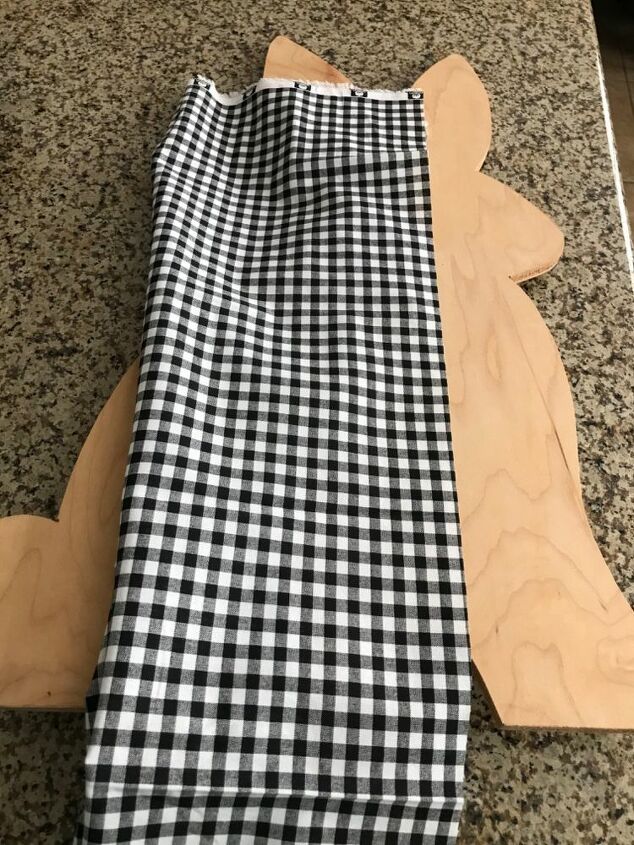
A wooden bunny (I cut this one out with a jig saw. This one is 25” x14” but I did pick some at the dollar store which where smaller)
Fabric of your choice (mine is buffalo check, I found at Joanna’s. You can also find some at Walmart and Hobby Lobby).
Paint brush
Modge podge
Small hinge and screws
Rope
Scissors
Staple gun
Glue gun
White pom pom for tail
Ribbon and flowers to decorate - you can put whatever you want to dress your bunny up.
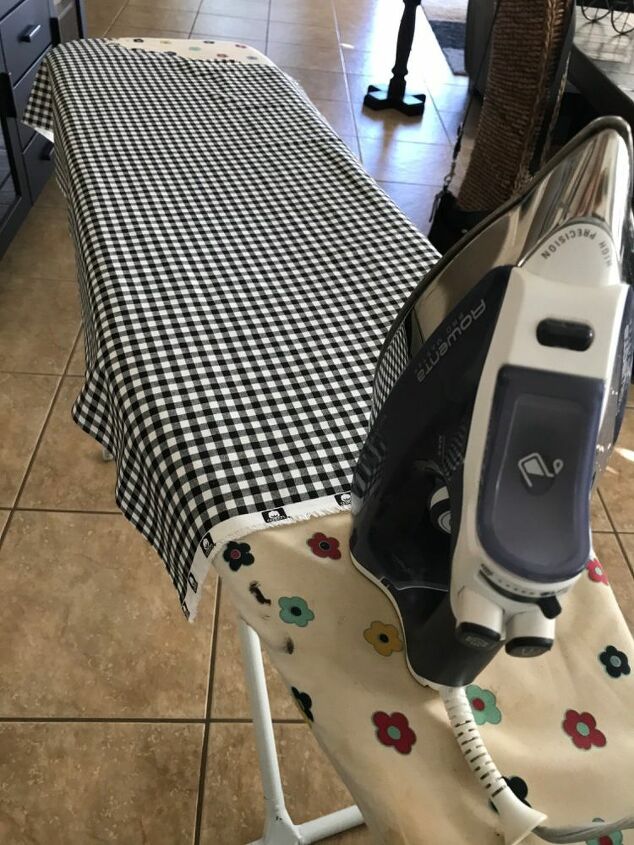
To start with, you need to iron out your fabric. We want it wrinkle free.
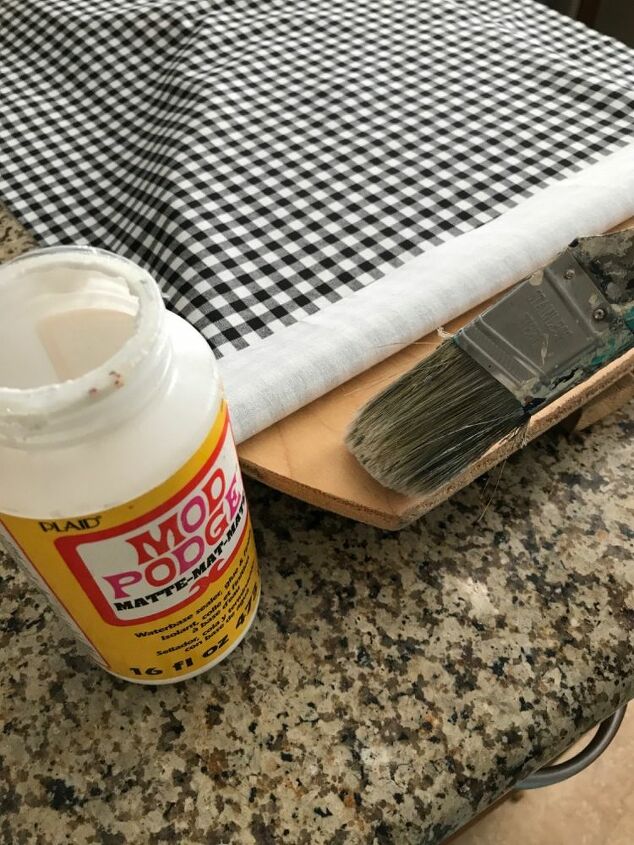
Next, You need to brush a good coat of your modge podge on the wooden bunny. I started at one end and lined the fabric right up along the edge. I then worked my way up smoothing it down as I went to make sure there were no wrinkles.
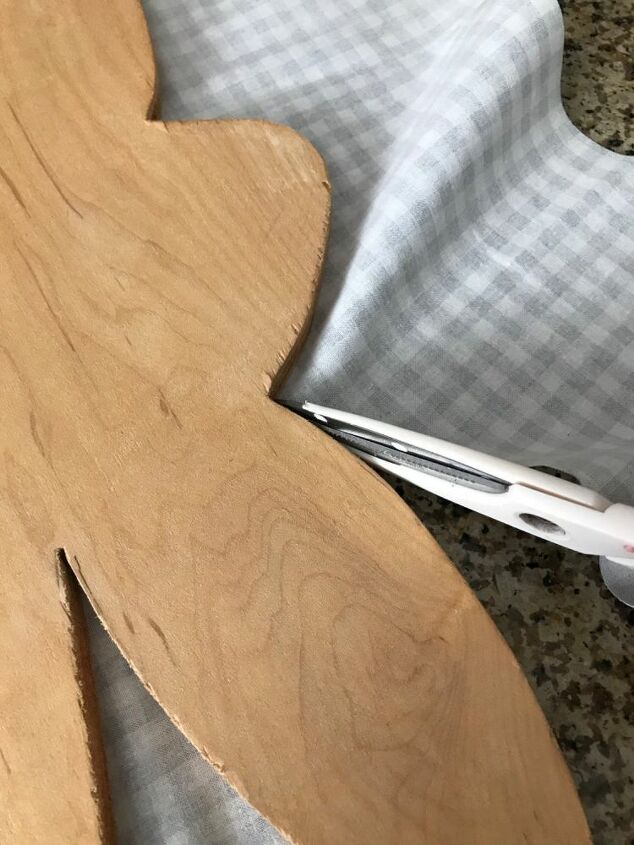
After it dries, take your scissors and angle them and cut as close as you can along the edge of the bunny.
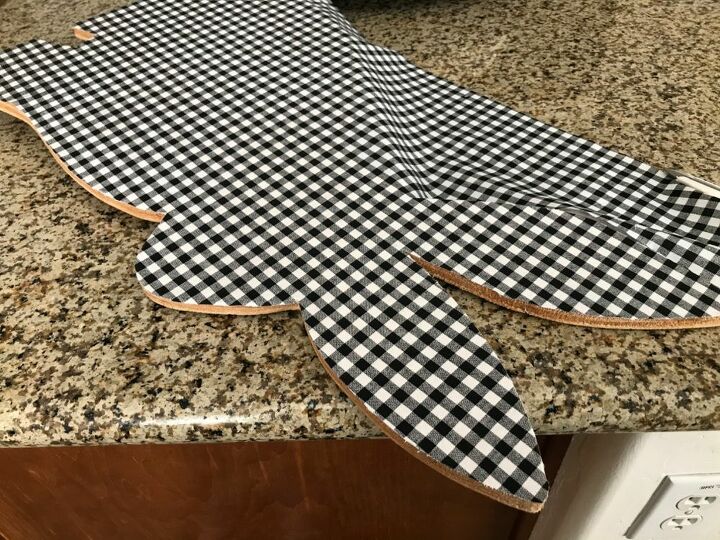
You may need to flip it over to get close to the edge. When you're done with that, we will add a stand so it can stand up on its own.
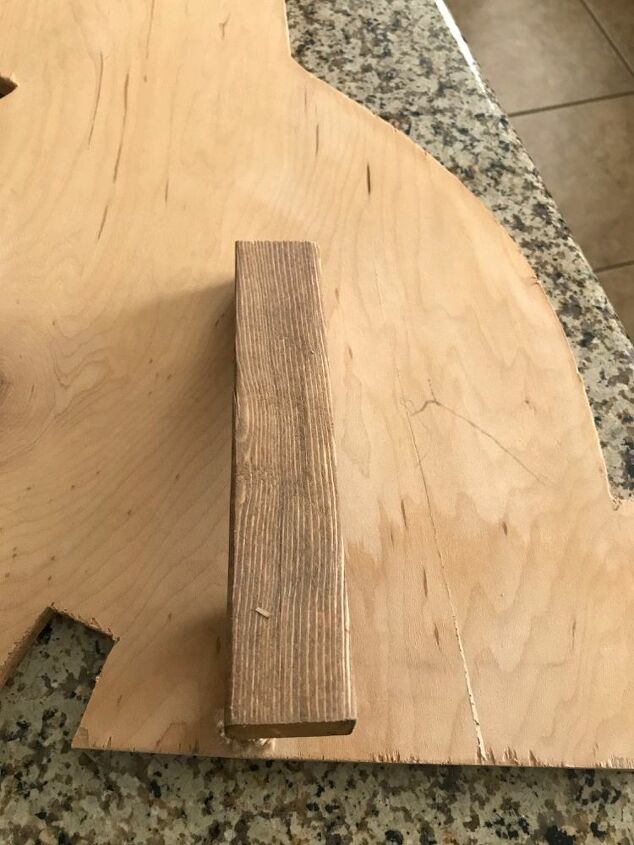
This is my 1x1 10” long wooden piece. Center it by the feet making sure that it’s not showing.
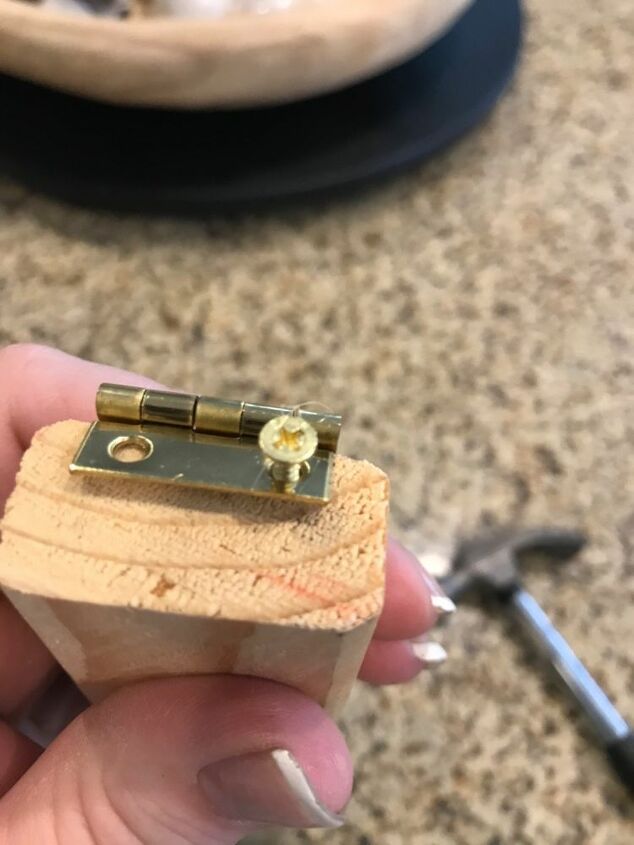
This is where we will use the hinge. Screw it into the top of the stand like shown in the picture.
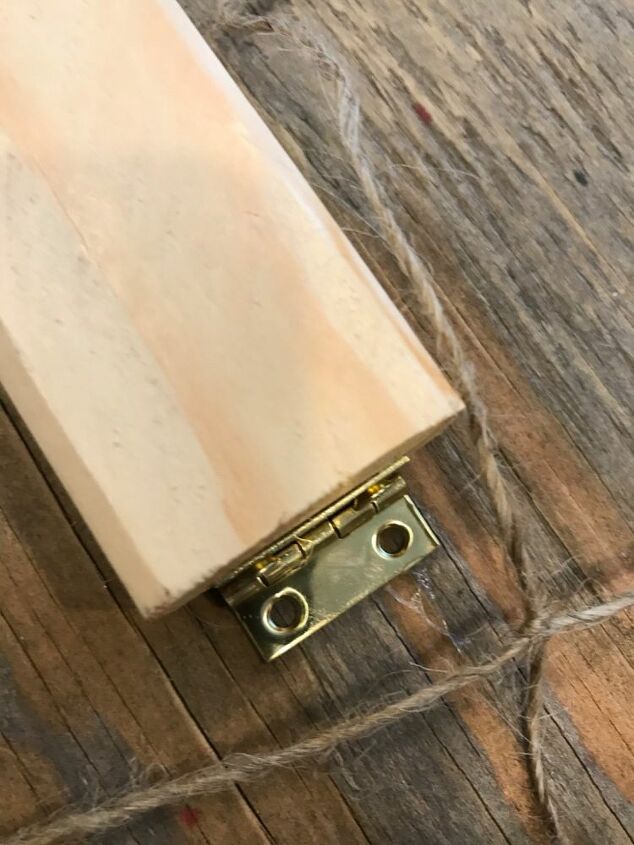
Now screw the side of the hinge to the back of the bunny.
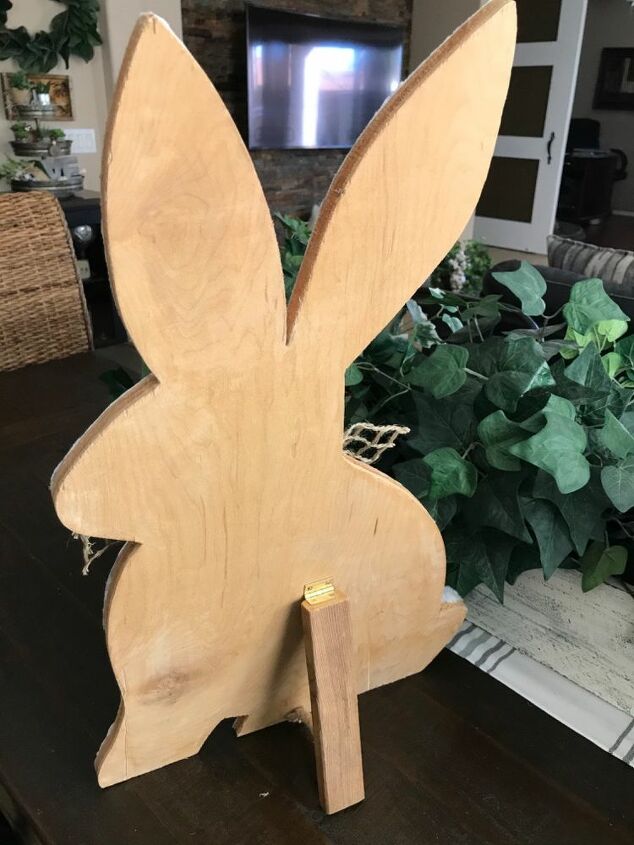
The back should now look like this.
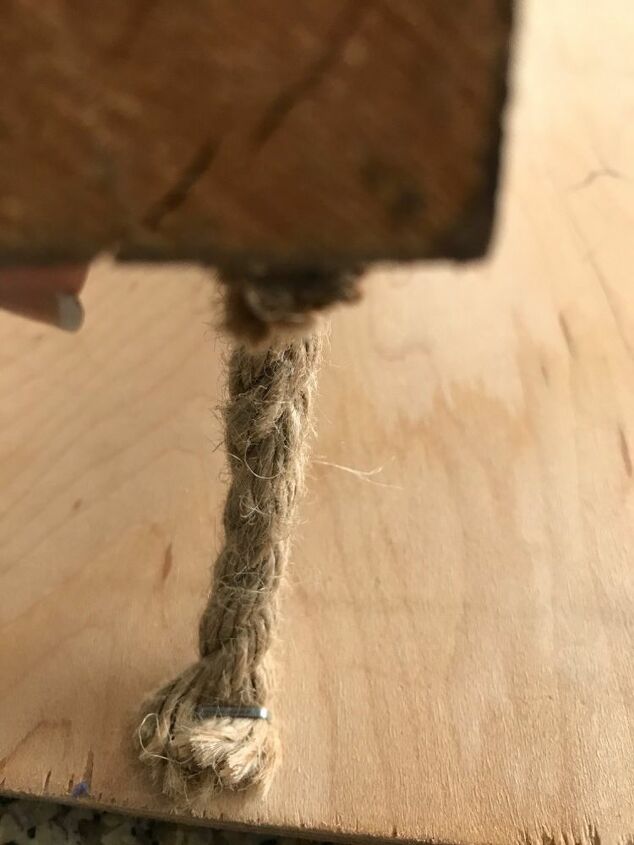
Now to keep the stand from falling we will use a small piece of rope and staple it to the stand and then the back of the bunny.
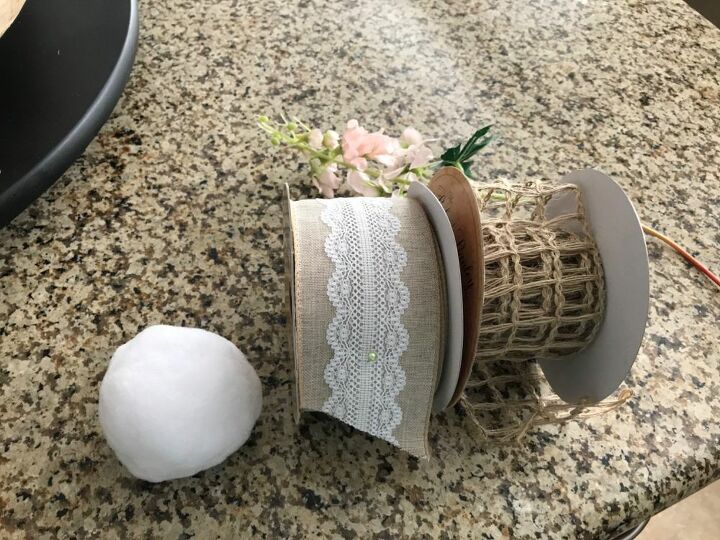
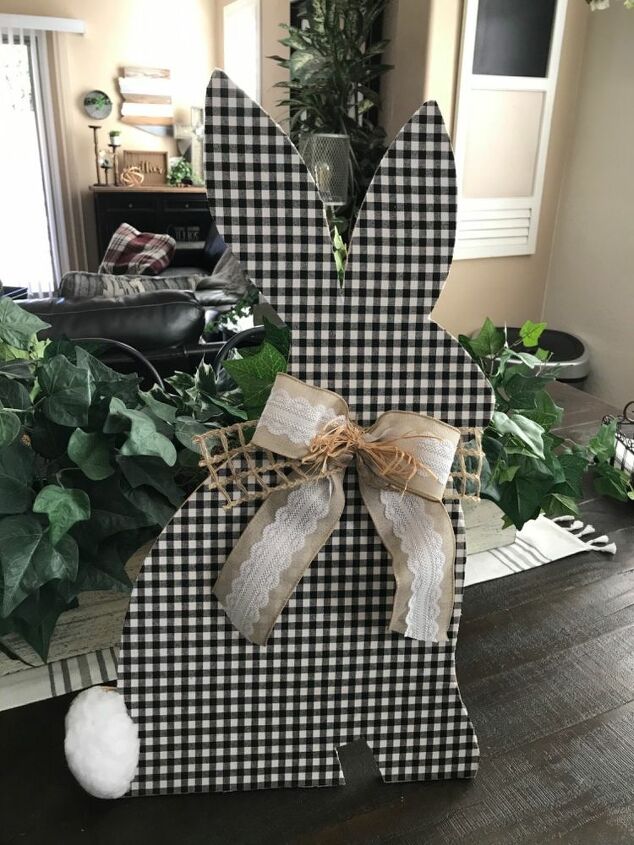
Now you can decorate with ribbons and add a Pom Pom for a tail.
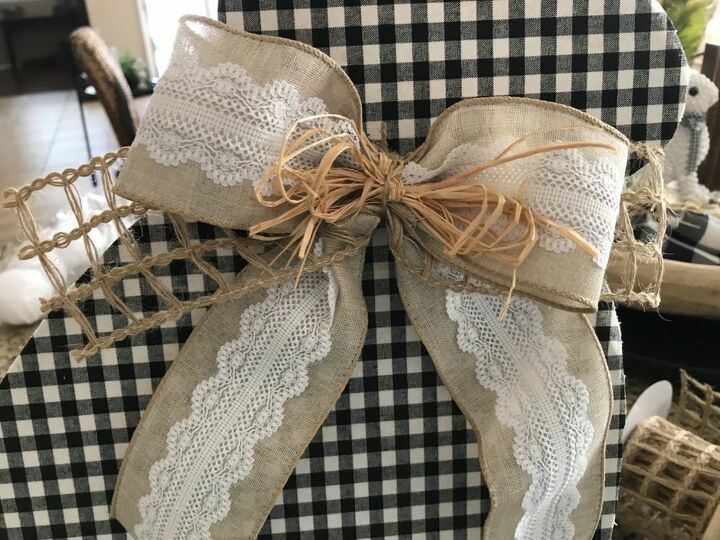
Here's my bow which I tied and glued to the neck.
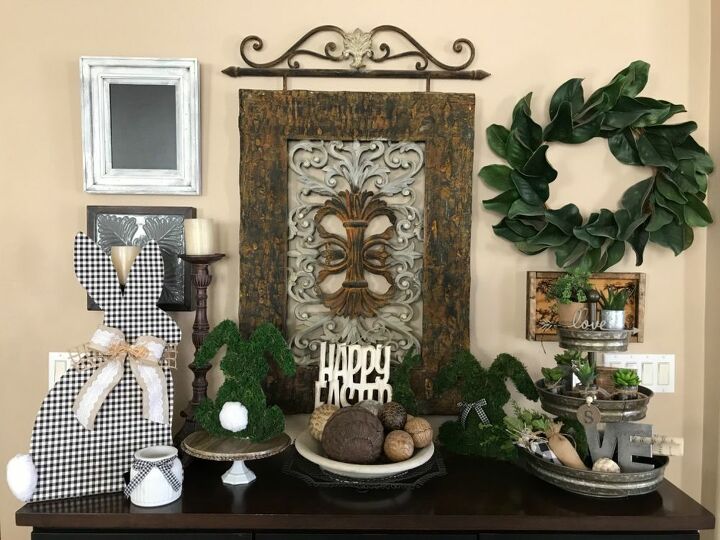
This is the final product! I decided to make one more to add to my collection.

Look how cute they are! Make sure you put the fabric on the side you want it to face - like these, so they could face each other.
Another great project! See more at Gilbert Marketplace
Resources for this project:
See all materials


Comments
Join the conversation
-
❤️❤️
-
I really liked what you did with the bunnies. The only thing is I wish you had painted the sides and the back. That's just my pet peeve, along with not taking stickers of the work ;) You didn't do that. When I painted, I always painted the sides and backs. They look finished to me. I liked them so much that I saved them!


Frequently asked questions
Have a question about this project?