


Ottoman Reconfigured Into Dust Free Garage Storage

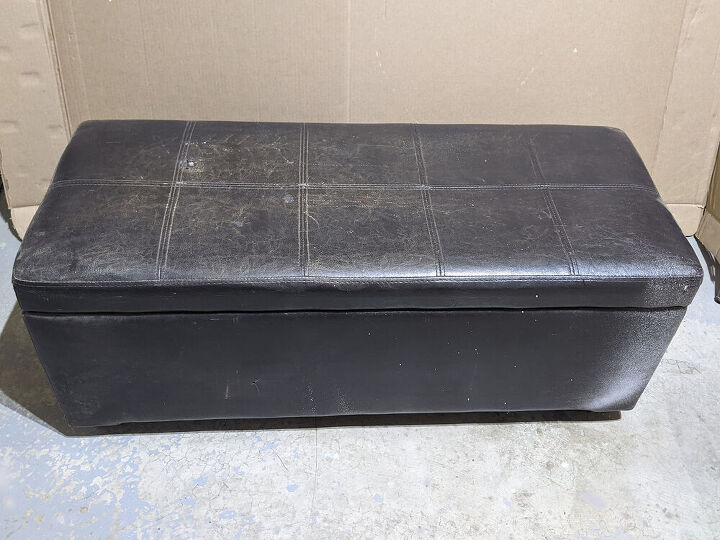
Our garage has mostly open shelving, which is convenient for finding stuff. But I do a lot of sanding out there, so finding places to store things I don’t want to get sanding dust on has been a bit of a challenge. I had been given a free ottoman that I used there, but because our garage is small it always seemed to be in my way! So I decided to use it differently.
REMOVING WHAT I DIDN'T NEED
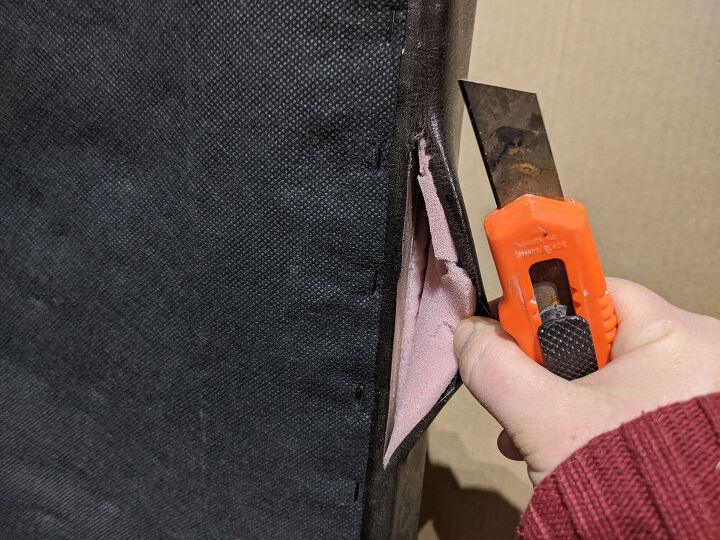
The first thing I did was remove the faux leather from the top of the ottoman using a utility knife.
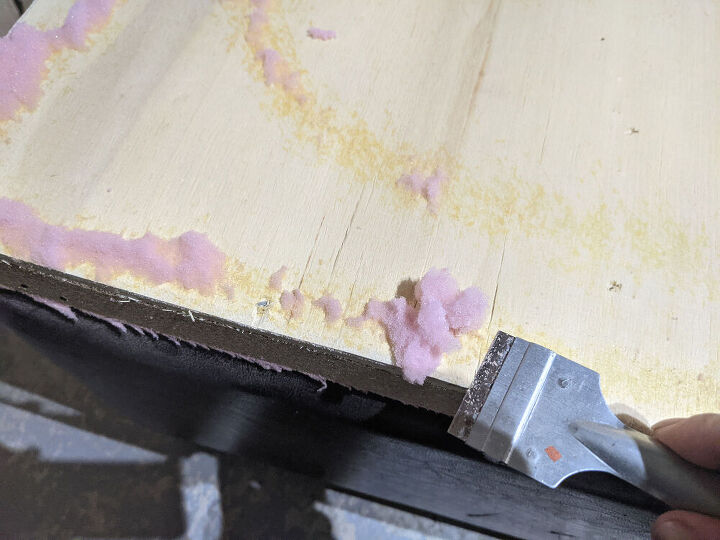
Under that was a layer of pink foam, which pulled off easily. The parts that had been glued down I used a little mirror scraper to get the remnants off.
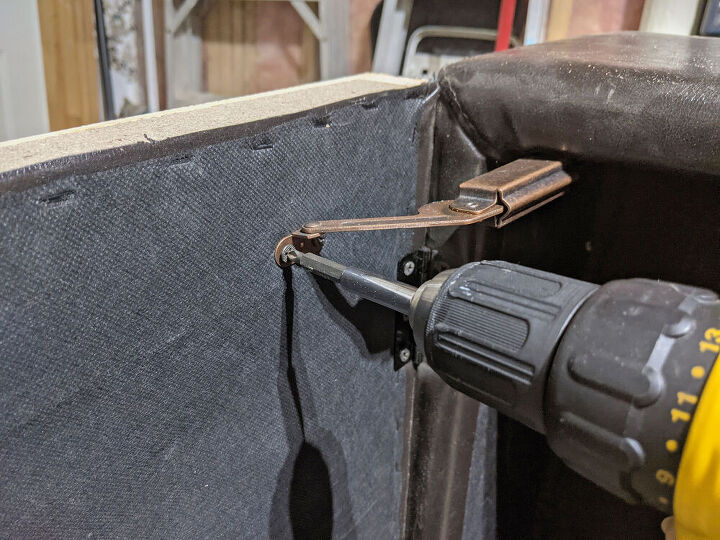
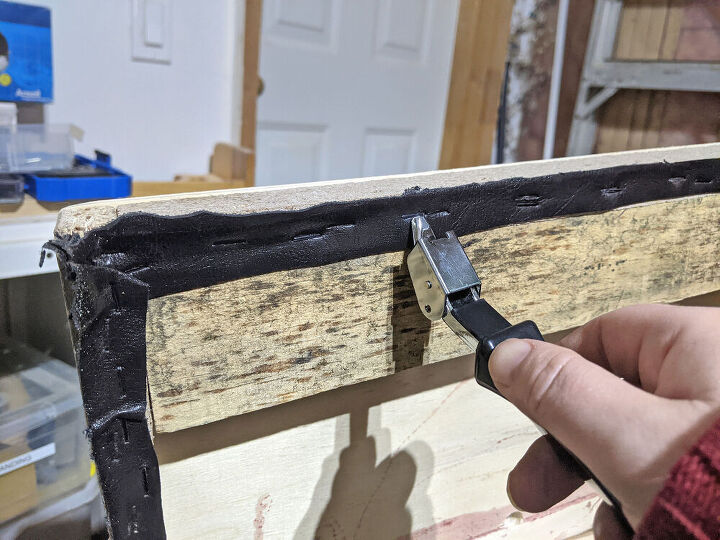
I removed the two brackets that kept the lid in the upright position. (I kept them, as I have no doubt they will come in handy on a future project.)
On the other side of the top, I removed the black dust cover using a staple remover and plyers. This was probably the most time-consuming step, it took roughly an hour to get all the staples out!
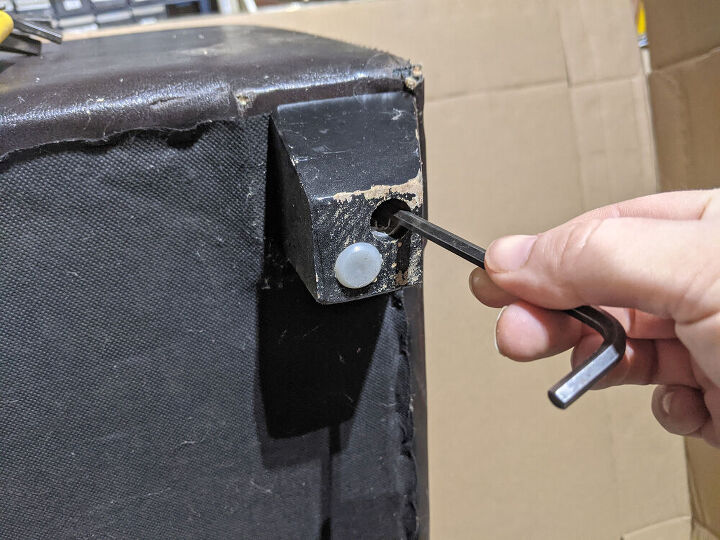
I removed the feet, using a hex key. (I re-used these feet on a project the very next day!)
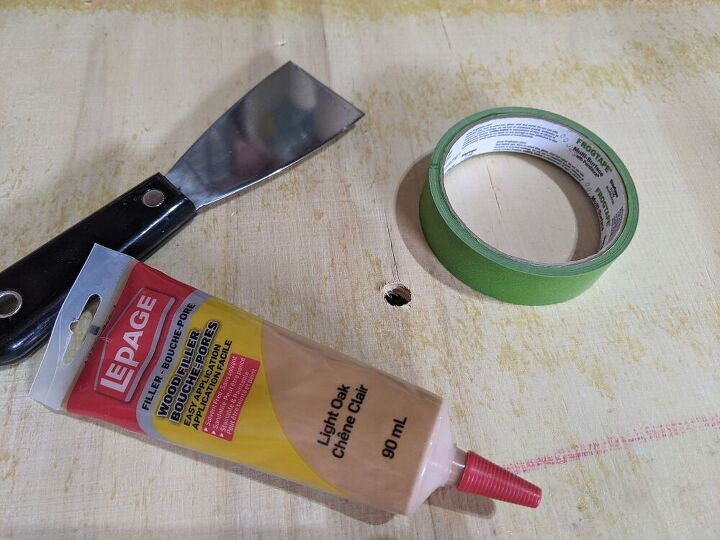
There were three holes down the center of the top. I placed painters’ tape on the back sides and filled the holes with wood filler.
SHELEVES
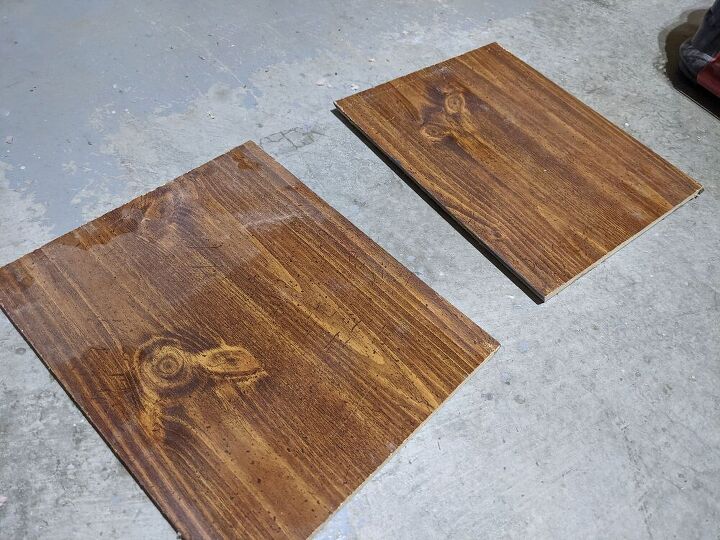
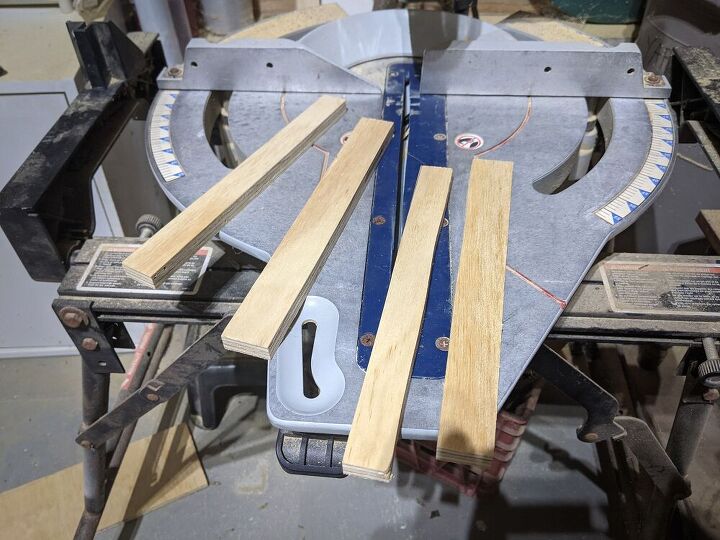
I found two boards in my scrap pile and trimmed them to the correct length and width to fit inside the ottoman.
BRACKETS
I trimmed a piece of scrap wood to the length I needed and then ripped those to create four brackets.
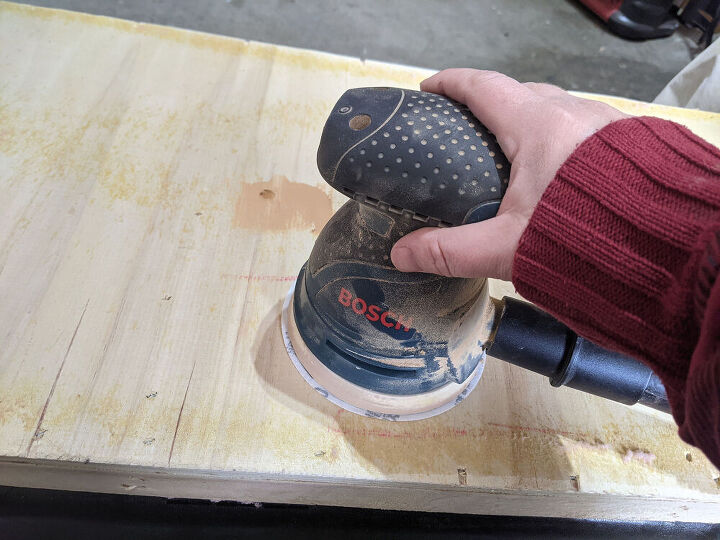
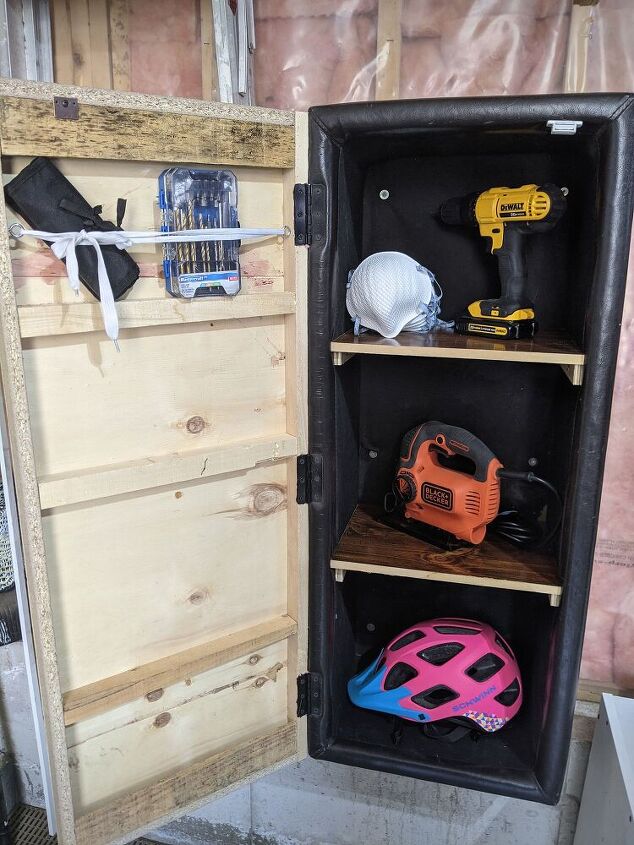
I screwed the brackets into the sides of the ottoman and added the shelves on top. Then I gave the top a light sanding, just to remove the glue residue and smooth out the wood filler. And also to remove splinters.
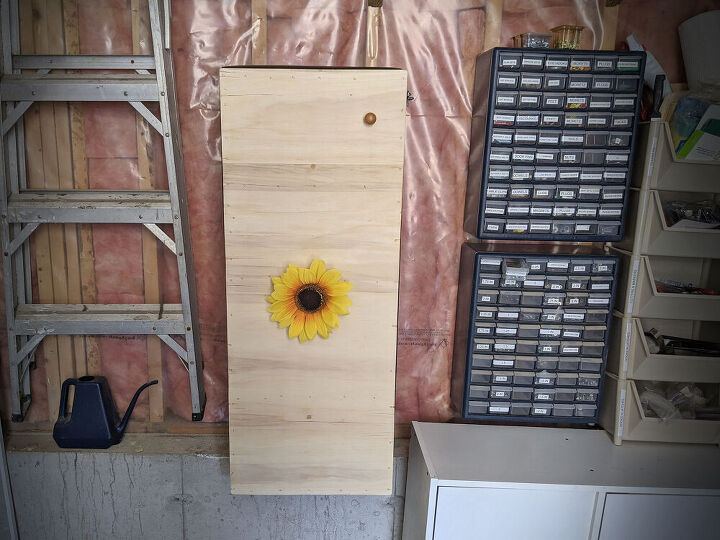
I attached the ottoman to the wall, drilling into a stud on each side, using 2” screws and washers. I lined it up so the bottom of the ottoman was sitting on the cement ledge that runs along that wall. It’s very sturdy!
HARDWARE
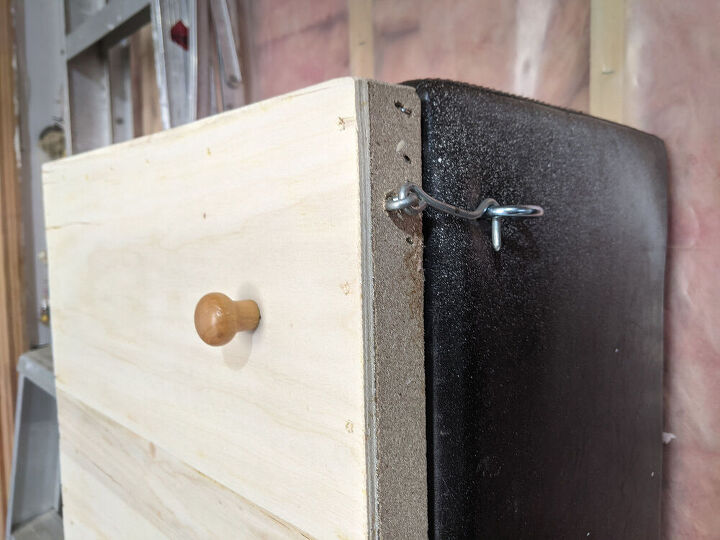
I attached a knob to the top and a magnetic door closer. The door closer wasn’t making a tight enough seal to keep the dust out, so I attached a latch to keep the door closed nice and tight.
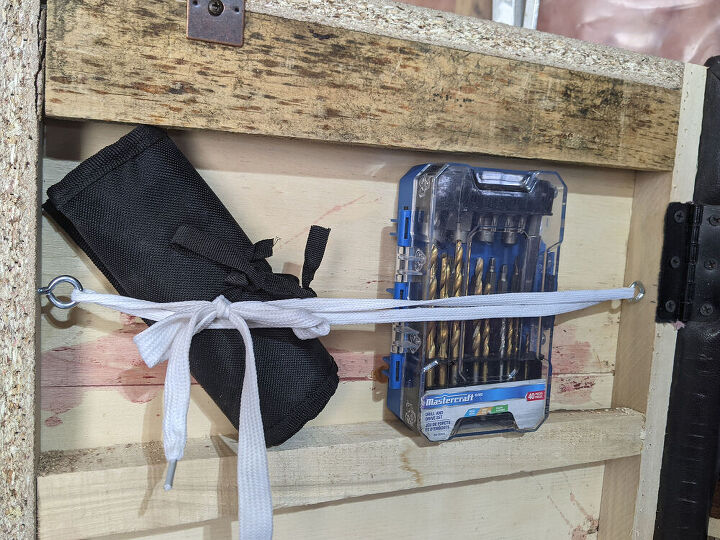
On the inside of the top (which was now the door) I added two eye hooks and a shoe string so I could use that space to store the accessories for the tools I’ll be storing inside the cabinet.
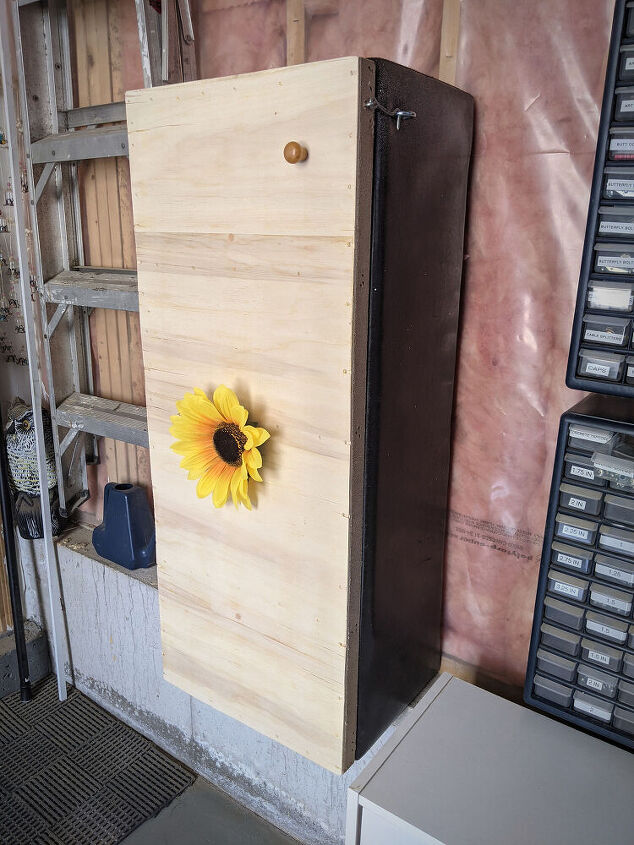
Then my wall mount storage was good to go!
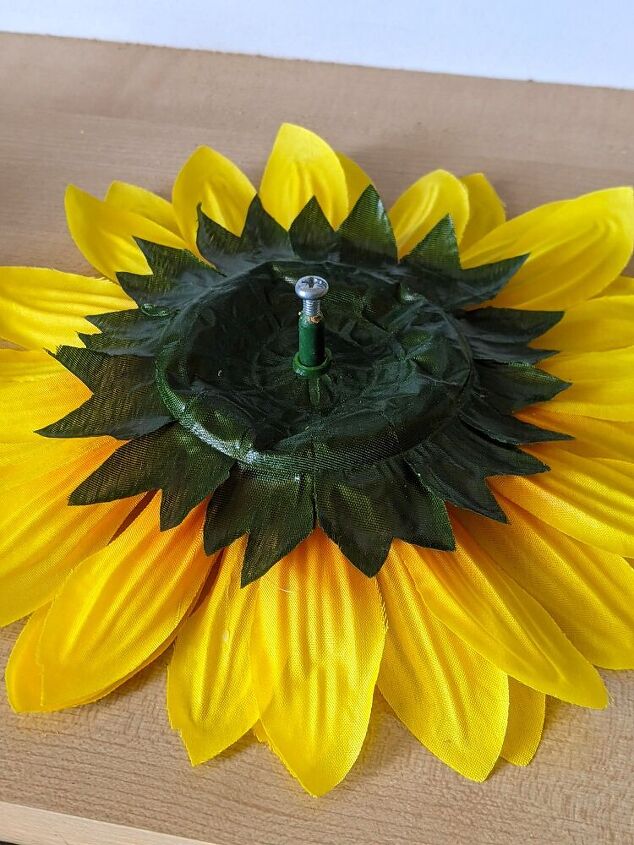
While I was cleaning up I came across a faux sunflower head that was missing it’s stem. I placed that in the center hole on the door (the wood filler still hadn’t dried) and used a little screw on the other side to hold the flower in place. It was attached the exact same as the knob, but using an existing hole.
And here’s my dust free garage storage solution! I'm happy I won't be tripping over that ottoman the next time I work in the garage. And I think it turned out pretty cute for a project that required very little effort. 😊

Resources for this project:
See all materials


Comments
Join the conversation
-
Great save. Genius idea. Makes me think about my workshop. Great share
-
That's so creative!!


Frequently asked questions
Have a question about this project?