


DIY Chalk Paint End Table Tutorial
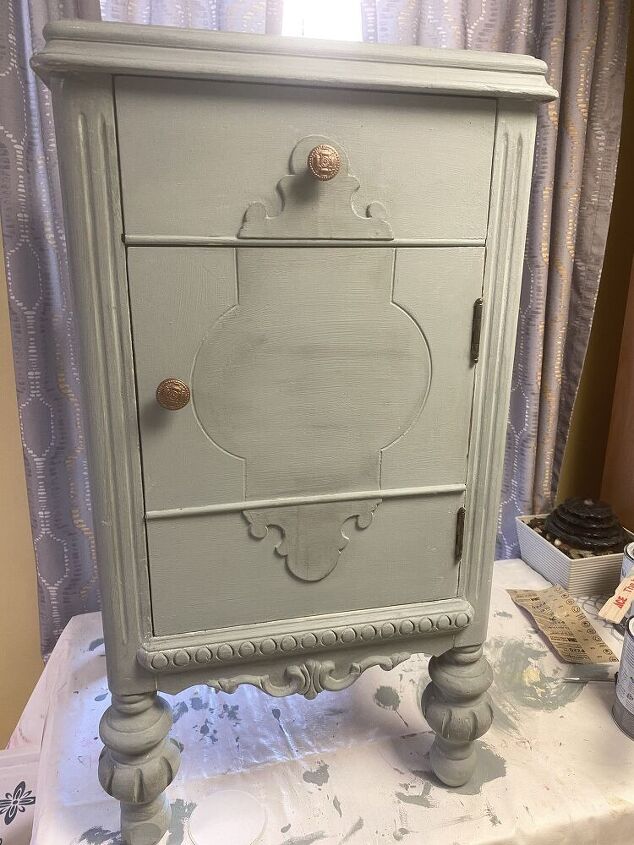
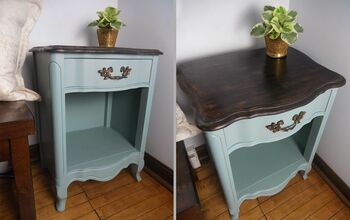
I recently acquired an end table from my mother-in-law's home. It was from my husband's father's mother. The end table was in the garage collecting dust for years since she passed in the early 2000s. It was unique in style and had many decorative accents that I thought would be a great DIY chalk paint project I could try with Annie Sloan Duck Egg Blue chalk paint. Check out how I updated this old and not loved piece.
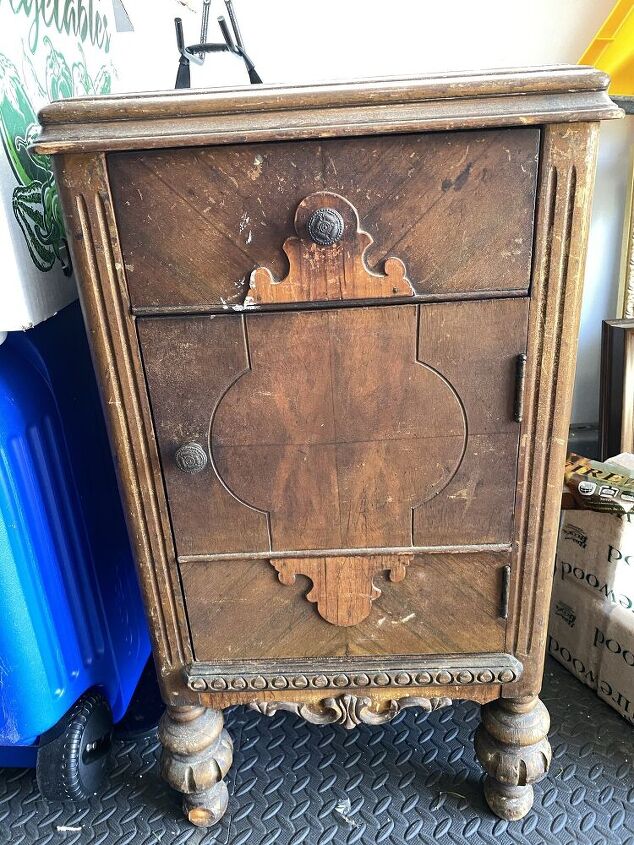
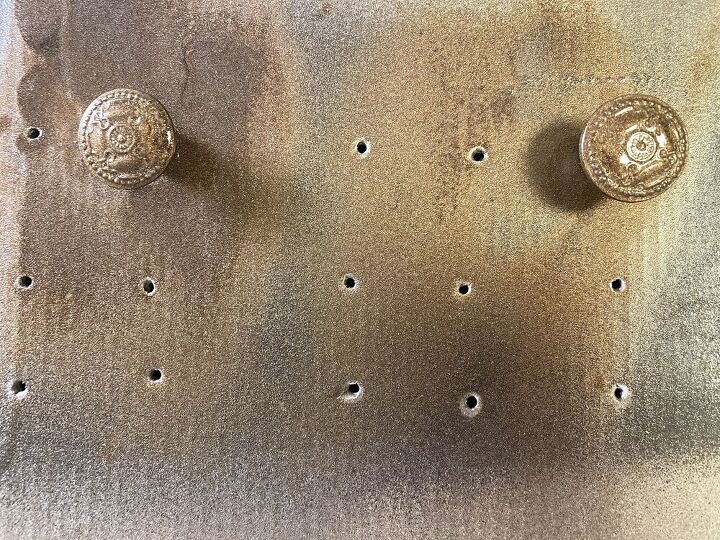
This is the before image. There is also a crack across the top of the end table.
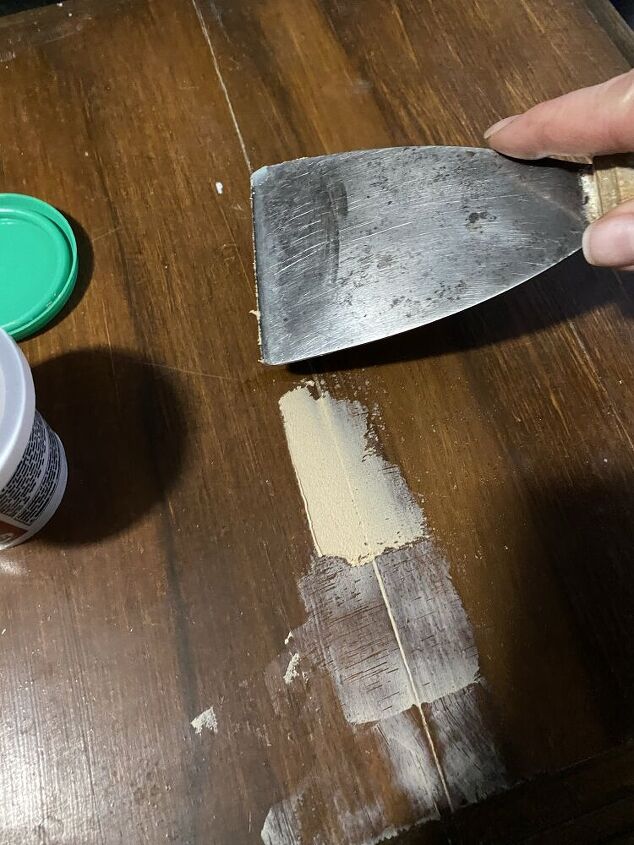
I had to patch up the crack first with wood putty. After it dried I then sanded it to level the surface.
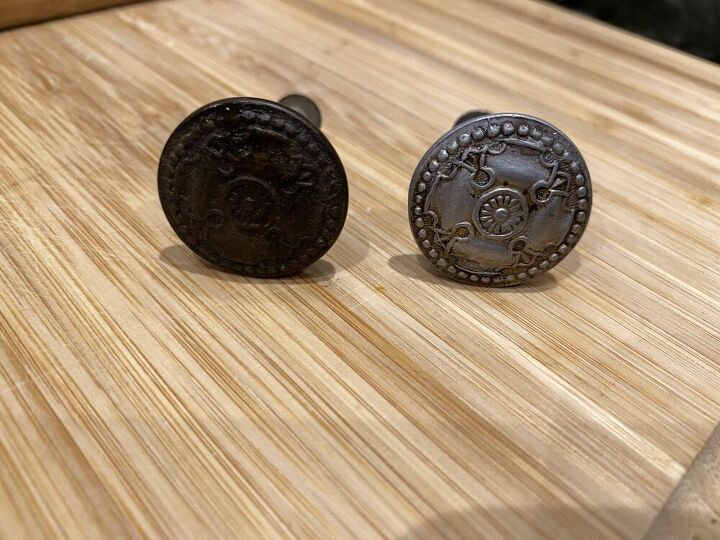
Then, I cleaned the knobs with lemon juice and a sprinkle of baking soda. I added the knobs to the mixture and let it sit in it for a few hours. Then with a brush, I cleaned off the knobs. The left one is the before and the right one is the after.
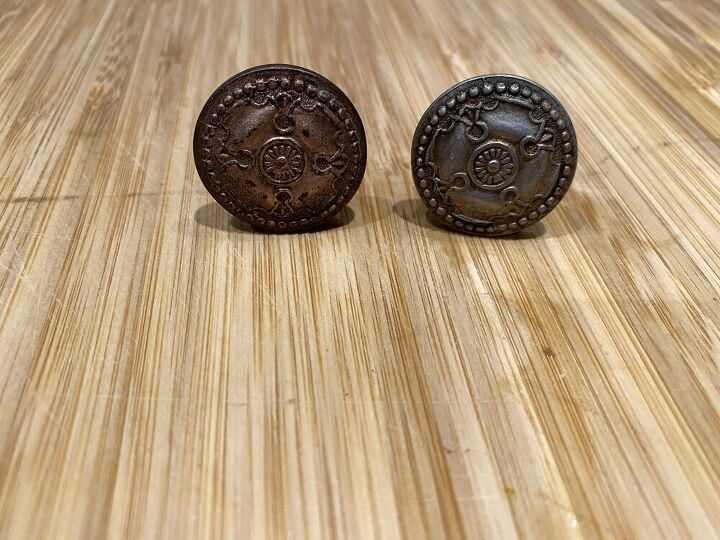
It turns out that when I cleaned them both, the right one was not as worn and there were different colors. =(
So I decided to spray paint them to make them uniformed in color.
Then I started to paint it.
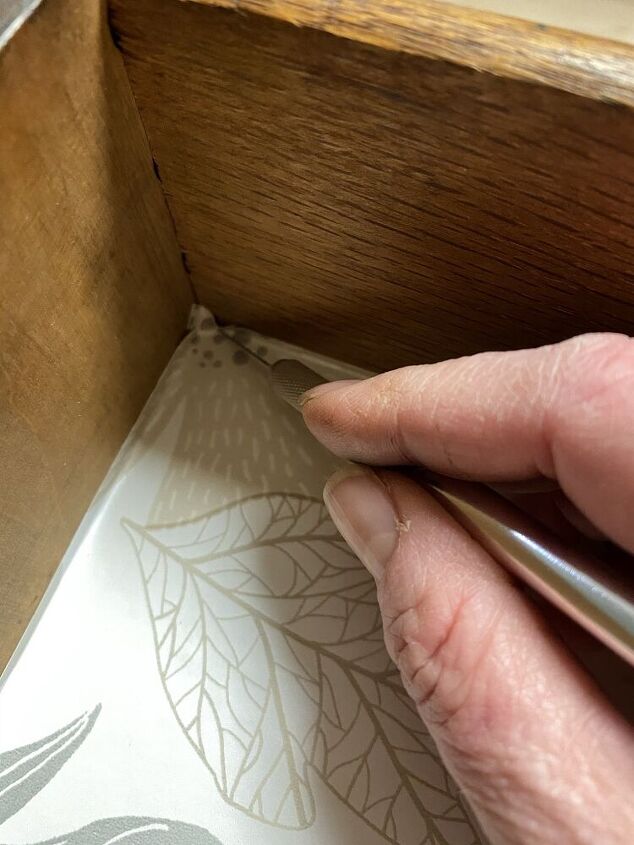
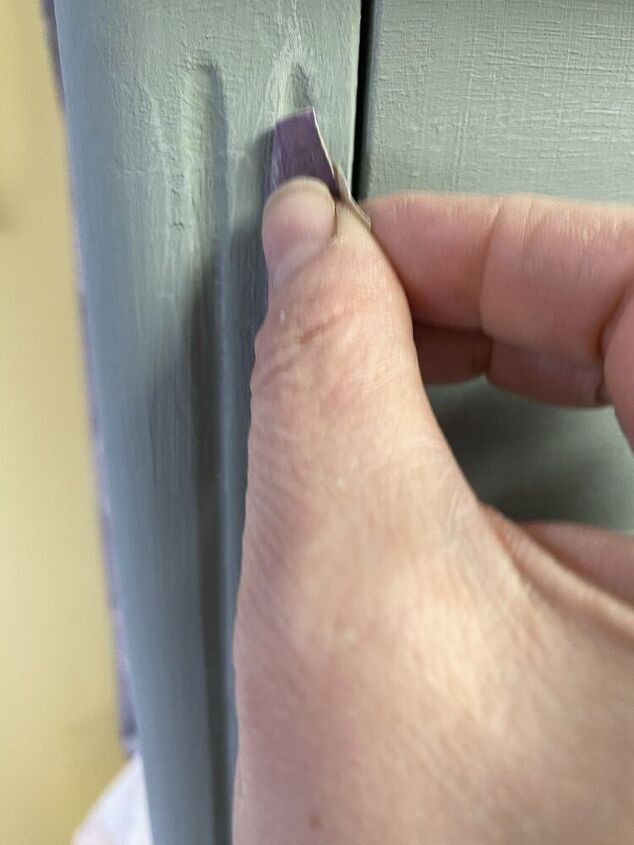
While the outside of the end table was drying, I decided to add a drawer peel and stick liner to the inside of the drawer. Then, I cut the edges with an Exacto knife.
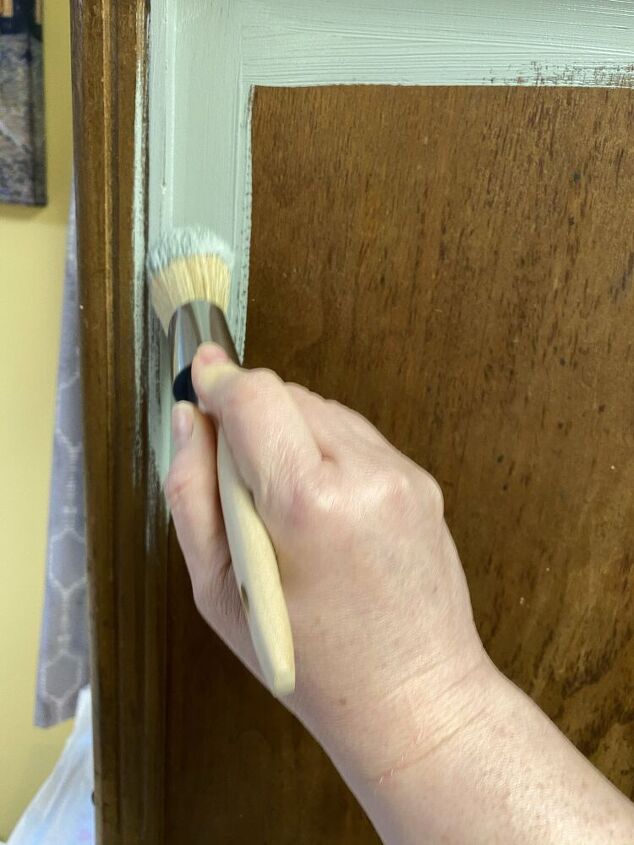
Then I painted the front of the drawer and cabinet door.
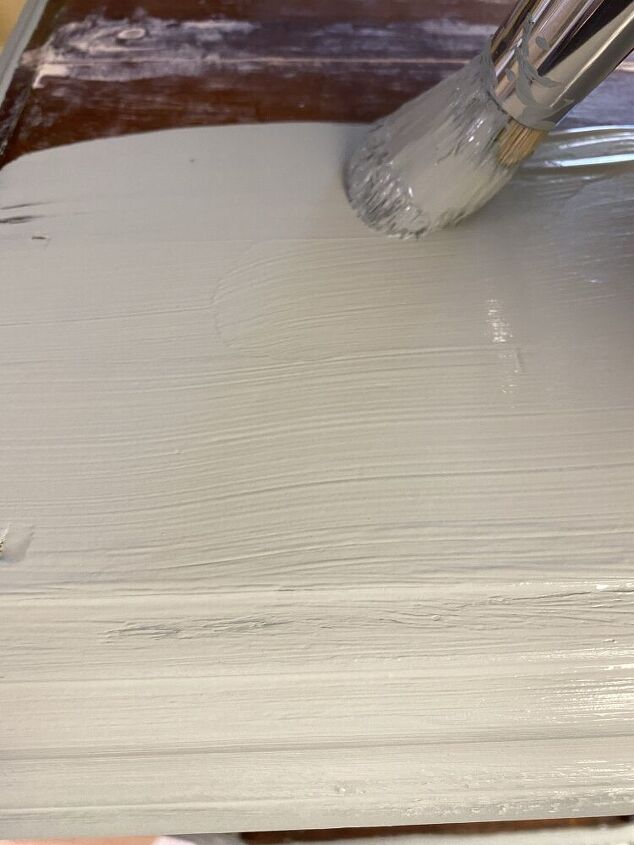
And I went back to paint the top of the end table.
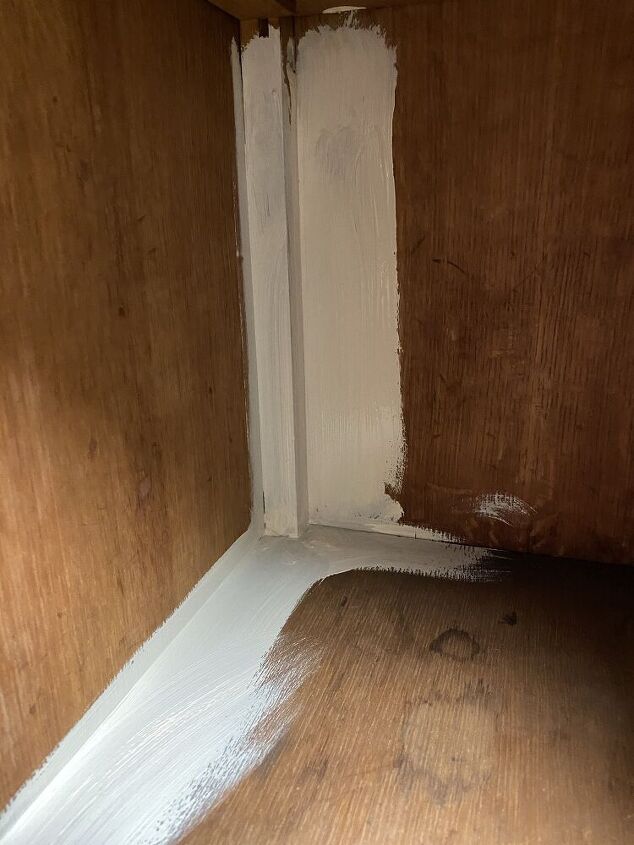
I then painted the inside. It had an odor, so I added a thin layer of white paint to the cabinet inside to help remove the smell.
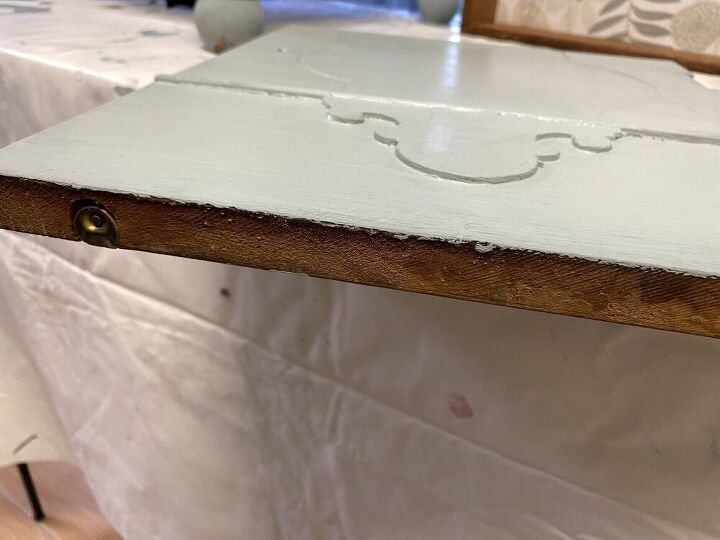
I added a few coats of chalk paint. After the entire end table dried, I used sandpaper and lightly wore down the curved areas.
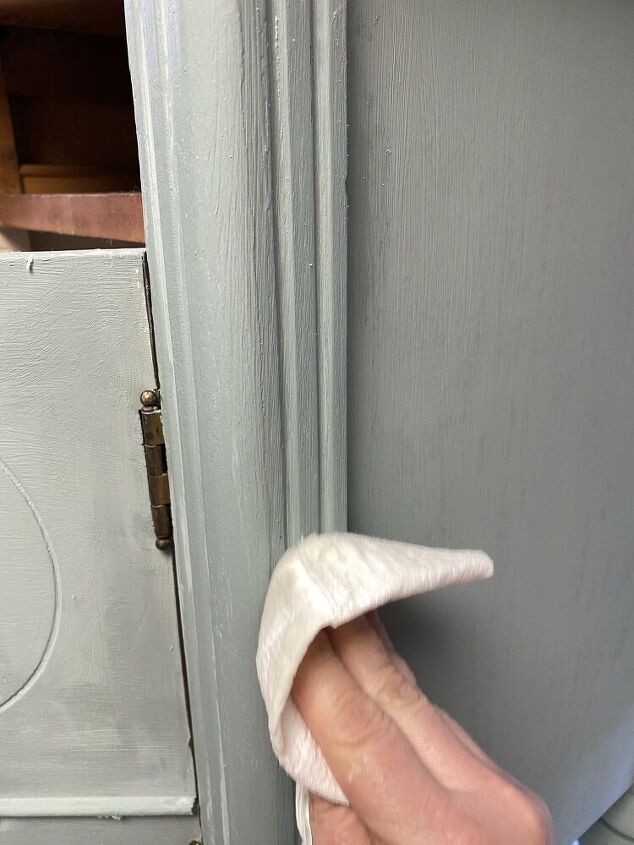
Then, I wiped it and added clear wax to protect the entire table. And, let it dry completely.
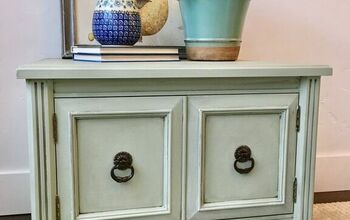
Then, I added to the curved areas, dark wax. To make the front decoration more pronounced I used dark wax and just darkened that design. See how it pops.
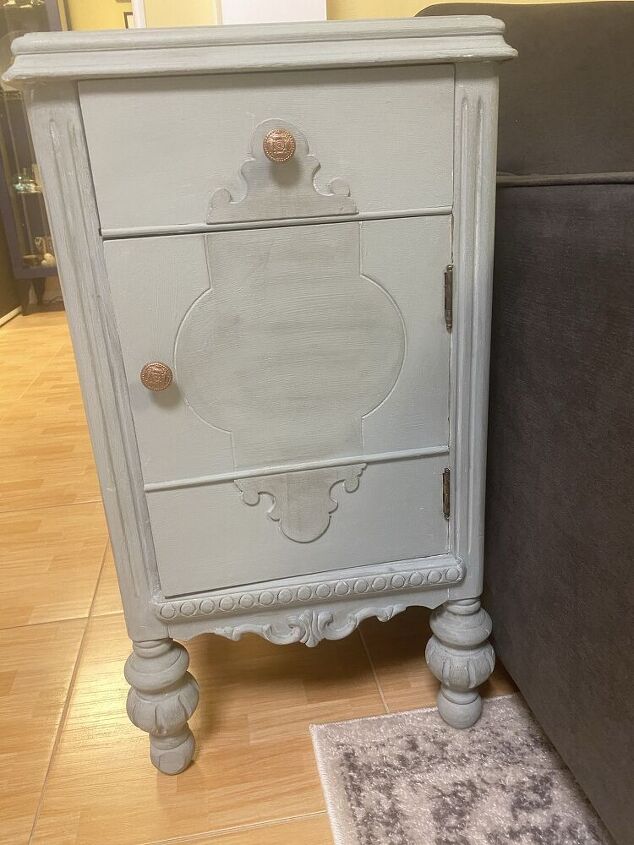
Here is what the end table looks like in this new home in our small family room.
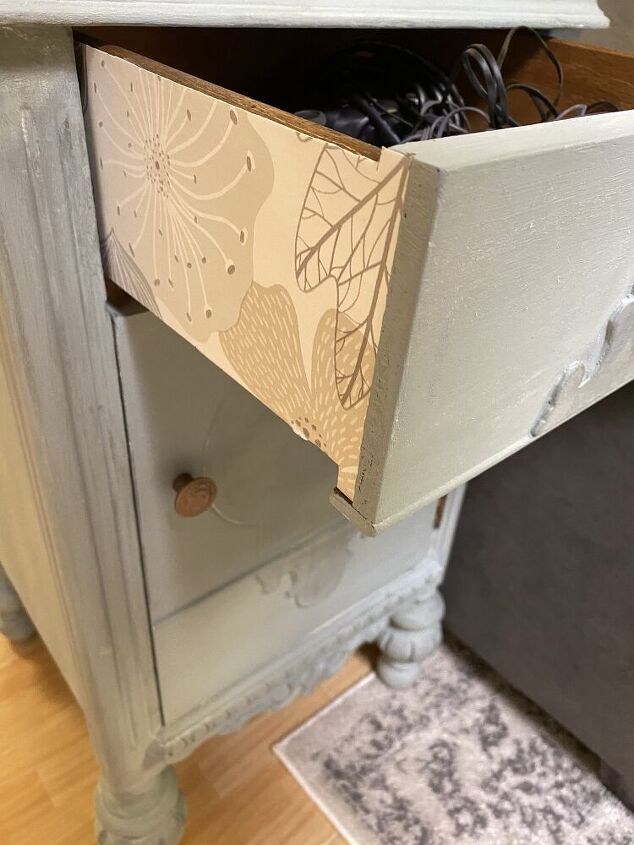
I also went back and added the same peel and stick to the sides of the drawer as well.
Here's the video from the before to the after! Enjoy!
Resources for this project:
See all materials


Comments
Join the conversation
-
Was just going to make the same comment about stenciling "something" on the front decorative portion as it needs "something" more. Great job, however!!
-
Perfect for hiding that chamberpot!


Frequently asked questions
Have a question about this project?
Definitely inspired to fix up my old similar little table. The drawer is difficult to pull out & push back in and then sits at a bad angle. Do you have suggestions for improving drawer tracks? Laura