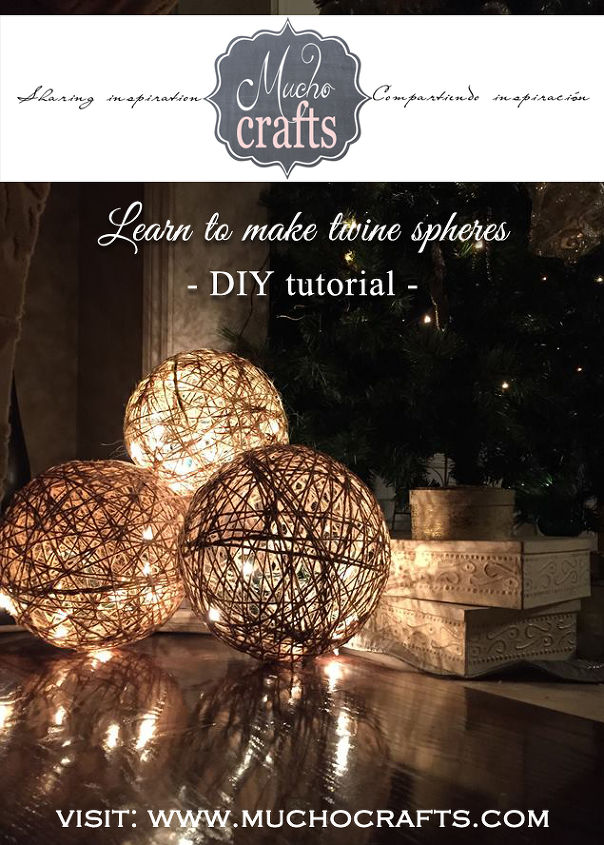
Twine Spheres - DIY TUTORIAL
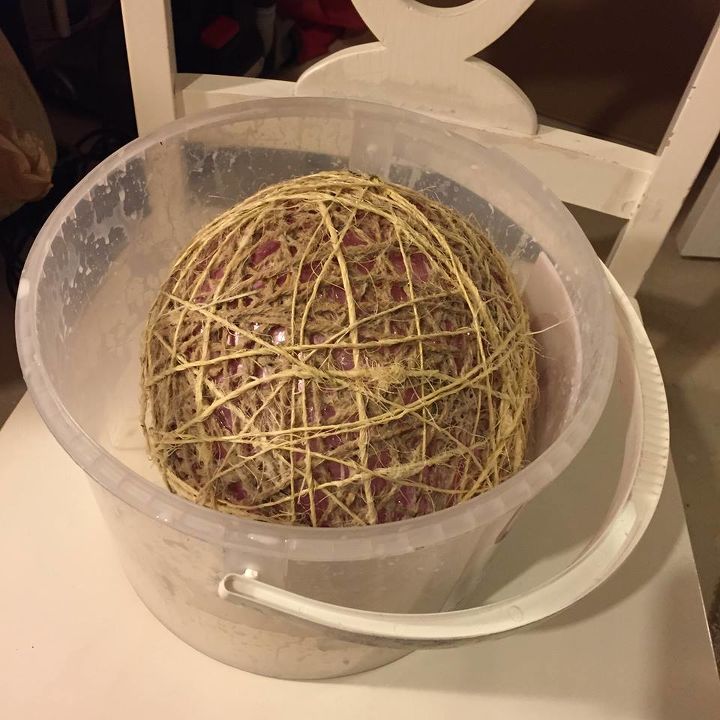
A BIG Impact with a small budget! Twine spheres are the "biggest" thing right now when it comes to Festive DIY decor, why?... because almost anyone with a little bit of patience and time can do this.
All you need to start is:
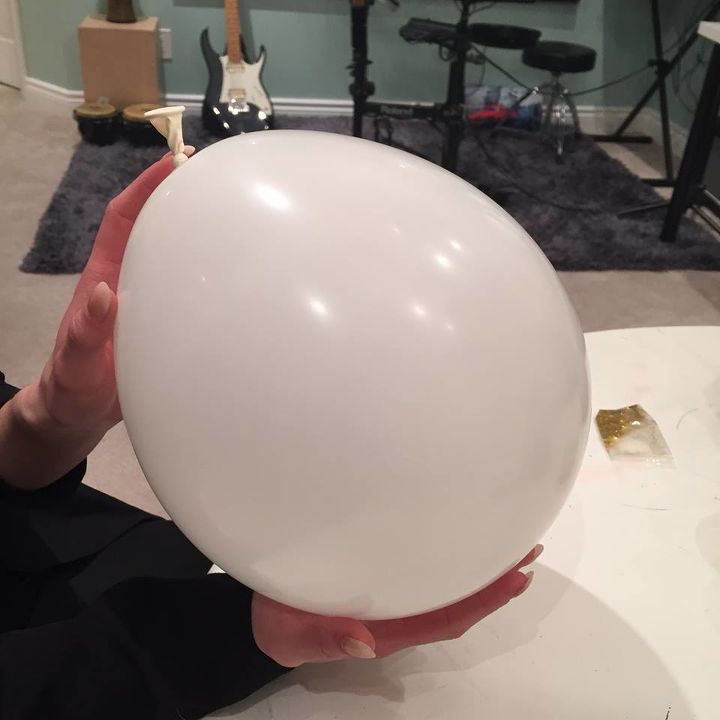
* Twine
* Balloons
* fabric stiffer, white school grade glue or mod podge (your choice)
* plastic wrap
* an elastic band
* a container to dip your sphere in.
* Twine
* Balloons
* fabric stiffer, white school grade glue or mod podge (your choice)
* plastic wrap
* an elastic band
* a container to dip your sphere in.
1 Step.
Simply blow up a medium size latex balloon to the desired size of your sphere. Do NOT blow it up to its max capacity or it will shape like a pear rather than a sphere.
Stretching the balloon before you start blowing it up may help you get a more rounder shape but it depends on the stretchy quality of the balloon.
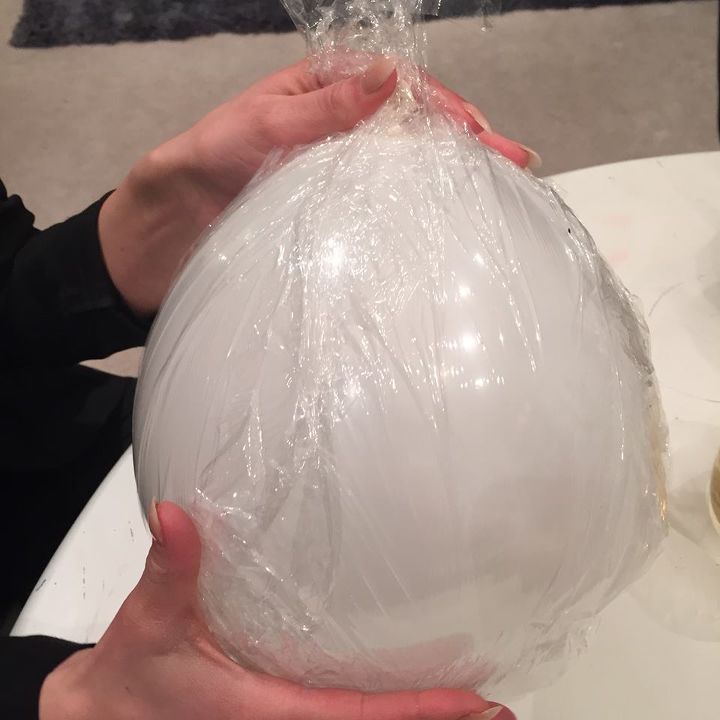
Step 2. (important step)
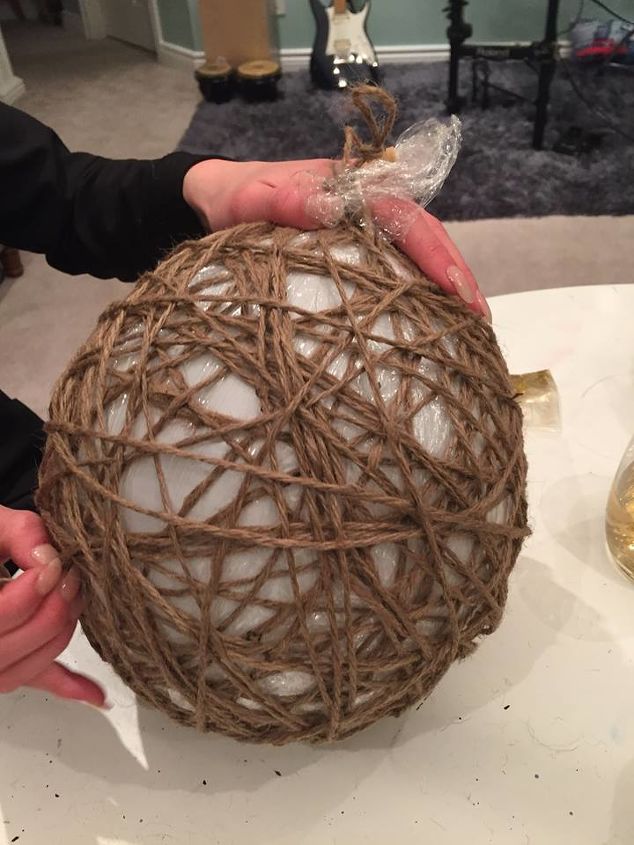
Cover the entire balloon with plastic wrap (AKA cling film), this helps with the retrieving of the balloon once deflated and it prevents the hardening mixture from sticking to the twine.
Step 3.
Secure the plastic wrapping onto the neck of the balloon with an elastic band..... but do this loosely so it is easy to remove when dry.
Step 4.
Once the elastic band is on, tie a loop knot also to the neck of the balloon and start wrapping the twine string moving on all directions and making sure there are no large gaps left anywhere. (The neck of the balloon will be the opening for your string of lights).
Step 5.
Next, find a bucket large enough to submerge your balloon in and start pouring the fabric stiffing liquid (or mod podge) all over the sphere making sure it saturates absolutely every part of the balloon. I suggest you rotate the sphere as you pour the fluid to cover evenly.
FIND THE REST FOR THIS TUTORIAL HERE: http://www.muchocrafts.com/2014/12/twine-spheres-diy.htm
Top Hometalk Projects
Popular Project Book
Join the conversation
3 of 51 comments
-
Bill Robinsonon Nov 8, 2018
I can't find the rest of the project past step #5
- Victoriaon Nov 14, 2018
Pls visit my Blog for the full version:
thanks http://www.muchocrafts.com/2014/12/twine-spheres-diy.html?m=1
- Carol Coleon Nov 13, 2018
I found it easier to dip the cord in the liquid first then dip it all in afterwards.
Your comment...
Have a question about this project?
How long do the balloons stay inflated?
I believe you let the air out once the sphere is completely dry.
What kind of lights do you use and how do you get them in?
Dollar tree has LED lights that might work. Wine bottle fairy lights would be great for these!