


Bathroom Vanity Is DONE - Step by Step Tutorial
Refinishing the bathroom vanity turned into more work than I thought, but I love it.
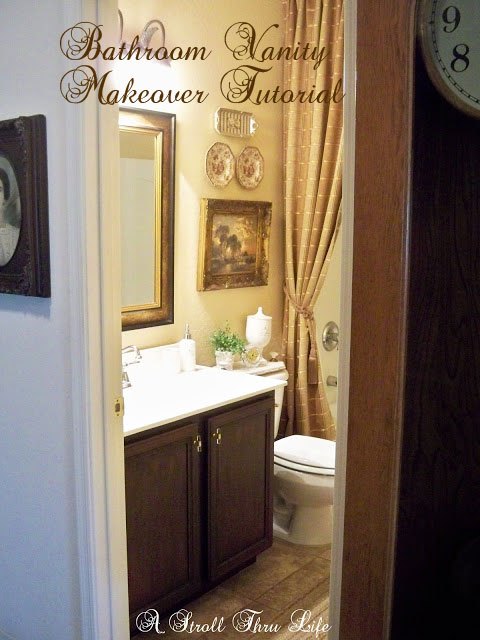
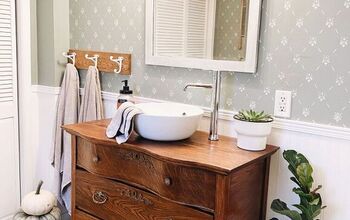
I used General Finished Antique Walnut Gel Stain to makeover the vanity. I really wanted a darker finish and this is a product that gives the look I want without having to strip down to bare wood.
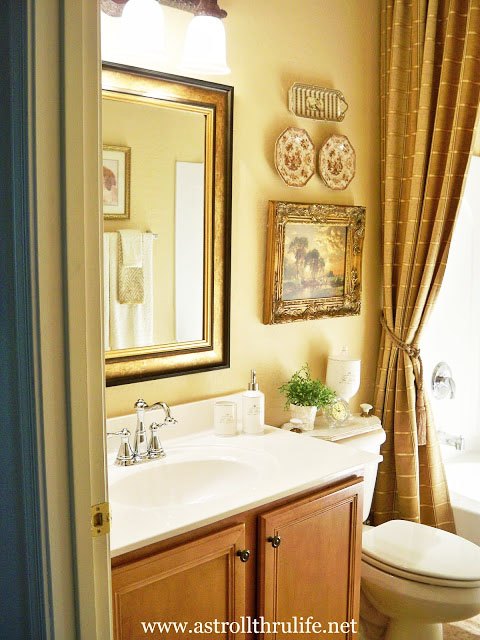
This is what the vanity looked like before. Maple with a med stain, pretty, but I really wanted darker.
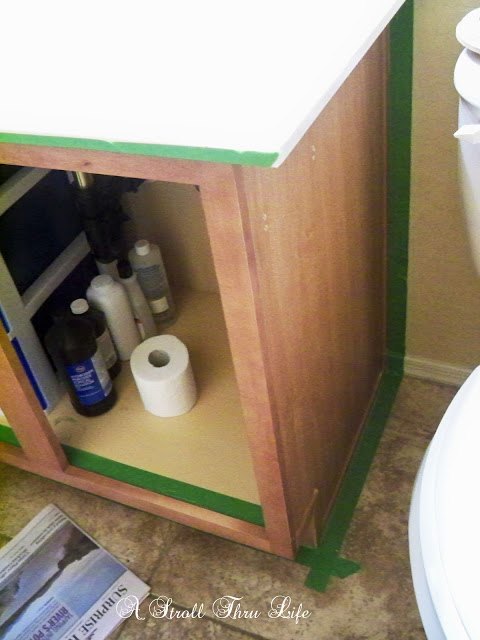
To start, take off the doors and all hardware and then lightly sand to remove the shine. No need to take it down to bare wood. Tape off the edges so you don't get stain on the wall or floor.
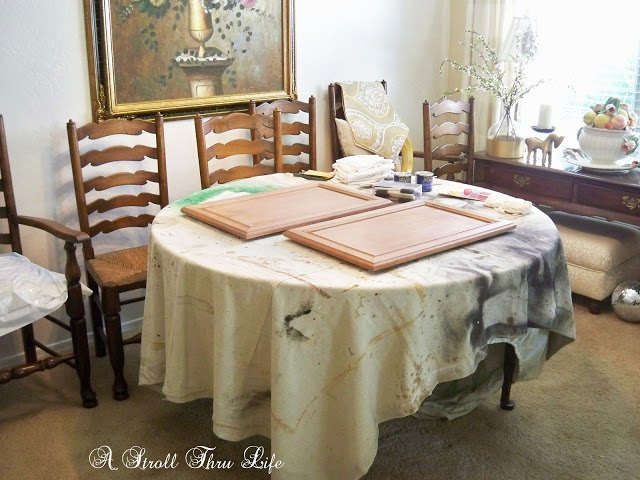
You need a clean cool place to work, so I turned my dining table into my work space.
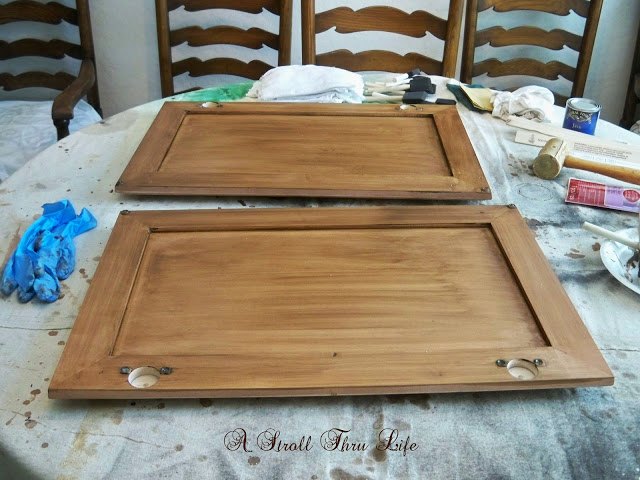
Apply the gel stain with a foam brush and then wipe off with a soft cloth in the direction of the grain. Let dry for a day.
2nd coat. Still looks really streaked. Maple is light and dark in spots, so this is really taking the color in streaks.
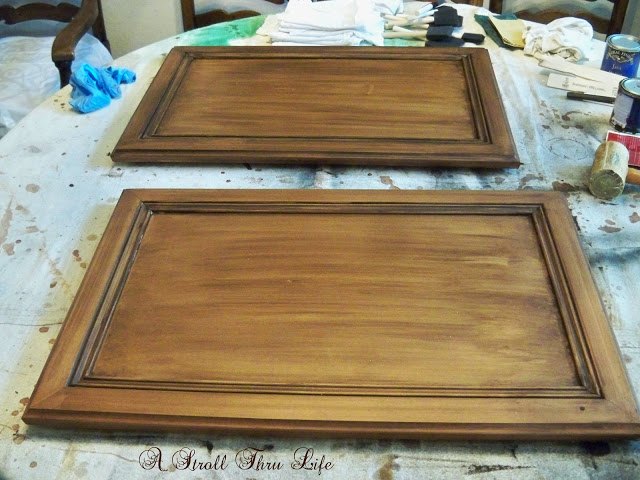
3rd coat, this is looking better, but I still don't like all the streaks.

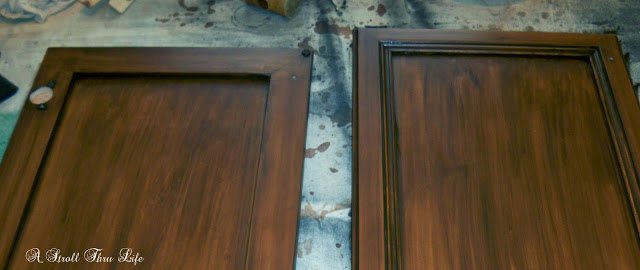
5 coats later I am calling it done. This is about as streak free as I can get it. I finished it off with a coat of Satin Poly.

All in all it took a little over a week with all the drying time between coats and was much harder than I thought it was going to be. Patience is definitely the key to this project. I love the result, but I don't think I will do any more.

Want more details about this and other DIY projects? Check out my blog post!
Comments
Join the conversation
5 comments
-
Lovely! That darker stain is super pretty.
-
Looks great! We are remodeling our staircase using GF Antique Walnut Gel stain as well. General finishes products are so easy to apply and the end result is fantastic!
- See 2 previous


Frequently asked questions
Have a question about this project?
What about the base, what should I do?