


Wood Toothbrush Holder
2 Materials
$10
30 Minutes
Easy
I once found a wood toothbrush holder on sale for over $20 and fell in love. In an effort to save money, I opted to make one myself. All you need for this project is a piece of wood and a drill gun.
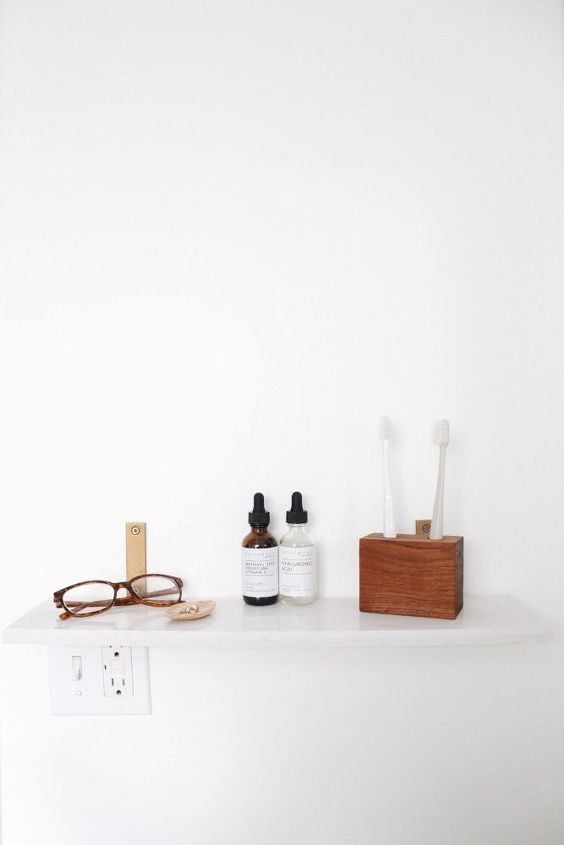
I found a scrap piece of teak wood at a local specialty lumber yard to use for this project. If you don’t have one nearby, you can easily use a piece of oak sold at a big box hardware store that will do. Also, after drilling the holes for the toothbrushes, the wood will need to be sealed to protect it from water. Polycrylic spray is ideal for this and super easy to apply.

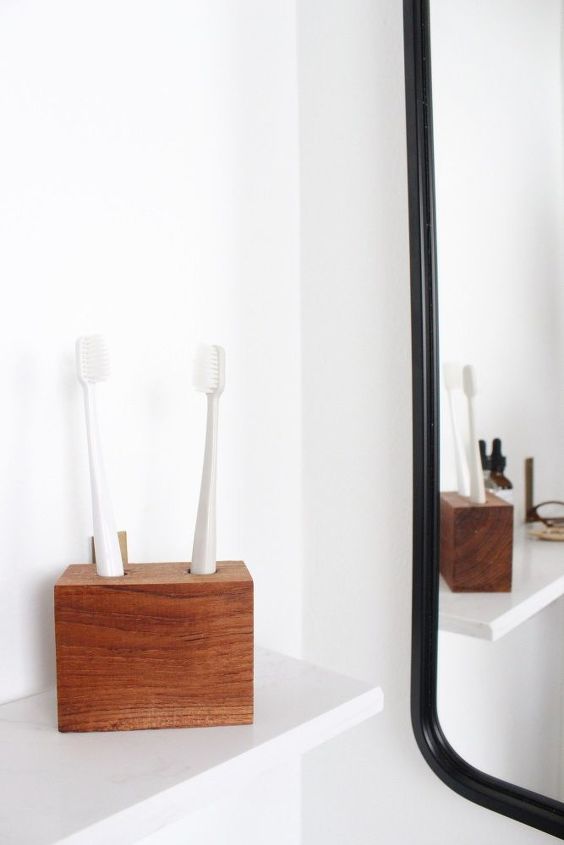
This has been one of my favorite, most used DIYs. We literally use it multiple times a day. At first, I didn’t seal it properly but since I used teak, it still held up.
Supplies:
- 1 piece of wood (mine is teak wood and measures roughly 3″H x 3.75″W x 2″D)
- drill gun ( I love this one)
- 1/8-inch drill bit
- 5/8-inch drill bit (for larger handled toothbrushes, you’ll need a large drill bit)
- Polycrylic spray
Instructions:
- First, measure and mark where you will drill the holes for the toothbrushes. I spaced mine evenly apart.
- Next, using your 1/8″ drill bit, drill a pilot hole three-quarters of the way through the wood. This will pave the way for the larger drill bit.
- Repeat with the larger drill bit, keeping sure to stay steady and level. To make sure that you don’t drill through the wood, use a piece of painters tape on the drill bit as a guide.
- Lightly sand the block of wood and wipe of any sanding dust.
- Finally, seal the wood according to the instructions of the sealer.
So what do you think? Will you be making your own?

Want more details about this and other DIY projects? Check out my blog post!


Frequently asked questions
Have a question about this project?