


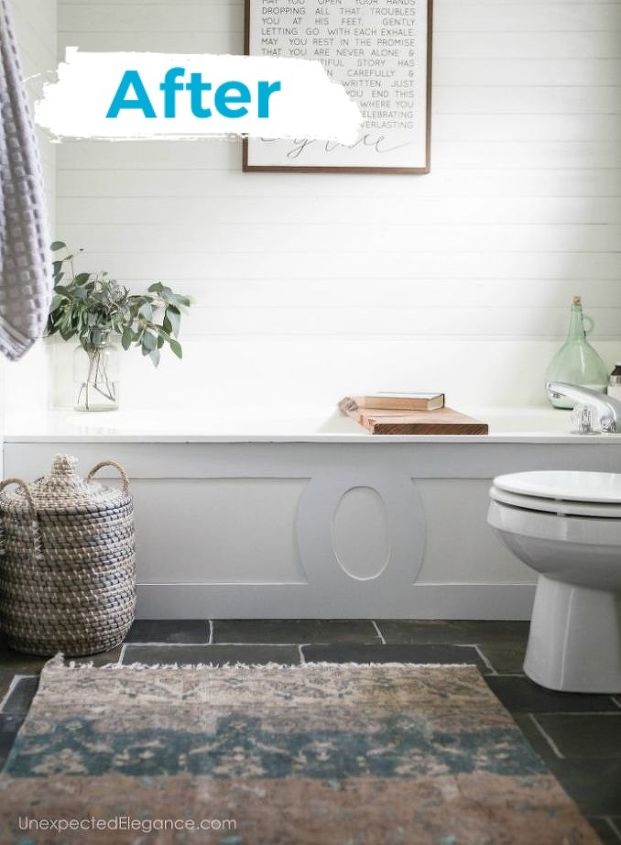
CHEAP Bathtub Makeover
I don't know about you, but I love when I find a solution to a home design problem AND it is super inexpensive. My bathtub is one of those projects that would have cost thousands to replace, but I was able to update it for under $10!
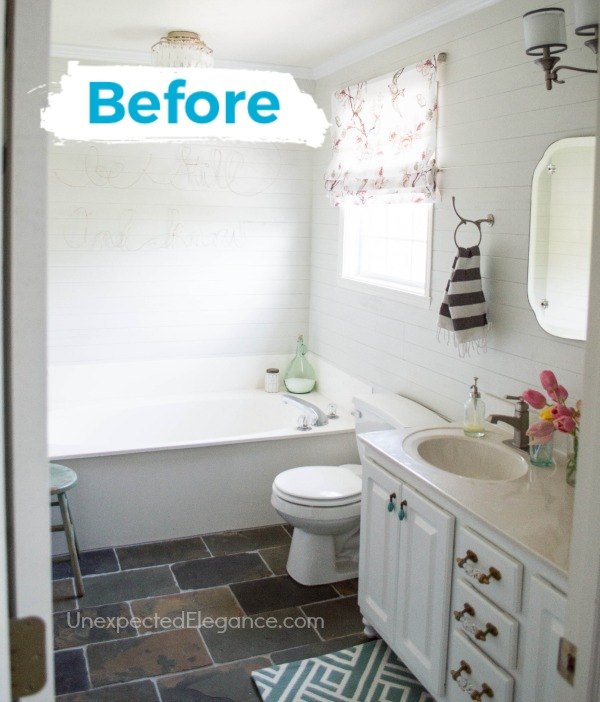
Here is the BEFORE of the tub.
I first measured the dimensions of the bathtub front and had the hardware store cut a piece of masonite to those measurements.
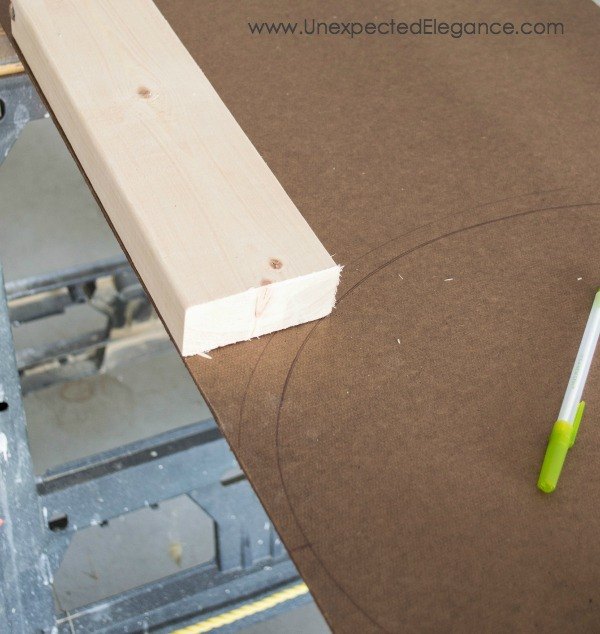
Then I created a pattern. I was very technical and used a large oval platter to make the center design and 2x4 for the other details. 😉 (This is my favorite jigsaw: HERE)
Once I had the design how I wanted it, I used a jigsaw to cut around it.
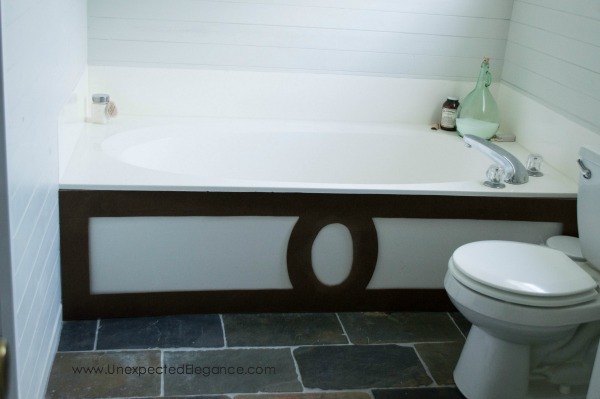
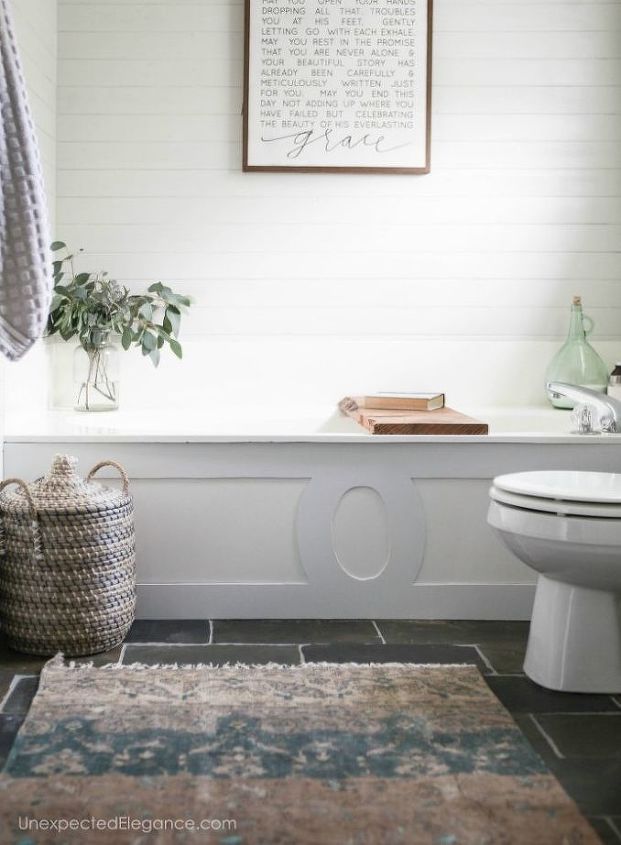
I double checked that it fit. You can see how the design turned out in the above photo, and a more in-depth of how I made the design HERE.
Then I painted it white and used a bathroom grade caulk to adhere it to the front.
(My bathtub has a "lip" and I left a small gap between the masonite and floor, so I've never had any trouble with water.)
Resources for this project:
See all materials


Comments
Join the conversation
-
That is so cool , it is beautiful. Nice to see something really different on here.
-
I almost skipped this post. Glad I didnt. That turned out wonderfully! Great job. Thank you.


Frequently asked questions
Have a question about this project?
Did u also paint the tub itself?
Love, Love it! Does anyone know if Masonite could be used on a shower wall? The back of my bathtub shower in guest room needs replacing. Just one wall dosen't make me want a tub surround, I just don't like them. Limited health can't tile or do heavy work.
Nicely done!
Would you mind taking a pix of the grace sign. I love it. Did you create it or did you find it somewhere?