


How to Upcycle Vintage Nesting Tables

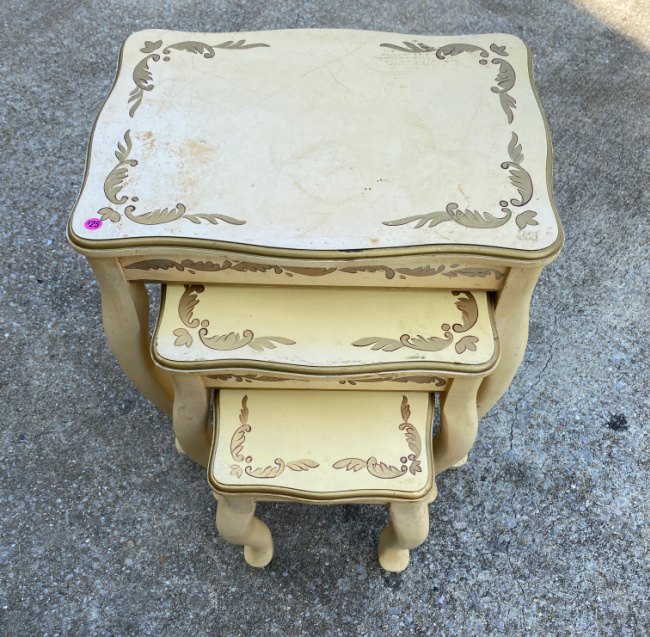
When I saw these vintage beauties at the local thrift store for $25, I had so many ideas running through my head. Of course, I bought them. Let’s upcycle these vintage nesting tables!
Added bonus for you…It is Thrift Store Decor Team Wednesday! Head over to this post on the blog to see the other fabulous projects from the team!

I polled my Instagram and Facebook friends for ideas on how to finish these. The top 3 suggestions were:
- Hombre finish
- Transfer finish
- Pride colors
I decided to combine a few of these ideas. I scouted some colorful tissue paper from Amazon and narrowed my choices down to these two:
Since I couldn’t decide, I ordered them both. I have another decoupage project in mind so I will use one of these designs for the nesting tables and save the other for later. I am leaning toward the teal and gold marbleized design.
I knew I want to use blues (of course) and hombre into a taupe or beige with a teal or pink being the median color. But I couldn’t decide on either pink or teal so I did what I do when I can’t decide and started the project anyway. I knew that the process would lead me to a fantastic design. When in doubt, let the project lead you!

Prep the Surface
First step to painting furniture is always prep your surface.
Lightly sand the tables and then wipe them down with warm soapy water or TSP to remove all dust and any residual dirt.
Time to Paint the Nesting Tables
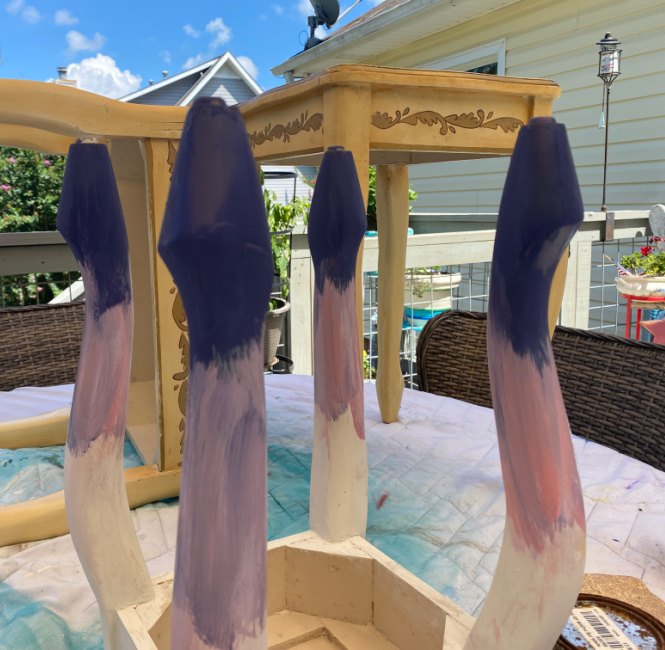
I started with my favorite color Quaker Blue milk paint from Folk Art. I painted the bottom third of each leg to get a better picture of the color with the tables.
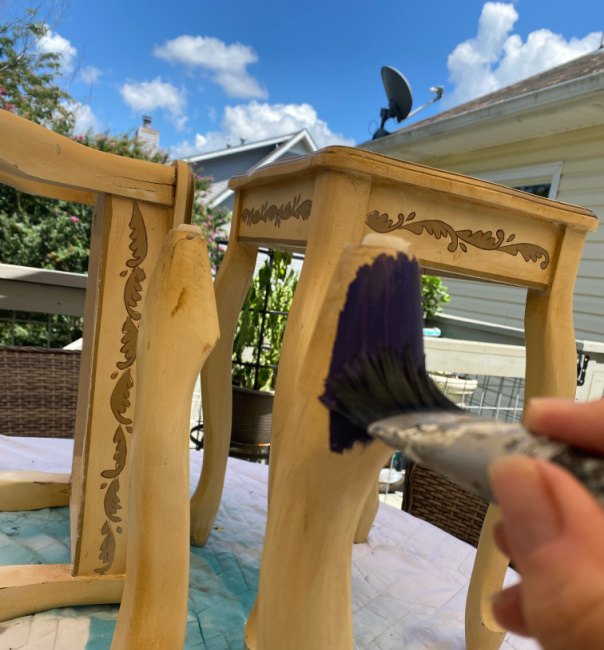
It covered well but I realized I should prime the entire piece. So I gave the remaining sections of all of the tables a coat of Waverly chalk paint in Plaster which acted as a primer.
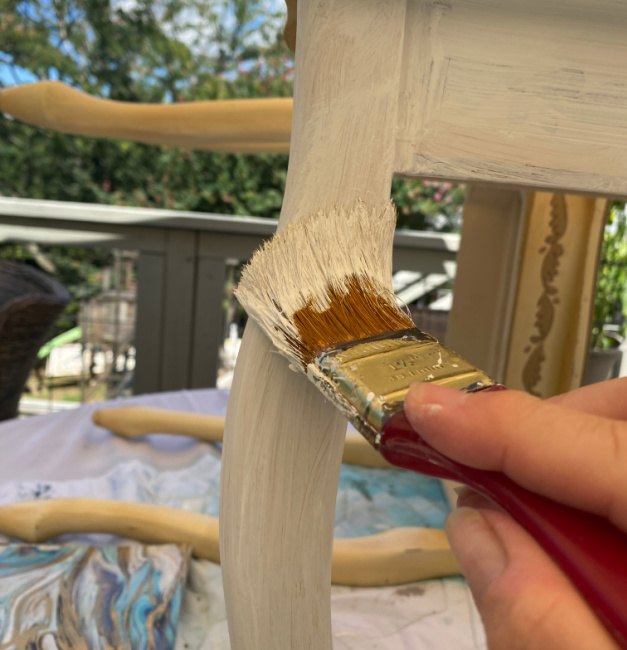
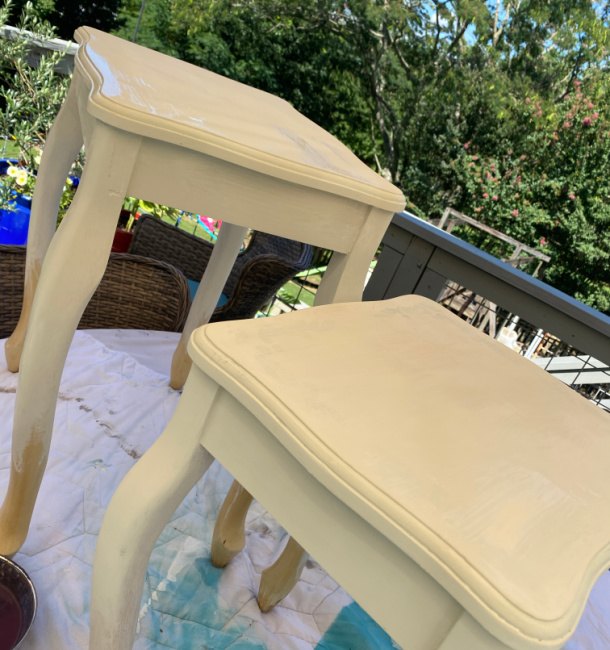
I applied a second coat of Plaster to the table tops and the legs.
I had already painted the blue on the bottom of the legs but forgot to snap a photo. Next, I filled the center third of each leg with… pink.
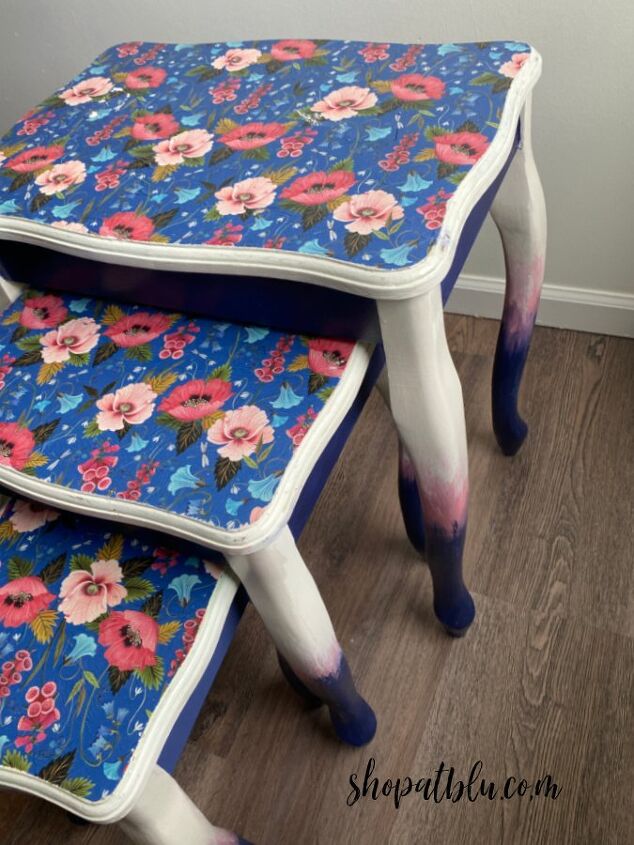
At this point, I decided on the floral paper. The deep blue and pink complimented the paper perfectly. Funny because I was originally leaning toward the teal and gold marbled paper with teal often being my go to color. But there is something striking about this combination of blue and pink. So bold it is!
Adding the Blended Colors
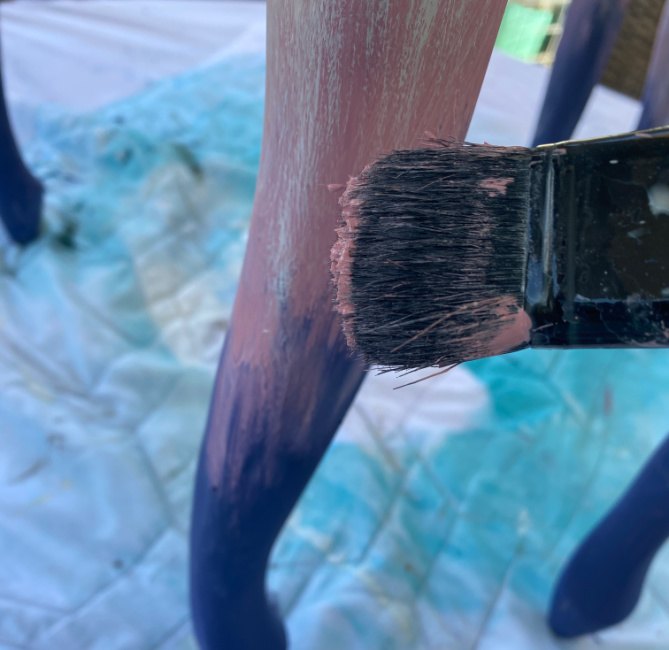
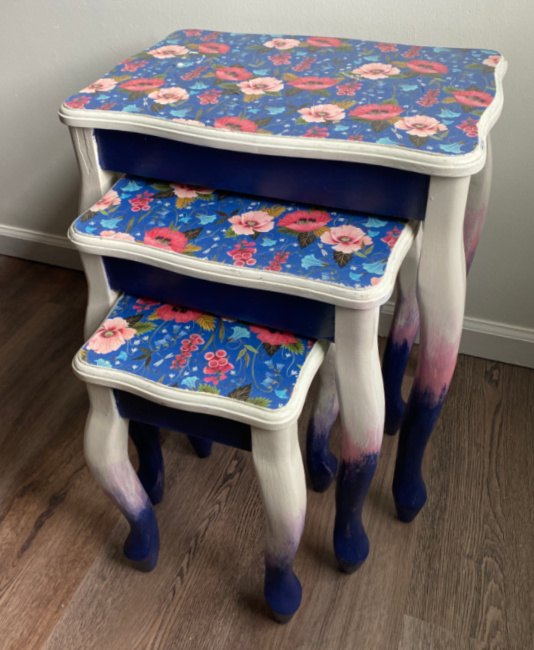
I know I said I was going to use the hombre but I really am an uber distressor and love to see a stark difference in paint layers. So I decided to use more of a dry brush technique instead of strict hombre. There are sections of the legs, however, that are blended more smoothly in true hombre fashion. I will tackle a future project with the purest hombre technique using only colors in the same color family.
I started with a second coat of the pink in the center of the legs.
While it was still wet, I dry brushed the plaster in a downward motion over the pink creating a blended color. As the brush hit the pink, it picked up some pink and muted both colors slightly creating the hombre effect. I allowed the pink and white to dry and then repeated the same process with a clean brush loaded lightly with plaster. I dry brushed the plaster in a downward motion over the dried plaster and into the dried pink. You can practice this technique to see how much of each color you wish to be visible. The best part is…if you don’t like it then prime over it and start again! Painting is very forgiving.
I kept playing with the paint until I got the desired look. Then I flipped the tables upside down and repeated the same process with the blue blending into the pink.
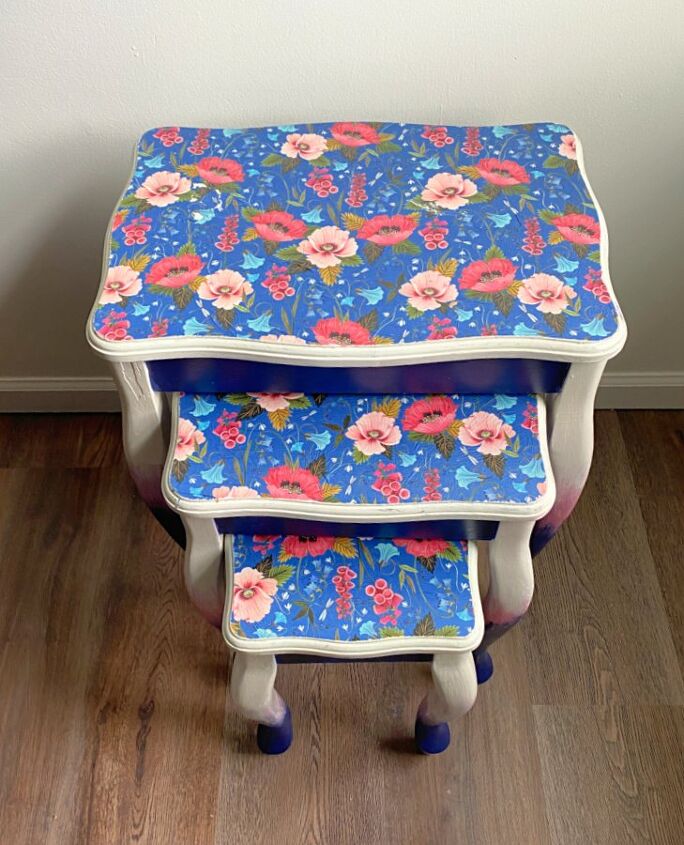
Decoupage on the Tops
I love the versatility of Mod Podge!
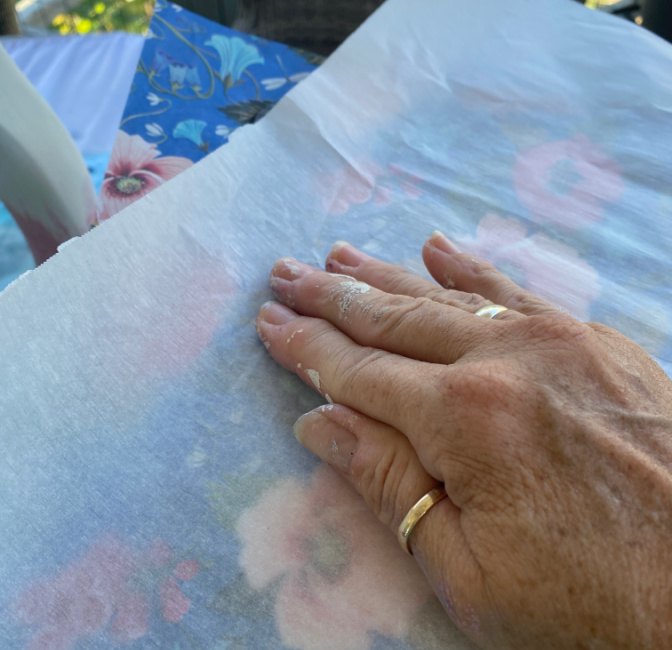
You simply brush it onto the table top liberally. Carefully lay the tissue paper on top of the Mod Podge. Tissue paper is very thin and will most likely have bubbles that need to be smoothed over. It is also very delicate. Place a piece of wax or parchment paper over the tissue paper that has been laid onto the Mod Podge and gently smooth the wax paper from the center to the outside edges.
I was not worried about the final product being lumped or bubbly since the tissue paper has a busy design. You won’t be able to tell unless you put your face to the table and most folks aren’t going to do that. But, if that will bother you, buy a heavier stock paper. Tissue paper is so inexpensive that it was the perfect choice for me.
Allow the tissue paper to dry slightly and gently sand the edges of the table in an outward motion, away from the table. This will gently removed the excess paper.
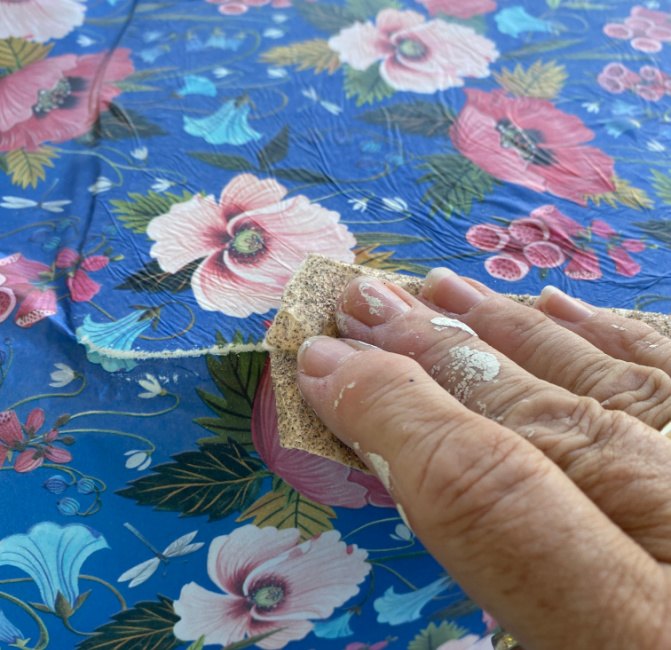
Once you have sanded the edges, wipe the surface with a dry rag to remove the dust and apply a liberal coat of Mod Podge over the entire table top. Once this dries, apply a second coat.
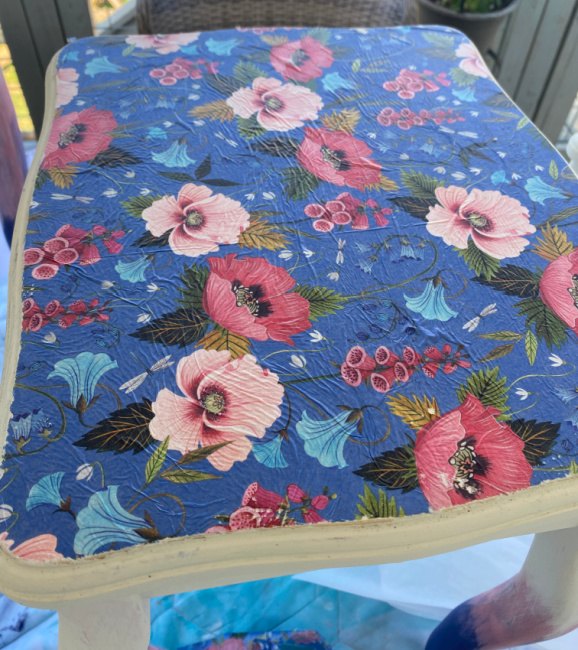
You can see the ripples in the paper in the photo above. It gives some texture to the table top. And, it is not really noticeable from a normal distance because of the pattern. Again, for a smoother finish use a thicker paper other than tissue paper.
Add Embellishments and Get Creative
The side of the table looked a little bland so I painted the inserts with my favorite blue. You can get creative here and add more tissue paper or stripes or any complimentary design. I went with the simple blue.
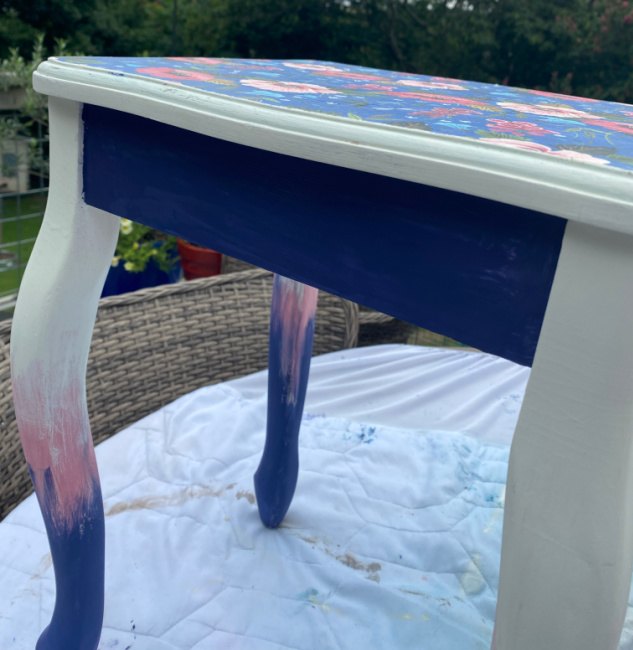
I considered adding a little bit of gold metallic paint to the edges of the tables. I also considered distressing the sides and legs because, well quite frankly I can never resist a good distressing. It adds so much more interest and texture to a piece. And, it hides mistakes.

But, for some reason, I like the simplicity of the painted edges without gold or distressing! Can you believe it?? Could I finally be toning back my wild style? I doubt it!
It is definitely a personal preference. Which would you have chosen? Distressed or smooth? Would you have added the gold?
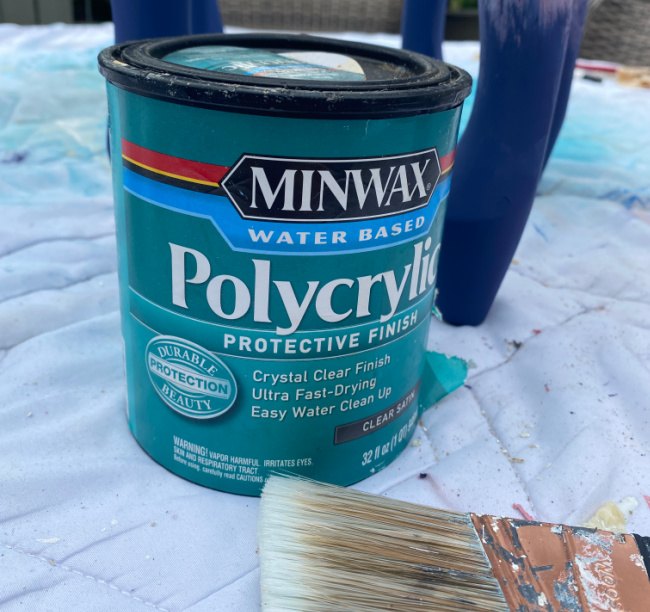
The final step is to seal the tables. My go to is MinWax Polycrylic in Clear Satin finish. In the blogpost, I share tips for using sealer on multiple colors including white. The final step was 2 coats on the entire table.
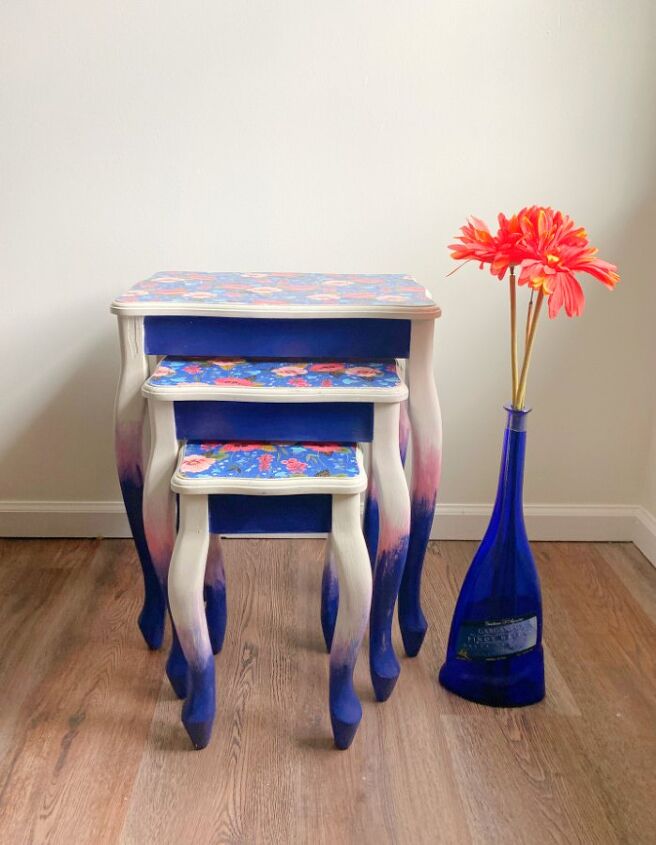
And here they are:
ler. So I sealed these tables in stages. I did the white first and allowed it to dry. Then I finished the legs

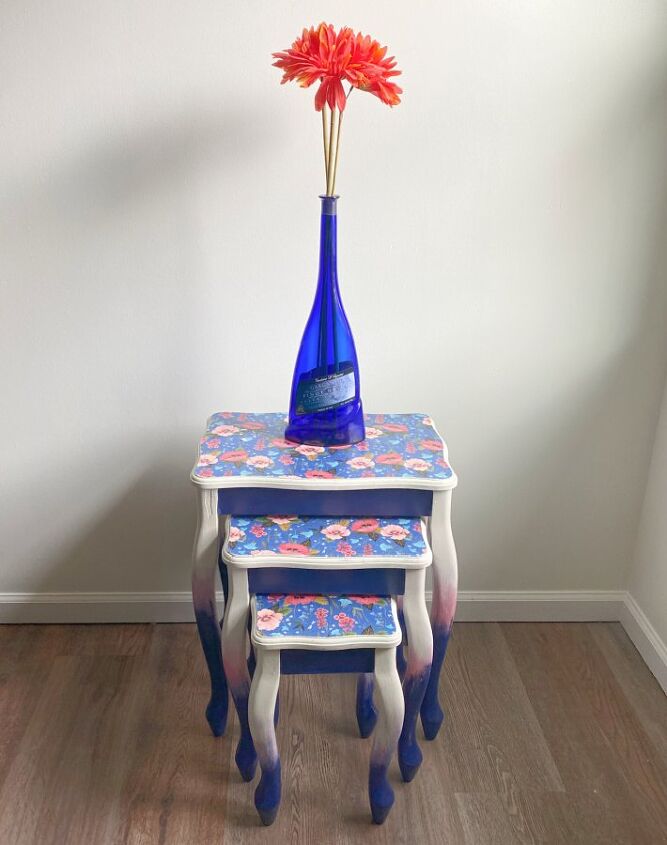
Can you ever really have too many cute side tables? I think NOT!
Note: For those of you who wanted to see a Pride project, check back soon. I am working on that!
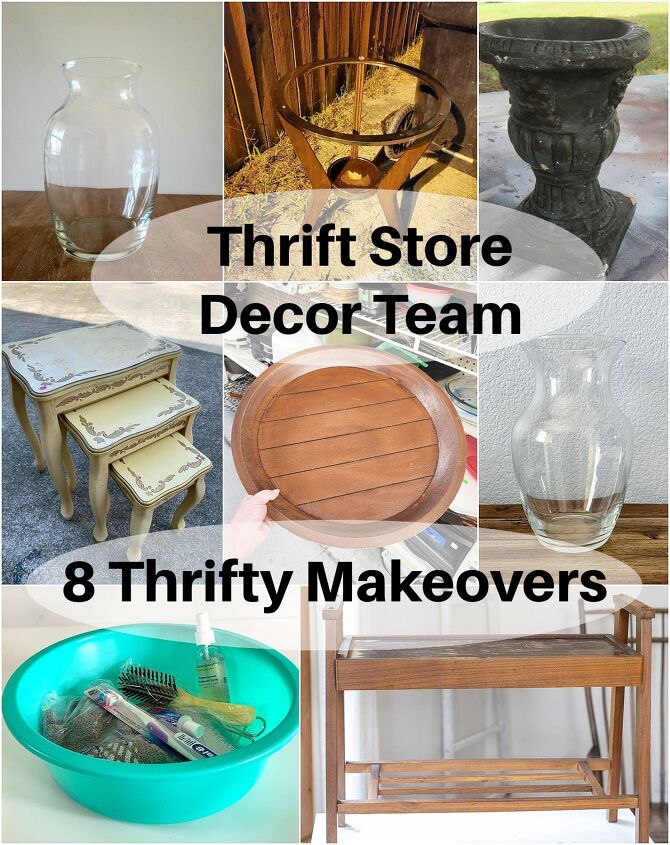
Thrift Store Decor Team ProjectsI
f you have time, head to this blog post to see the other 7 projects from my talented friends on the Thrift Store Decor Team.
DIY Color Block Vase – Domestically Speaking
Three-Legged Table Makeover – My Repurposed Life
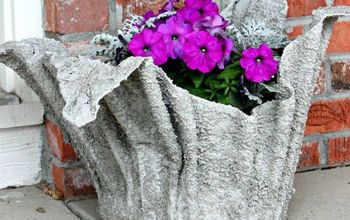
How To Antique An Urn – Petticoat Junktion
DIY Aged Vase Using Coffee and Baking Soda – My Uncommon Slice of Suburbia
Coastal-Inspired Coffee Table Tray Decor – Sadie Seasongoods
DIY Faux Enamelware Basin – House Of Hawthornes
DIY Boho Painted Furniture Idea – Reinvented Delaware
Resources for this project:
See all materials


Comments
Join the conversation
-
The legs are similar to an earlier piece by you (or is it this one) - whistle and the tables will come trotting over to you ….
-
Cute idea!


Frequently asked questions
Have a question about this project?
Does the polycrylic sealer yellow? Or does it stay clear
How do you trim the paper on the table top? Doesn’t look like you’re-cut that.