


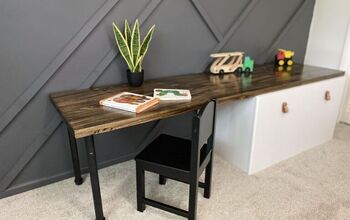
DIY Floating Desk for Kids
When space is a big inconvenience, anything floating is a blessing, right? In my case, the lack of space is an understatement. Learn how to build a space-saving DIY Floating Desk for small spaces with enough storage to use and in just a few easy steps with this tutorial.
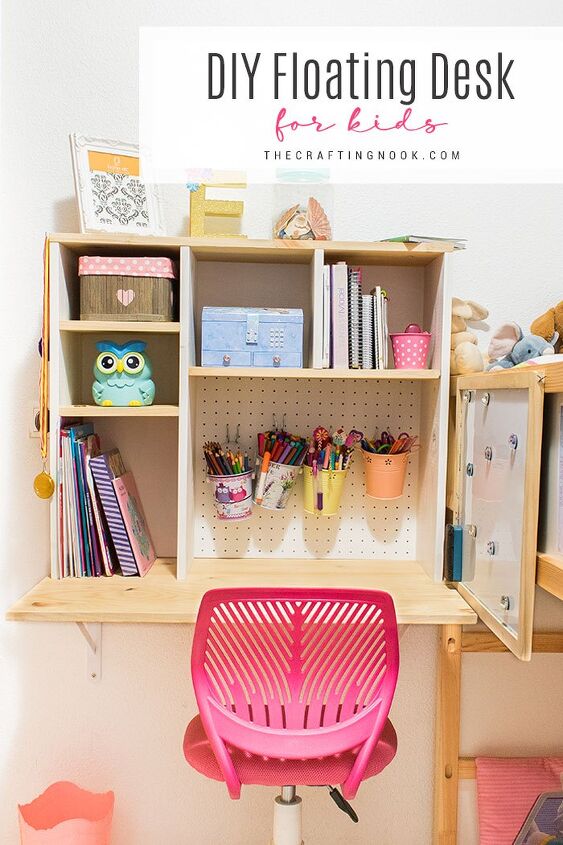
I wanted my girl to have her own desk in her bedroom so she has peace and quiet to study, read and even play.
The space is quite small and no pre-made desk would fit in any available space in her room so I decided to make it myself.
Floating desks were the obvious choice at that point. So, I began by designing the desk.
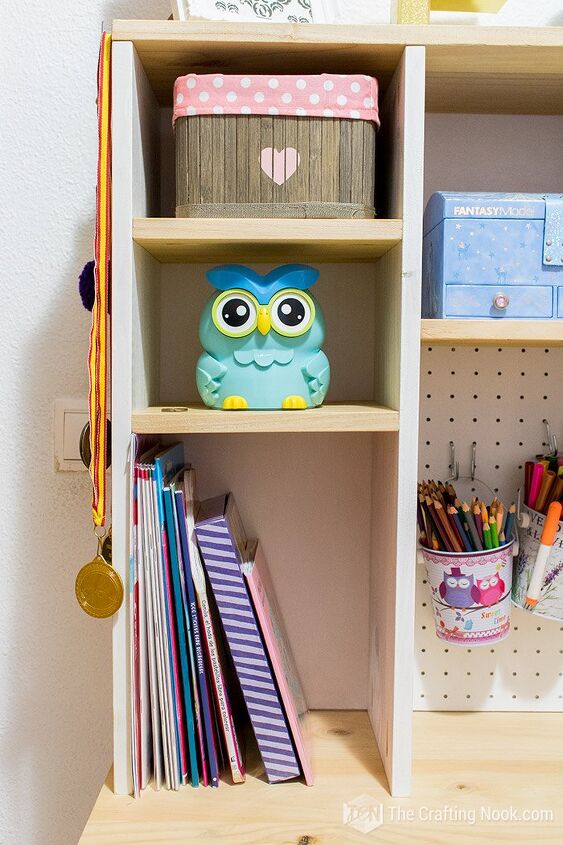
Since she would need shelves for storing supplies and stuff, I decided to create shelves on the desk rather than make lots of holes in the wall.
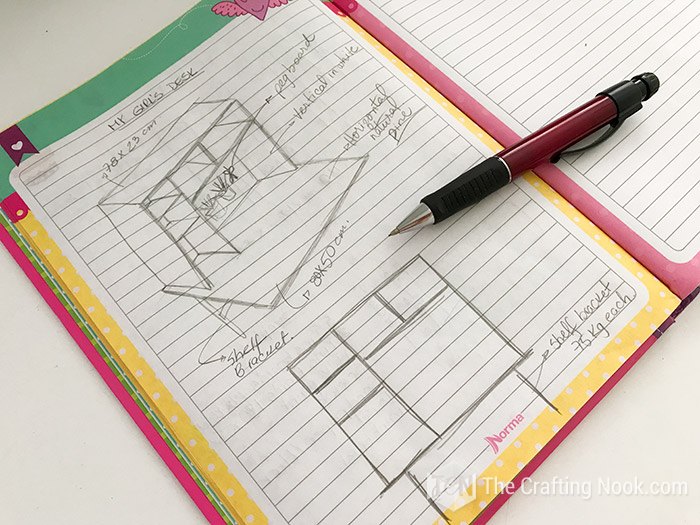
Here is the plan I created for my daughter's floating desk. It is simple, yet useful.
Firstly, When I had all the measures, I decided to go to the closest hardware store and got my wood pieces cut. I used pinewood.
Also, I wanted to disclose that I’m not a carpenter whatsoever. I just figure out ways to make things by myself and only share when it works for me and I think it might work for others. So, in my opinion, if I can make this, I’m sure anyone can no matter the skill level or available space.
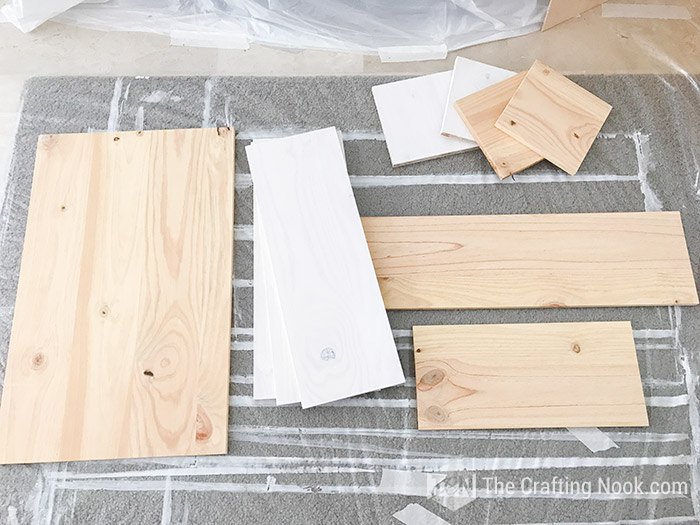
Then, sanded all the pieces to smooth them and avoid splinters. I especially sand edges. Then cleaned the pieces well.
Then I painted in white vertical pieces and horizontal pieces painted in clear waterproof varnish.
I assembled the pieces using pocket holes as it's easier and you can barely see the screws.
Vertical pieces would have pocket holes and internal shelves as well. Only the top would have normal screws on both ends.
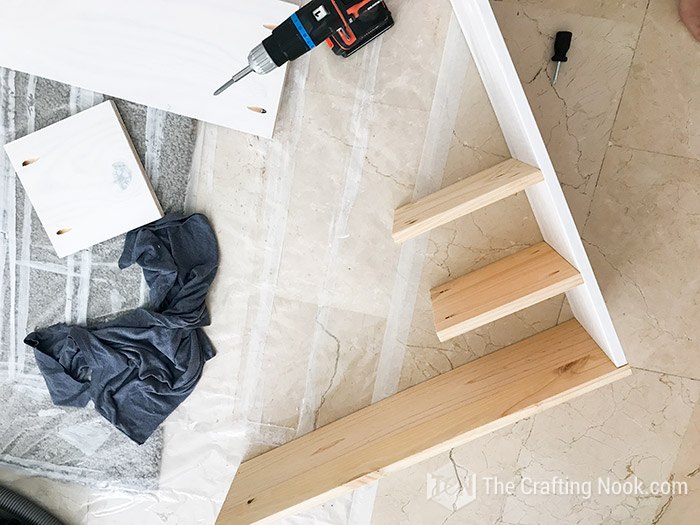
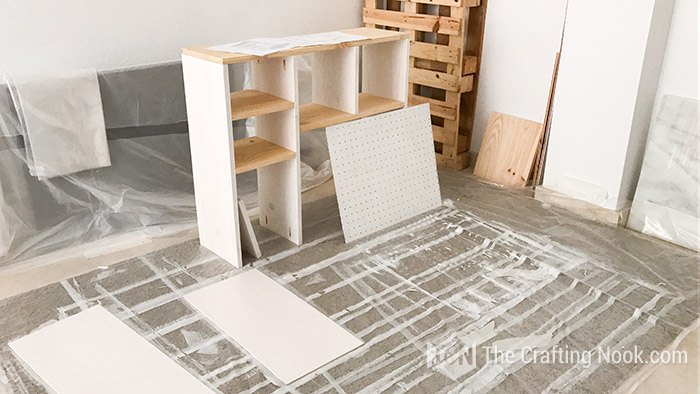
Following the plans, I assembled all the structure pieces of the shelves.
Then I decided to use a pegboard painted in white for the back of the largest space so my girl could hang her tools. For the rest of the backing, I used 1/8" Plywood boards Securing them with screws.
Last but not least, it was time to assemble the desk.
We used shelf brackets that would hold a lot of weight. We were worried that our girl would lean on the desk and we wanted to make sure she would be safe.
Each shelf bracket holds 70Kg (about 150 pounds).
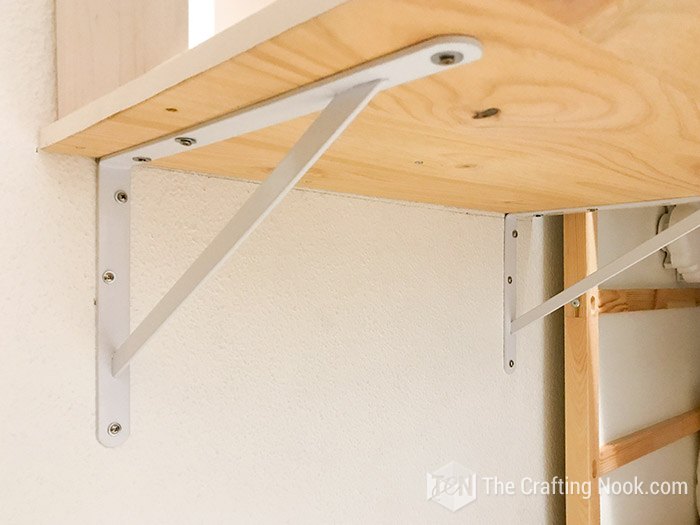
Installed the brackets then the board and finally secured the shelving system with screws from the bottom up.
That was it!
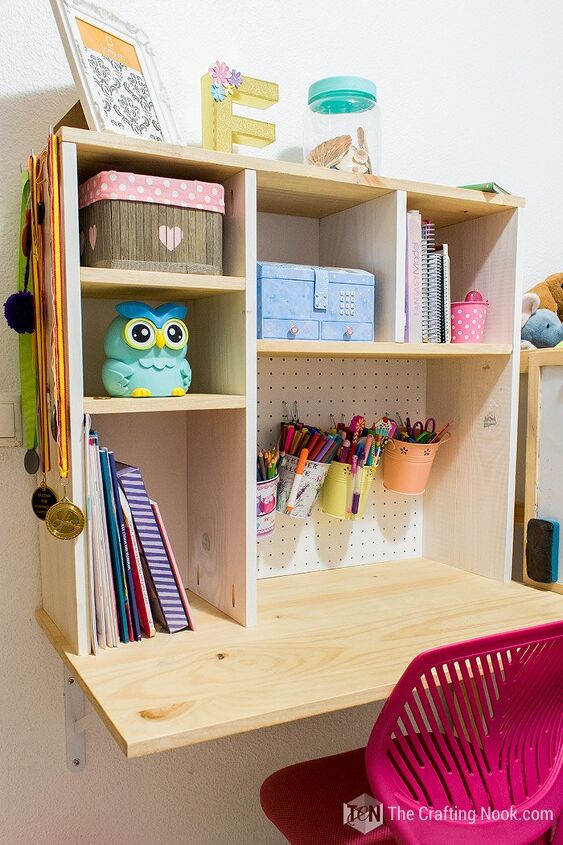
If you would like a full and detailed tutorial on how to make this desk, jump over to the blog and learn all about it!
Resources for this project:
See all materials


Comments
Join the conversation
-
This is quite perfect for a nice little desk. Simple and good looking too.
-
Great little study space for your sweet daughter. You did a great job at planning, measuring, shopping and execution. Success!


Frequently asked questions
Have a question about this project?