


How to Build a DIY Lap Desk: Fun Clothes Hanger Hack
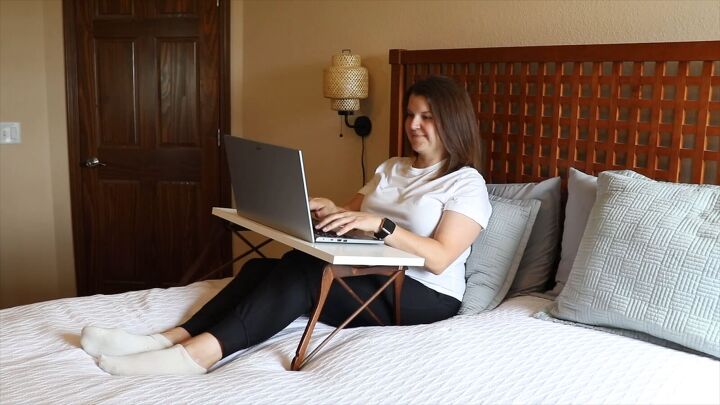
Tired of balancing your laptop or snacks precariously while relaxing in bed? With just a few wooden hangers and some creativity, you can create your own DIY lap desk!
This project not only adds a personal touch to your home but also ensures you have a stable and functional surface for all your leisure activities.
This post was transcribed by a member of the Hometalk editorial team from the original HometalkTV episode.
Hometalk Recommends!
Want to save?
Get your 30-day free trial of Amazon Prime today before the biggest sales of the year start July 16th-17th!
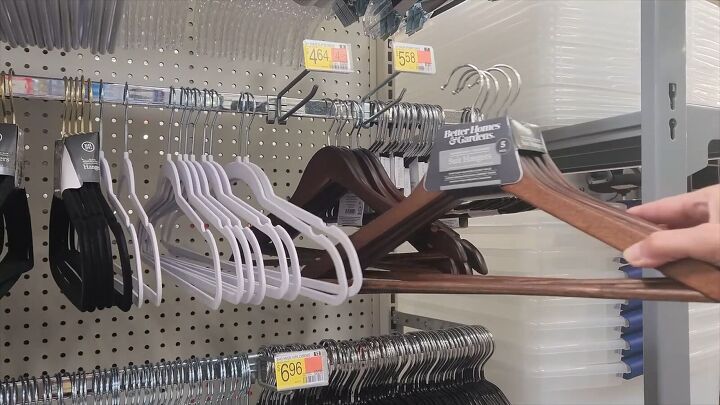
Tools and Materials:
- 4 wooden hangers
- Drill
- Wood glue
- Clamps
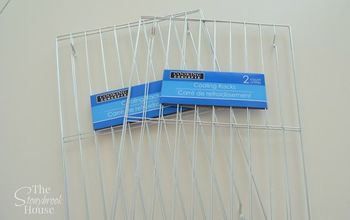
- 3/4 inch corner braces
- Screws
- White melamine shelf (or any suitable tabletop material)
- Screwdriver
Hometalk may receive a small affiliate commission from purchases made via Amazon links in this article but at no cost to you.
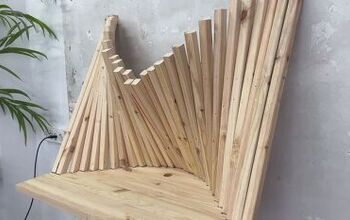
1. Prepare the Hangers
Start by gathering four wooden hangers.
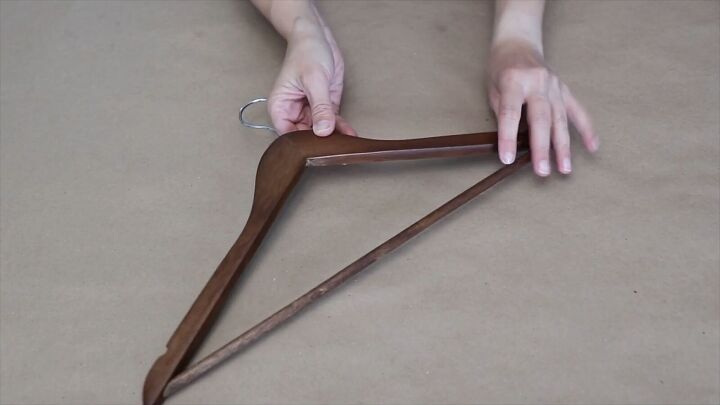
Pull the metal parts out of each hanger.
You’ll need these hangers to create the legs of your table.
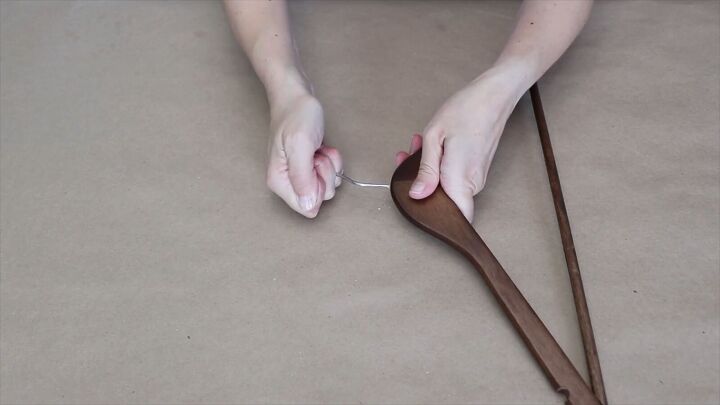
2. Drill Holes in the Hangers
Take two of the hangers and drill a small hole in the corner of each one.
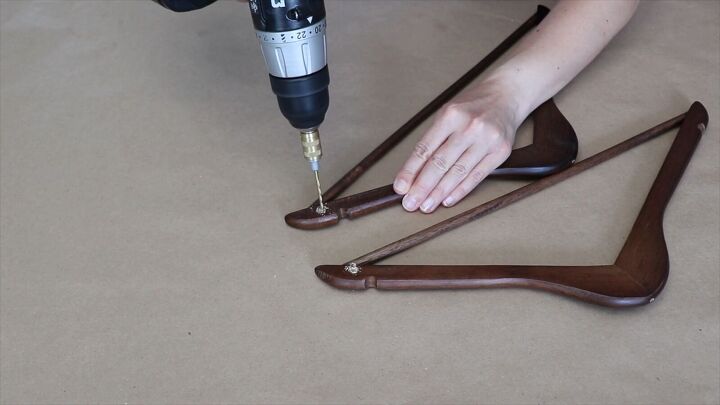
The hole does not need to go all the way through the hanger.
This step is crucial for fitting the hangers together later.
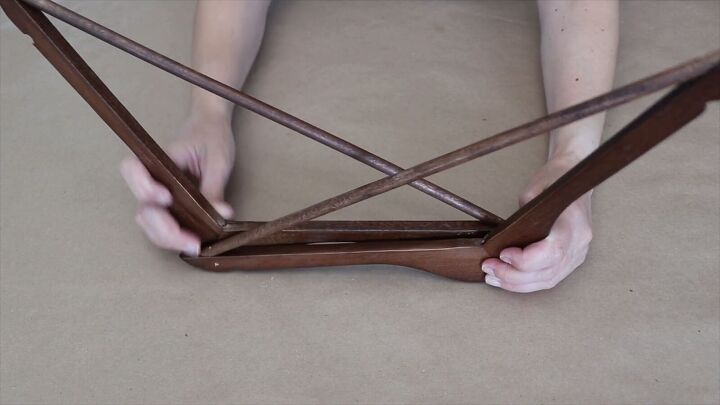
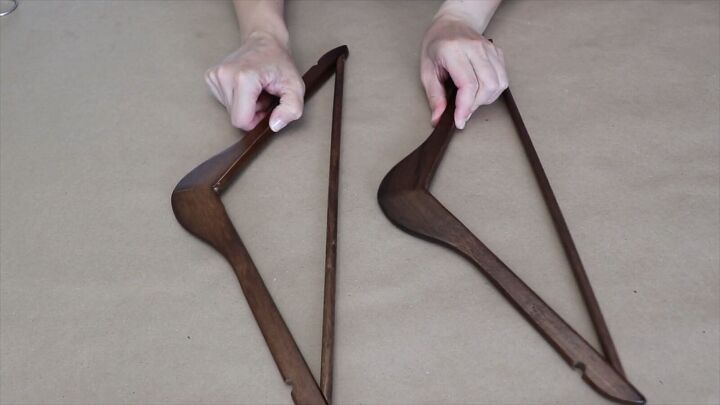
3. Assemble the Legs
Fit two hangers together to form a leg, making sure they look like the legs of a table.

Apply a bit of wood glue along the edge and clamp them together.
Repeat this process with the remaining two hangers.

Let the glue dry completely.
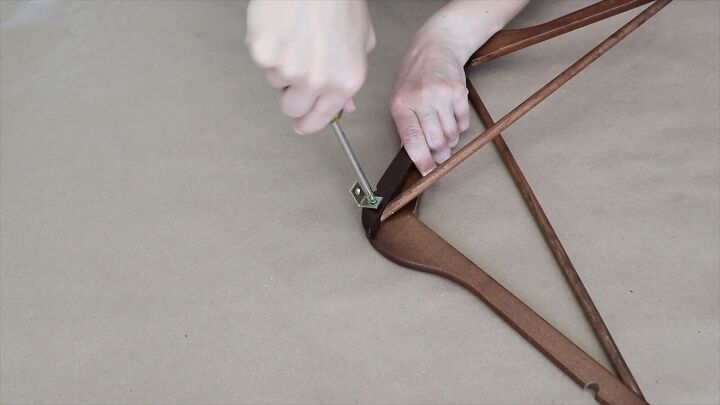
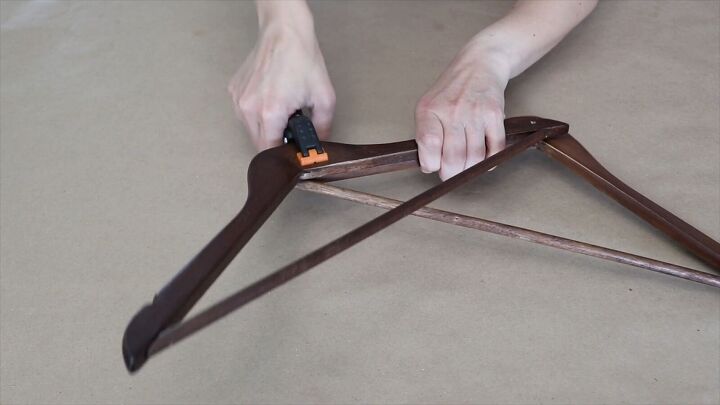
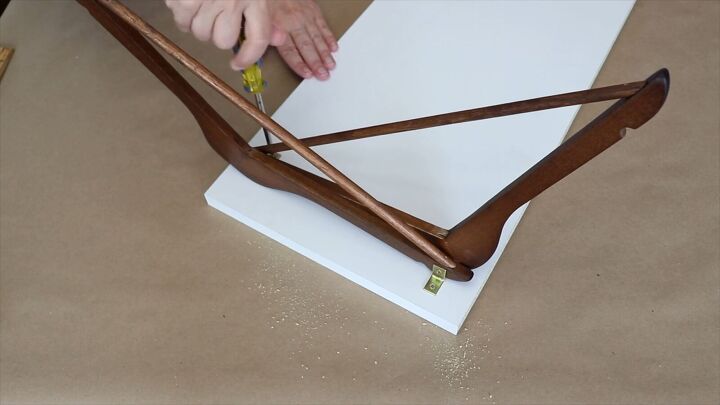
4. Attach the Corner Braces
Once the glue is dry, grab the 3/4 inch corner braces.
Screw these into the pre-drilled holes to secure the hanger legs together.
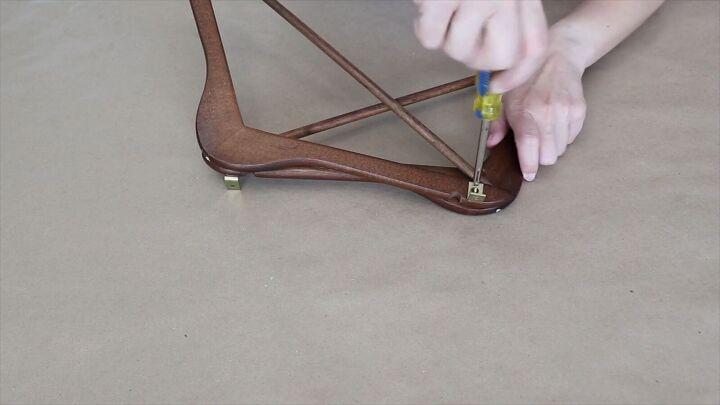
This will provide extra stability for your DIY lap desk.
5. Prepare the Tabletop
Take a white melamine shelf or something similar to serve as the tabletop.
Mark off where you want to place the screws.
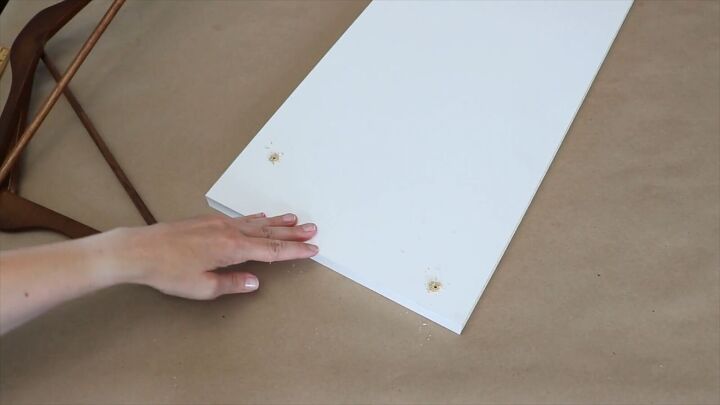
Pre-drill these holes to make attaching the tabletop easier.
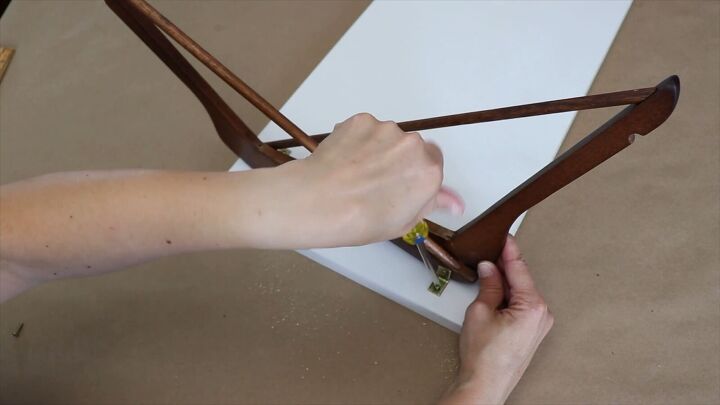
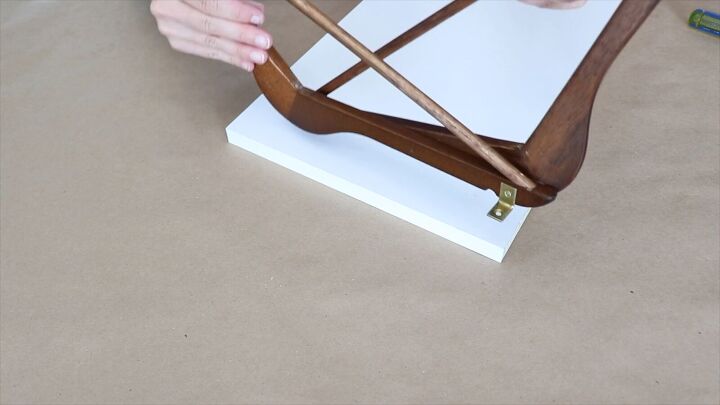
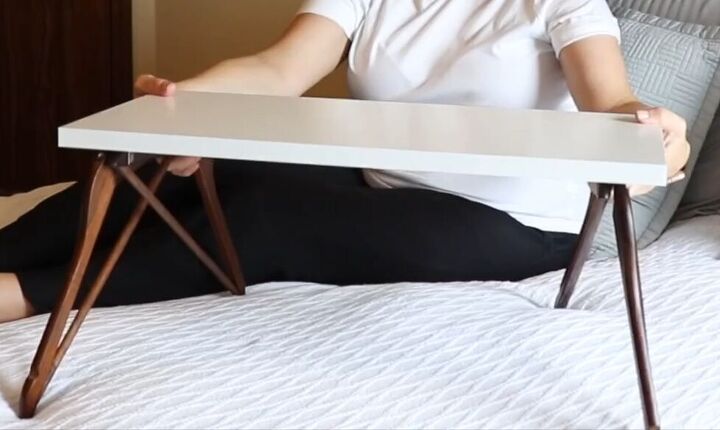
6. Assemble the Lap Desk
Attach the tabletop to the hanger legs using screws.
Make sure everything is tight and secure.
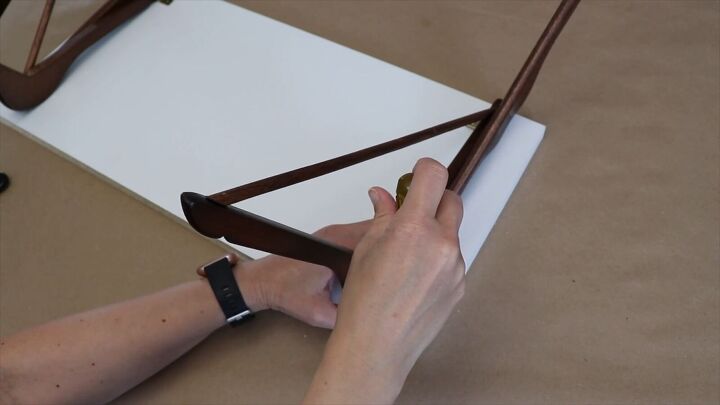
Repeat this process on the other side so your table has two sets of legs.
More Clothes Hanger Craft Ideas!
How to Make a DIY Lap Desk: Clothes Hanger Craft Tutorial
Whether you're working, browsing, or unwinding, this personalized piece adds a unique flair to your space.
Ready to start your own? Share your progress with us and join the community of DIY enthusiasts!

Comments
Join the conversation
-
What a great idea!! Gosh I wish I could think outside the box like you just did! Awesome job!!
-
You are very creative!! Great job! I love it!!❤️


Frequently asked questions
Have a question about this project?