


The Easiest Bookshelves You Can Imagine !

My kids love books . From early in the morning to late at night they sink their little heads into some incredible books . They are just tiny little ones, but they are interested in all kinds. I wanted to give them a space in their room where I can showcase their books. It’s another scraps of wood project , but one that is extra special and super easy ! Follow along for one of the easiest ways to make some bookshelves .
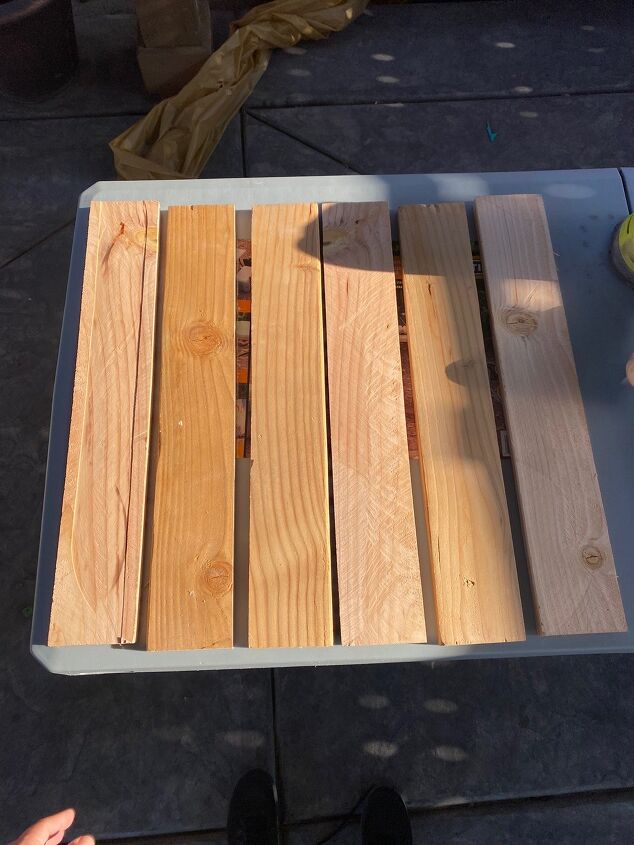
Step 1: measure and cut your wood My plan was to make 3 bookshelves total . Each bookshelf consisted of 3 pieces of wood. I made all my three pieces 26 inches long . Two of the pieces were 3.5 inches wide and 3/4 ‘s of an inch thick ! Pictured above are the pieces of wood I cut that are already 26 inches long and 3.5 inches wide . Those will consist of the base and back of the shelves.
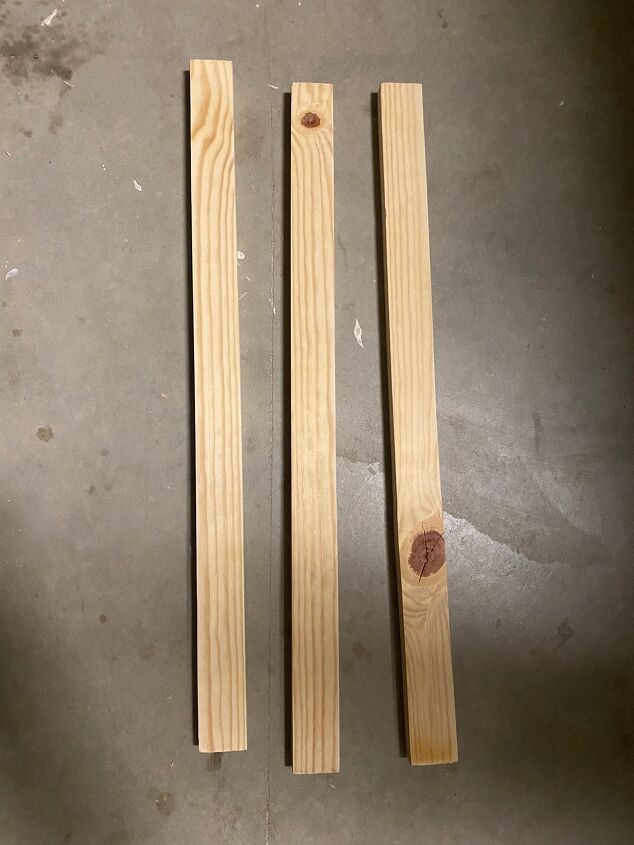
The smallest piece that makes up the lip of the bookshelf ( front part) is 1.5 inches wide and 3/4’s of an inch thick. Once you have your wood cut you are basically good to go on putting them together!

Step 2: Assemble the three pieces of wood together .
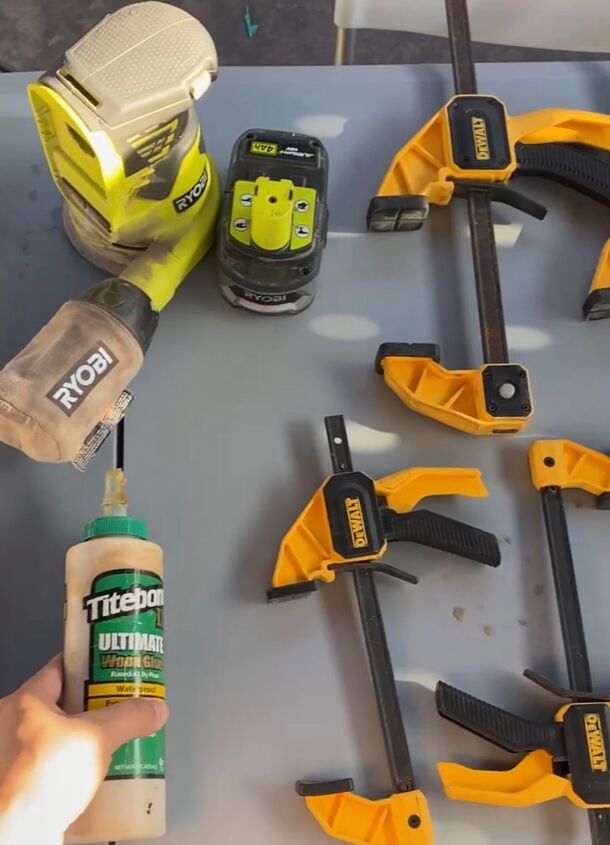
The 2 pieces of wood that are the same measurement ( 3.5 inches wide) will lay horizontally on top of each other to form an L . The smallest piece will go at the front of the L to form the lip where the book bottoms will lean on. Look at the above image for reference . I used titebond wood glue to assemble and clamped them overnight to get that sturdy fit !
Step 3: Add extra stability with brad nails and sand to beautify !
After letting the wood glue dry overnight , remove the clamps and add more stability to your shelves using small brad nails . Sand to get that nice soft finish .
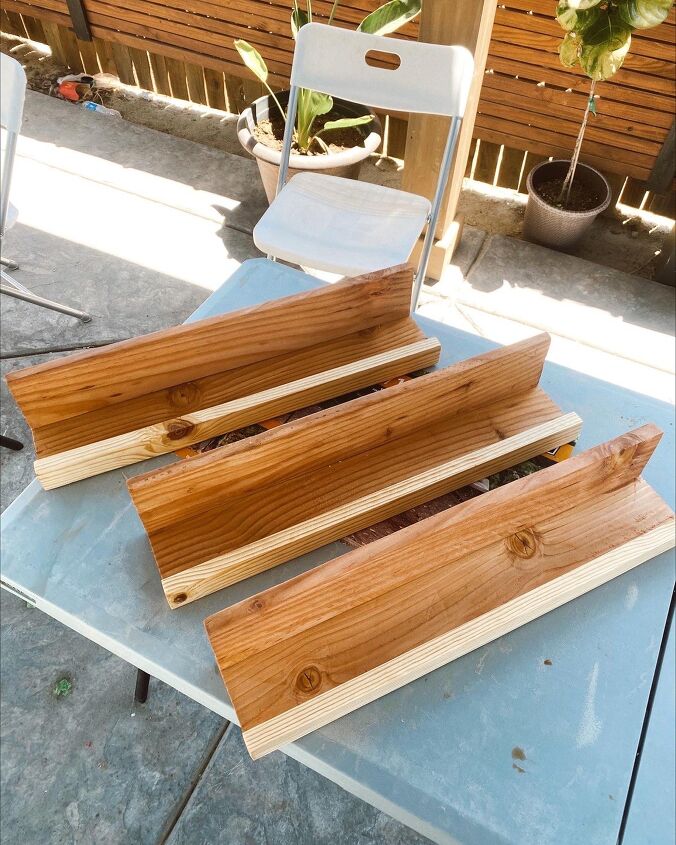
Step 4: Stain and Seal the boards . I used semi transparent Natural 209 by mini wax.
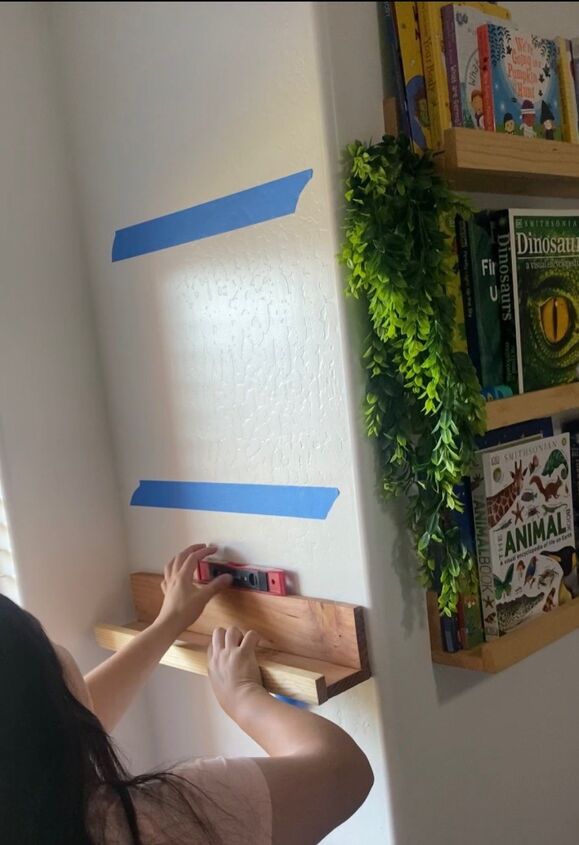
Step 5: Put up your shelves ! Make sure you use a stud finder and level. I used regular Star Flat head wood screws to install my shelves.
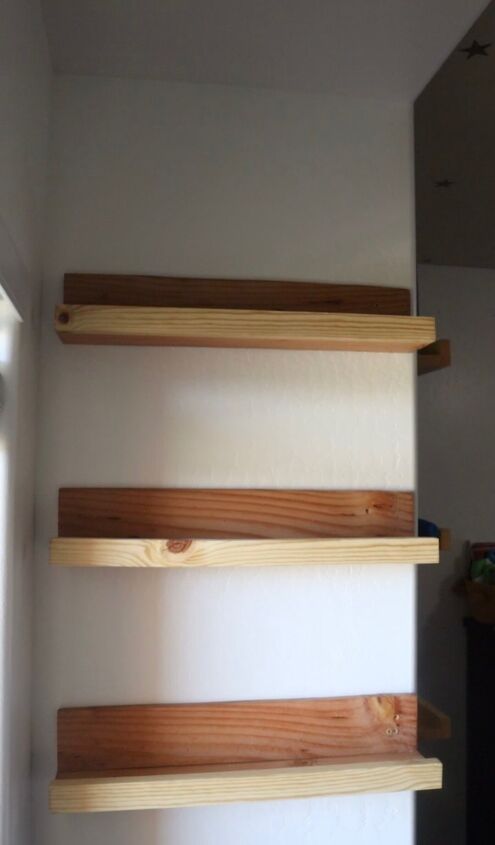
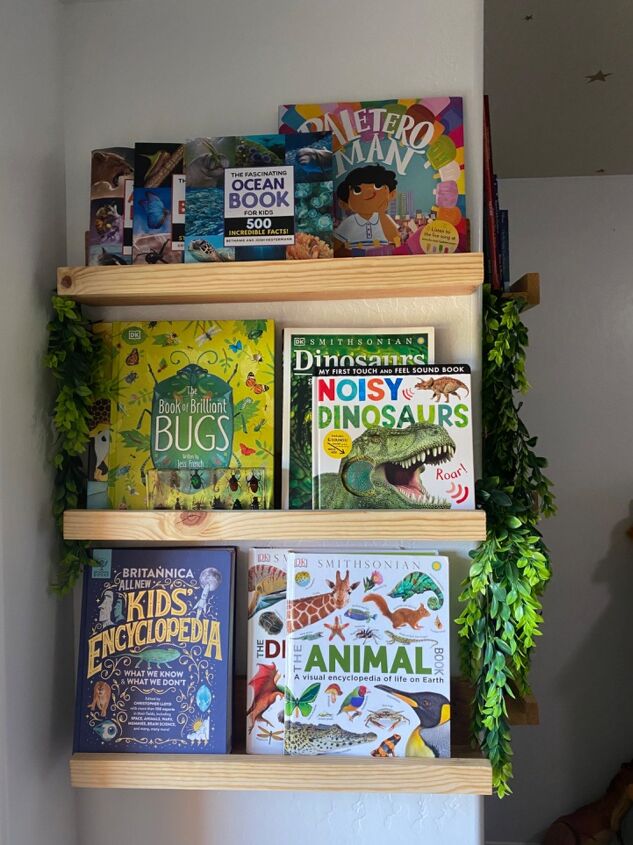
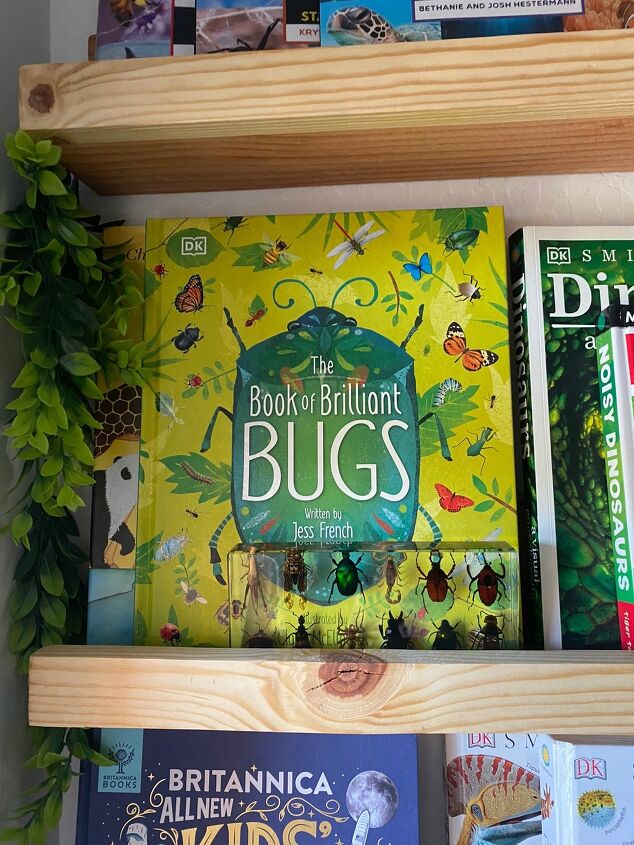
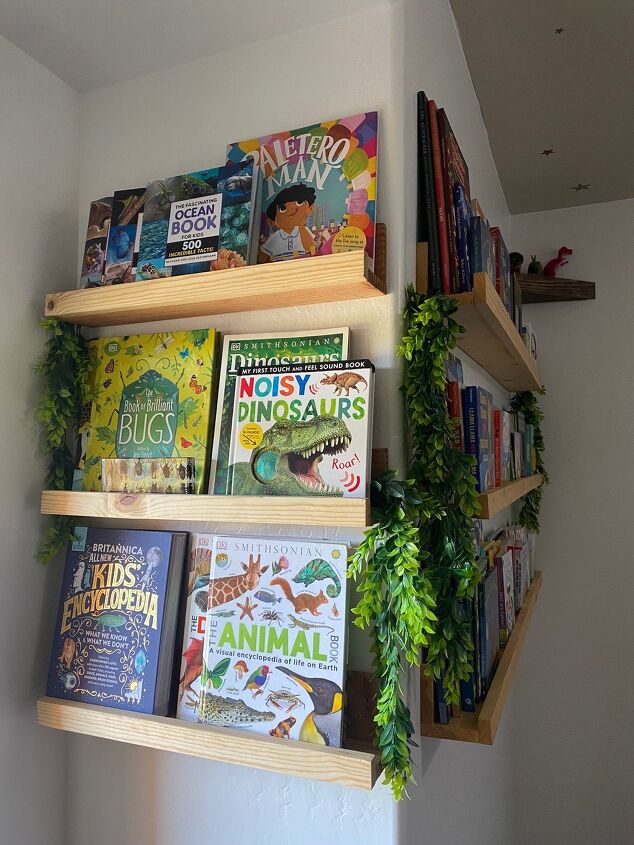
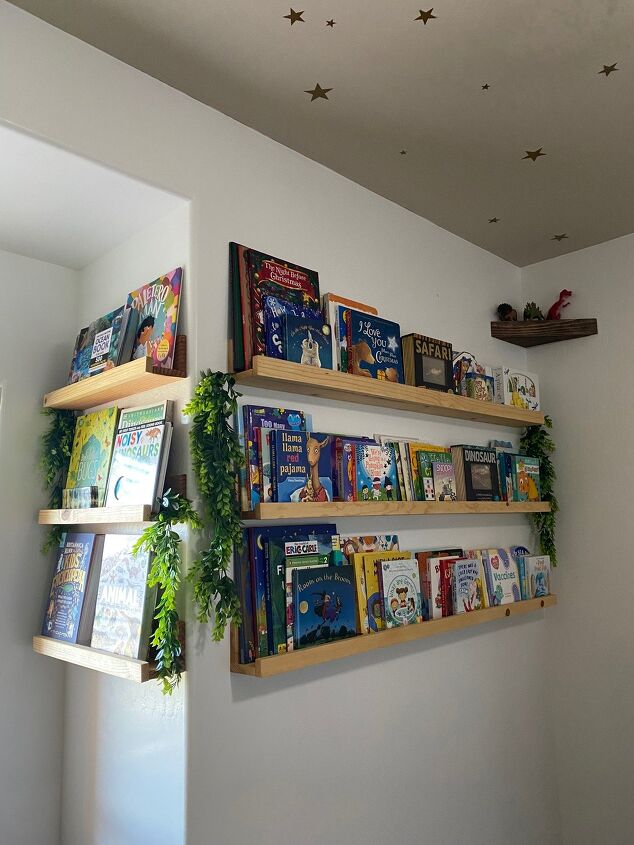
Once I installed my shelves where I wanted them and spaced out perfectly ,I started to add the books. This is the second time I worked on shelves and this time I dedicated these shelves and this area to their most favorite books💕 Hope you enjoyed ! Take a look at the next pictures to see their favorite types of books to read . I love them too✨
This project didn’t cost me a dollar because I used scraps and I already had the tools! You can definitely do this project on a budget . I hope you enjoyed !
Resources for this project:
See all materials


Comments
Join the conversation
-
Congratulations 👏
This is a nice & useful project ✏️ 🔫 🔨 📚️
I Love books ❤️
Thank you for sharing your work 👍️


Frequently asked questions
Have a question about this project?
Love this idea but am wondering, if your kids are small, why not hang some shelves closer to the floor where they can easily reach them? Perhaps your kids are older/taller? It's exciting to have kids who are avid readers and doing everything you can to encourage them is a win-win!