


How to (and Not) DIY a Cedar Fence Picket Elevated Raised Planter
The idea is sound for sure, just make sure you have plan (like the free plans I'm offering)!

So I had picked up some little food seeds including radishes, not having grown any food in darn near forever, just on a whim and lo, I got a radish.
This fired up my husband Mike, atypically, so he said, babe, build us a planter. Make sure it's elevated too. The guy who says I need to lay off inventing projects.
But, so, I followed up on his suggestion and in order to keep it budget-friendly, I went with cedar pickets.
Lots and lots of details over in the post along with full info on the materials.
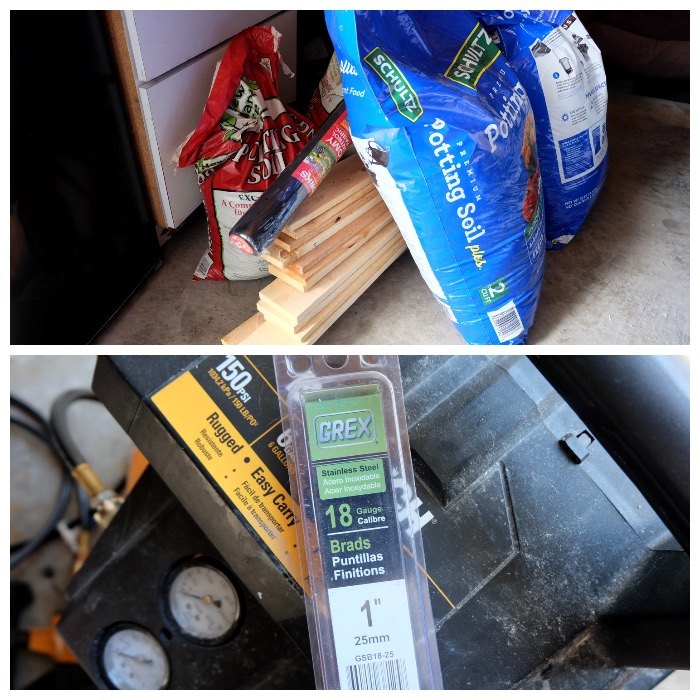
I used:
15 5' long cedar fence pickets
4 2x3x8' pressure-treated lumber
stainless steel brad nails
outdoor wood glue
drop cloth plastic
staples
landscape cloth
cedar mulch
potting soil
compost
In the end, this came out to be about 60" x 18" x 30" tall with the planting box 14" on the outside, 12" on the inside.
I winged it. That was my mistake. Having a plan is, yeah, I'm shaking my head, important.
If you head over to the blog post though, you can get the plans I drew up after the fact for free! And feel free to modify as you see fit.
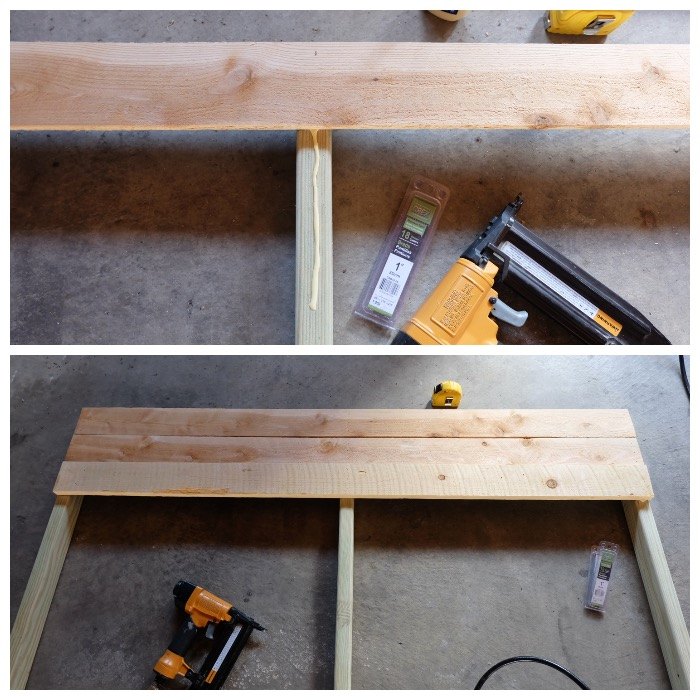
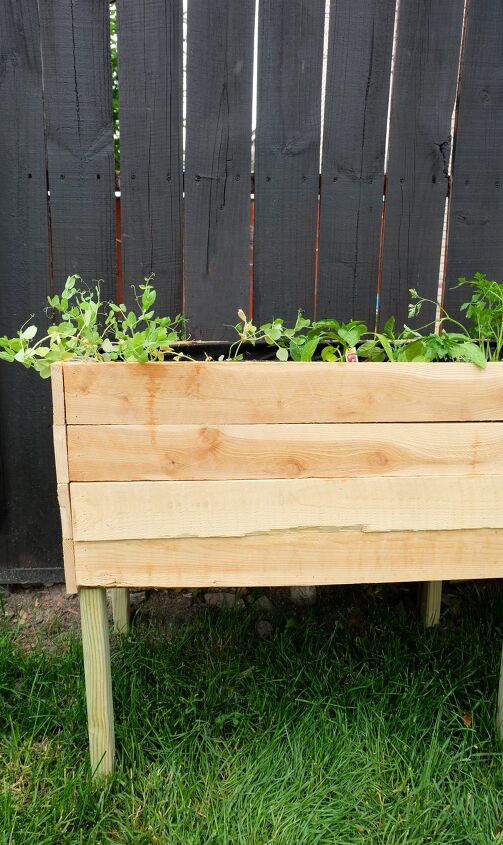
After trimming the dog ear part of the pickets off, I tacked one picket onto a middle leg, on center, then tacked on the outside legs. Four pickets tall for each side here.
Two long sides done, I realized oh, yeah, not having a plan is, yeah, makes things harder, heh. But, I kept going, figuring out solutions to the problems I created as I went.
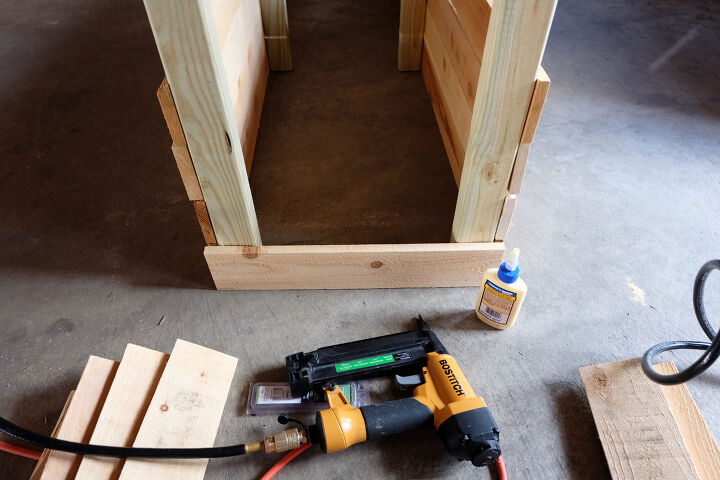
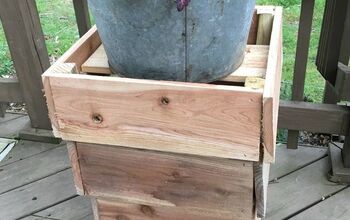
Once the two long sides are done, flip them up upside down and tack on the side pieces to form the box.
That's when I realized I had no framing for the bottom. The bottom of course handling the massive load of dirt weight.
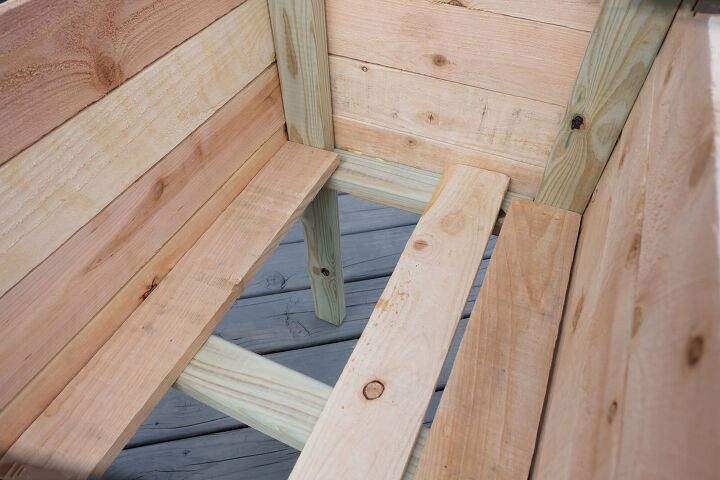
I added pieces of 2x3 in various spots (you can see where in the plans, click the link above or below) to the pickets and legs. That's when I ran out of pickets for the bottom and had to run out for more....
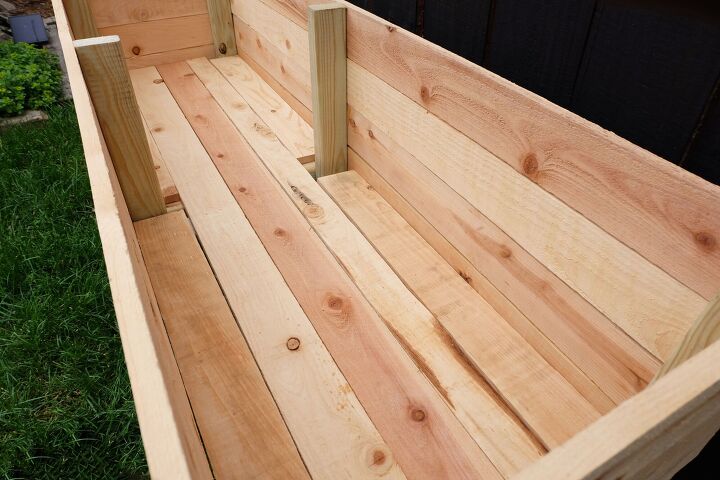
Ok! Coming down the home stretch now! I had to trim a picket width-wise to get them all in the bottom which I did very poorly on my band saw. No need to drill holes; the gaps between the boards are sufficient for drainage.
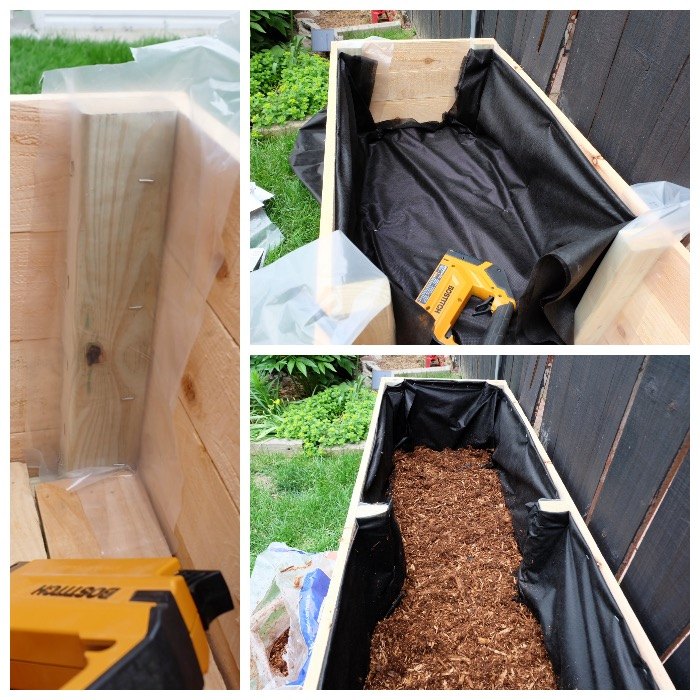
I realized my pressure-treated mistake earlier too; I didn't want it touching the soil that touches food so I stapled on some thick plastic drop cloth over it on the insides. Yes it might trap moisture but hopefully there's enough air from the picket gaps.
Did I mention this was an experiment? Yeah. This whole us growing food thing and this planter are experiments. But, they're both working!
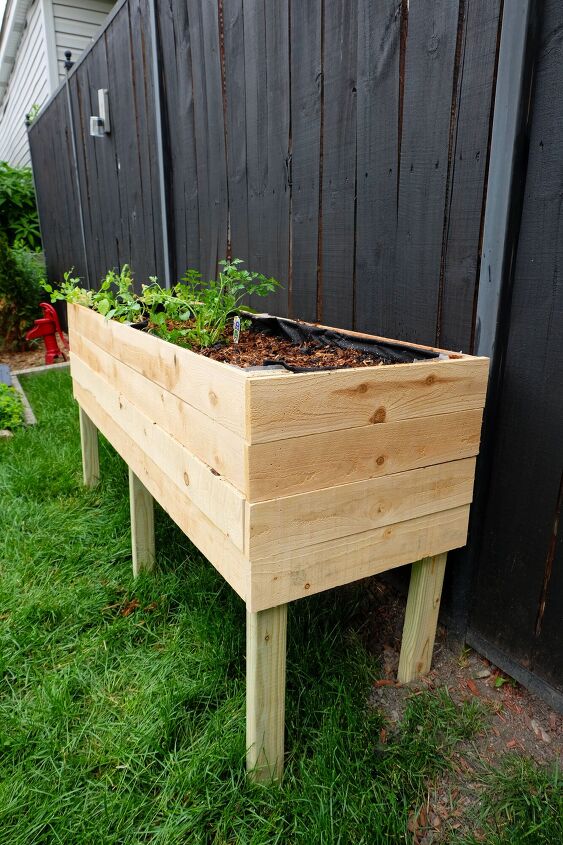
Next I covered the entire inside with landscape cloth, stapling that on. I added a layer of cedar mulch at the bottom for drainage.
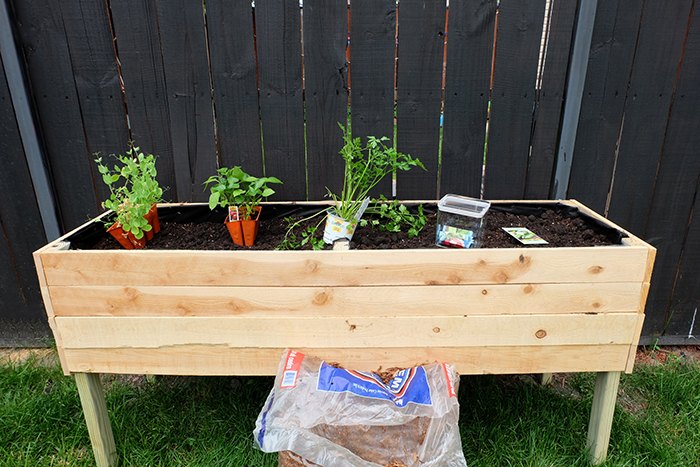
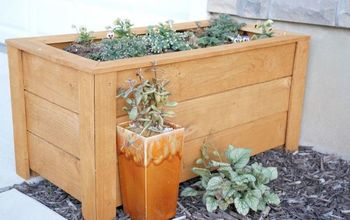
With the planter in our agreed-upon spot, it was time to fill it with dirt and plants! This holds 6 cu. ft. of soil along with .75 cu feet of compost, fyi.
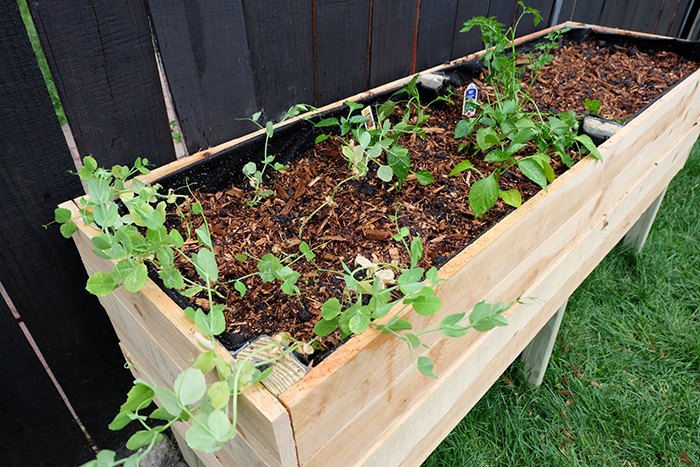
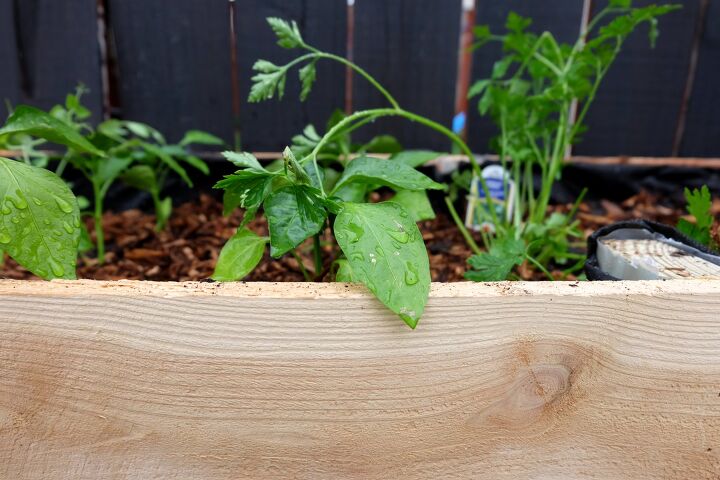
With everything in, I sprinkled some more cedar mulch atop to keep some moisture in and pests away.
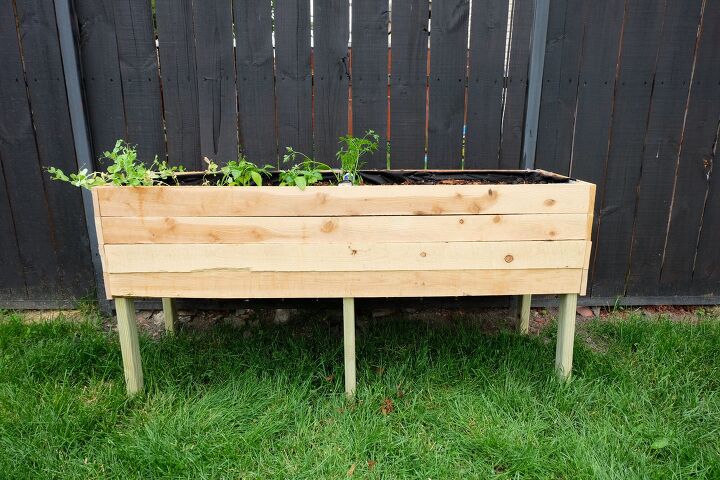
And there we have it! A cedar fence picket elevated raised planter!
For more details about this project and a whole slew of other terrific DIY's, come on by Flipping the Flip!
Tada! Planter! Food!
Isn't it sweet?! Don't forget to come by Flipping the Flip, the Cedar Fence Picket Elevated Raised Planter post for the free plans!
Resources for this project:
See all materials


Comments
Join the conversation
-
I built one also about two years ago, first mistake using none treated wood started rotting in two months, didn’t reinforce bottom at first fixed that , over all it worked out


Frequently asked questions
Have a question about this project?