


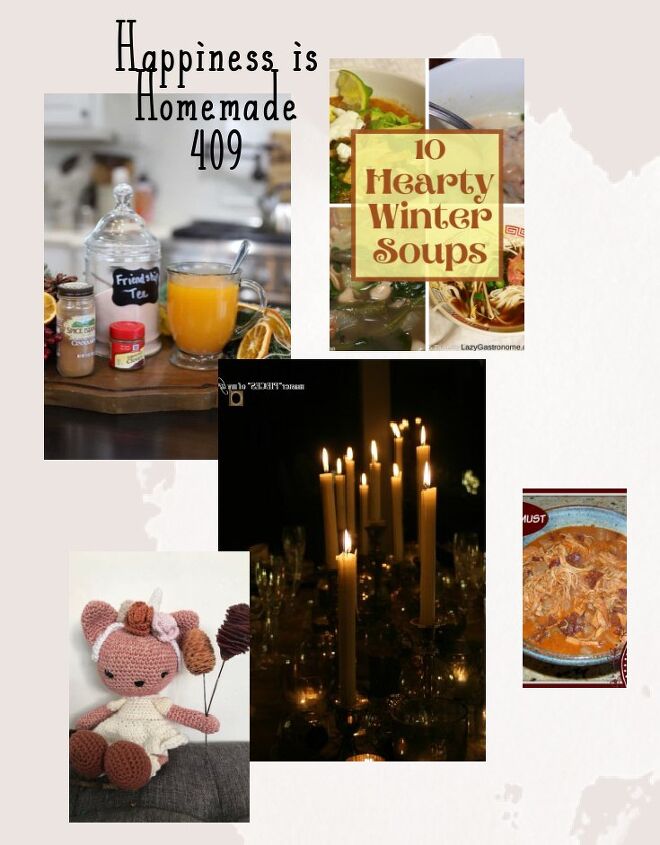
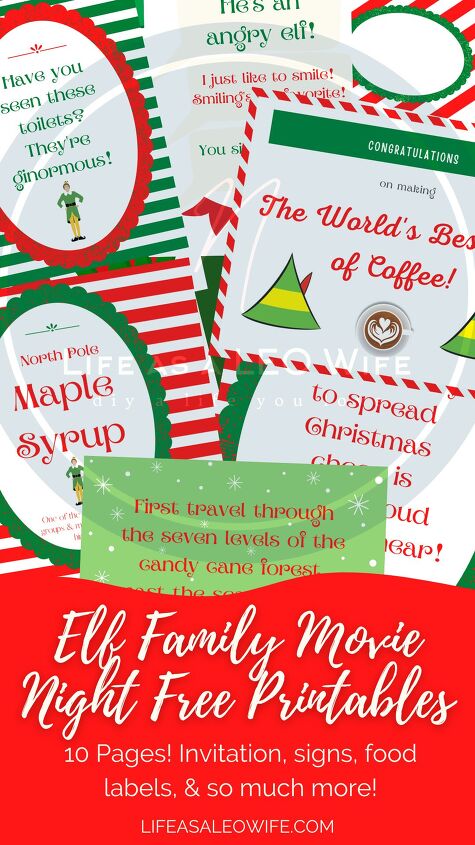
DIY Valentine’s Day Garland
Making this DIY Valentine’s Day garland was fun. It’s a great project to make while you chill on the couch binge-watching Netflix. You can make it for $2 using supplies from Dollar Tree. You can’t beat that! It doesn’t take that long either, so it’s a great project for last minute Valentine’s Day decorating. It’s a project you could also make with you kids in preparation for your newest family Valentine’s Day dinner tradition. Check out that idea and free printable here; the kids will love it! Make sure you head over to the Life as a LEO Wife blog to find tons of DIYs, crafts, decor, free printables, wreaths, and so much more!

- 110 piece Valentine’s various sized white and red glitter styrofoam balls (vase filler)
- sewing kit
- scissors (or you can use the seam puller from the kit to cut the string)
- twine (optional)
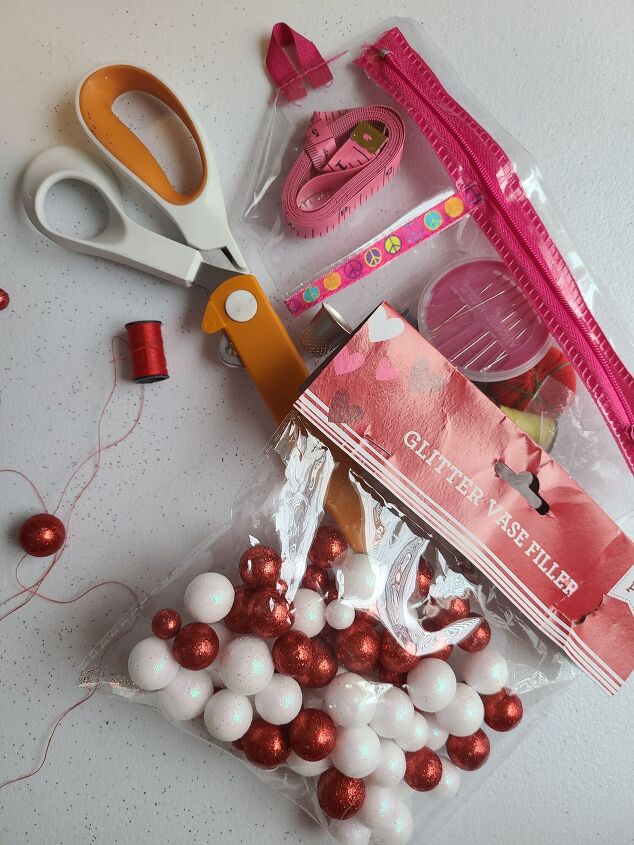
The hardest part of this entire tutorial is threading the stupid needle! The sewing kit can be found in the aisle with the socks and shirts at Dollar Tree, at least that’s where it was in my local store. It comes with several colors of thread, a set of needles, pincushion, and thimble, among other things. That thimble will come in handy!
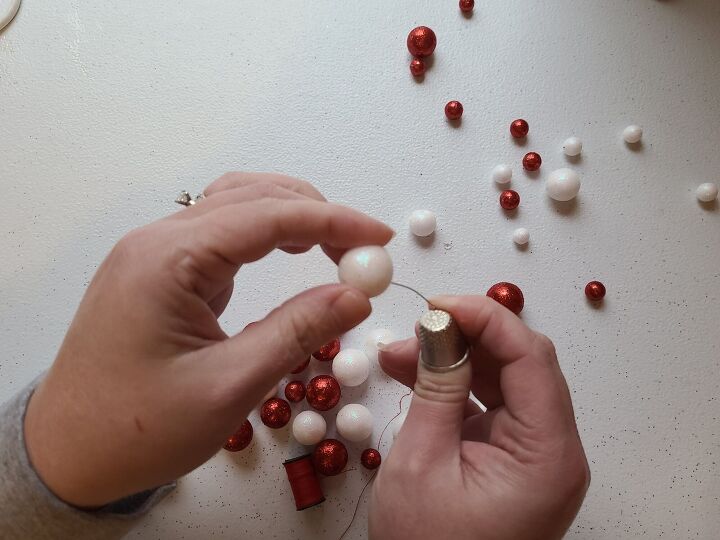
First thread a needle with red thread. Give yourself about 32″ or more depending on how long you want your garland and how much of the filler pack you want to use. I cut my thread to 32″ plus enough to thread the needle and tie it off. I can’t sew, and I know ya’ll will see that! It’s one of those things on the learn-to-do bucket list.
Put your thimble on the finger you’re going to use to push the needle through the balls. I got a little bloody in the threading process, and on blood thinners that means really bloody sometimes, ha! Tie off the end of your thread to stop the balls from going off the end. It kinda sucks when you have to put the first balls on twice. I placed a dab of hot glue on the end ball to keep it sturdy.
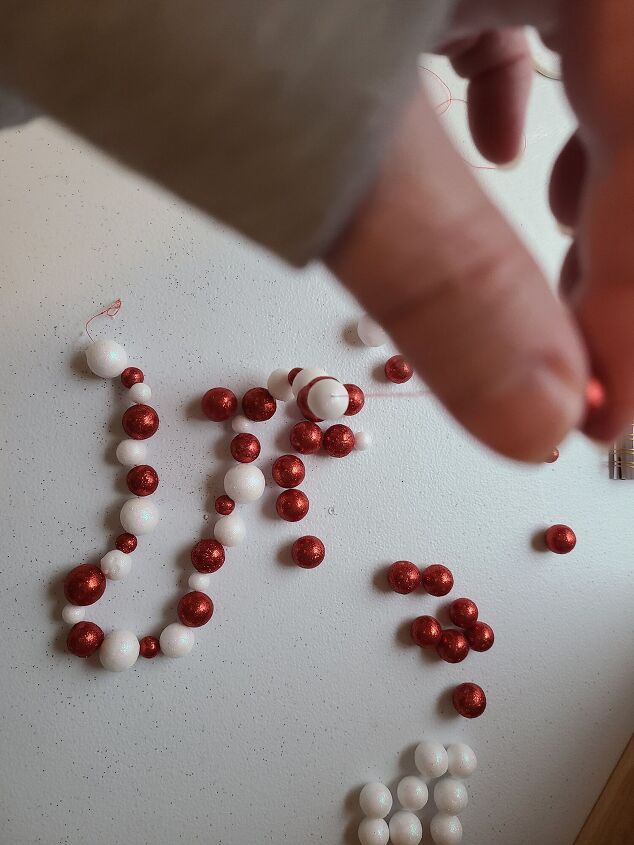
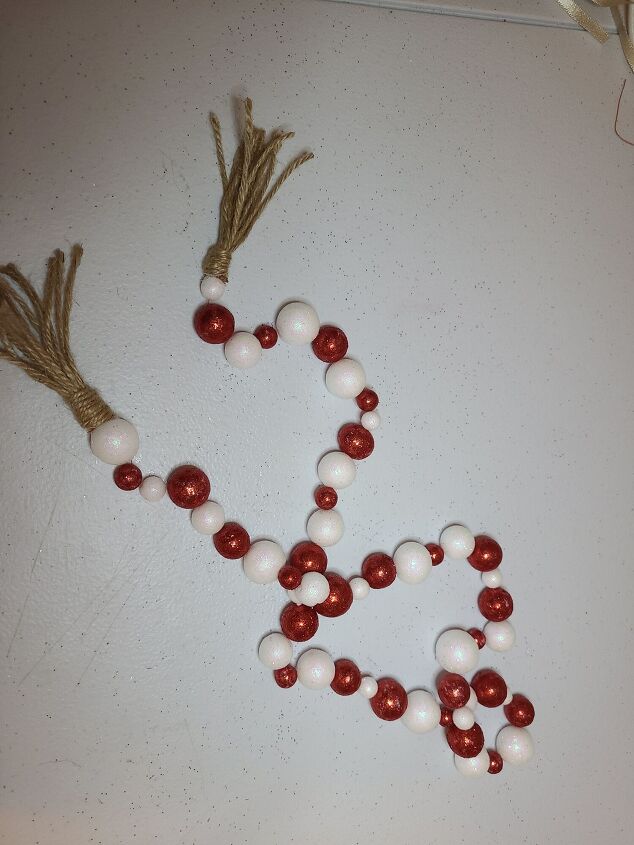
Push the needle and thread through the middle of your first ball. You can randomly thread balls, create a white/red pattern, or a pattern of different sizes of white/red. There are three sizes. However, there weren’t as many large balls as the others. Some of them are hard to determine if they are medium or large. I went with large white, small red, medium white, etc. About halfway through the rest of the balls were a size in between large and medium, so I ended with white/red/white with the small and medium.
Continue adding balls until you are satisfied with the length. I only used about half of the pack because I am using it on a tiered tray. I may make another one to hang later. It was easy enough, so you can make several to hang through your home.
Once you’ve strung all of the filler, cut off any extra thread and tie off the end of the it. I placed another dot of hot glue here as well. None of mine have come off with the glue there. You can’t even see it.
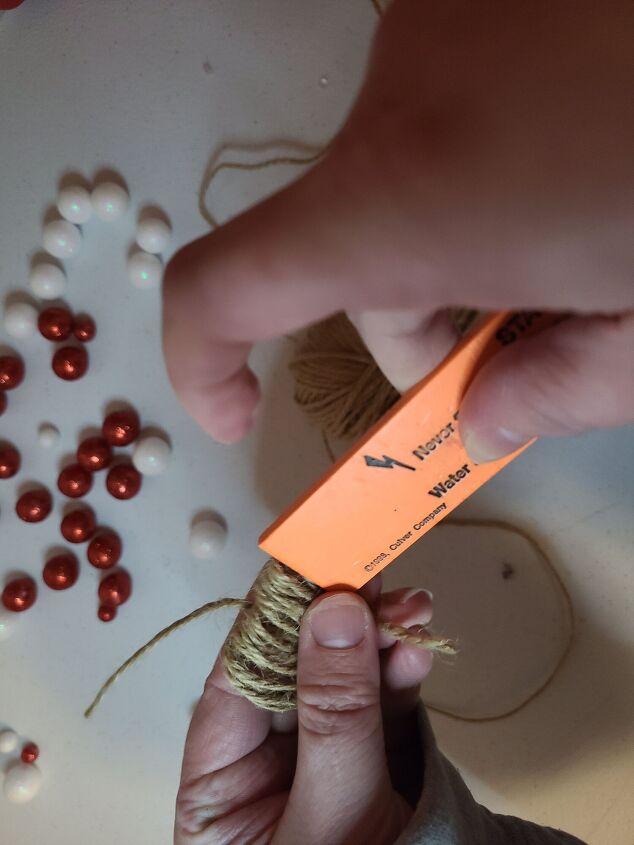
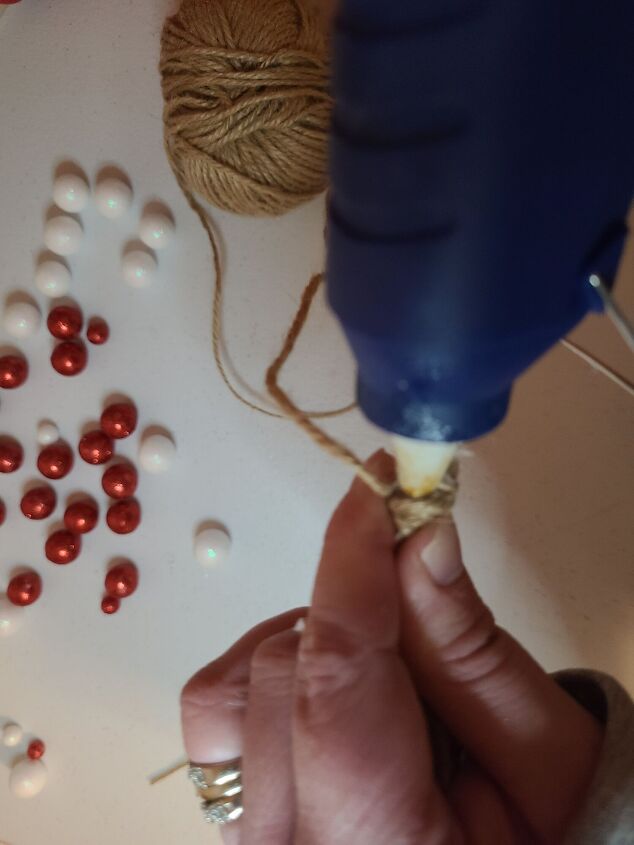
I wanted to add a little something extra to the garland, so I decided to add a little twine fringe to each end. Take your twine and wrap it around something not too thick or thin. I used a 12″ ruler that is 2″ wide. Wrap the twine around until you like the bulk of it.
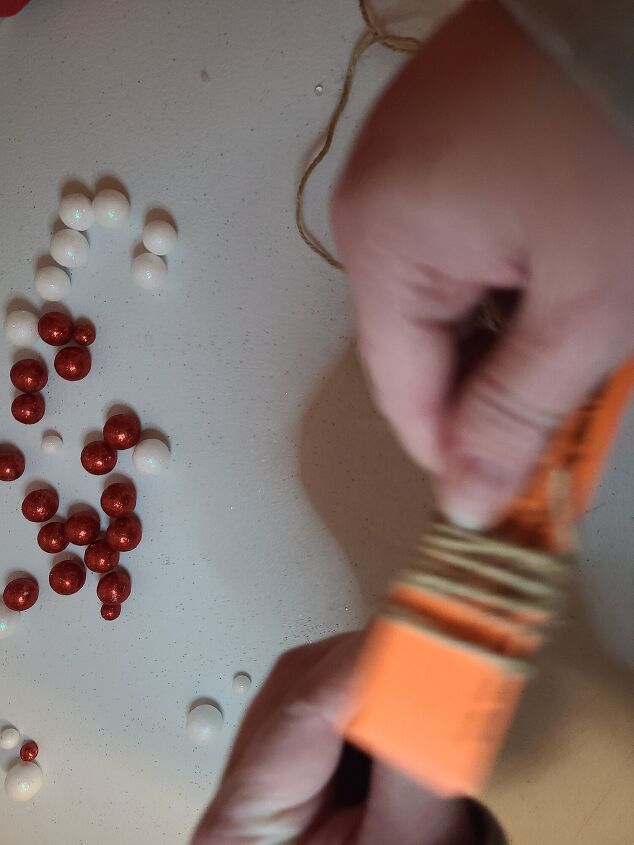
Slide the twine off of the ruler and cut one of the ends where it was wrapped.
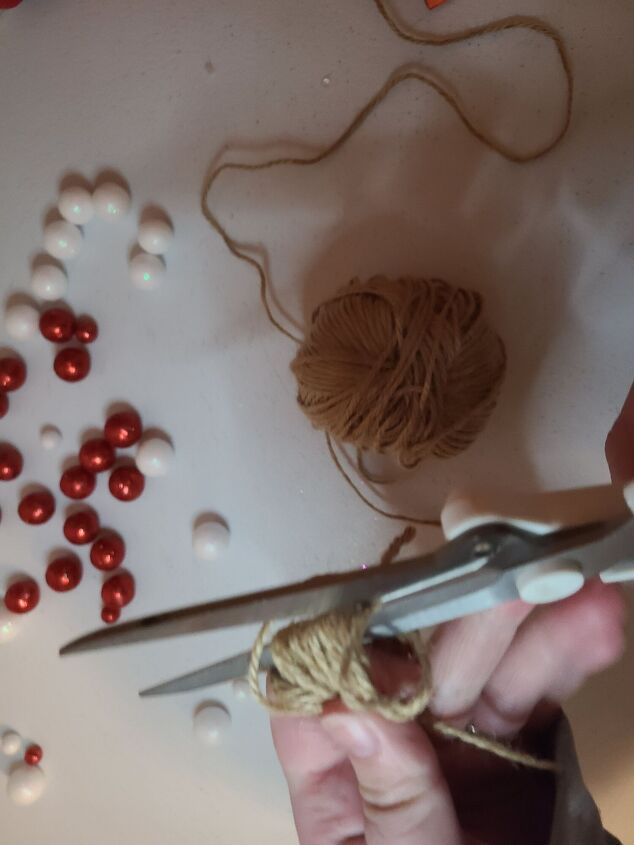
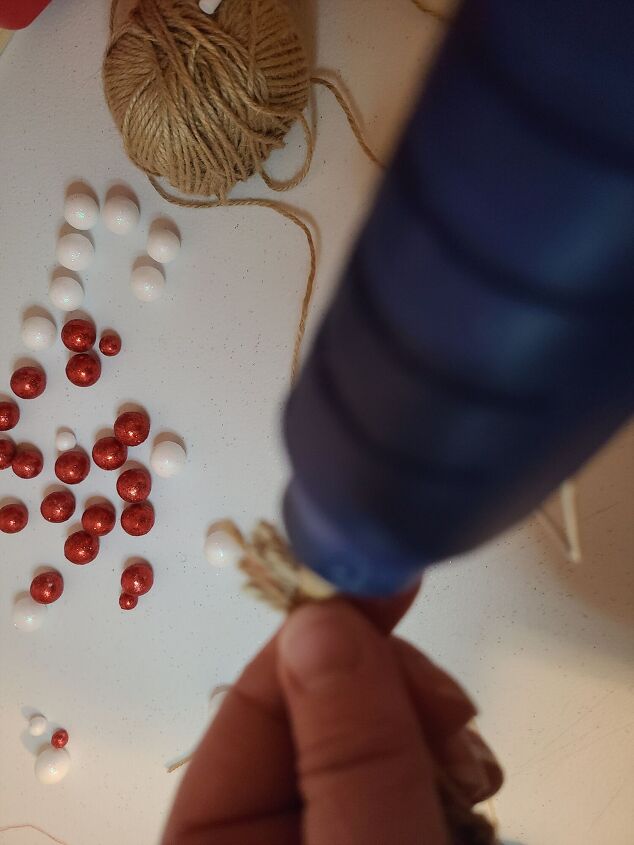
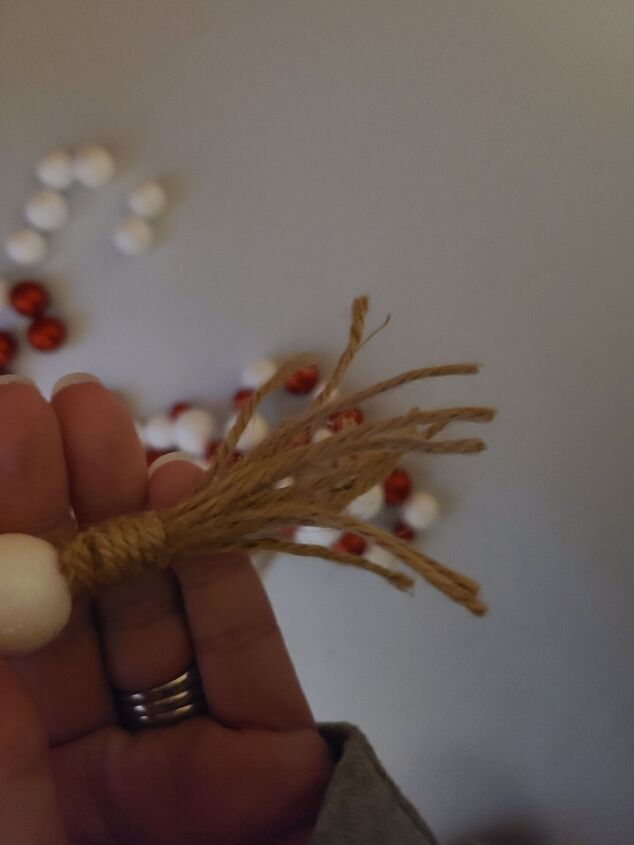
Grab the top of the pieces of twine, and smooth out any pieces that are bent or bunched up. You may have to line up the tops if they have moved. Just a few centimeters from the top, place a dot of hot glue on the pieces, and press a separate piece of twine to it. Begin wrapping the twine around the top, creating a tassel. When you are like how it looks, cut the twine and put a small dot of glue to hold it in place. Repeat these steps to make one for the other end of your DIY Valentine’s Day garland. Add a dot of glue on each ball on the ends and press the twine tassel on it.
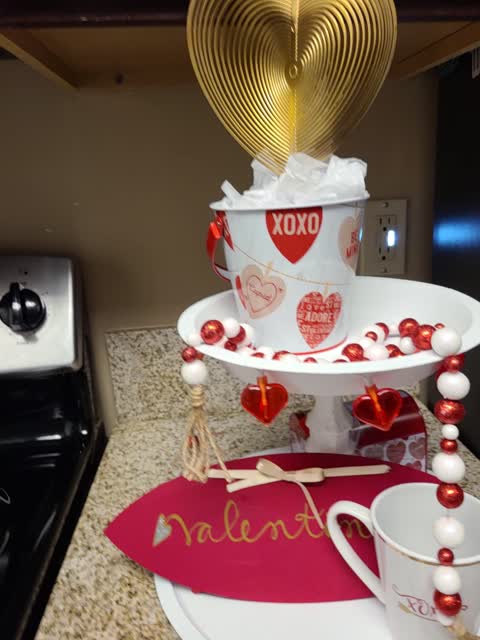
I love my little garland, and I hope you love yours. It’s easy and cheap and looks great when added to the rest of your Valentine’s Day decorations. Here is my garland as an accessory on my Valentine’s two-tier tray. I will be adding a tutorial on the gold heart and the Valentine’s sign that are on it as well.
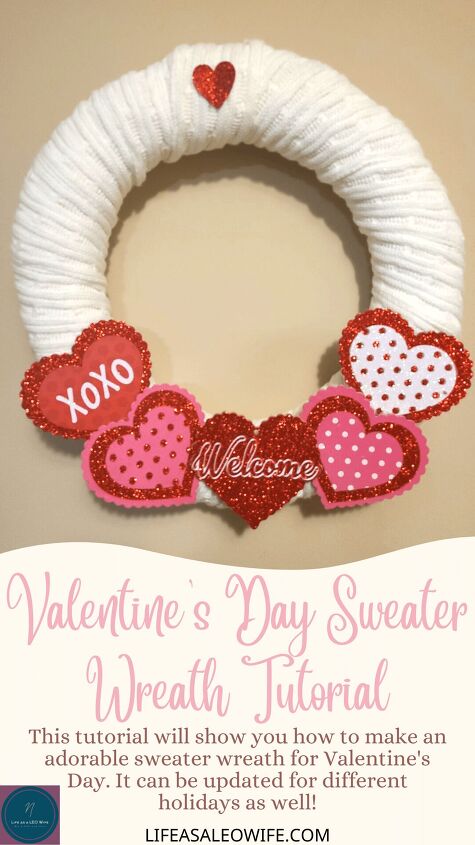
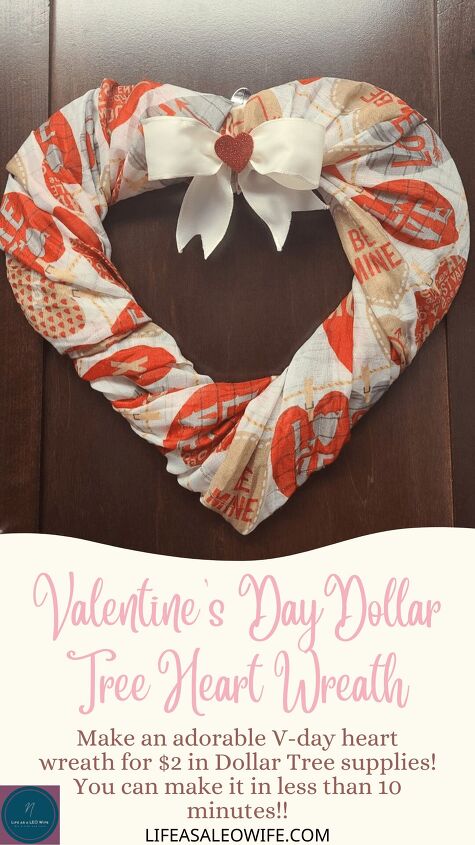
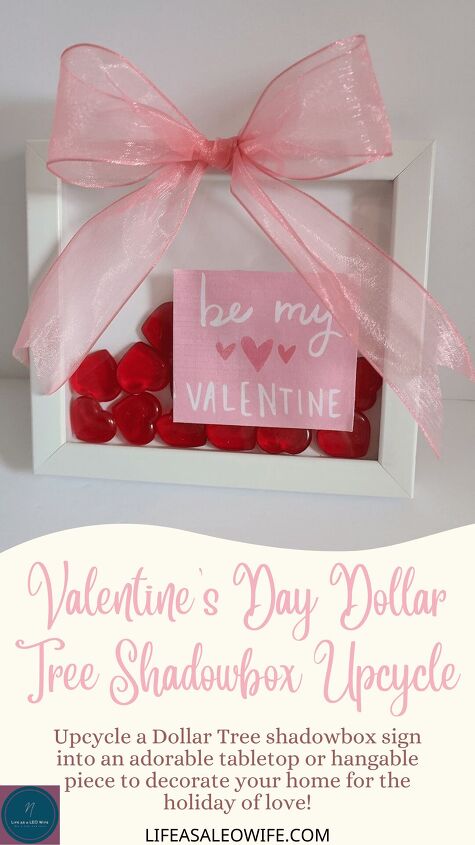
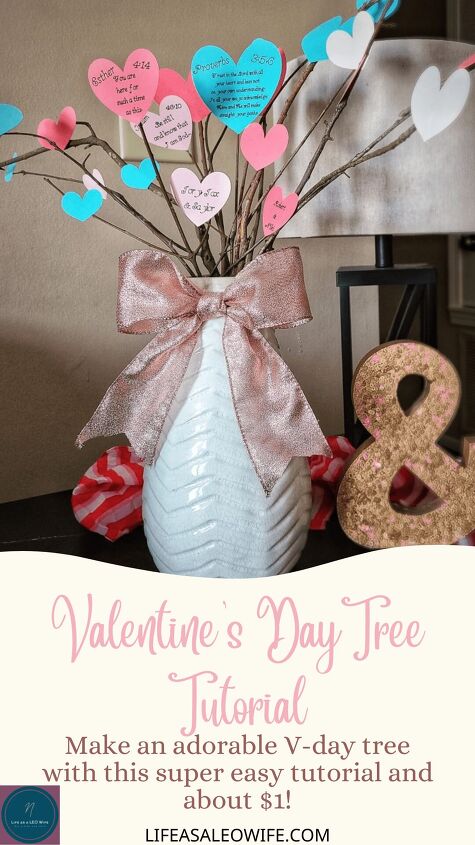
If you like this Valentine’s Day tutorial, you may like these projects as well:
I would love for you to leave me a comment below and let me know what you think about this adorable sweater wreath! You can use the buttons at the bottom of this post to share it your friends and family. They need some cute in their lives too, and it will help you find the tutorial when you’re ready to make it. Remember to Pin it as well. Use the buttons in the sidebar to follow me on social media. I welcome you to share your creations there as well. Enter your email address below to receive an email when new posts are added so you never miss a tutorial, free printable, or other great post (including weekly link parties)!
Follow me on Pinterest for new ideas added weekly!


Frequently asked questions
Have a question about this project?