


Fabric Wrapped Customized Christmas Ornaments

This year we're doing a little something different for Christmas. We having a lot more fun & I'm definitely taking decorating a lot less seriously.
I've always been into themes & color schemes but not this year! After losing our family matriarch last year, Christmas was just not the same & I needed to perk things up a bit. So I went from monochromatic to colorful. And even put the tree in the most random spot.
We loved it! So this year we're taking it up a notch - because we could all use a lot more joy right about now!
We're keeping all the color & adding even more! I'm making fabric wrapped ornaments using African wax prints!
{I made these with items I already had on hand, making them a total cost of $0 (that's ZERO) dollars! But you could probably get everything you need for this project for 5-10 max.}
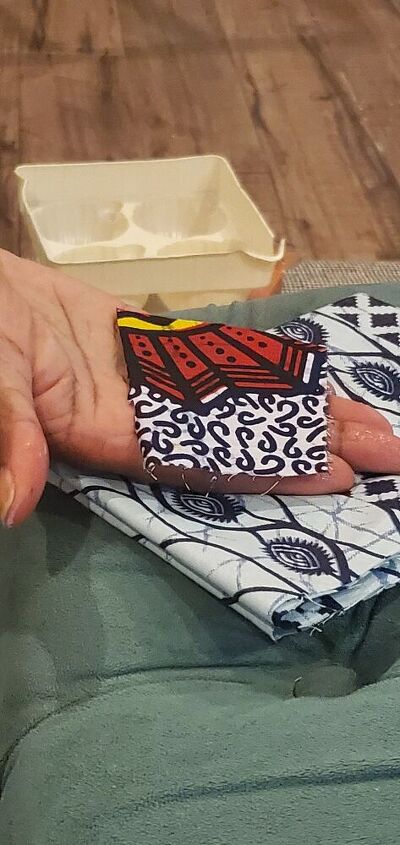
Choose your fabric. You can use all the same fabric & make a "set" of ornaments. Or you can do what I did & mix it up.
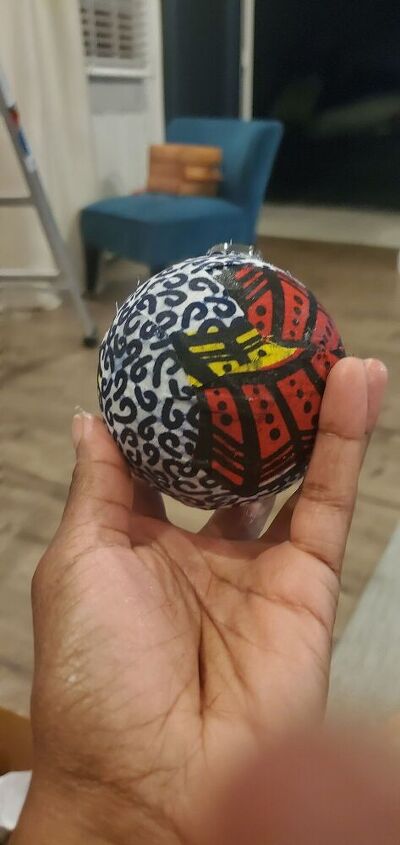
Cut the fabric into 2 inch pieces at most. You can go smaller but if you're working with pattern just know that it can get a little busy.
Remove the "hanger" from your ornament.
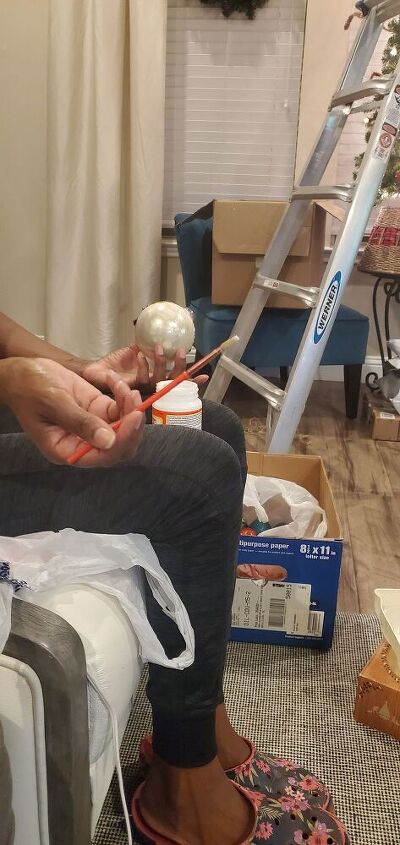
Brush mod podge onto your ornament in small sections at a time.
No need to buy new ornaments unless you just want to. I am using some glass ornaments that we've had for about 10 years. It's definitely time for a change.
Plastic or shatterproof ornaments would be perfect for this. I wouldn't spend too much on new, dollar store finds are just fine.
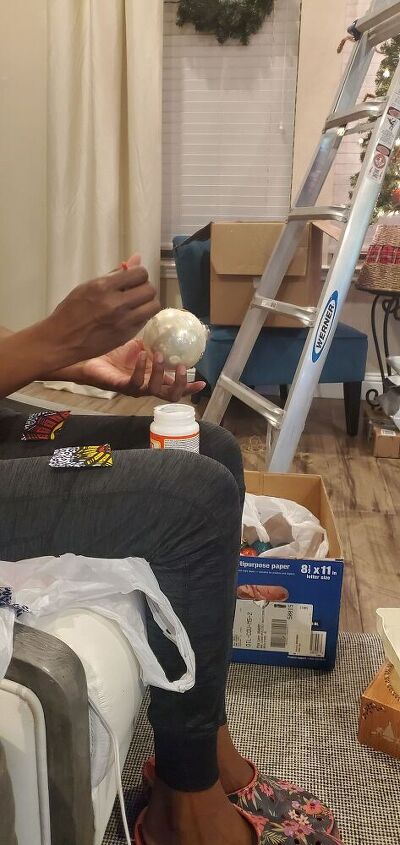
Lay the fabric on top of the mod podge, then move on to the next section.
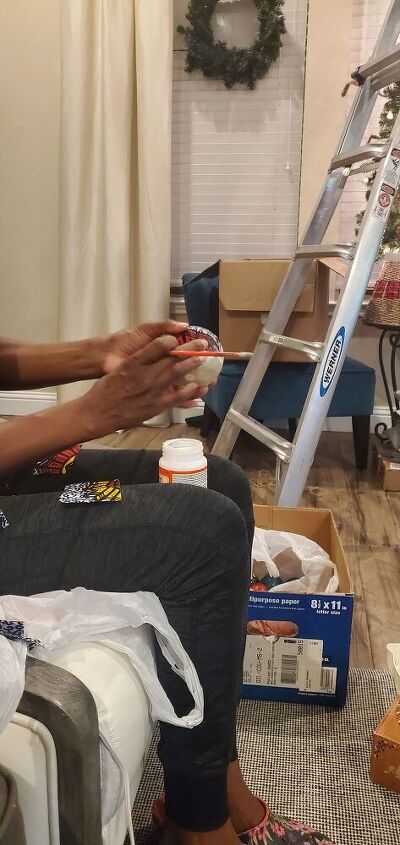
Apply mod podge & then fabric overlapping the previous section a bit.
Repeat the previous step until the entire ornament is covered.
See those frayed ends? Don't worry about those. I rolled the entire ornament gently in my hands until they were flat.
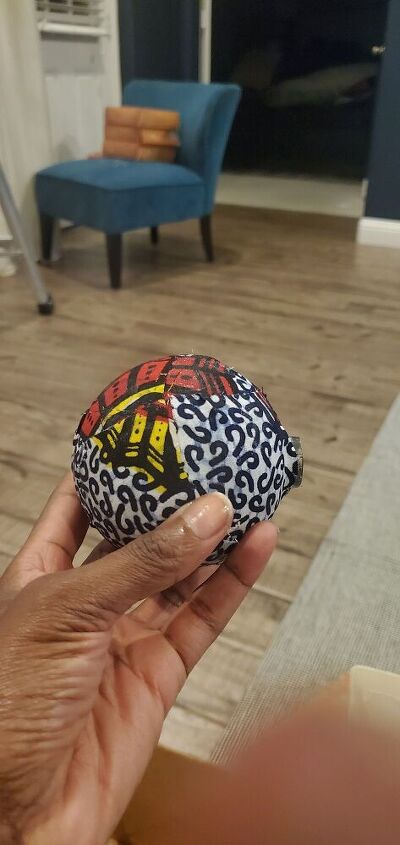
You may have to add a little more mod podge to help smooth things out a bit.
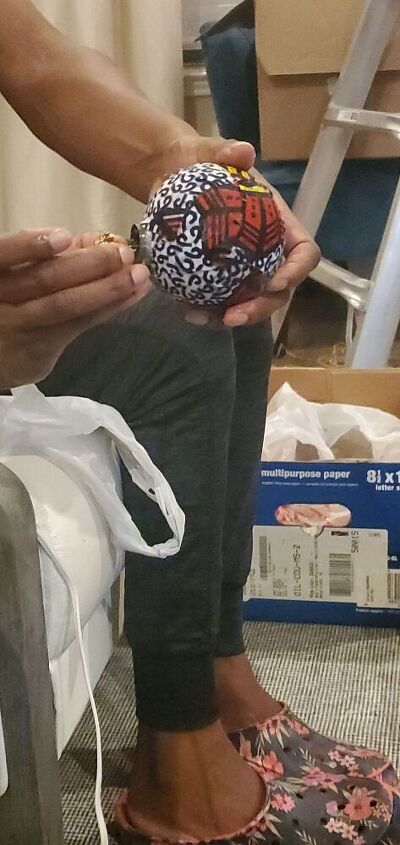
Add the hanger back to the ornament by slightly squeezing the 2 metal prongs to slide it inside the neck of the ornament.
Some ornaments are super simple & the hanger just slides right over the neck. Like I said... mine are old school for real!
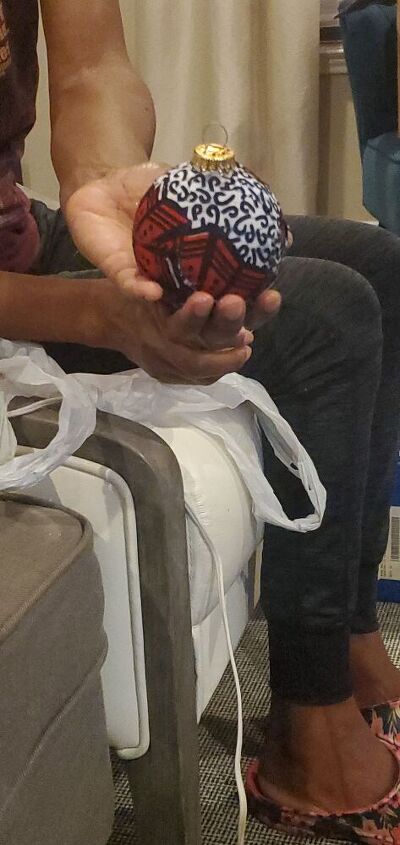
And there you have your "new" ornament.
Now just let it dry a few hours or overnight.
Hang on your tree or wreath as normal.
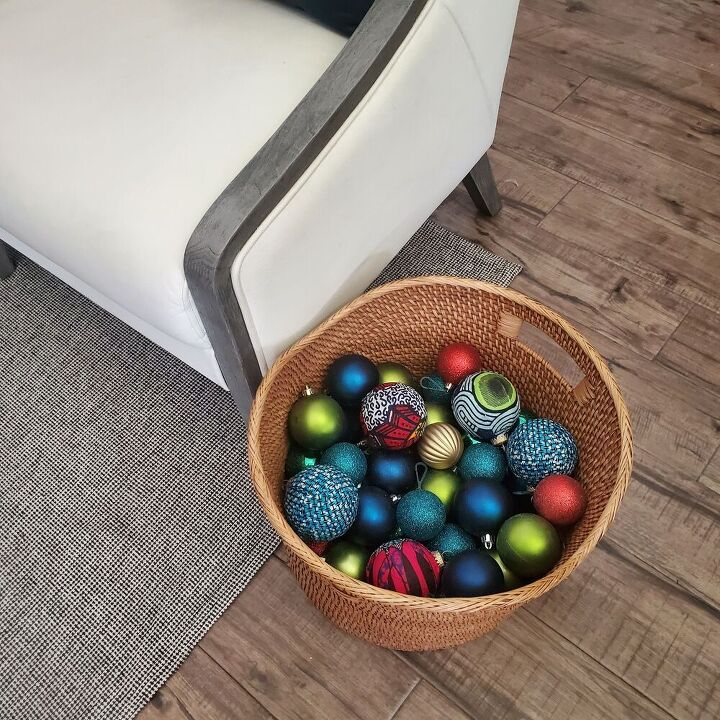
They also look pretty great in a basket.
Extra bonus: If you use non-holiday specific fabric, these could be used as décor year round. The possibilities are endless.
If you like this little DIY, check out more of my projects on my blog, 4th House on the Right! I'd love to have you stop by - we Southerners always love company! 😉
Resources for this project:
See all materials


Comments
Join the conversation
-
Thank you for the site info!
-
Looks like fun! I definitely will be trying this!


Frequently asked questions
Have a question about this project?