


How to Create a Pet Bed
I happen to have the cutest office manager.
Her name is Lulu.
She’s a bit of a micromanger. Lulu likes to keep a very close eye on my DIY projects.
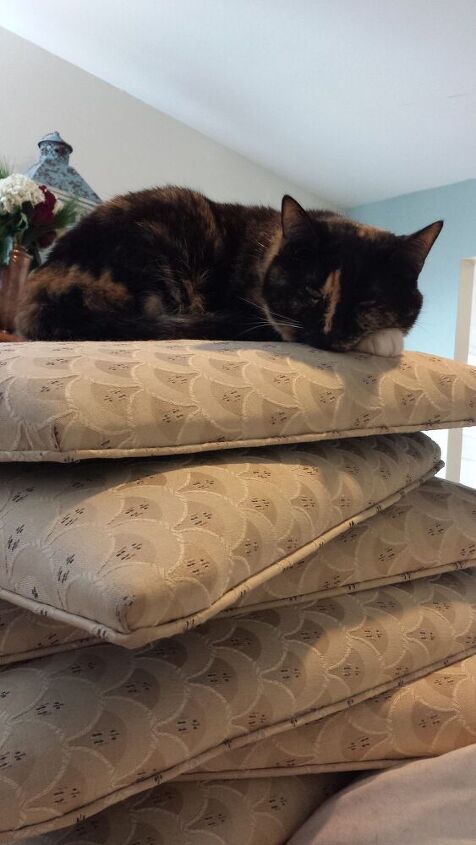
A VERY close eye. She is quite detail oriented and wants to make sure things are done properly. Every now and again, she trusts that I have the project under control and takes a cat nap. This little cutie can sleep ANYWHERE.
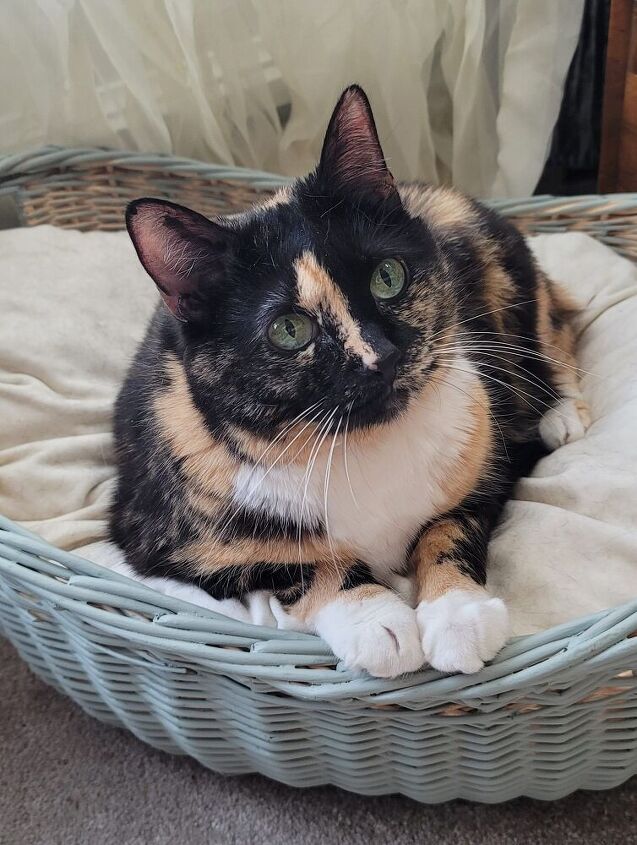
If she fits, she sits. I was looking for pet bed for her online and thought, I have so many baskets so I should make one for her. She loves my projects so. The best part? The DIY version is MUCH less expensive than a store bough one. Did I mention it was SUPER easy to make? Here’s what you need A nice oval basket (a rectangular one can work, too!)An old pillow (with a nice sham)Spray paintA cute office manager who will (hopefully) appreciate the gift. This is such a great project for repurposing. Don’t worry if you don’t have a good basket, (or pillow) floating around. Just head to your favorite Goodwill or other local thrift shop. Once you have your basket, grab an old pillow. It could be an old bed plow or throw pillow. Just as long as it is soft and squishy. Because soft and squishy are the best kind of pillows. Make sure the sham is removable because it makes it so much easier to clean.
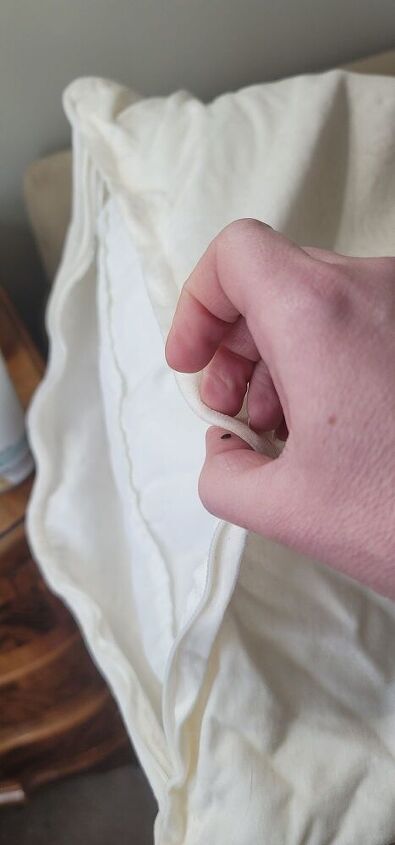
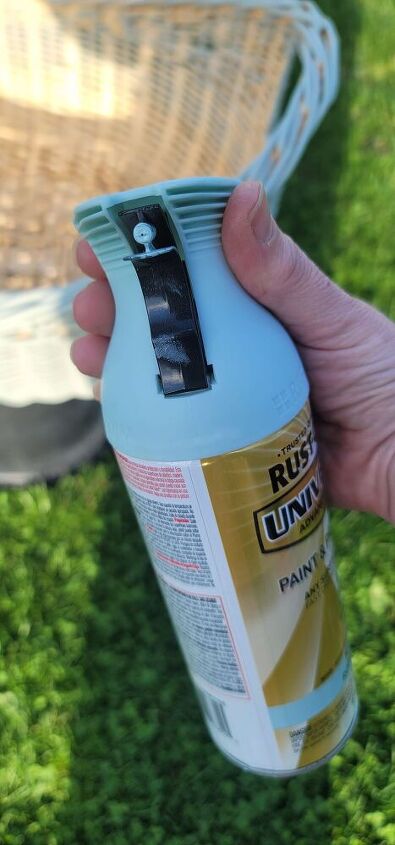
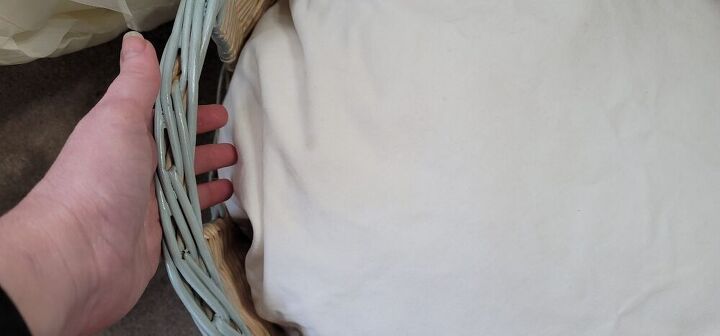
oh, what is that black spot in the picture? The one on my thumb?It was pinched when I was working on another DIY project. Whopsie, ended up with a blood blister. Back to the sham. Make sure it is removable because it is so convenient to just toss it in the laundry! Just make sure to remove as much pet fur as possible, other wise you may end up with fur all over EVERYTHING. One to the basket. Grab a can of your favorite spray paint, because you need to get in all the nooks and crannies of the woven basket.
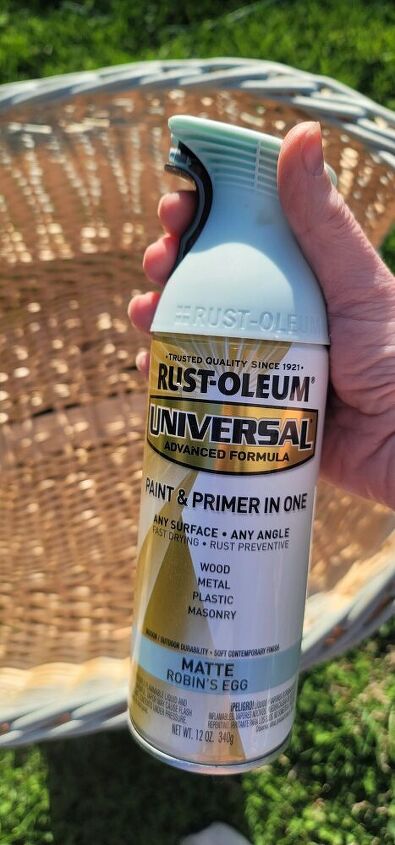
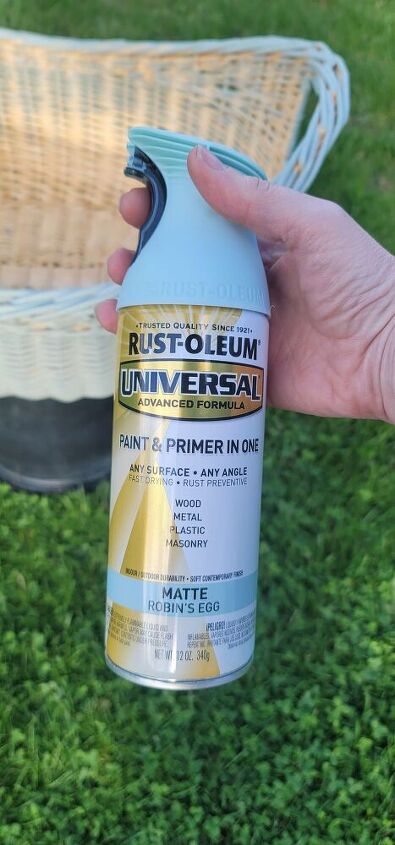
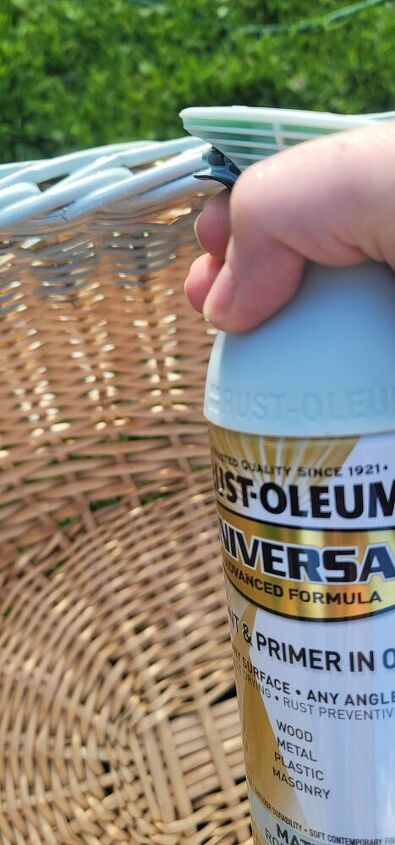
For Lulu’s basket bed, I chose Rustoleum Matte in Robin’s Egg. It’s a beautiful soft blue with green undertones. Or is it a soft green with blue undertones? Either way, I love the color. It will go perfectly with my French Country Cottage decor.Now, this may seem like a silly, but please spray paint outside. You know the whole “spray in a well ventilated area” thing, outside is perfect. On a not so windy day. Quick tip, when you are spray painting, prop the item you are painting up on something. A planter from last season was perfect for spray painting the basket.
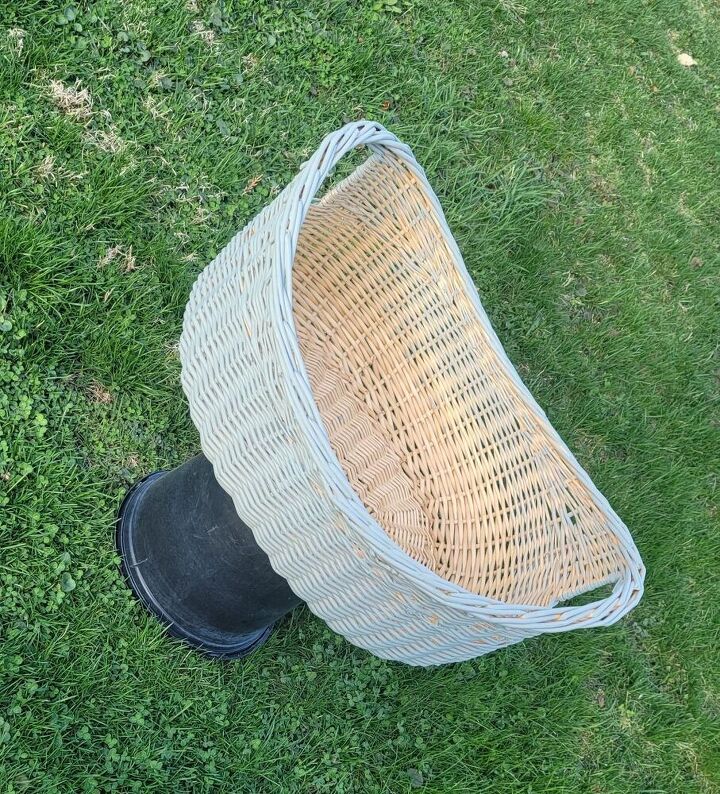
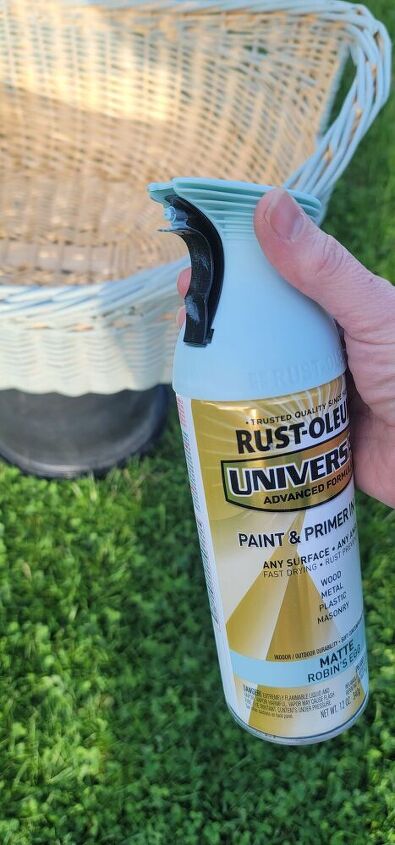
It makes it easier to spray when it is off the ground. And you shouldn’t need to pick off any blades of grass that get stuck. Because that has NEVER happened to me 😉 I love the sprayer on this Rustoleum spray paint. You know the standard tiny spray tip, that you press with your finger til you can’t feel your finger anymore? This one is so much easier on your fingers.
Give the trigger a squeeze and coat the basket in light even sprays. Spray paint is perfect for this project, it makes it easy to get great coverage.
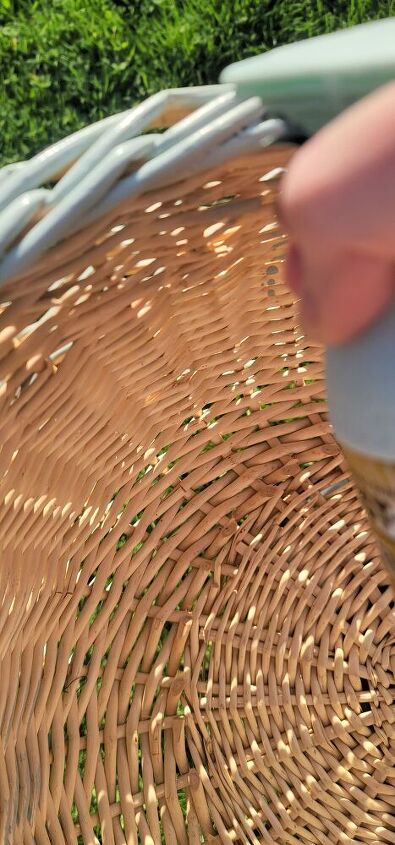
Once the first coat is dry, it may need a second coat. I like to let paint cure at least 24 hours.
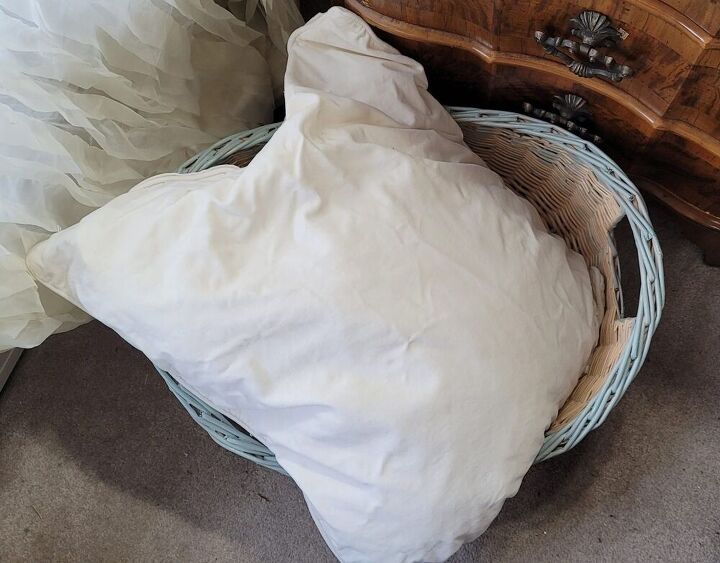
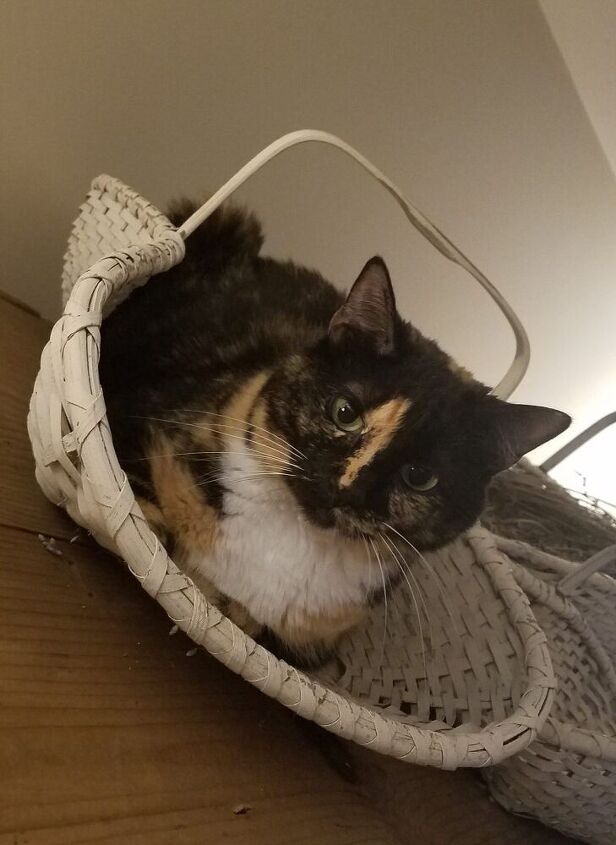
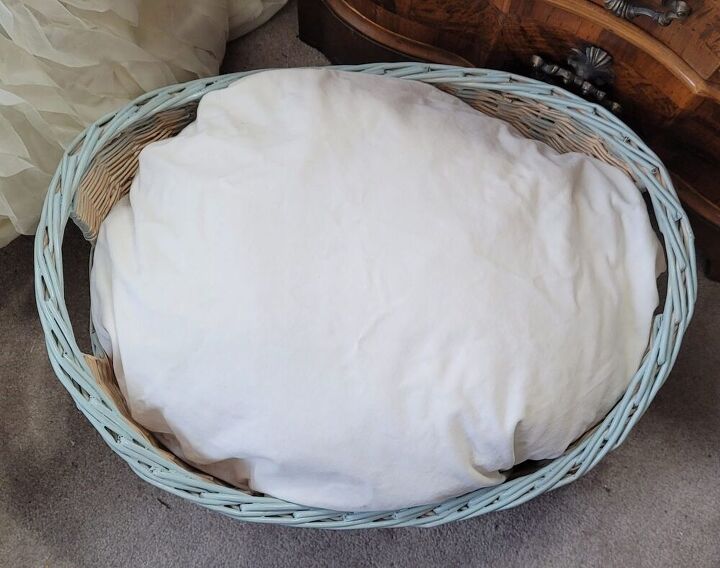
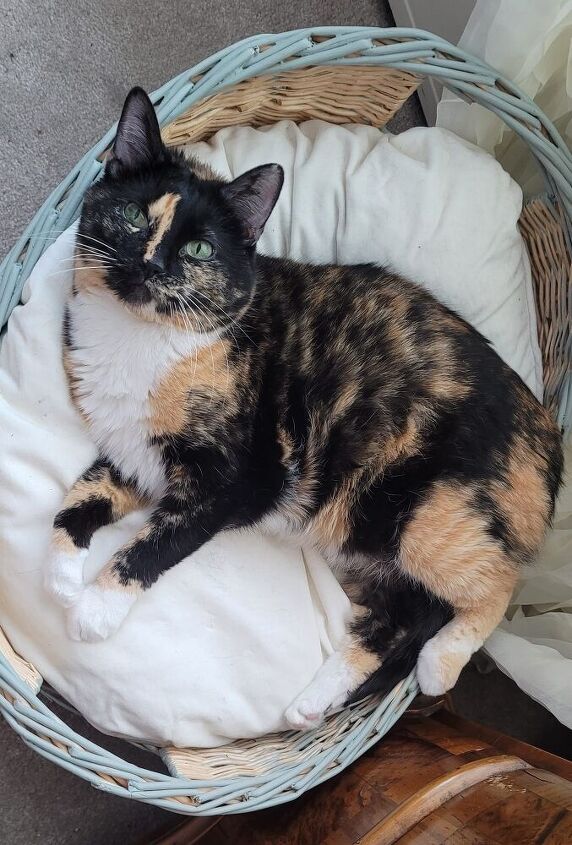
Once your basket is dry, you are almost done! The last step is to just pop the pillow in the basket.
Since my basket was oval, I placed the pillow diagonally, and tucked the corners.
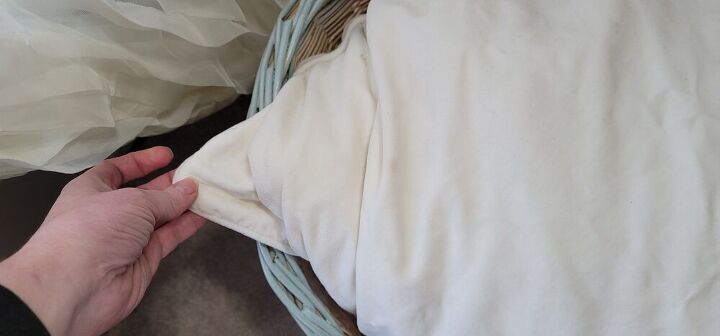
tuck the corners of the pillow in to the basket
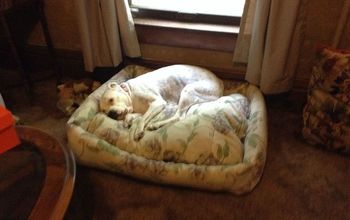
Easy peasy. Isn’t it a cute little pet bed?
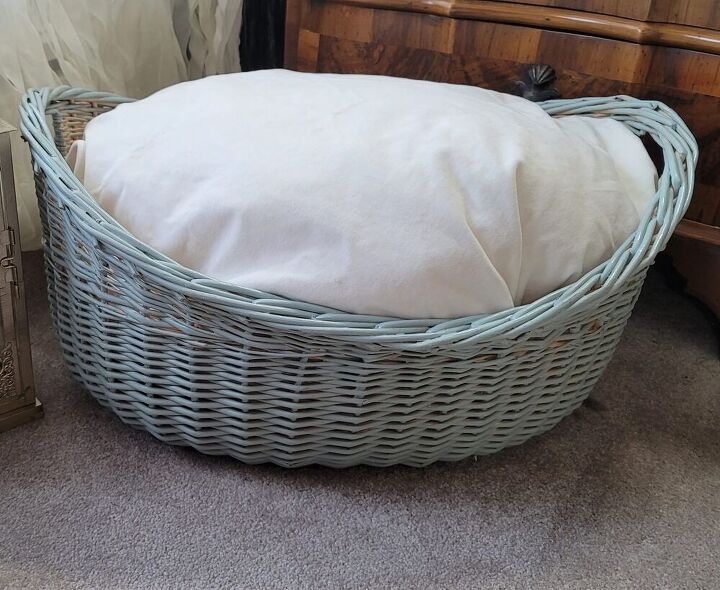
I think Lulu agrees.
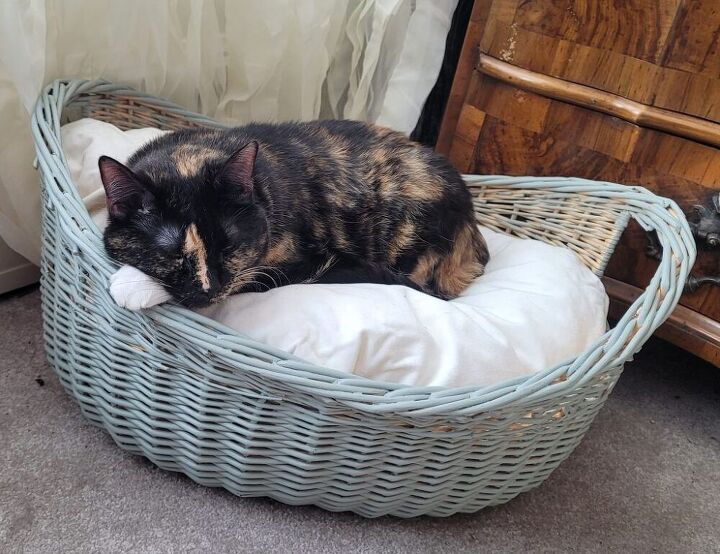
I placed it near the radiator so it keeps her nice and toasty on chilly days.
Gifts are always better when made with love. After all, Lulu is short for Love U, Love U.
That looks so much more comfy than my extension cord. Now that Lulu is napping in her new bed, it’s time for a new project.
For more furniture makeover and DIY's head over to my blog


Comments
Join the conversation
-
Lulu is sure a sweetie ! The bed is cute too !


Frequently asked questions
Have a question about this project?