


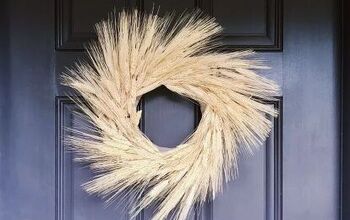
How to Make a Chenille Wreath
I love chenille and am thrilled to share how to make a chenille wreath. I am so happy I found a use for the $5 chenille bedspread I bought at the flea market.
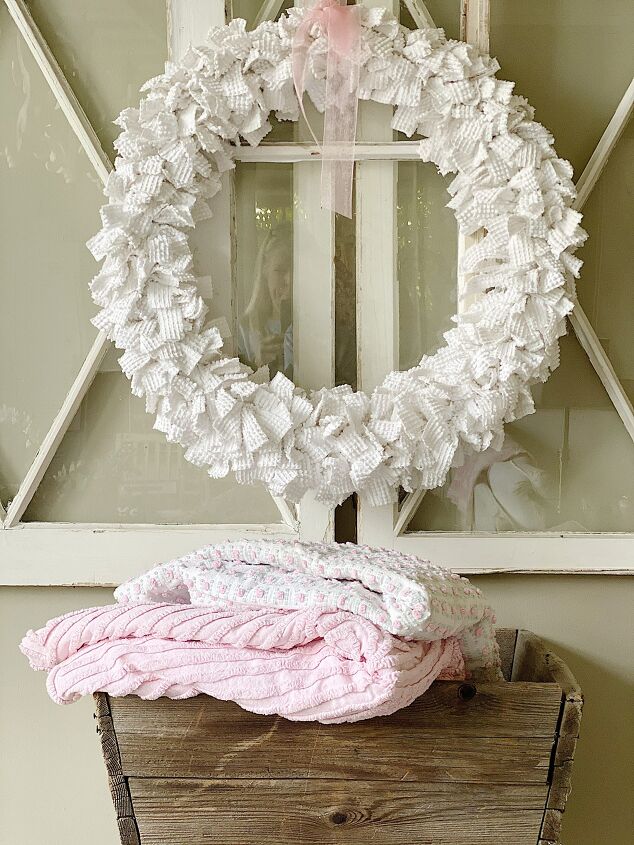
It’s been less than a week and I miss the twenty-six wreaths hanging in our home from the holidays. So I decided to make a chenille wreath. I pulled out one of my old flea market bedspreads and made a DIY chenille wreath. (I should mention I paid $5.00 for the chenille bedspread because it had a big tear on one side. Of course, I knew someday it would make a great craft project.)

How to Make a Chenille Wreath
This “rag” wreath was so easy. There is no sewing, just tearing fabric and tying knots. That’s it!
If you don’t have a chenille bedspread that you would like to use, you can also buy some chenille fabric I have listed below.
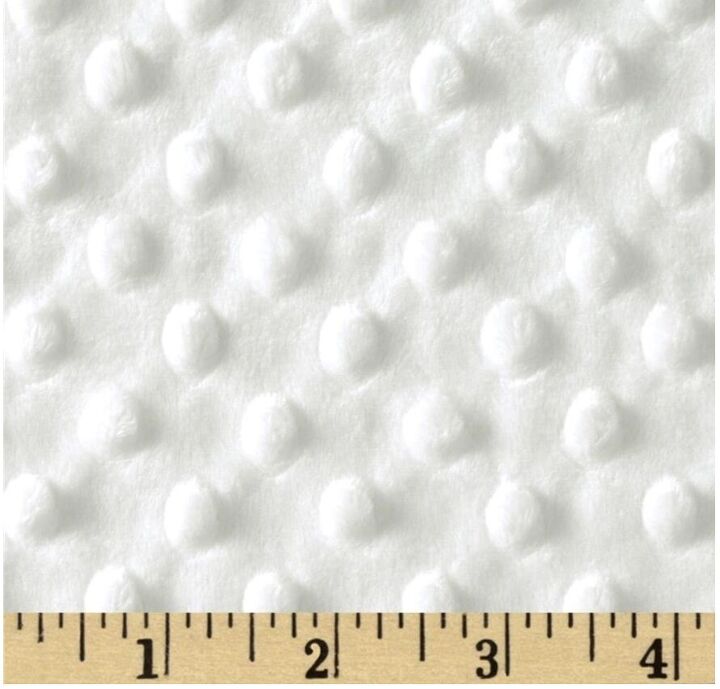
chenille bedspread, chenille, chenille fabric, vintage chenille bedspread
Materials You Need to Make a Chenille Wreath
Anytime I see a chenille bedspread at the flea market I try to purchase it. I use them on our beds and have made pillows out of some of the beautiful bedspreads.
I usually won’t spend more than $20 and I can pay a lot less for ones that have a tear. That’s the only way I will cut them up for DIY projects … if they are damaged.
This means, of course, I have a lot of chenille bedspreads waiting to become a DIY project.
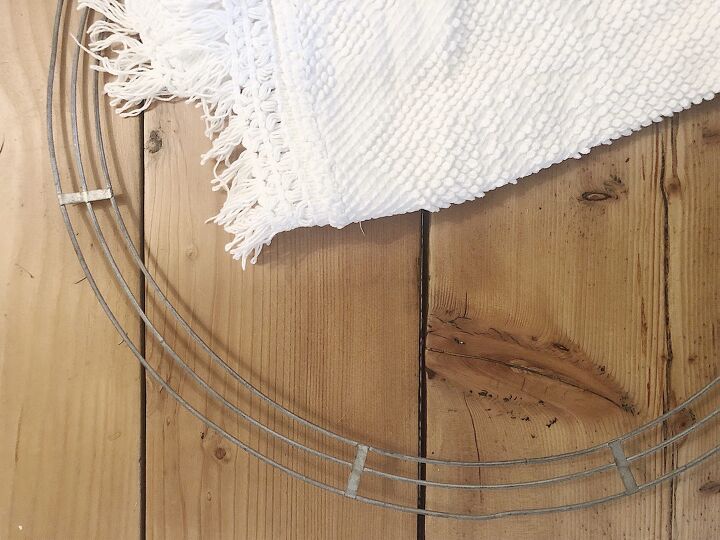
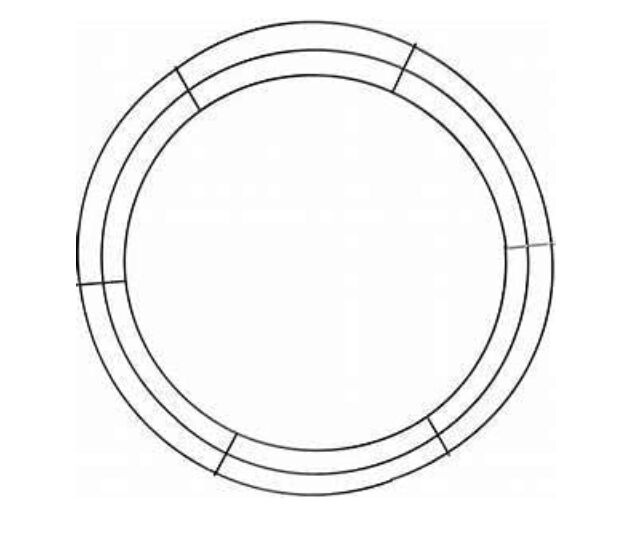
For this chenille wreath, you need a metal (three or four lines) wreath form, two and a half yards of fabric or a chenille bedspread, and a ribbon. That’s it!
I found a wreath form at a vintage shop for $5 but you can also find these metal wreath forms as I listed below.
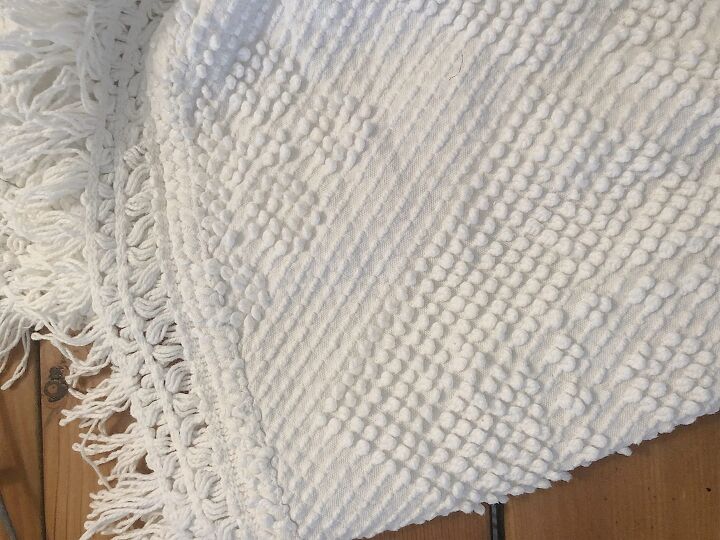
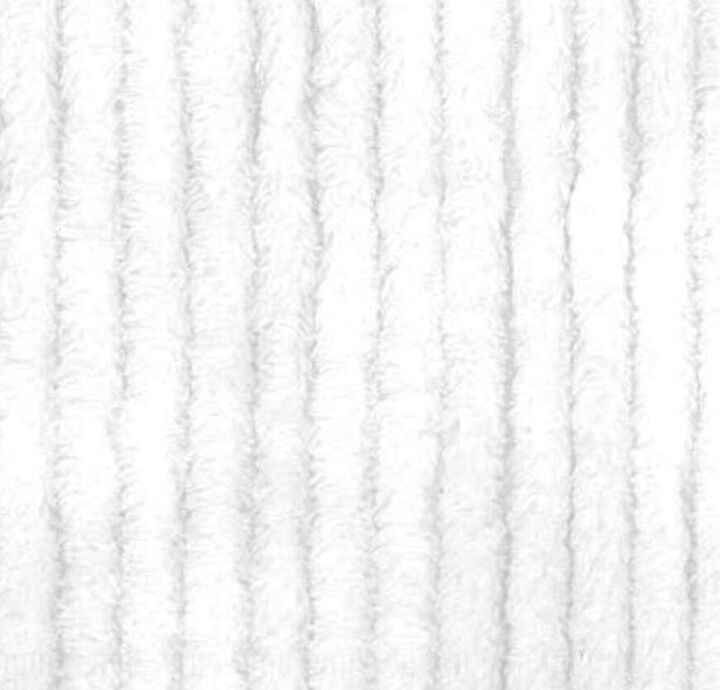
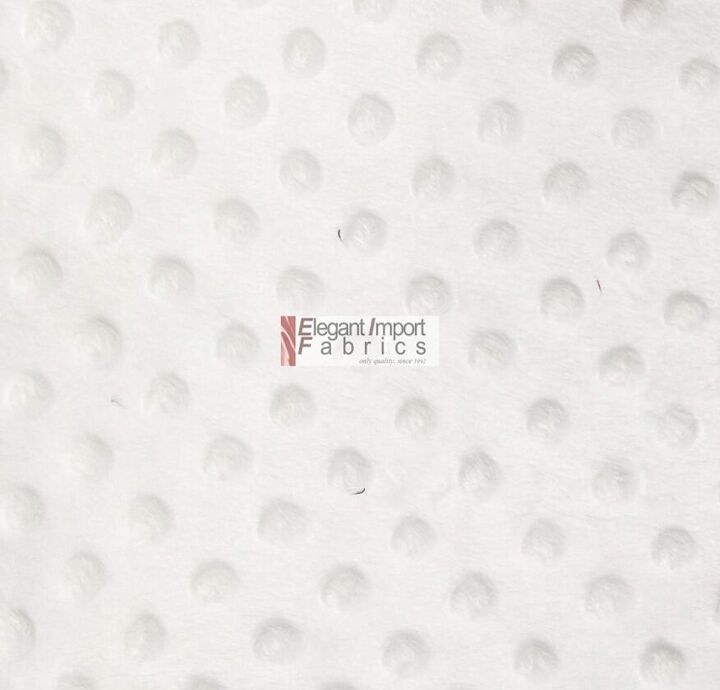
You can use a drop cloth, muslin fabric, or even burlap if you can’t find chenille. I highly suggest you use a fabric that rips well. If you can tear the fabric you will save so much time!
To determine how much fabric you need, you need to start with the size of your wreath form. Measure the distance all the way around the outside of the wreath. My wreath is 24″ in diameter and about 70″ around the outside. I need about 1′ for every inch on the outside, which is 70″ or about two yards (of 45″ wide) fabric. I suggest you purchase two and a half yards just to be safe.
How to Tear the Fabric Into Strips
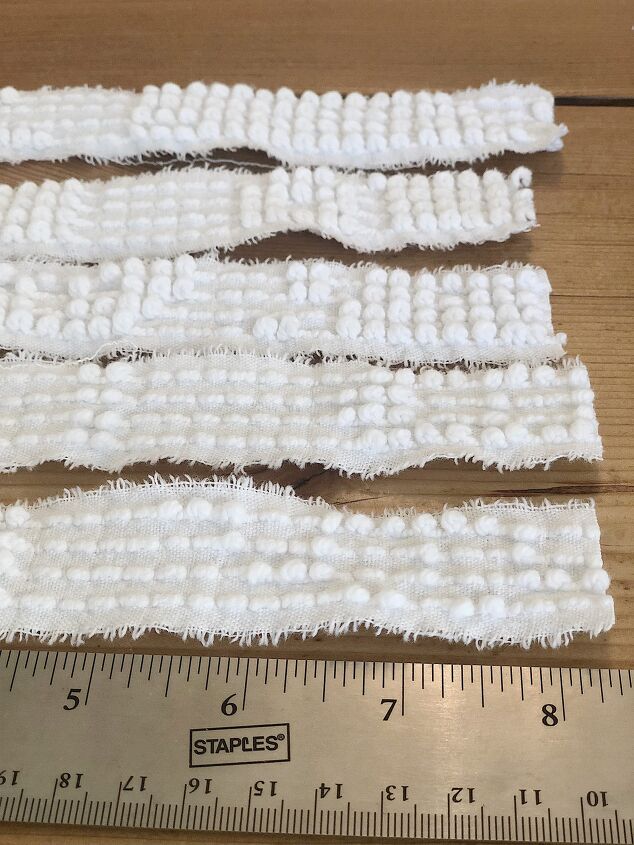
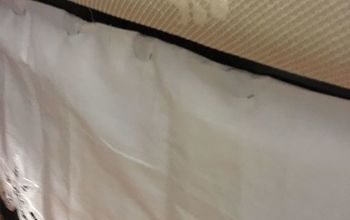
Next, you need to tear (or cut) one-inch strips. If you are using chenille be sure to tear them in the right direction. My chenille fabric will only tear in one direction.
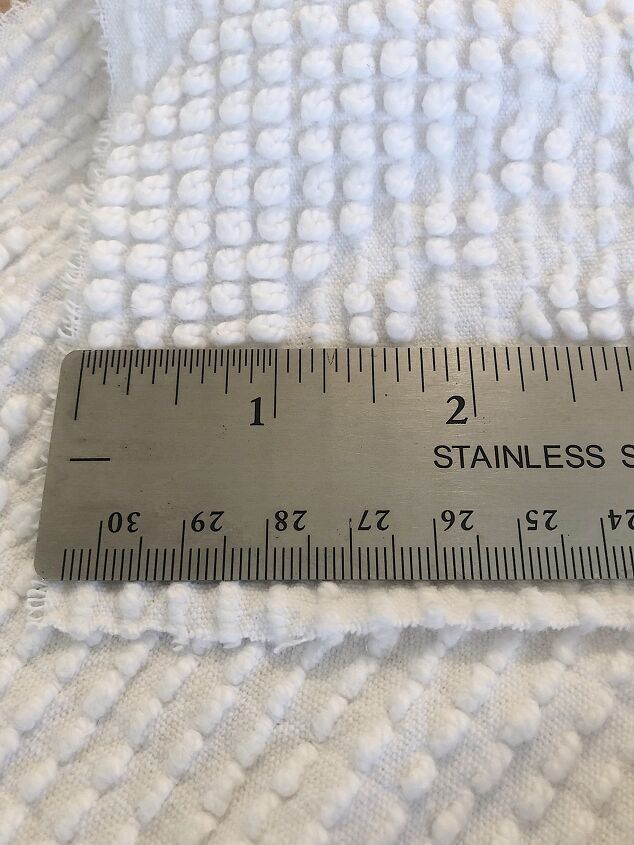
Before I tore my fabric, I cut off the trim along the edges and then cut a small slit every 1″. Then I just tore the strips.
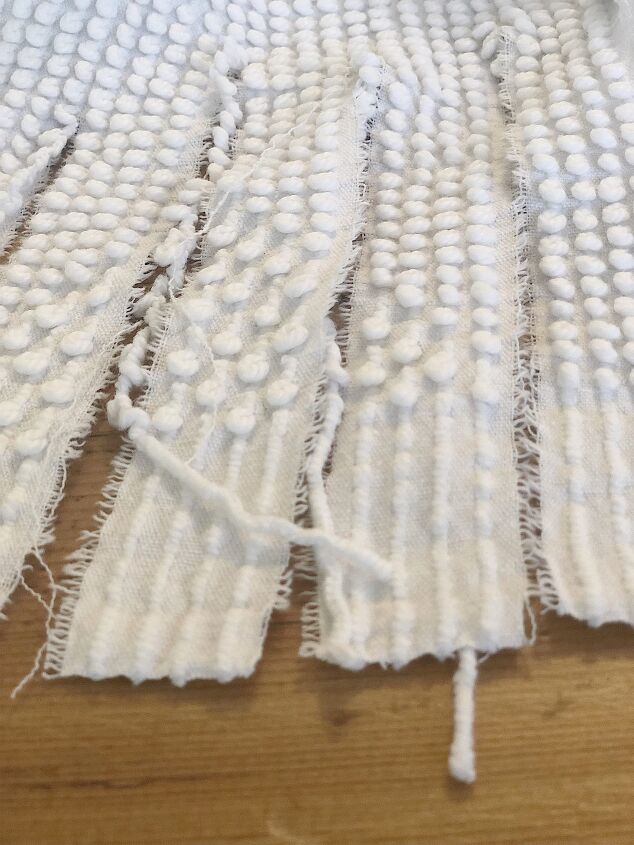
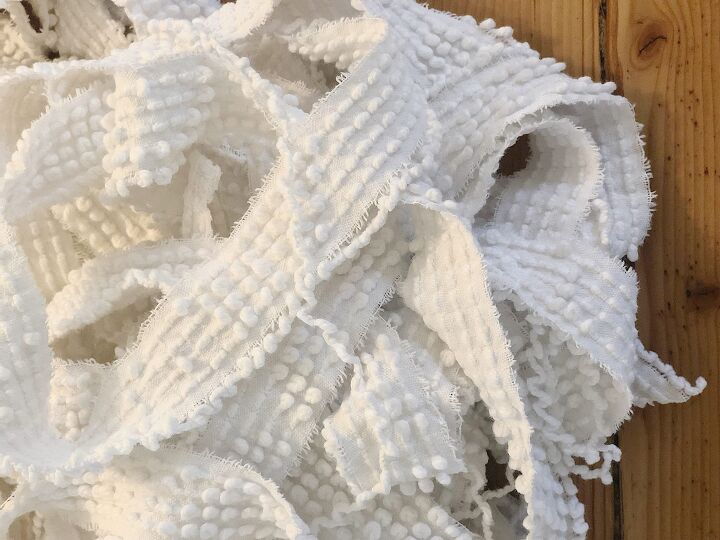
Next, I cut each strip into 8″ lengths.
Assemble the Chenille Wreath
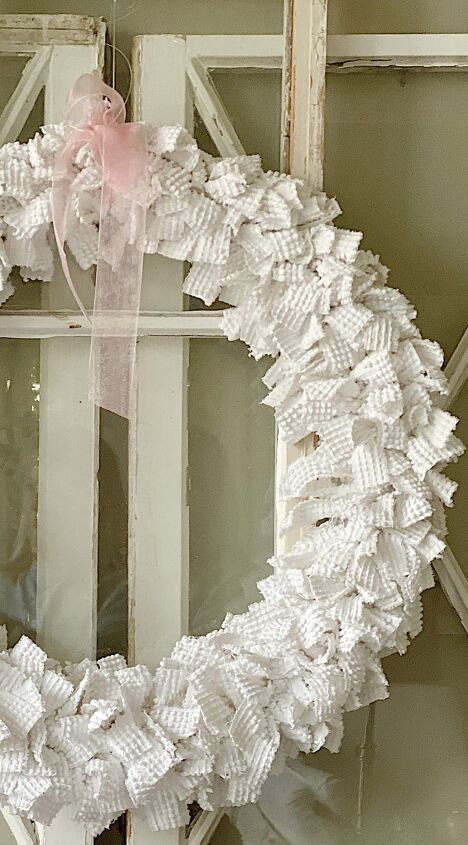
The next step is to tie one strip across each metal rim. Just do a single tie. A double knot is too bulky.
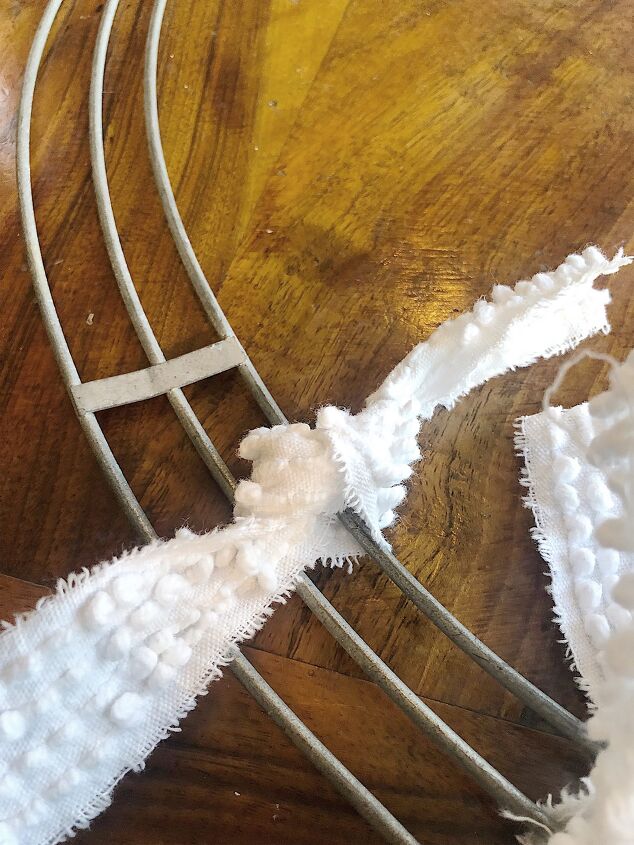
After each row was tied (which was three strips), I pushed them together tightly and started the next row. Here is what the knots look like on the backside of the wreath form.
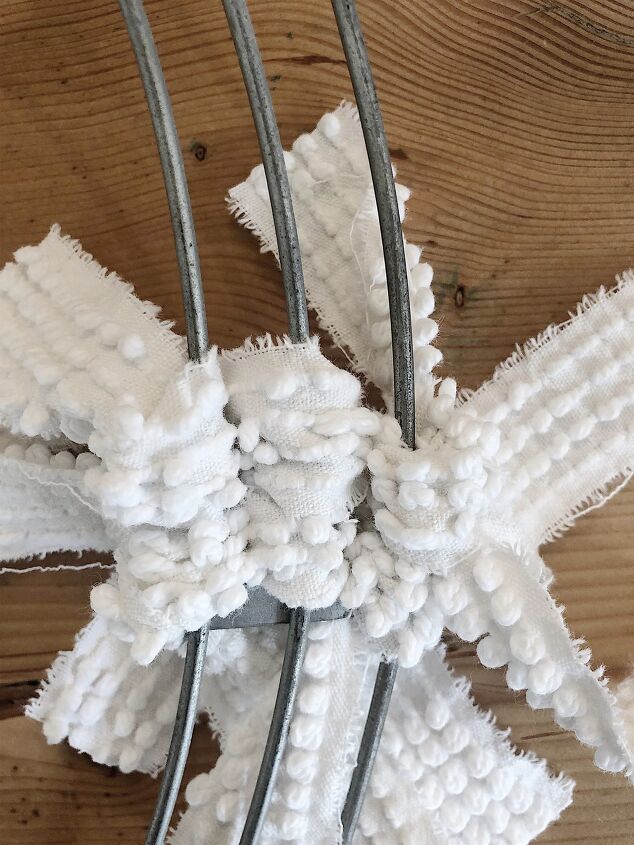
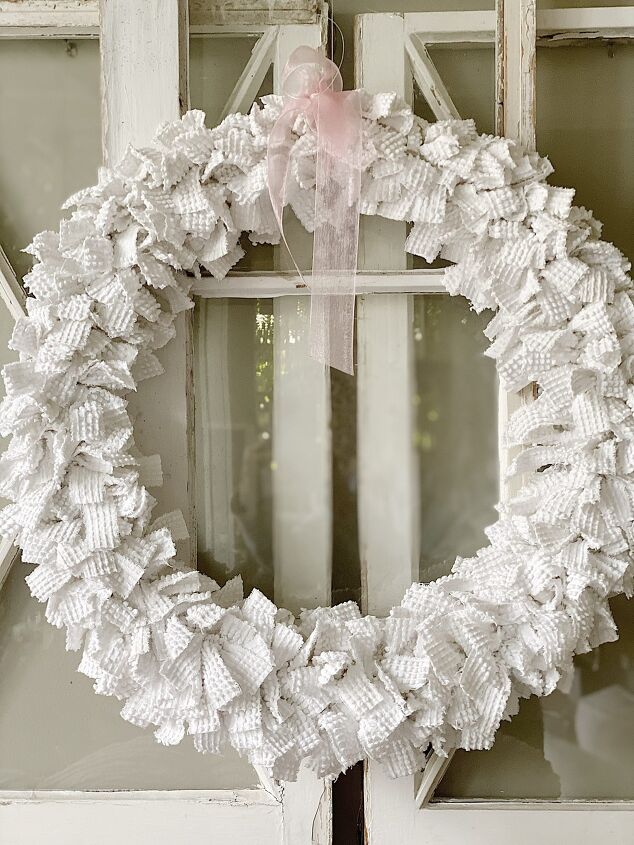
This is how the wreath looks like on the front side.
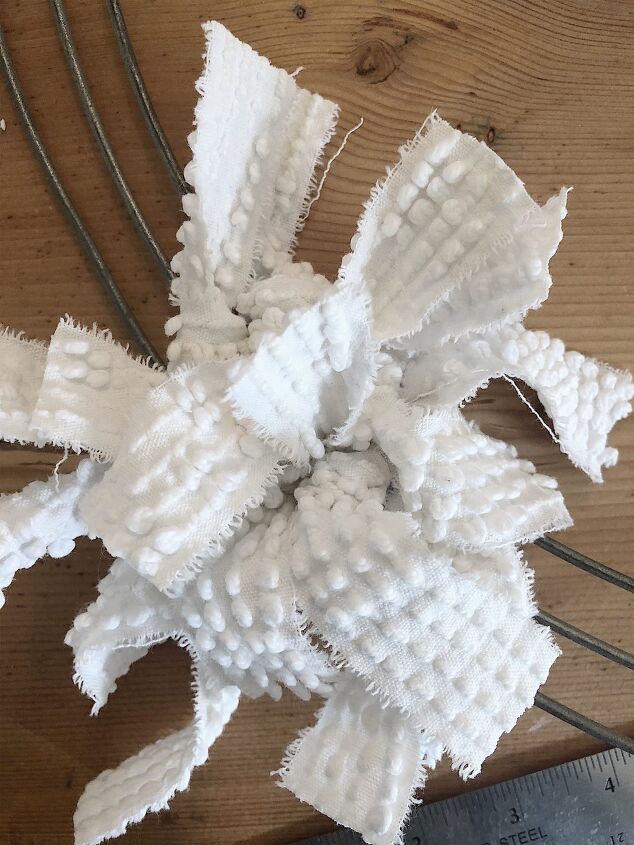
Be sure to push the rows together tightly after each row is knotted.
Next, tie a ribbon to the top or bottom of the wreath.
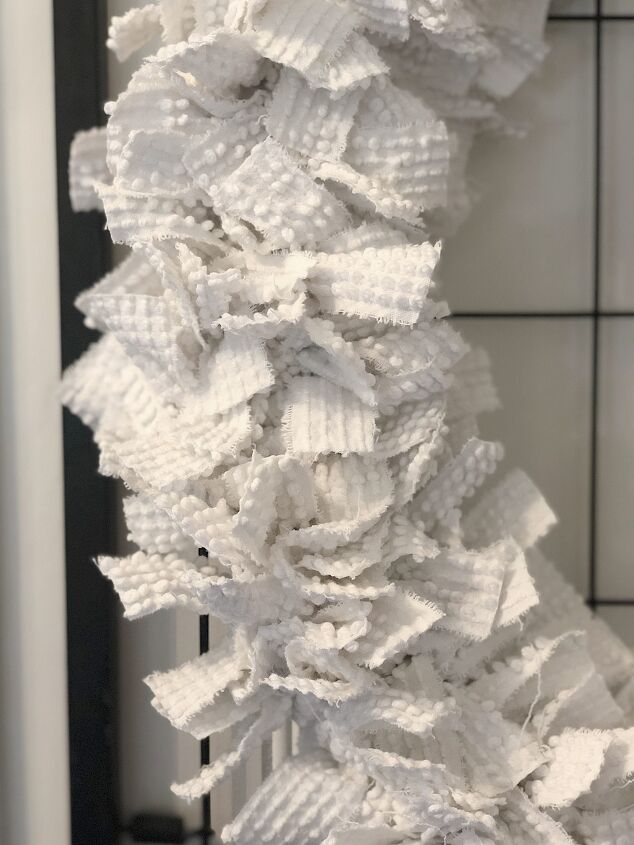
I am so happy how easy it was to make this chenille wreath.
If you are enjoying my blog, you can sign up to receive my blog updates here. .
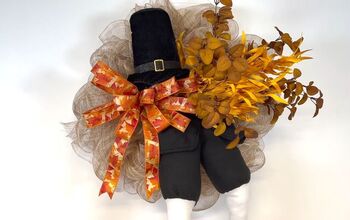
Here are some winter wreaths created by some of my blogger friends.
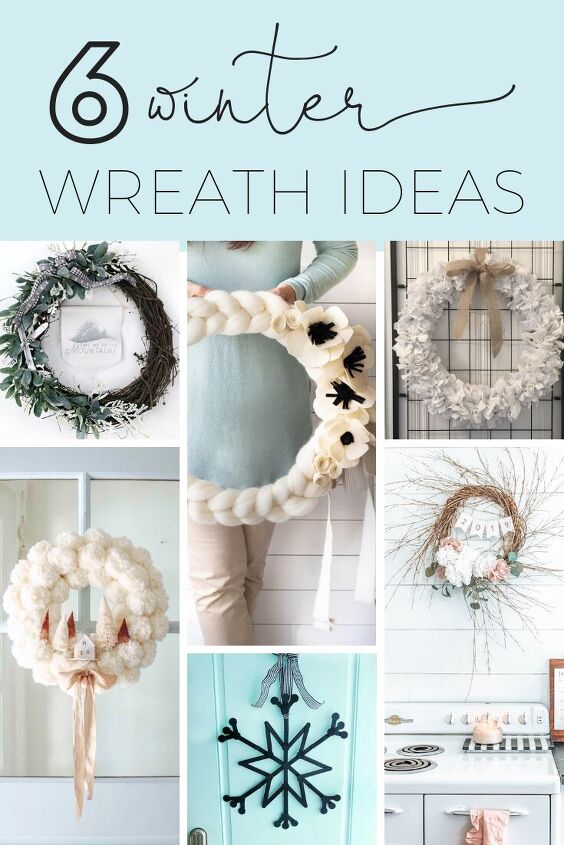
Tauni Everett – Winter Wreath
Happy Happy Nester – Quick and Easy Arm Knitted Wreath
My 100 Year Old Home – Chenille Wreath
Modern Glam – Winter Pom Pom Wreath DIY
Tater Tots and Jello – Popsicle Stick Snowflake Wreath
Hallstrom Home – Tissue Paper Flower Wreath
You Might Also Need…

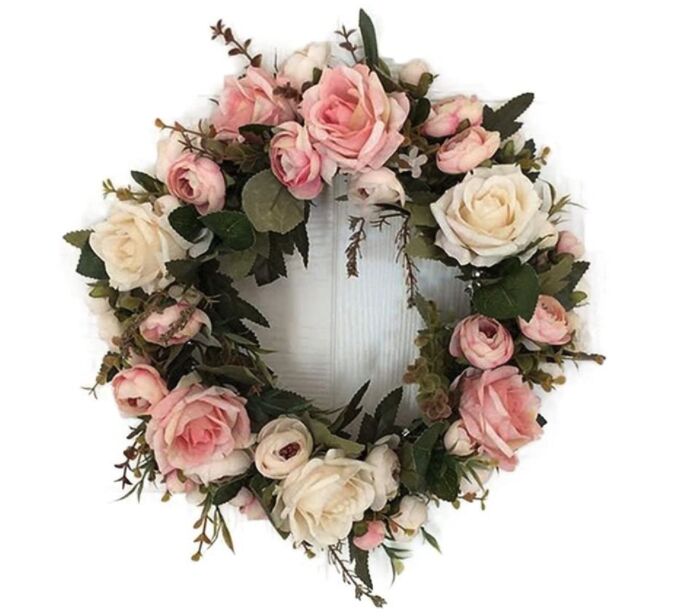
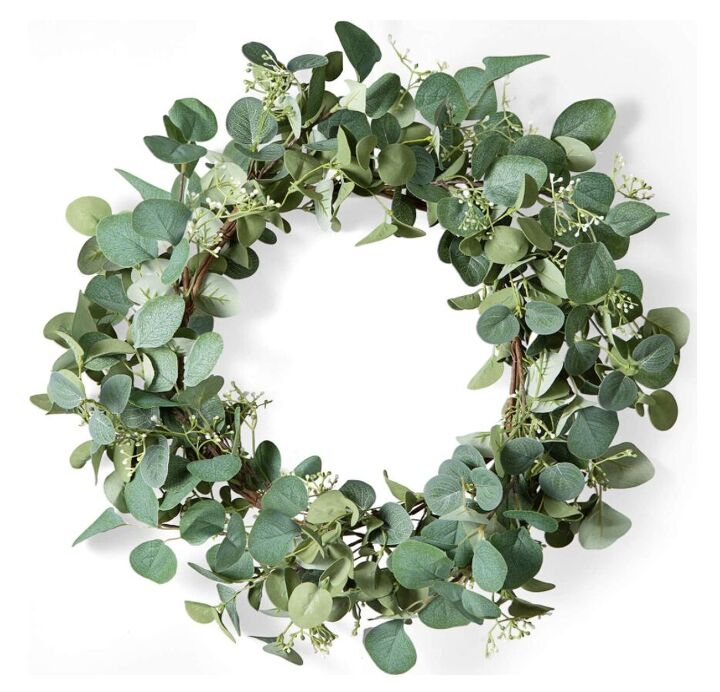
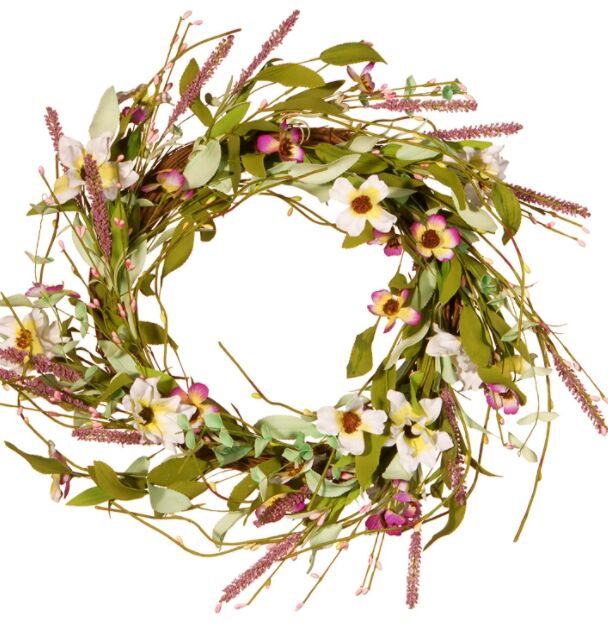
Just in case you don’t have time for a DIY, I found these amazing and well-priced wreaths.


Pin the image below to your decor boards on Pinterest (just click the Pin button in the top left corner). You can also follow along with me on Pinterest!

For more real-time updates, follow me on Instagram @My100YearOldHome

ABOUT LESLIE
Welcome to My 100 Year Old Home. I started my blog so I could share my passion for entertaining, décor, cooking, and crafts. You will find all this and more right here. Read more…


Comments
Join the conversation
-
Beautiful! I also love chenille!!!!! My first memory was when I was 3 years old. My mother was packing to go to the hospital to have my little sister. I was standing beside her running my hand back and forth over her chenille bedspread.
-
Grew up with chenille bedspreads and bathrobes (mid 50’s to mid 60’s). Roy Rodgers on boys beds and flowers on girls and solid color on parents beds. All cotton, warm as toast. Wash like a dream. Why don’t they make anymore? Some were so pretty. I had one on guest bed in first home 50 years ago. Wish I did not get rid of. Kept/used 30 years and in excellent shape when I donated. Still miss it No chemical materials used just natural cotton


Frequently asked questions
Have a question about this project?