


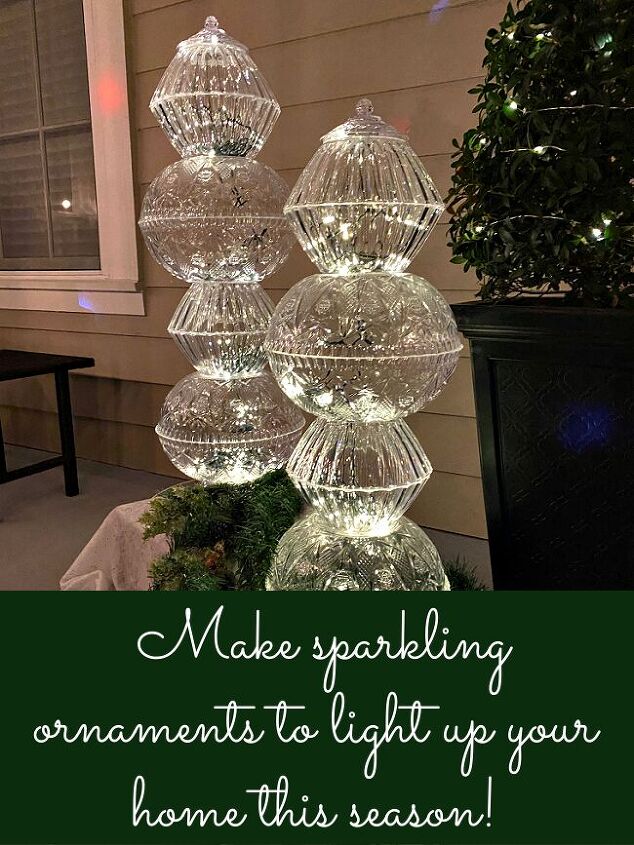
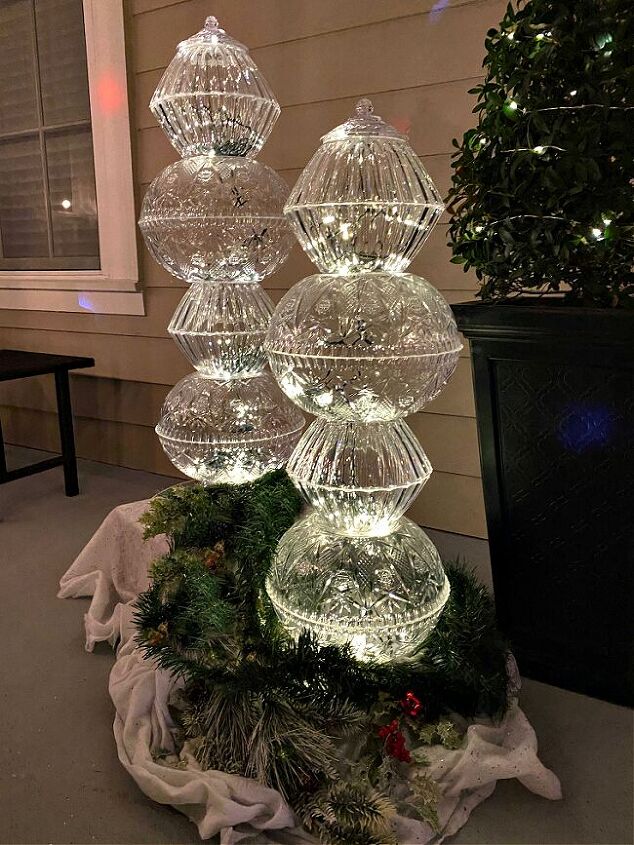
Make This Stunning Light Up Christmas Display From Dollar Store Bowls
Get to the Dollar Tree and pick up some “crystal” bowls and you can have gorgeous light up decorations sparkling on your front porch this holiday season! One of the things I really love about these is that they glimmer like ice and can beautify your entryway all winter long. There is nothing particularly “Christmasy” about these, they say “WINTER” just perfectly. Let these twinkle for you all winter long!
Shop:
No matter if your Dollar Tree has already raised their prices to $1.25 as they are threatening, this is still a bargain project as long as you find a great bargain on the bowls. I was able to purchase these bowls for $1.00 each.
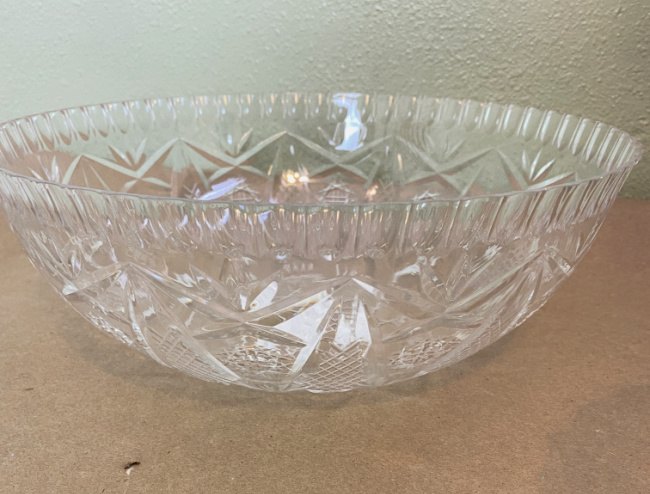
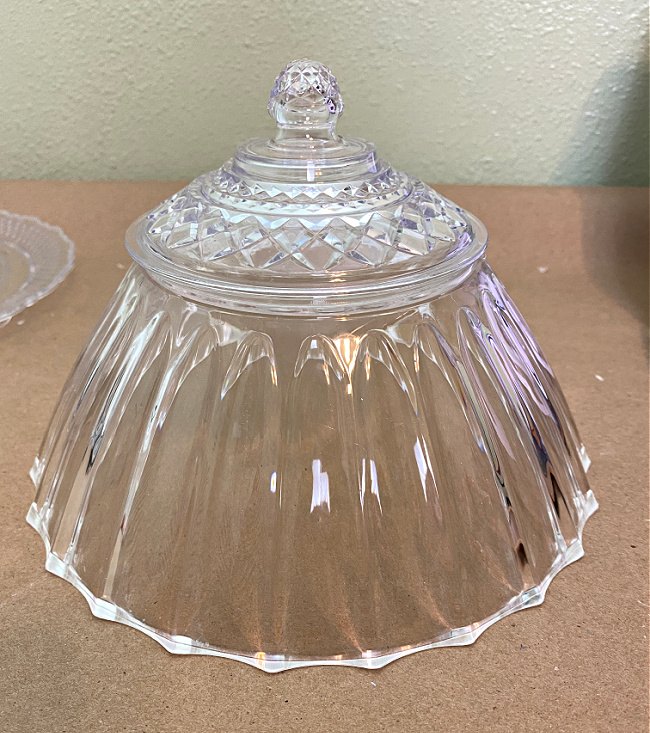
The larger of the two bowls is more ornate with designs in it. This one measures eleven inches across the top open part and is just four inches high. To recreate the same ornament that I did, you will want to buy four of this one.

The smaller bowl is simpler in design. There are just flared patterns on it. This bowl measures eight and a half inches across the top of the open bowl and is three and three quarters inches tall. You will want to buy five of these bowls.
You don’t have to have a tray for a base for your towering ornament, but I like to use one. Any dollar store tray will work. You will simply use that to hold your battery packs beneath the first bowl so you can lift and move the entire ornament without the battery packs from the lights pulling the strings back down out of your bowls.
Time to make your ornament:
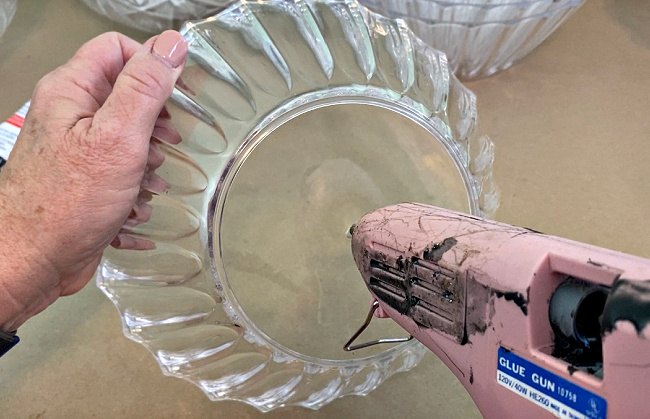
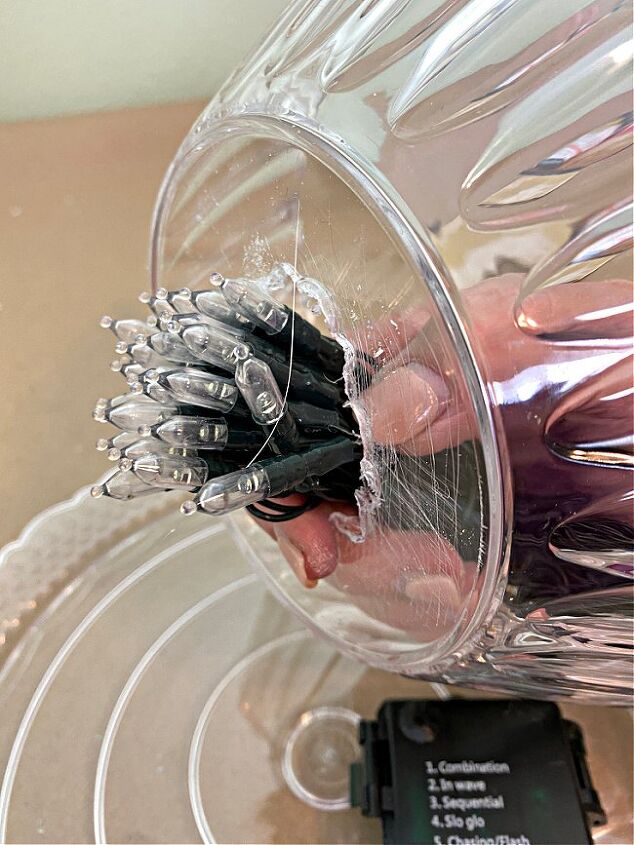
Take each of your bowls and using an “old” empty glue gun and melt a circle of holes in the bottom of each of the bowls. DO NOT apply pressure to the glue gun. Allow the the heat of the gun to melt the holes.If you apply too much pressure, you will cause your plastic bowls to crack. By melting a circle of holes, you will be able to gently push out the circle of plastic.

You would like the hole to be this large to make it easy enough to push a bunch of your lights through. Go ahead and put the holes in all of your bowls.
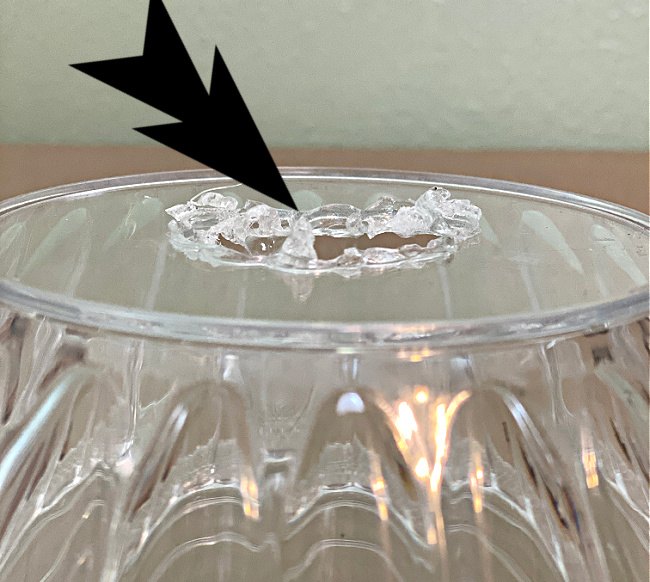
After you have melted your holes, you may have little sharp raised pieces of plastic as shown below.
Put on eye protection! Then use your wire cutters to snip off any of the excess plastic. Be careful not to get too aggressive, or you will crack your bowl. Wear eye protection, as these little bits are sharp and when you snip them off, they will fly off in any direction.
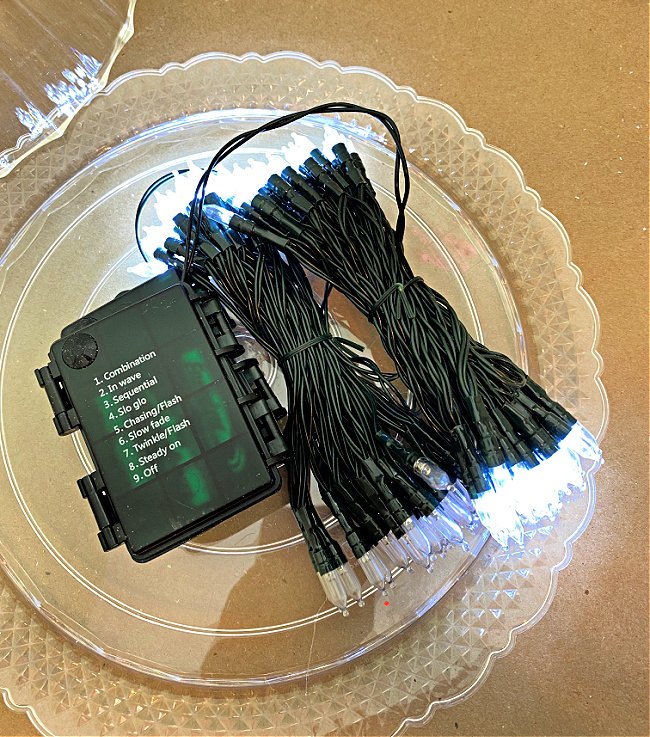
Place your first bowl upside down, SET it on a tray and place your battery packs for your lights under this bowl. Do not glue this bowl down to the tray so you can easily change the batteries as needed.
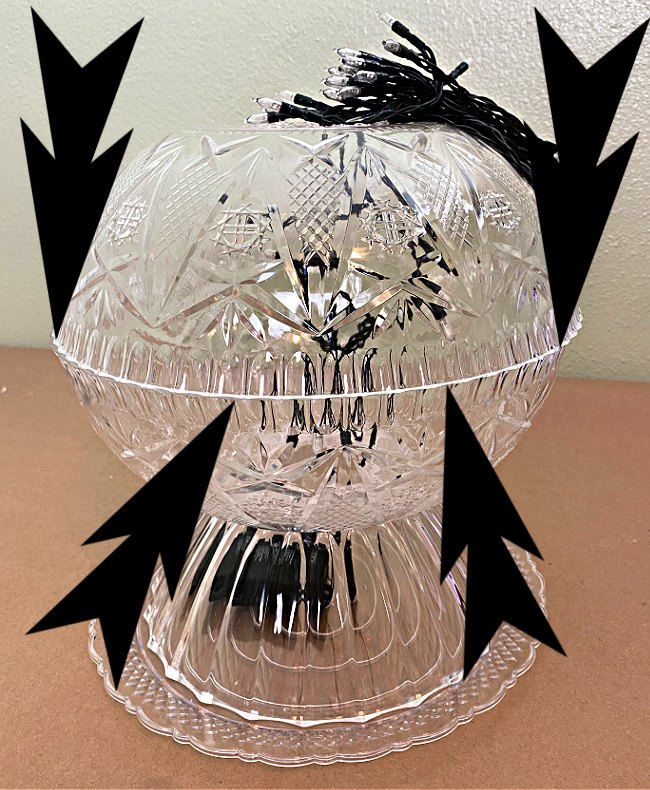
Pull your lights all up through the hole in that bowl.
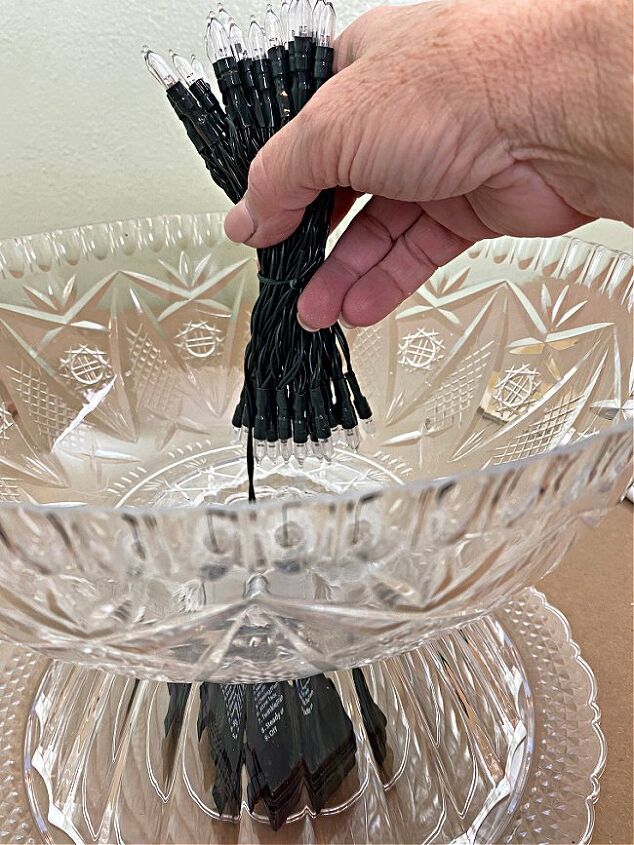
Take your first large bowl and set it on top of your upside down small one. Pull the lights up through the hole in your large bowl.
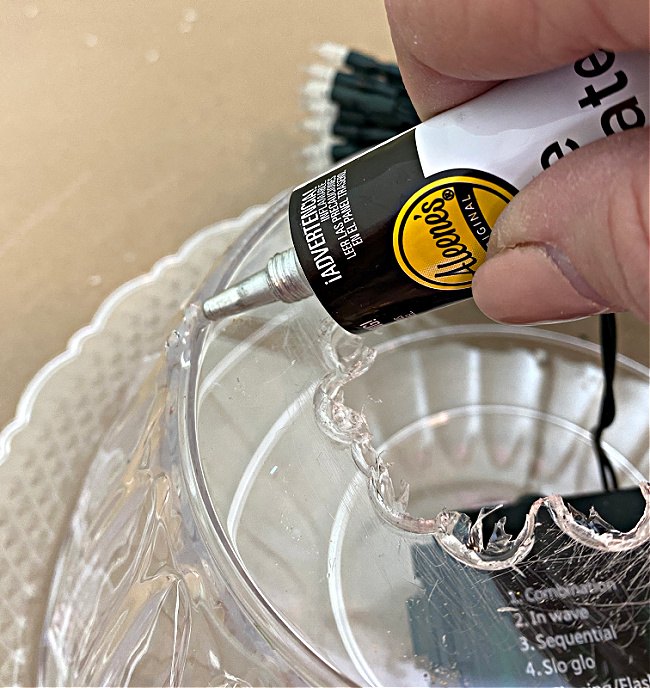
Set the large bowl with the lights in it over on its side and apply a thin bead of adhesive all around the highest point on the upside down bowl. That would be that little ridge around the base of that bowl. It will take a few minutes for the adhesive to set up, so if you would like you can add a little bit of hot glue between the bowls to get them to set up more quickly.
After you have pulled 3/4 of the lights through that hole, line up the edges of the two large bowls and apply adhesive to those edges to secure them to one another. Add the adhesive all around the edge as shown in the photo below. Let the bowls sit for about five minutes to make sure they are secured to one another and the adhesive is set up.
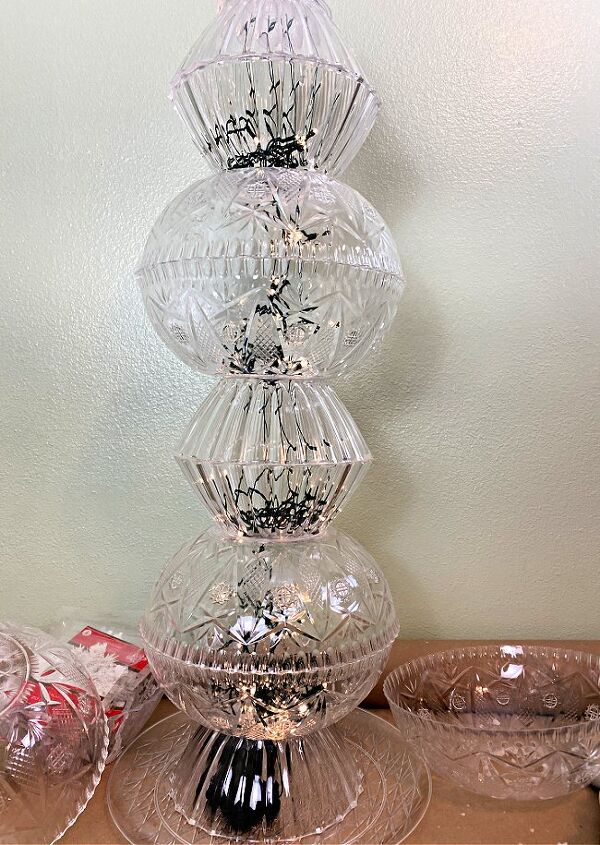
After that, you will repeat the same process alternating the different styles of bowls with one another and leaving 1/4 of the the lights in each orb you have created with two bowls. Your ornament will look like this:
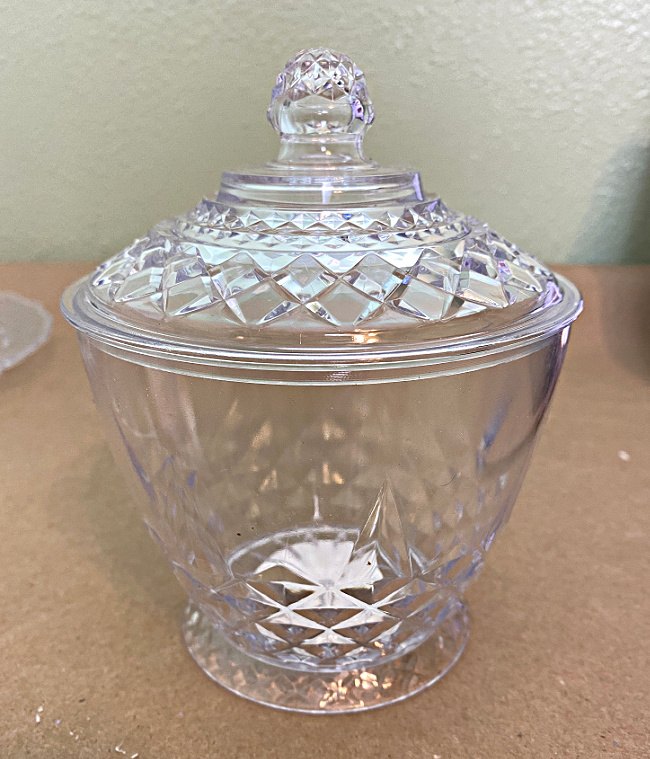
When you get to the top, you will want to finish it off in some way. For this one, I selected a candy dish from Dollar Tree.
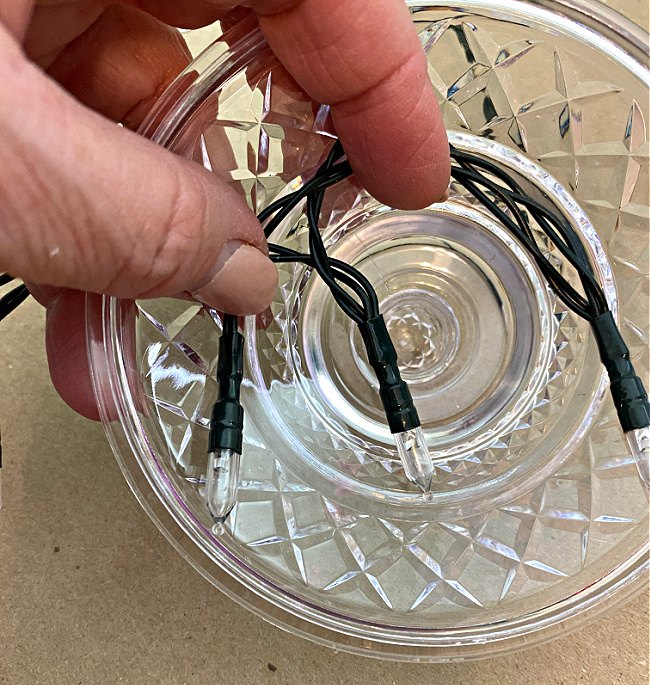
I took the top from the candy dish and used LOW TEMP hot glue to secure a couple of lights, one from each of the strings of lights I used to the inside of the top of the candy dish. That will keep your lights from falling down through the tower you have created.
Then, use the same adhesive to top off your tower with the lid from the candy dish with the lights secured to it.
You can find more tips, details and photos for this project here:
Celebrate & Decorate with this light up ornament!
DIY Christmas Decorations
Resources for this project:
See all materials


Comments
Join the conversation
-
Made 2 of these last year after seeing Chloe's post. Altered them a bit by using lights with white cords and I dropped the lights through the bottom and kept the battery box outside of the "topiaries". I placed them in 2 planters on our front porch. Will use them again this year.
-
How do you stabilize it or weigh it down? I want to make for my front porch but I'm sure it would constantly get blowed over and wouldn't last long before the bowls were all cracked from falling over


Frequently asked questions
Have a question about this project?
Beautiful! Definitely excited to make. Apologies if I missed any questions on weighing this down? I can't imagine it being very heavy and I'd like to try for outside. Any ideas? Maybe add a dowel and place in a planter?
I have stacked the plastic dollar tree plates and bowls. Even after E600 has dried and they are stuck, they still tend to be unstable, shaky if you touch them. Yours doesn't feel like this?
How many strands of lights did you use? Is it top heavy? It's so pretty.