


DIY Wood Frame for Canvas: Beginners Level Tutorial

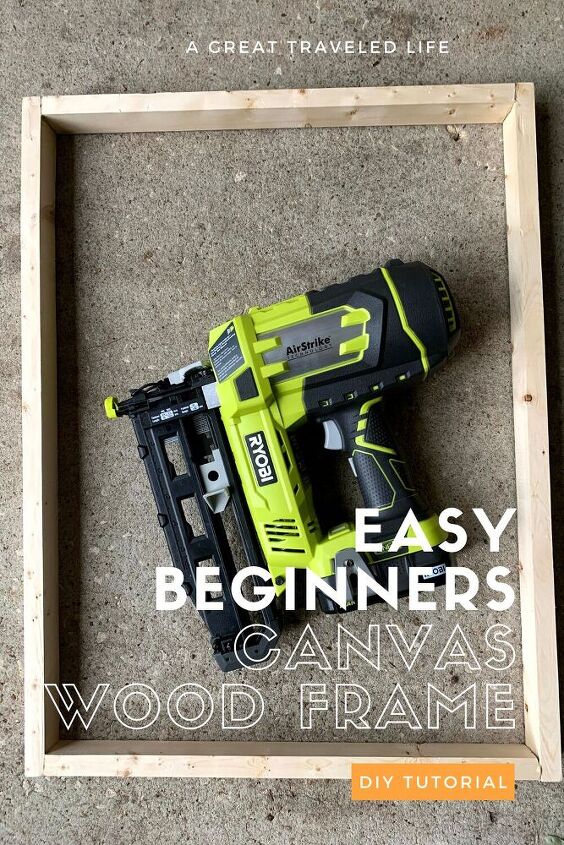
A while back I worked on a fun DIY Canvas Wall Art project and I wanted to add a wood frame to finish the look! I wanted something quick, easy, and inexpensive. This tutorial will walk you step-by-step on how I made the frame and I will show you everything I used to build it!
This tutorial will show you how I framed a 18×24 canvas but you can use these steps to frame almost any size canvas.
Here’s what you’ll need:
- Canvas– In the size of your choosing. I wanted to make a big statement so I went for an 18×24. (see my previous post DIY Canvas Wall Art for inspiration)
- 1×2 Lumber– For this project I used (2) 1×2’s to fulfill my required cuts. Use the dimensions of your canvas to determine approximately how many boards your will need.
- Metal Square Edge– This helps keep everything square and is a great tool to have for any DIY project!
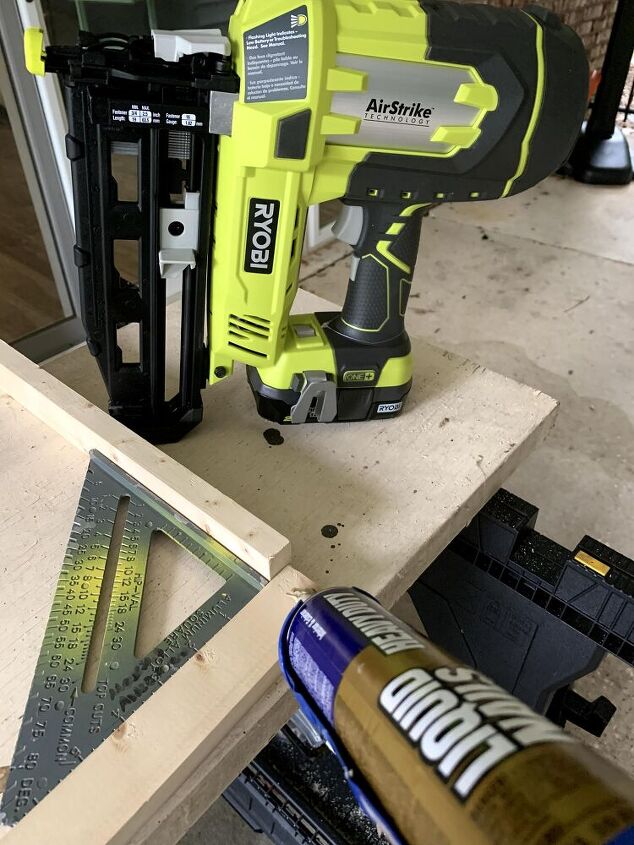
- Brad Nails– I used a Brad Nailer for this project with 2″ nails.
- Liquid Nails– I use Liquid Nails as a secondary means to hold everything together. A caulking gun is required for this as well. This is another great tool to always have on hand.
- Acrylic Paint and Brush
- Paintable Caulk (not pictured)
- Sand Paper (not pictured)
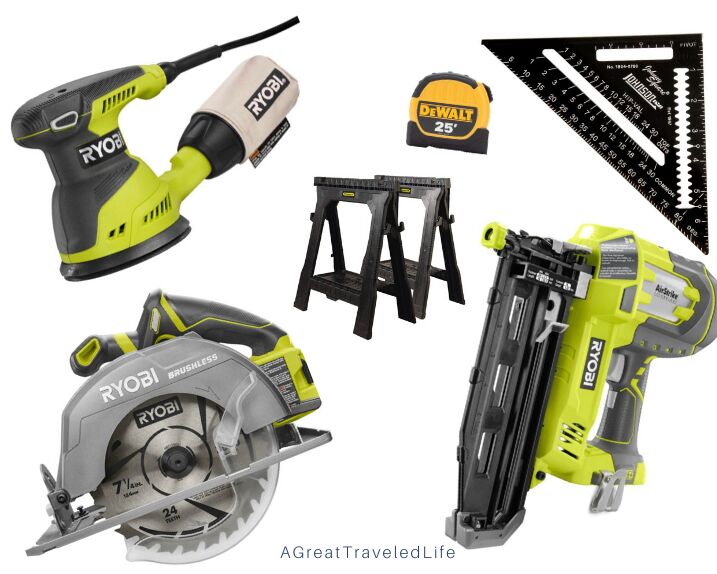
1) Hand Sander 2) Metal Square 3) Circular Saw 4) Saw Horses or Workbench 5) Tape Measurer 6) Nail Gun ( I have the 16 Gauge one).
I have made it really easy for you and linked this to my LikeToKnow.It page where you can shop directly from there!
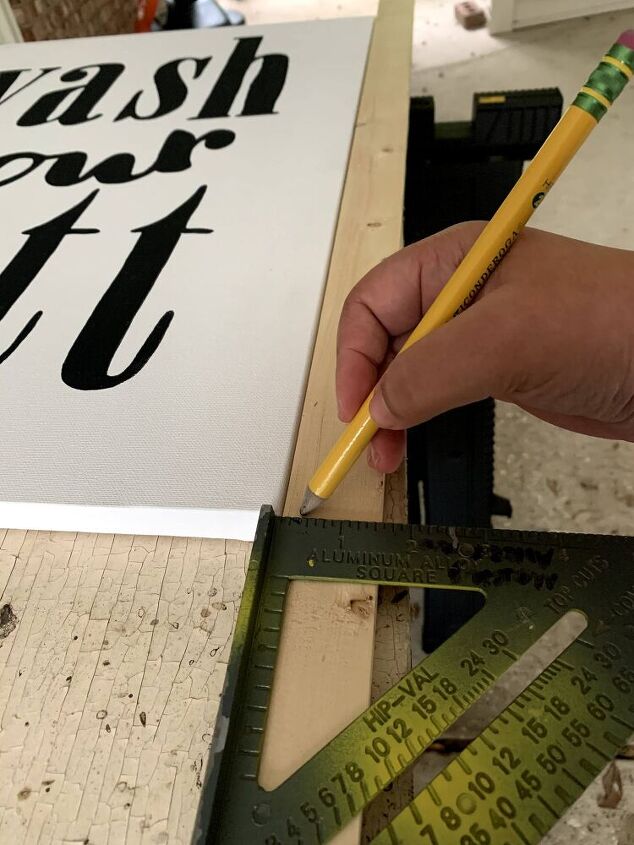
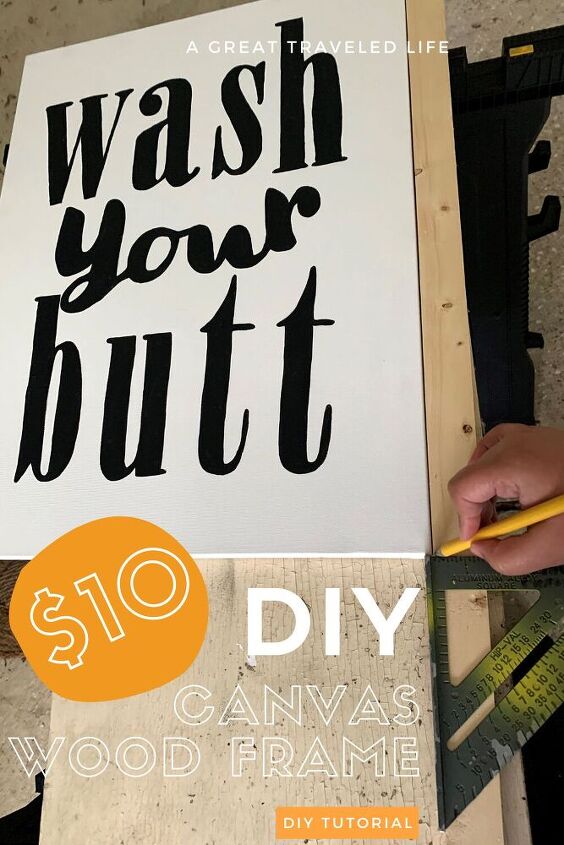
Using your canvas as a guilde, place your 1×2 board flush with the top (or bottom) edge of your canvas and measure the the width of your canvas. Use a metal square to draw your cut line. Note, you will need two identical cuts for the top and bottom of the frame.
Use your saw to cut each piece, making sure to cut just to the outer edge of your line to account for the blade thickness.
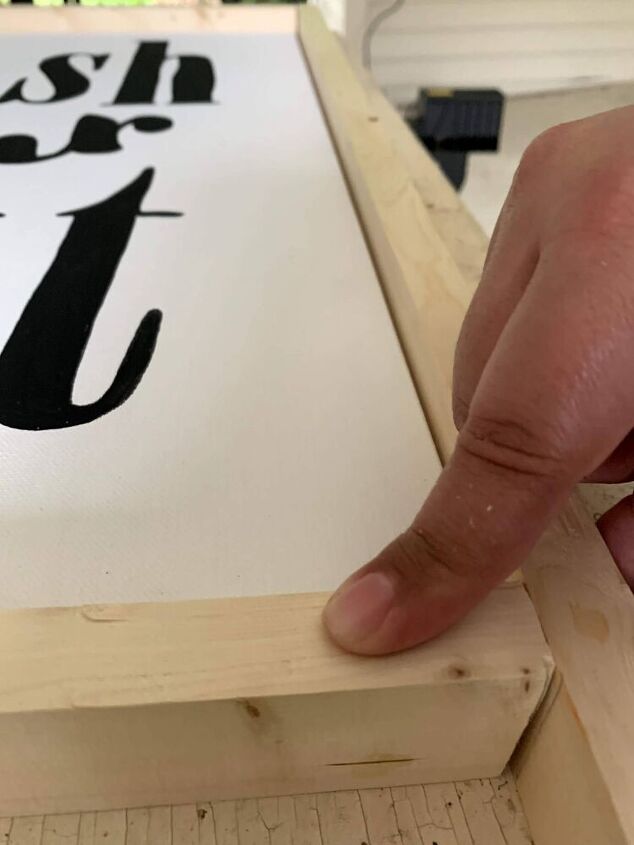
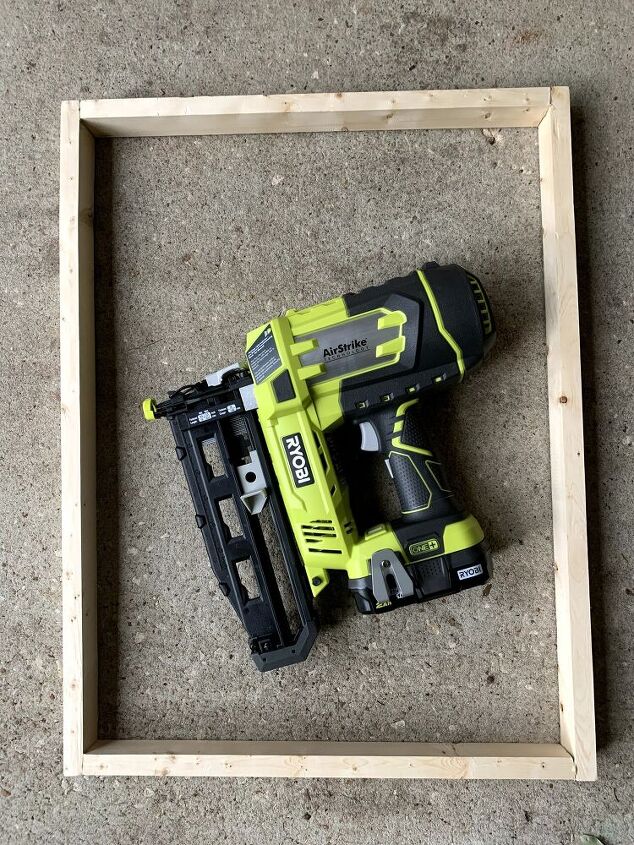
Next, losely frame the canvas with your previously cut top and bottom pieces. This will help you measure the exact cuts for your two side pieces. We will be creating a But Joint where the top and bottom pieces will “butt up against” the side pieces.
Sand each piece to desired smoothness.
Tip:
Use your canvas as a template to help you achieve the perfect fit (all canvas’s are not created equal).Oh! I crack myself up LOL
We will be creating a Butt Joint and using a Brad Nailer and some Liquid Nails to hold the frame together.
This part is fairly simple. Use your metal square edge to create a perfect 90 degree angle. Use a small bead of the Liquid Nails to hold the top and side piece together to create the Butt Joint. Nail it together at the corner.
Repeat this step on all four corners until your wood frame is complete. At this point you can use some wood filler to fill in the joints and nail holes. Once dry, sand the filler down, and you are ready to paint!
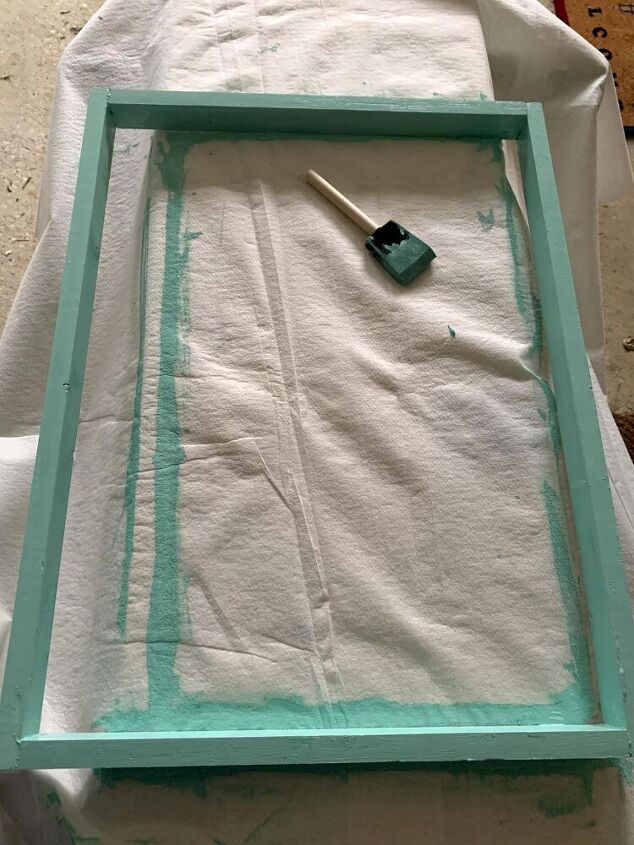
At this point I was torn between stain or paint and I decided to add a splash of color. I used a basic acrylic paint that I had on hand and actually mixed a few paints to get the exact color I was going for. I used a foam brush and it worked great for me.
Here goes nothing! It’s time to see if your frame fits. Carefully line the canvas up with your frame and tap it into place (I had to use a rubber mallet). Please note that using the steps above, you should have a fairly snug fit, and it may require a little force to get the frame in place, but this is a good thing.
At this point, you can leave the frame as is or you may choose to secure the frame to the canvas (the snug fit should be all you need). I chose to add one single nail at each corner to secure the frame and canvas together.
That’s it! You’re almost done! Now find the perfect place to hang your masterpiece.
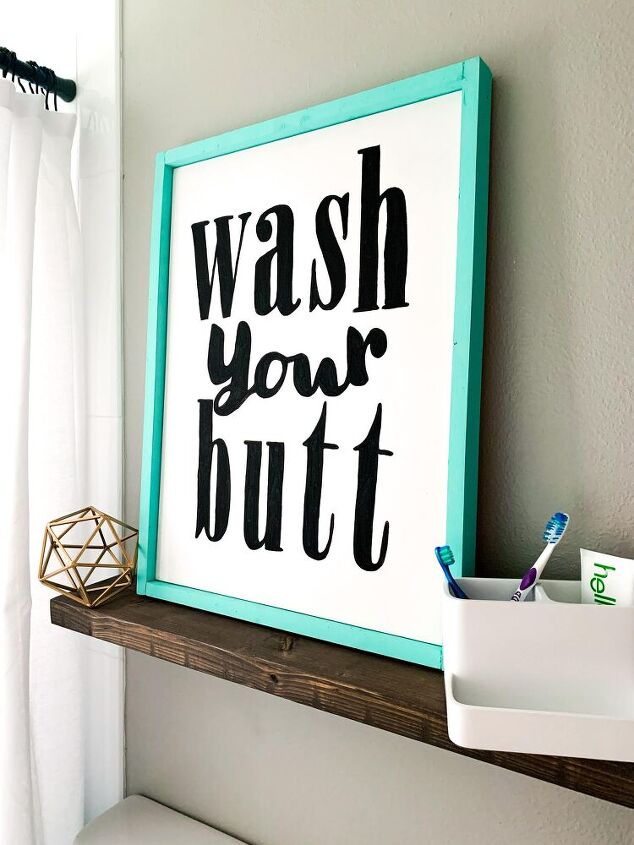
It was my intention to “lean” the frame on a floating shelf so I did not add anything to hang the frame. You could use any type of frame hanger, dependant upon where and how you are hanging it.
This was a very inexpensive project costing less than $10 to make the frame. I really only needed the lumber and a few odds and ends. I had some of the other tools on hand, which definitely helped keep the price down. Here is a quick price breakdown:
- (2) 1 in. x 2 in. x 8 ft. Premium Kiln-Dried Square Edge Whitewood Common Board at $3.07 each.
- (1) tube of 10 oz. Heavy Duty Construction Adhesive at $2.57
- I had all other tools and paints on hand.
Total: $8.71
I hope you enjoyed this tutorial! Please remember to come back for more!


Frequently asked questions
Have a question about this project?