


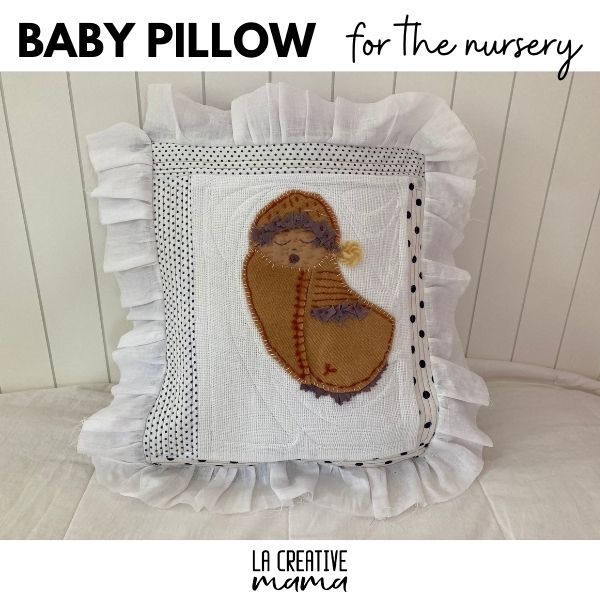
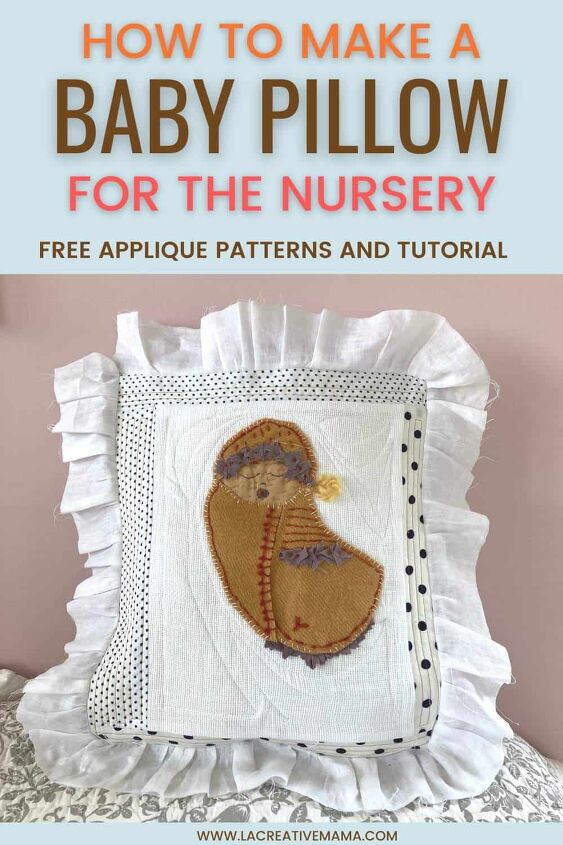
How to Make a Baby Pillow Cover Tutorial
Hi Creative Mamas! I am so happy to share with you this super cute baby pillow tutorial which is made out of fabric scraps. It’s a great gift for a baby shower and a beautiful addition to any nursery.
This nursery pillow is quite quick to make and a great was to make use of old fabric scraps from old projects.
How do you make a baby pillow?
Making a baby pillow for the nursery is very similar to making any other pillow for your home. The idea is that the baby pillow will be personalized to the baby or to the mom in some way.
In this tutorial I will show you how to make a beautiful keepsake baby pillow that will be treasured for years to come. The feature of the pillow is a hand embroidered applique of a baby and you can choose the fabric colors according to the baby who is going to receive this nursery pillow.
Baby pillow pattern
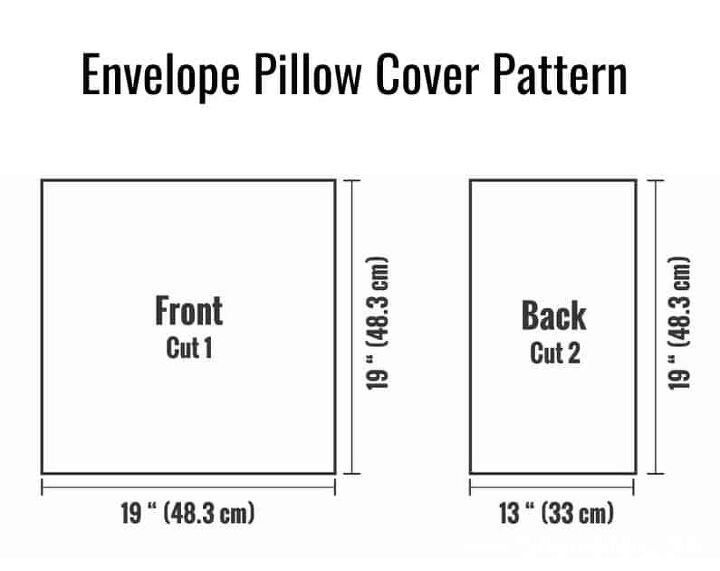
For this tutorial we will be using the envelope pillow pattern. It’s super easy to make and also great if you are making the pillow using fabric scraps.
This is the pattern for the envelope pillow. I followed these measurements for this tutorial but they can be adapted to your desired final measurements. Just bare in mind that you need to follow the standard measurements of the pillow inserts and the same ratio for the front and back covers as shown in the pattern below.
DIY Pillow for baby tutorial
Equipment and Materials
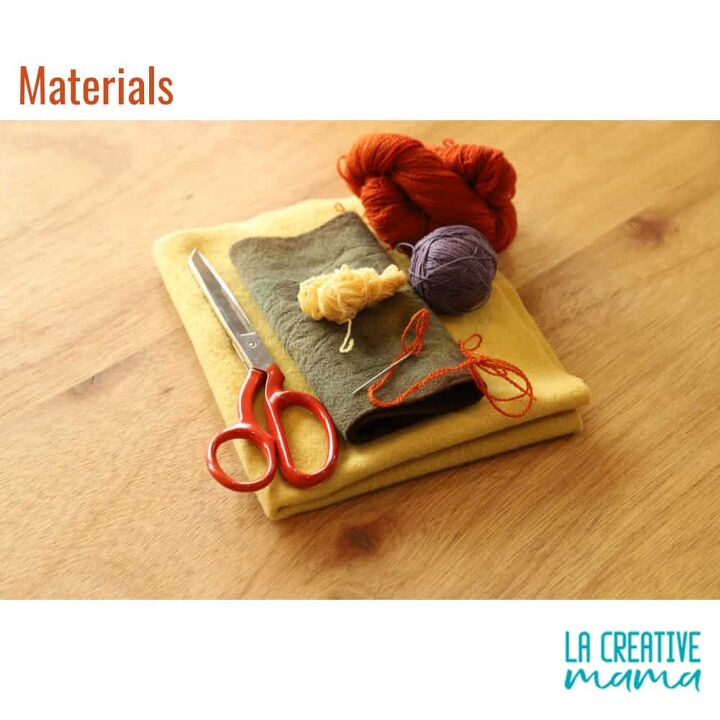
- Fabric for pillow lining and pillow back (I used linen for the lining and silk for the back)
- Fabric scraps for the applique and for the front pillow cover
- Applique pattern (available in my FREE RESOURCE LIBRARY— get the password for free by filling out the form below)
- Pillow insert (make sure to check your final pillow measurements)
- 100% cotton batting
- Embroidery thread (I used dyed wool as well)
- Wool yarn
- Needles (hand sewing)
- Regular sewing thread
- A good sewing machine
- Rotary cutter (optional)
- Cutting Mat (optional)
- Fabric scissors
Step 1: Sewing the applique to the baby pillow
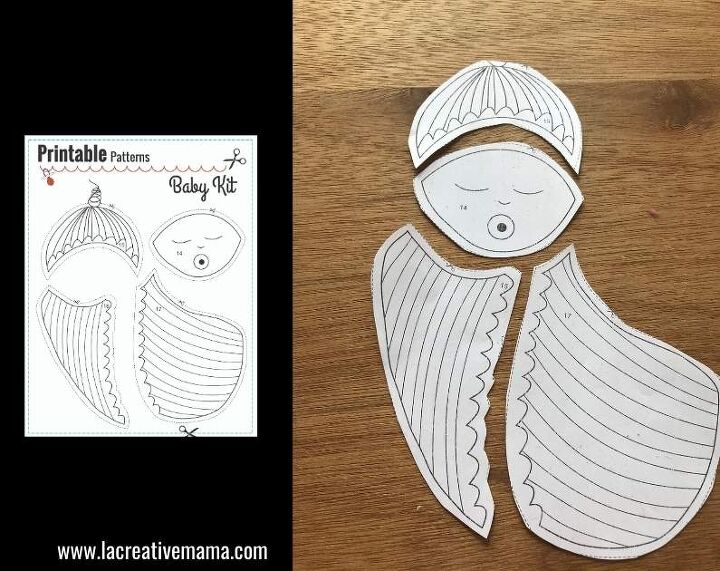
The first step is to print out the FREE baby applique templates which is available in my FREE RESOURCE LIBRARY— get the password for free by filling out the form above.
Cut around the baby applique templates and place on your working table.
Choose your fabrics for the applique. For this tutorial I have made the baby applique out of an old woolen blanket and wool yarn which I bought from the second hand shop. I dyed them using natural dyes.
I used Eucalyptus for the blanket and madder for the yarn. For step by step tutorials about natural dyeing go here.
Place the applique patterns on top of your chosen fabric.
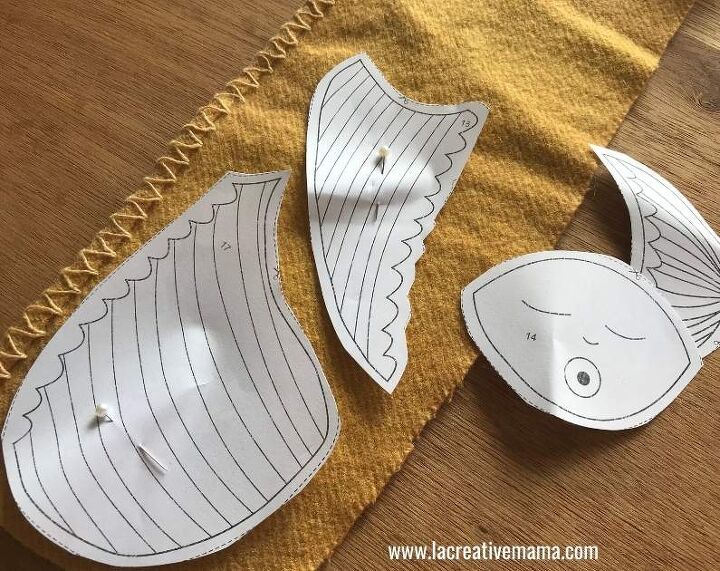
Pin them in place and cut around them. Follow the dotted line when cutting.
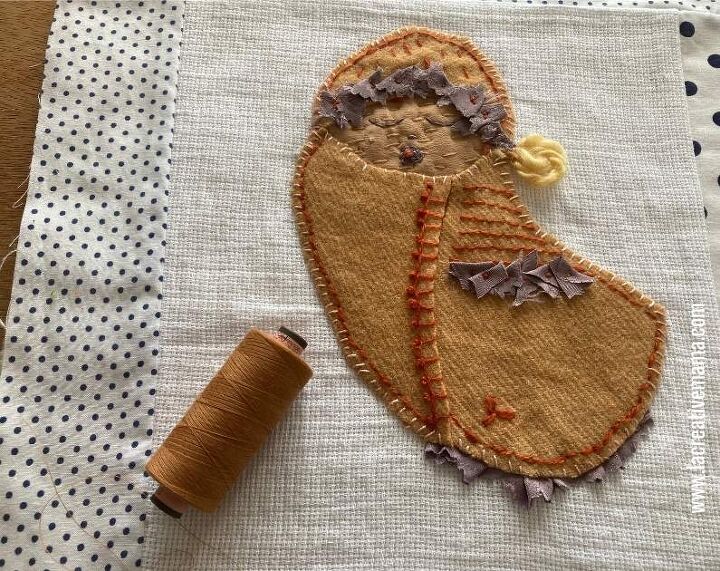
Now this is the fun part! Start embellishing the different parts of the baby by making different embroidery stitches. Go here to download the free Embroidery stitches PDF
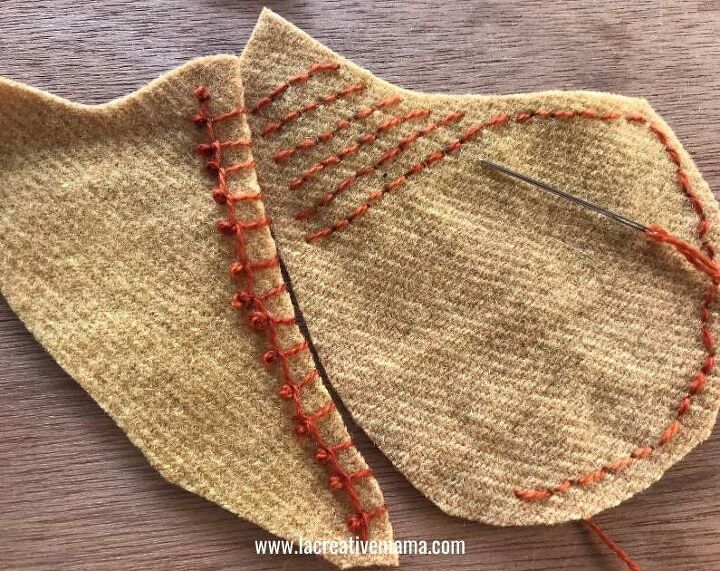
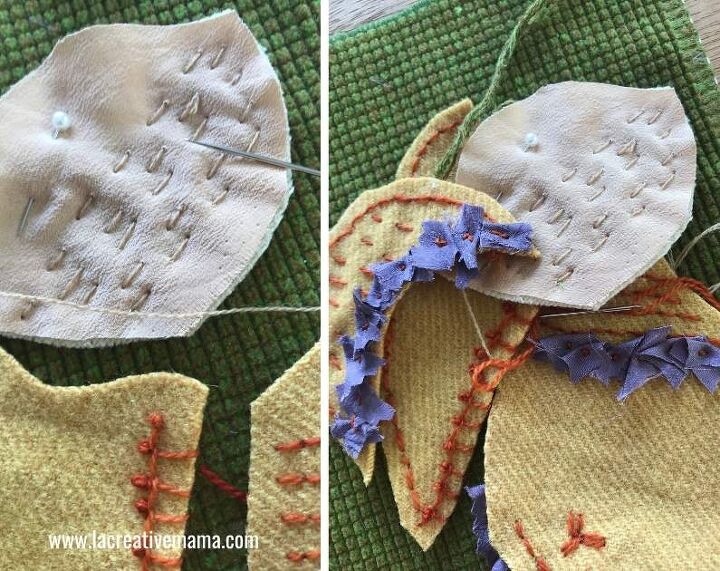
I used a blanket stitch, a running stitch, a back stitch and french knots.
I started by making a blanket stitch on one edge of the baby outfit. I then added some french knots close to the blanket stitch.
I continued by adding details by sewing a backstitch in different areas of the outfit. I kept following the designs of the applique templates for guidance.
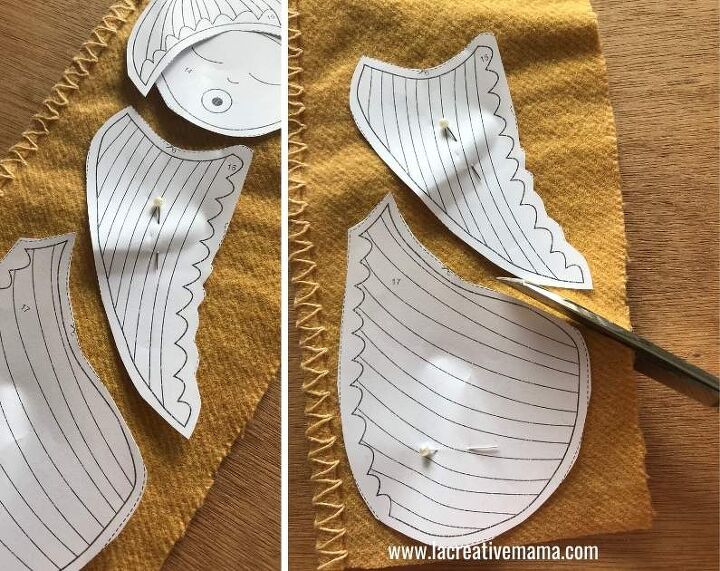
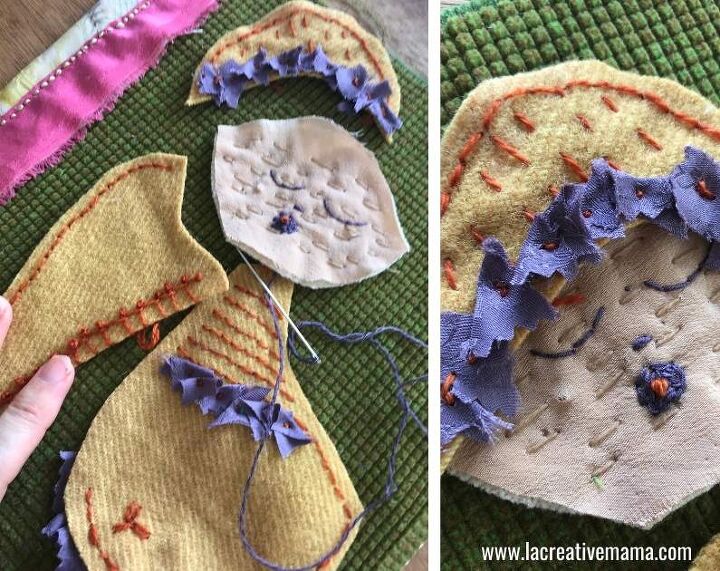
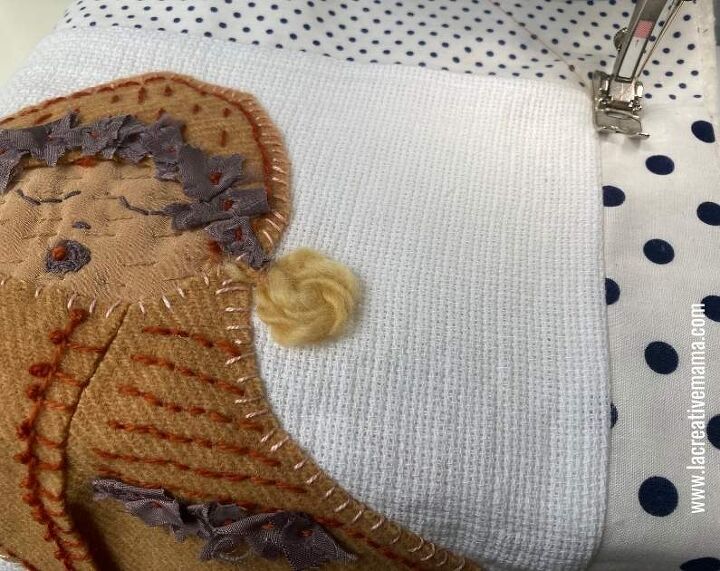
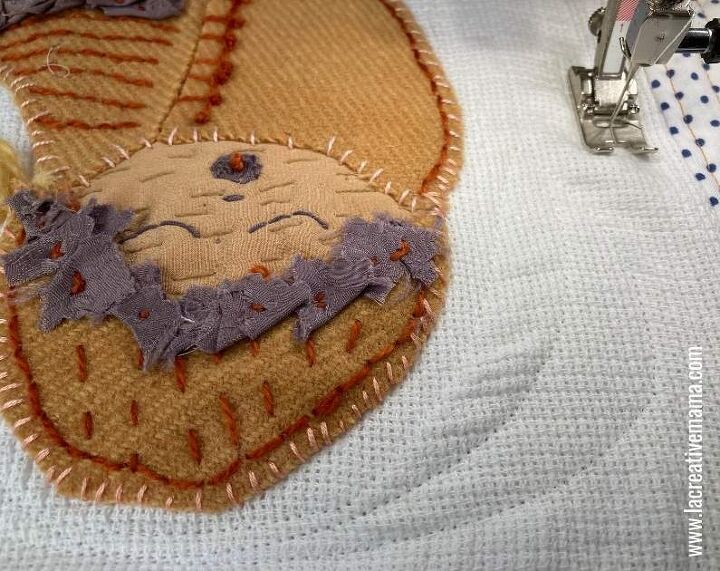
Once you complete the body, move onto the little baby hat. Place on the same woolen fabric, pin and cut around it.
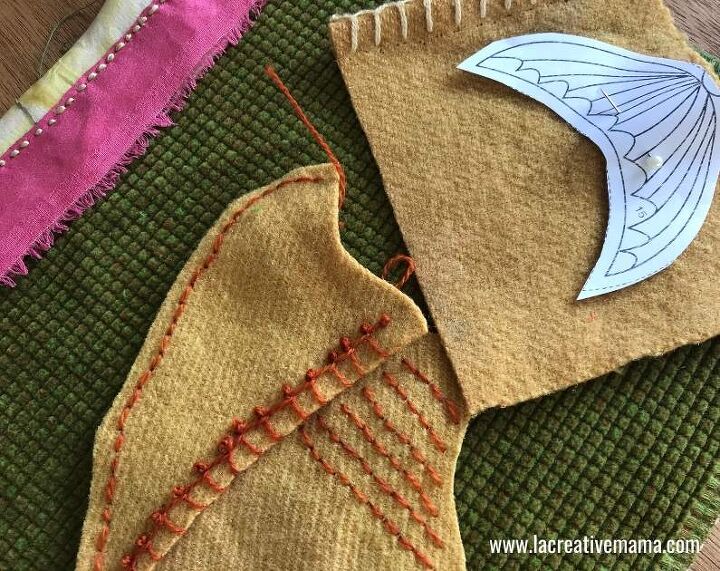
Add embroidery stitches and feel free to embellish further. In this case I used hand dyed silk and I cut little pieces of it. I folded them in half and I placed them at the edge of the baby hat and sewed them by using a regular sewing stitch (in and out).
You can use these little pieces of folded fabric at the edges of the baby clothes for some extra detail.
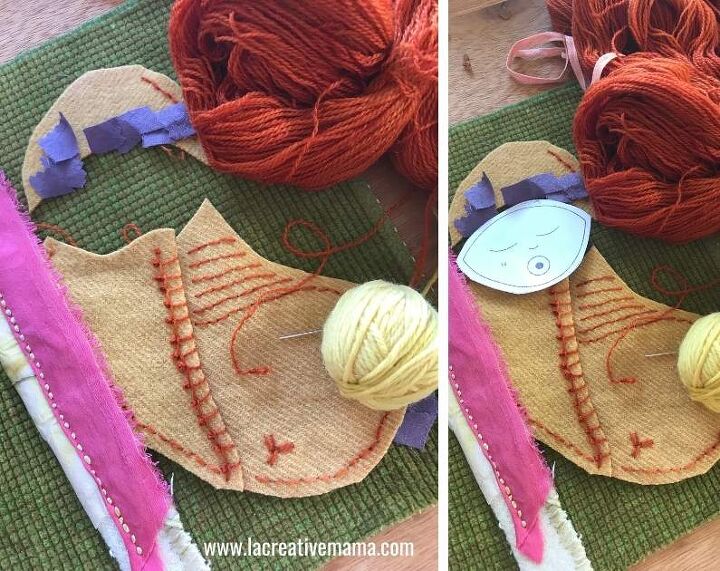
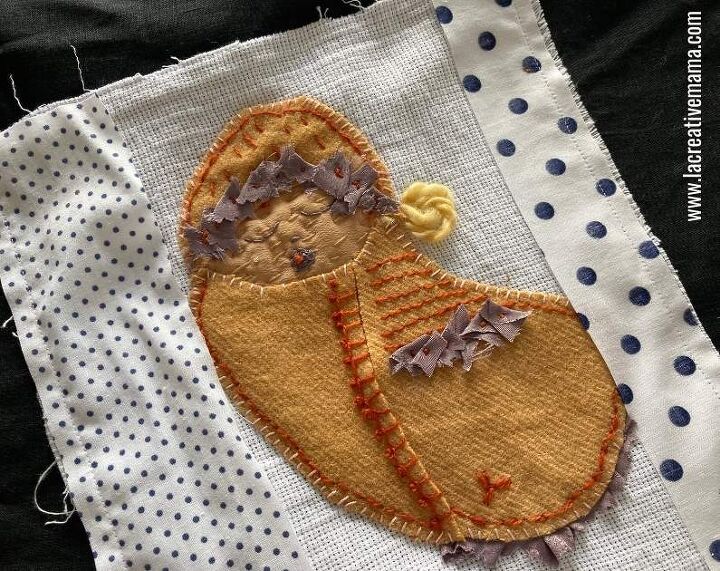
Follow the same process with the baby face. Cut and embroider.
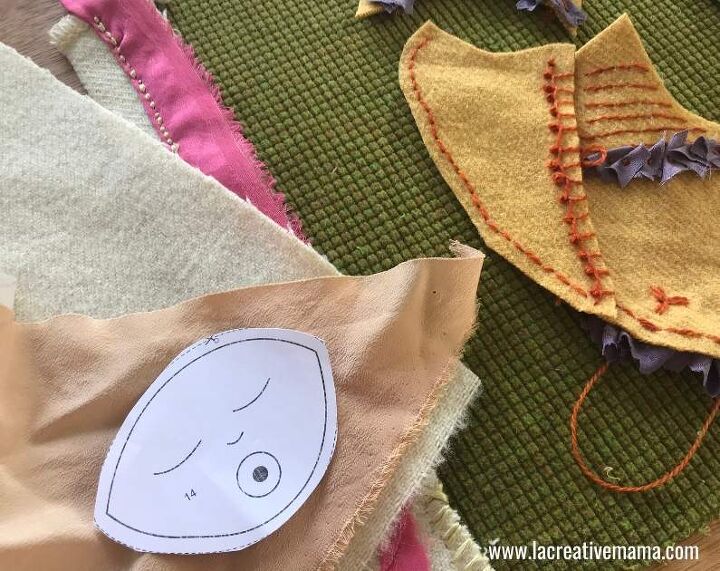
Before cutting the face, make sure that it fits nicely with the little baby hat so that all the parts are matching in size.
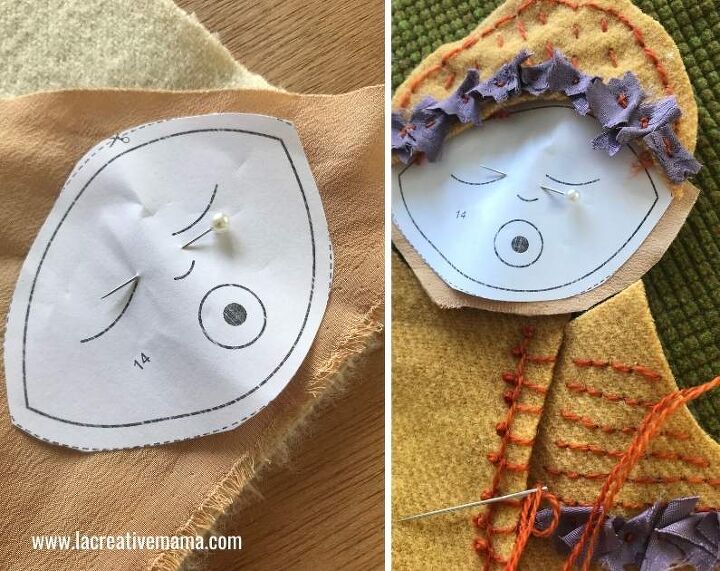
Make running stitches on the face for some extra texture by using a matching color thread. Embroider the eyes, the nose and the pacifier.
Now you have all the different baby parts. It’s time to put them all together.
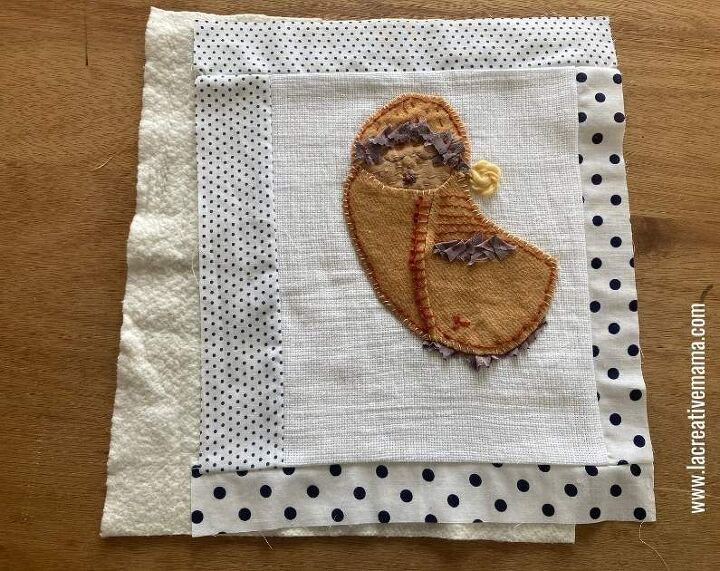
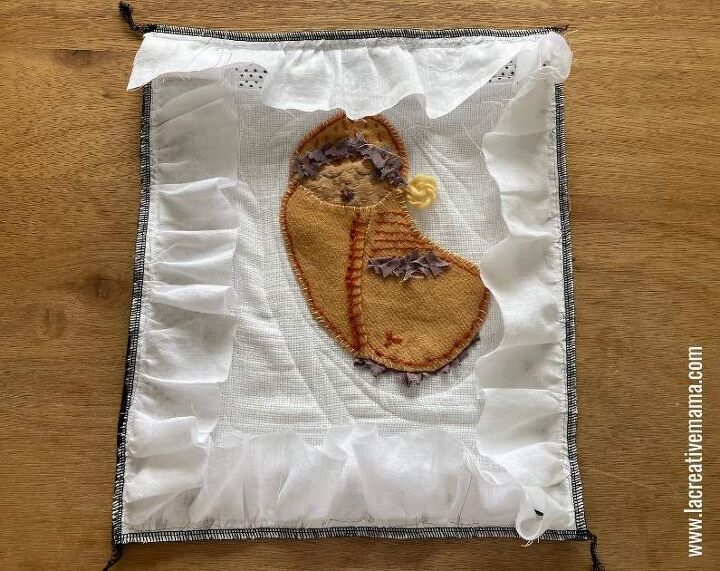
Start sewing the applique baby to a base fabric. I started sewing the baby to a green corduroy but then changed my mind and sewed it to a white background fabric.
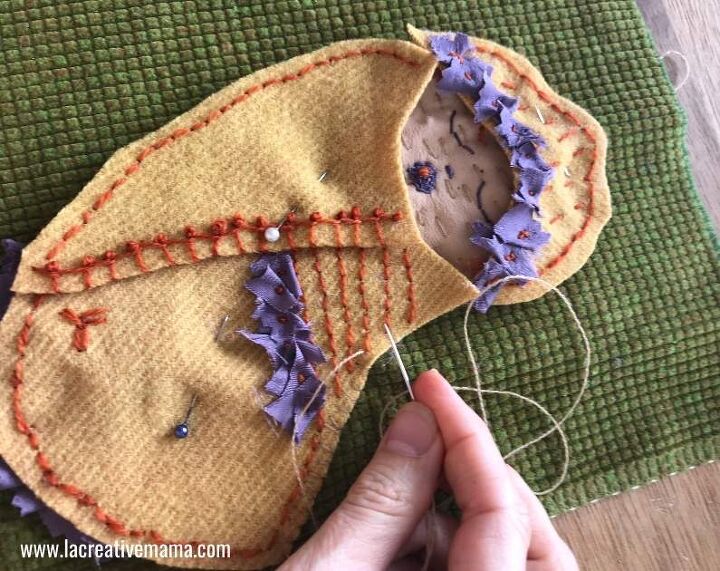
Using a whipstitch sew all around the baby onto the base fabric. It will look like this:
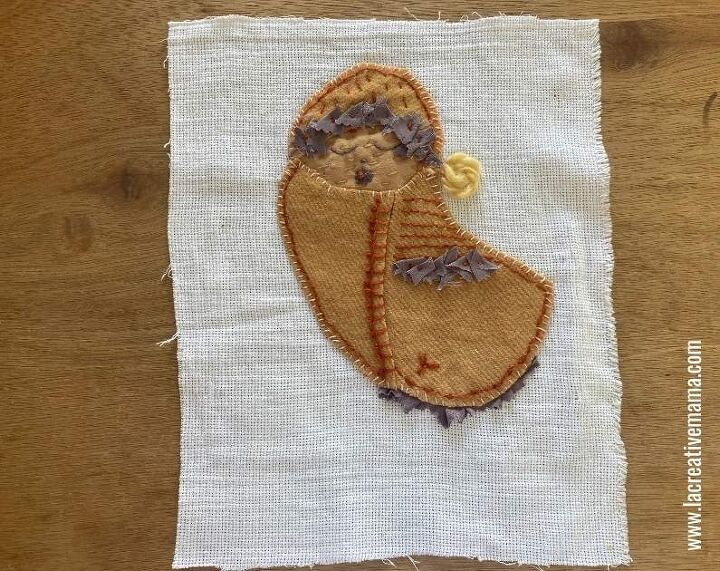
Note: The base fabric that I have used for this pillow is actually embroidery fabric. I used it because I have lots of scrap pieces but its not necessary. I did like how it quilted so I think it was a successful choice :).
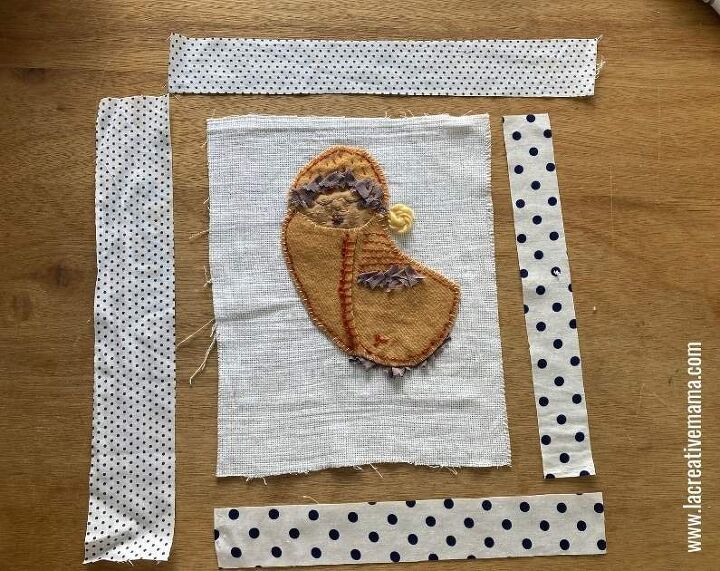
Step 2: Making the baby pillow cover
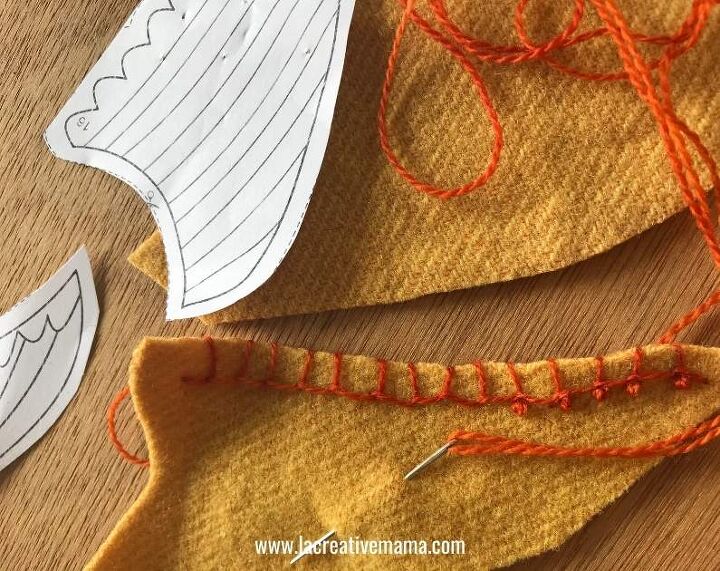
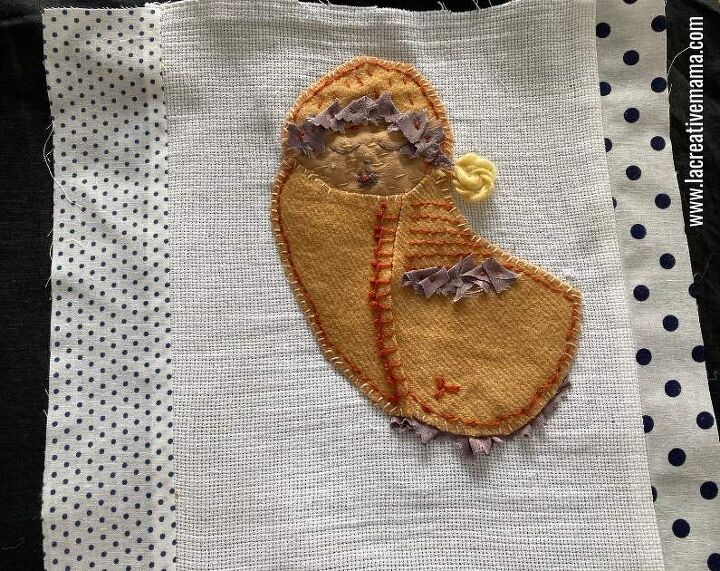
Place the applique fabric and start building the rest of the front pillow cover with fabric scraps that match.
Note: I started going for a final measurement of 19 inches or 48 cm square as shown in pattern above but somehow ended up with more of a rectangle shape which measured 19 inches by 20 inches (48 cm by 51 cm)
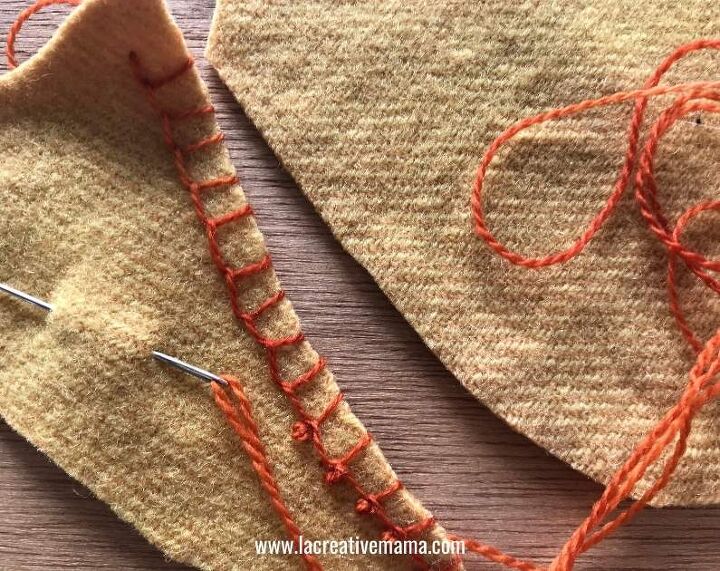
Pin the side panels to the front pillow cover.
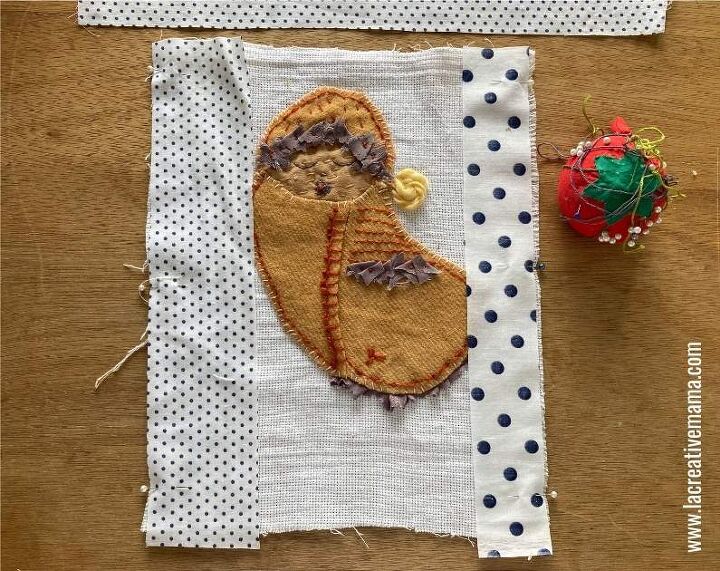
Sew in place using a regular sewing stitch.
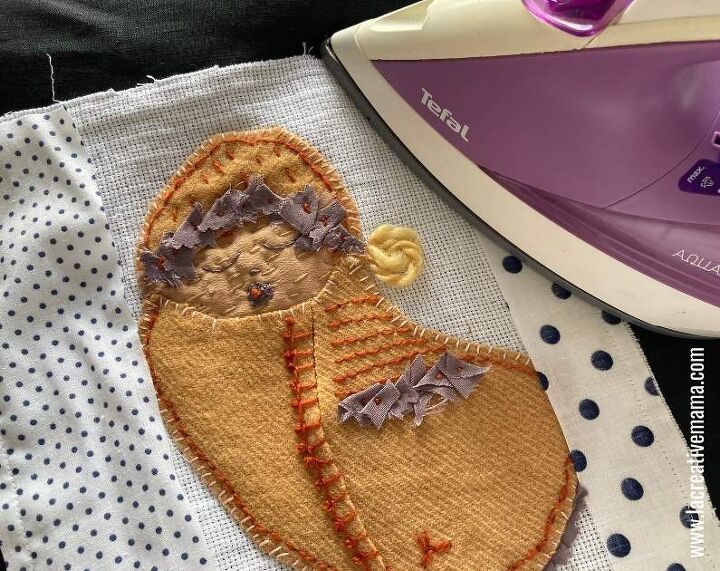
Press firmly.
I always press the seam on the wrong side first to create a crisp line and then I turn it upside down and press from the wrong side.
This is how the front pillow cover should look once the side panels are sewn in place. Follow the same process to sew in place the top and bottom panels.
Grab the 100% cotton batting. I really like this brand and I highly recommend it.
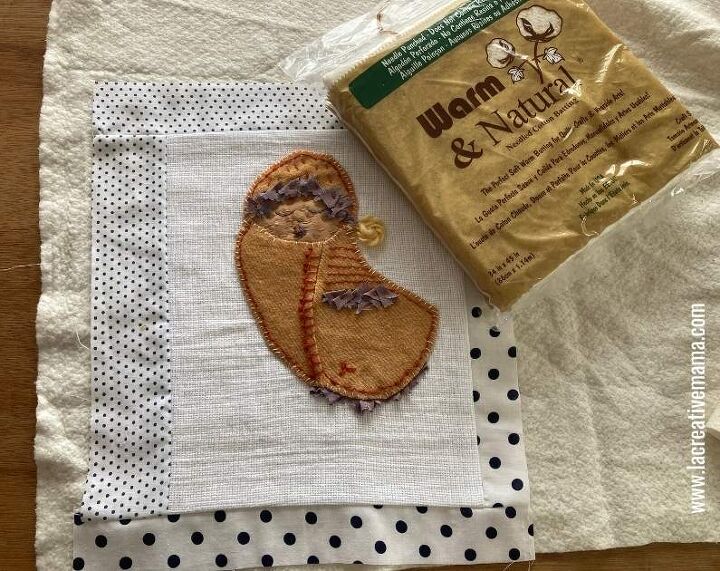
Cut the batting to match the pillow cover in size.
Choose a contrasting thread for quilting. this is regular weight sewing thread.
Start by quilting the side panels. Make long straight lines along each panel.
You can move from the top panel to the side panel by simply sewing across the seam line.
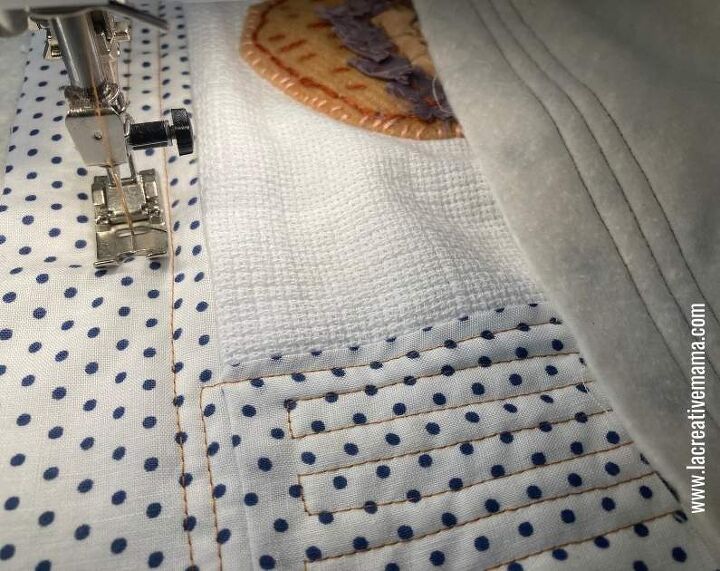
Keep quilting until all the panels have been quilted in the contrasting thread. Once this is done its time to add the ruffles for this cute baby pillow.
Step 3: Making ruffles for the baby pillow
Choose a matching fabric to make the ruffles. In this case I chose a white linen because I wanted the eyr to go straight to the applique baby.
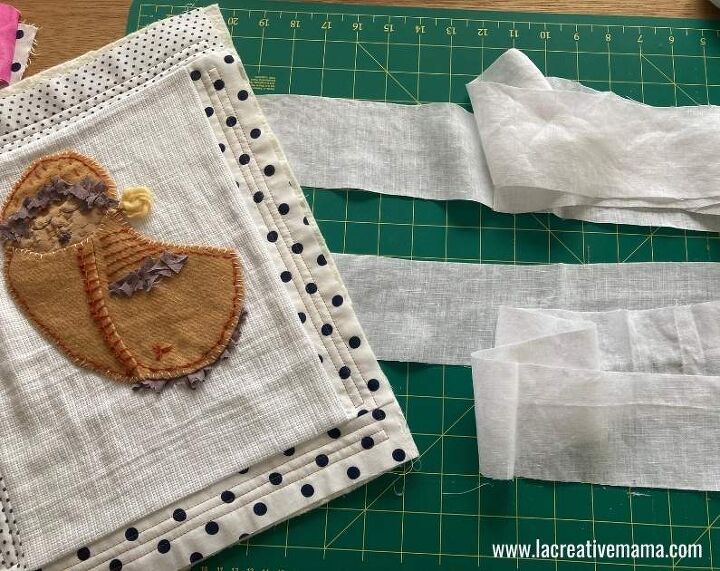
Cut long strips measuring 3 inches (8 cm) in width.
Measure the perimeter of the front pillow cover and multiply it by 3. This will give you the measurement of the finished strip.
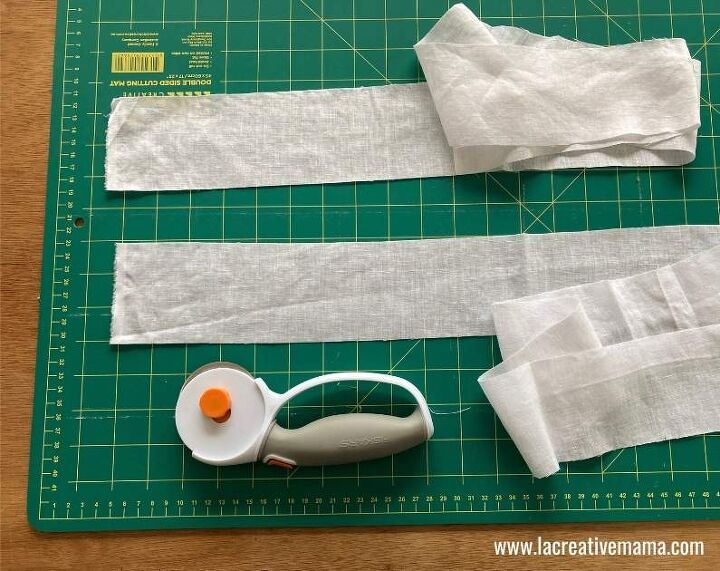
Once you have cut all the strips you need to sew them together so that you end up with one long strip. In order to have a really neat finish I have sewn a French seam which is a seam that hides away all sewing stitches. Let me show you:
How to make a French seam
Place the 2 strips of fabric together wrong sides touching. Pin in place.
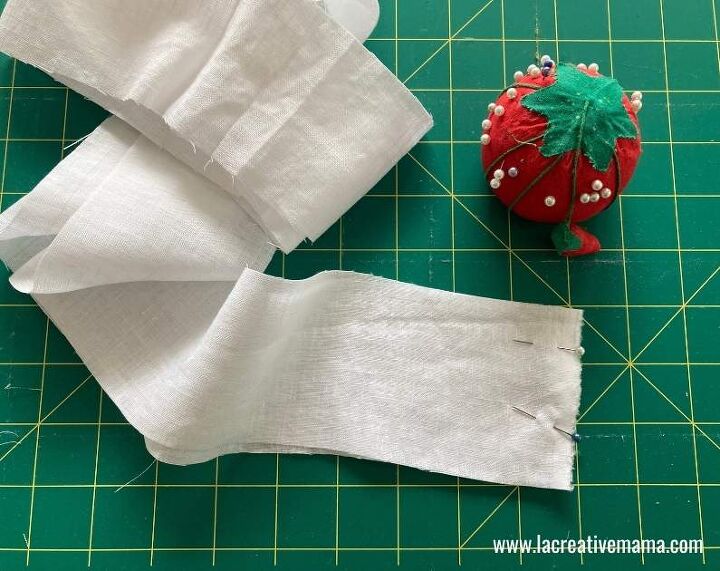
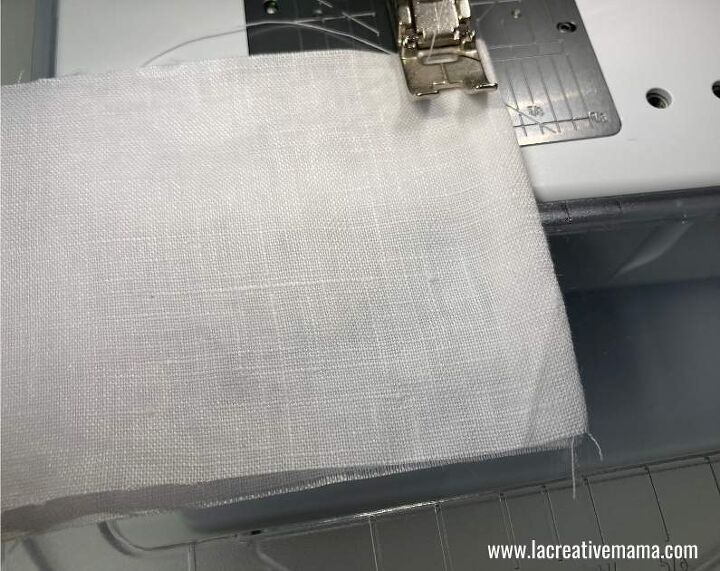
Sew a straight line.
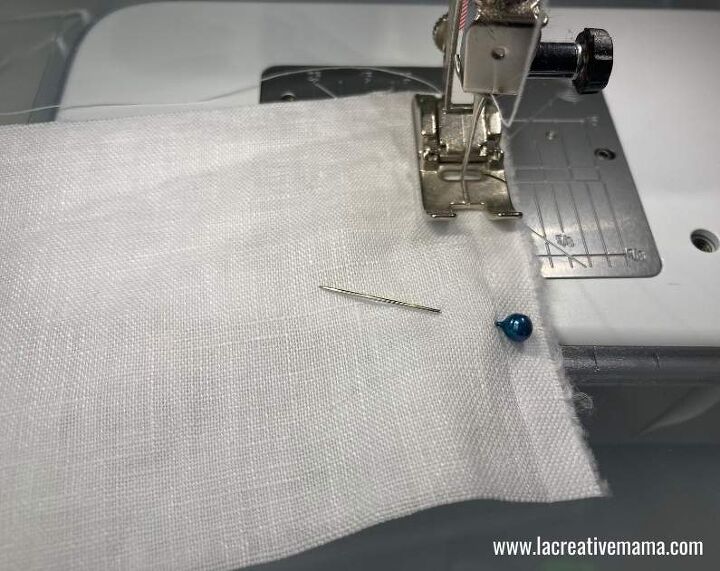
Press the seam open using your nails.
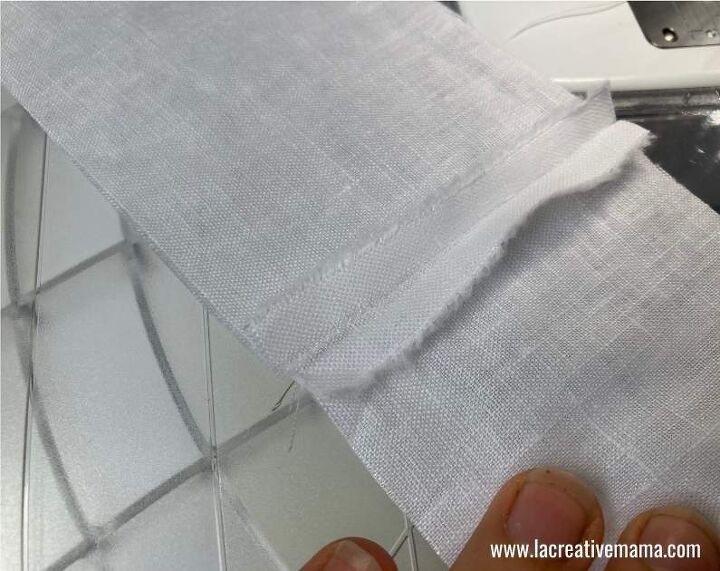
Fold fabric to the wrong side and press again using the edge of your nails.

Sew a straight line to conceal the seam inside.
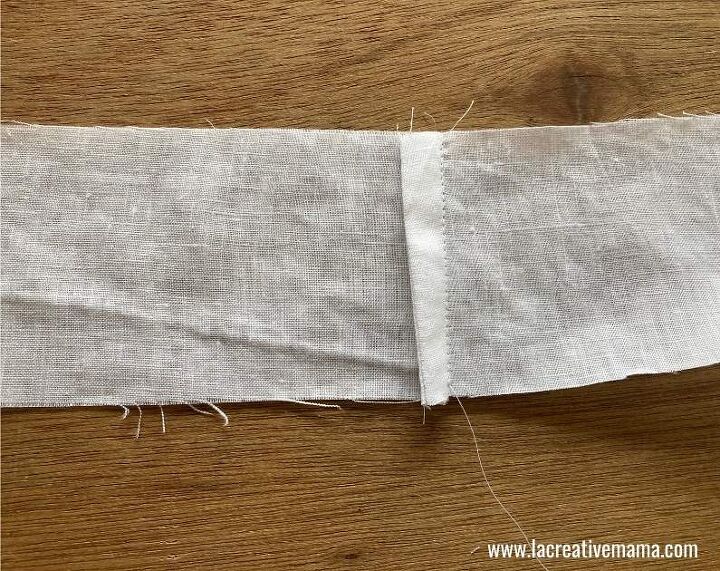
This is how the right side of the strip should look like once the French seam is done.
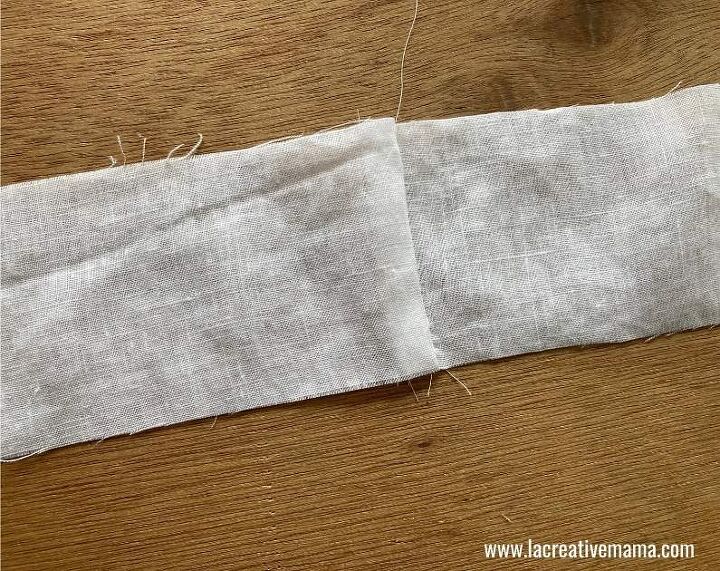
This is how the wrong side of the strip looks like. As you can see the raw seam is hidden inside this double seam.
Now we are going to make a ruffle that goes all around the pillow front cover.
How to make ruffles
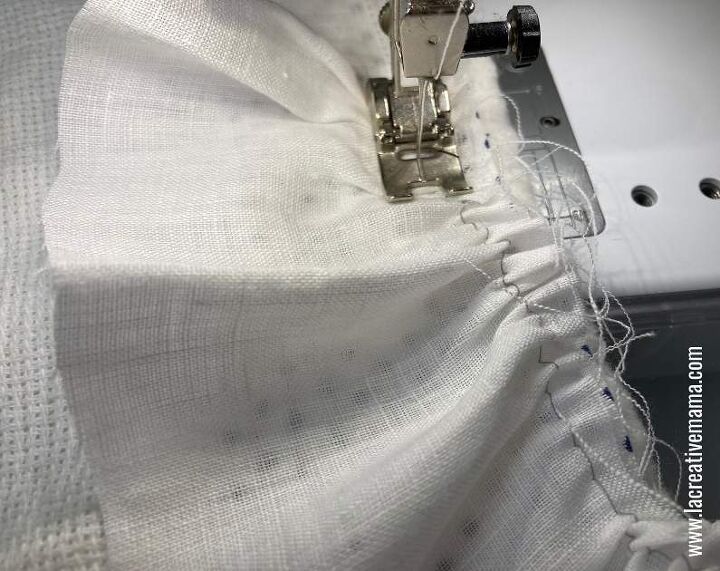
Set you sewing machine at the longest sewing stitch. In my Bernina machine this is number 6.
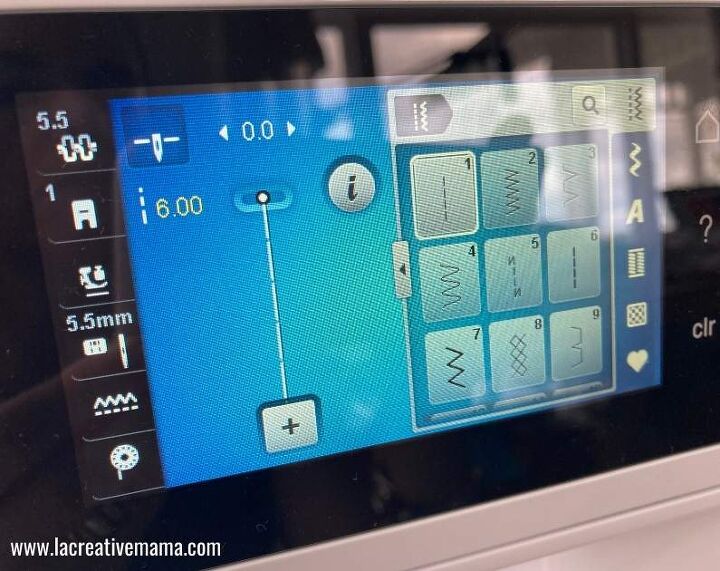
Sew a straight basting stitch line on the top edge of the strip. Don’t backstitch at the beginning or at the end of your sewing line.
What is a basting stitch?
A basting stitch is a straight stitch which is sewn using long stitches and unfinished ends. The basting stitch is not permanent and it is removed once the piece is finished (in this case the baby pillow)
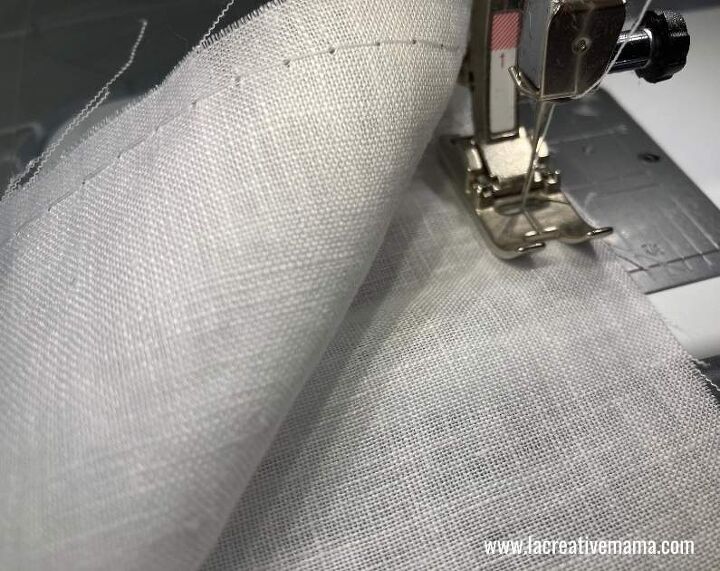
Remove the strip from the sewing machine and pull the thread from one of the sides.
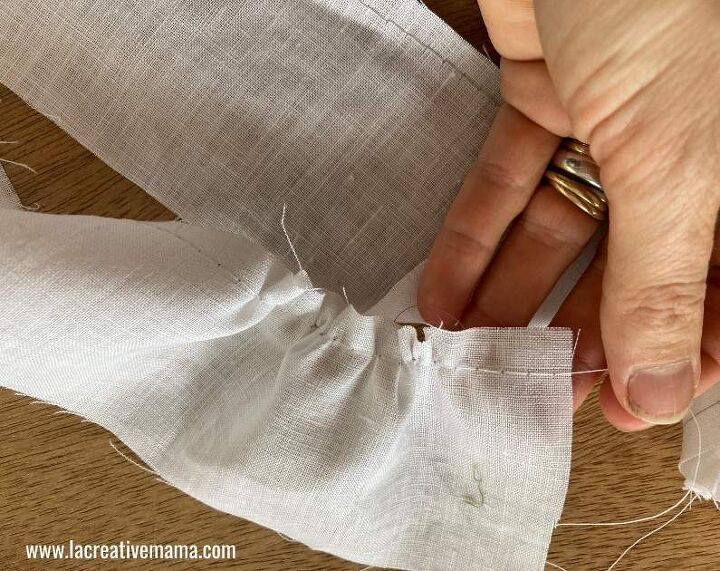
This will create a gathering effect.
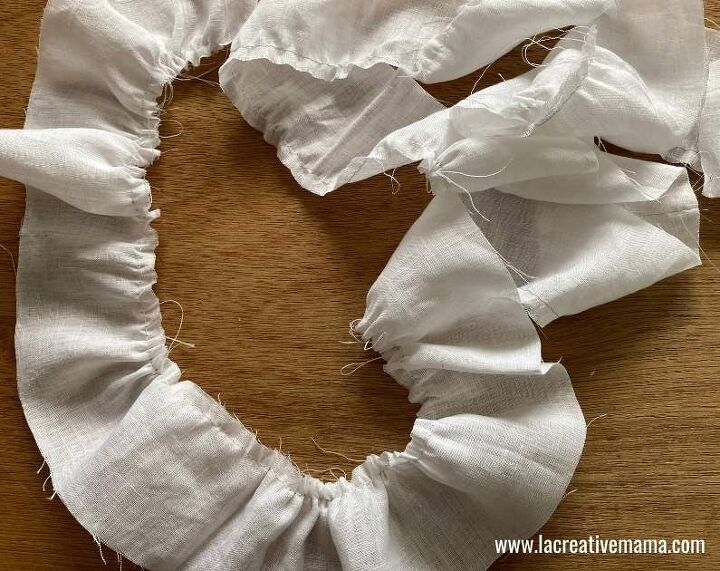
Place the gathered strip all around the pillow and make sure that the gathers are evenly spaced.
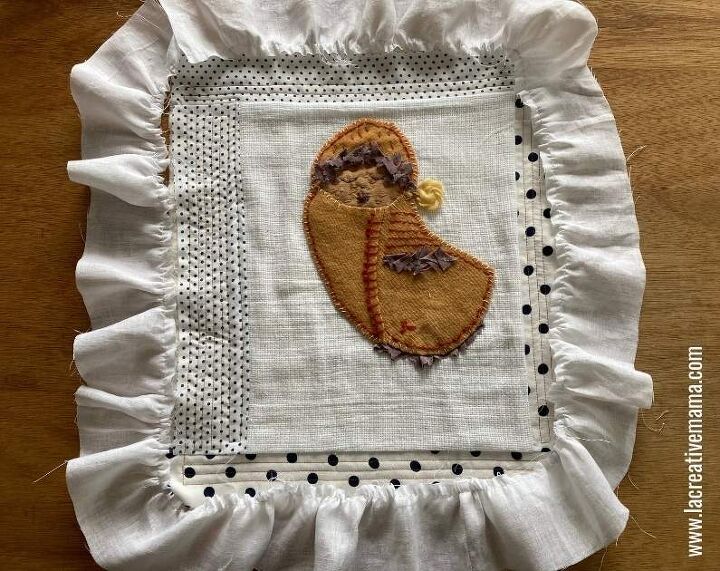
Pin in place before sewing them.
Sew the ruffles onto the pillow making sure that you are sewing inside of the basting line. The basting line will be removed later.
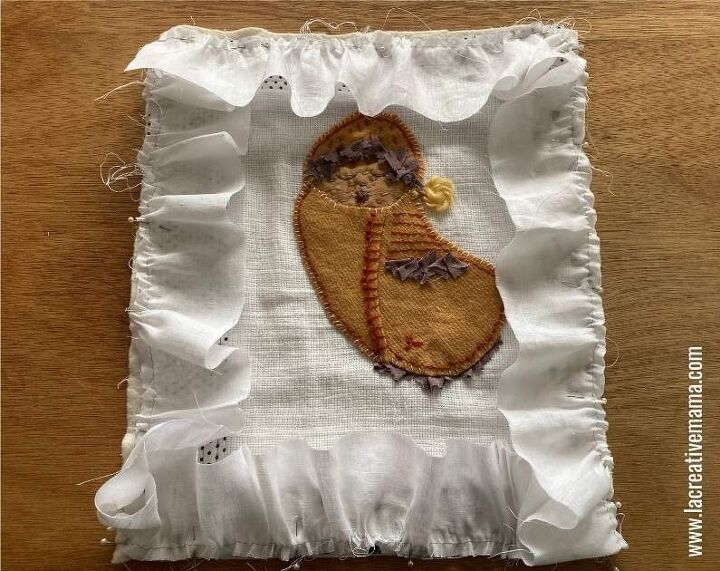
This is how the pillow should look by now. Remove basting stitch.
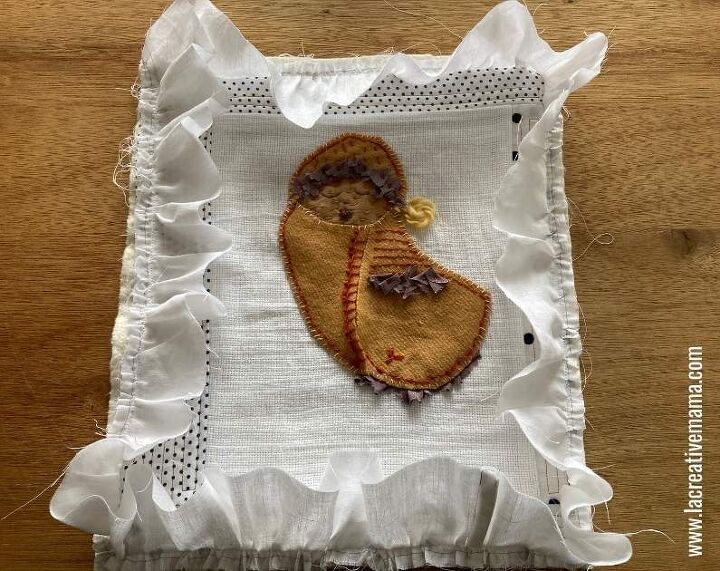
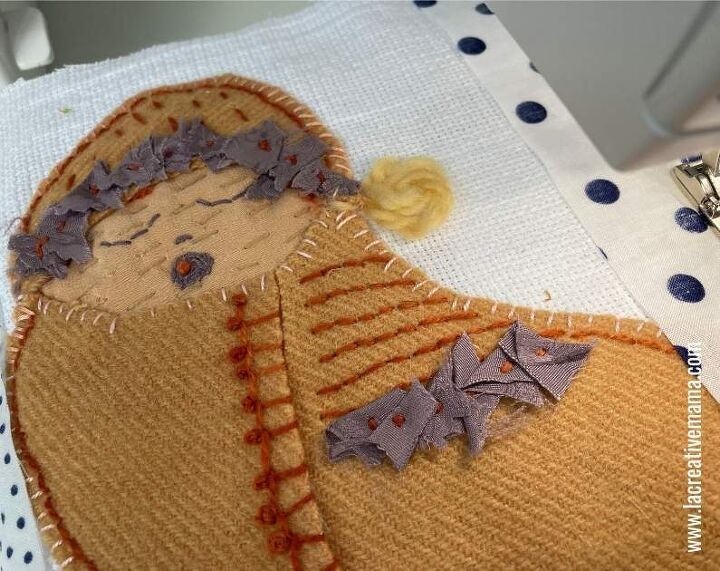
Step 4: Quilting the baby pillow
Using a matching thread quilt inside the pillow around the baby applique. This is a fun thing to do and feel free to quilt randomly.
Once you finish quilting, cut a lining piece that matches the exact size of the pillow.

Overlock/serge or zig zag around the pillow cover to neaten all the layers of fabric.
This is how the baby pillow front cover looks from the wrong side with the lining sewn in place.
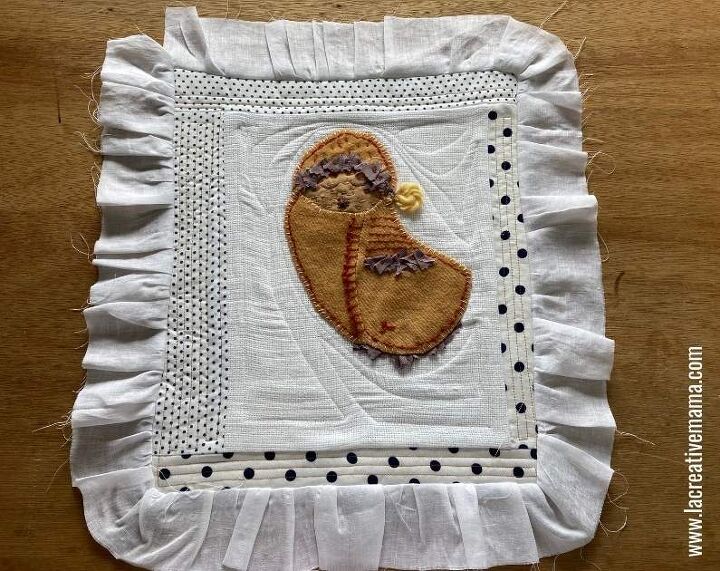
This is how it looks from the right side 🙂
Finished Quilted Baby Pillow with Ruffles
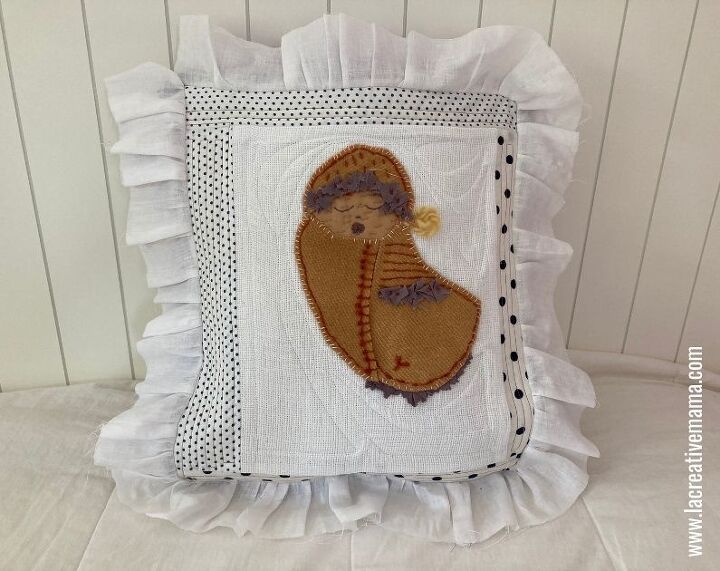
Press the front pillow cover. Now you can make it into an envelope pillow and get it ready for the nursery or to gift it to a special little one.
How to make an envelope pillow
To finish this baby pillow simply make an envelope pillow following this step by step tutorial
This pillow works wonders in any baby nursery for both girls and boys. Here is the pillow is a girl’s nursery
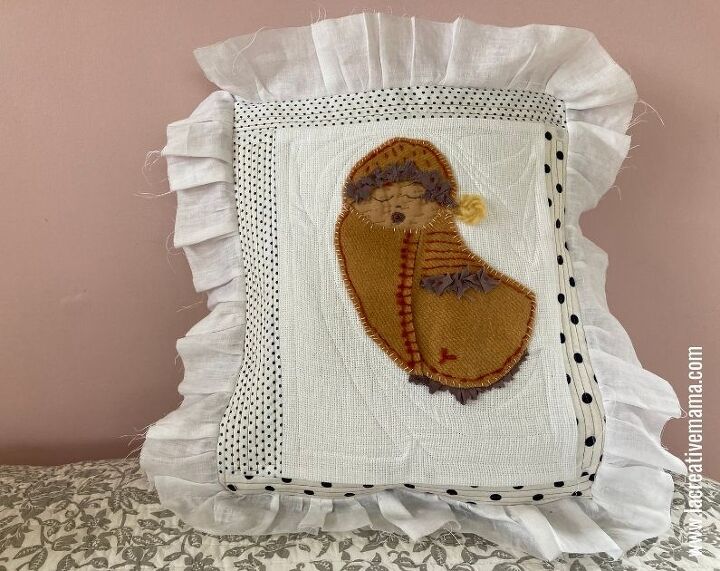
And here is the pillow is a neutral nursery which can be a boy’s one 🙂
Personalized baby pillows ideas
You can also personalize these pillows by embroidering the baby’s name on the front cover or by making the ruffles in a fabric that matches the room decor such as the curtains or some wall art in the nursery.
More fun pillow tutorials for your home and kids’ rooms:
- How to sew a quilted pillow cover for girls
- Hand embroidered pillow that your kids will love
- How to make an applique pillow by embroidering appliques {Great Father’s Day present}
Save this tutorial to your favorite Pinterest Board

Comments
Join the conversation
-
This is just adorable! Will definitely be making one of these! Thanks for a great share!
-
Great to hear :) Reach out with any questions that you may have. Cheers!


Frequently asked questions
Have a question about this project?