


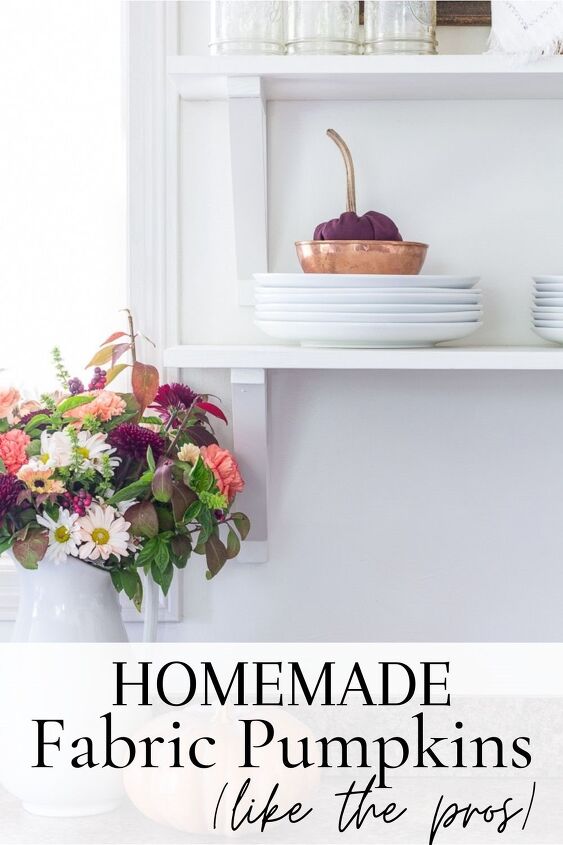
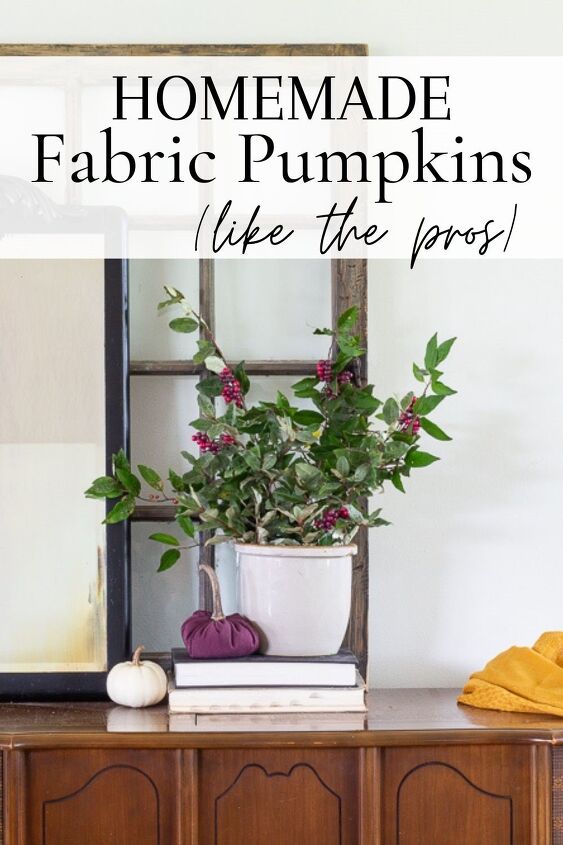
Beautiful DIY Fabric Pumpkins With Real Stems for Autumn Decor
Buying fabric pumpkins can be so expensive. This is why I decided to do a budget-friendly DIY and make fabric pumpkins myself.
If you’re in a hurry, pin this for later
Last year I made a few fabric pumpkins from some old sweaters I had in the closet.
I absolutely love those pumpkins.
BUT, with the color scheme for this year’s Fall decor, (our Fall living room, entryway & kitchen) I needed some different fabric pumpkins.
Before I get much further into this, I have a public service announcement concerning this DIY that I MUST make:
PLEASE CHECK THE BARGAIN/CLEARANCE BIN FIRST!
Thank you.
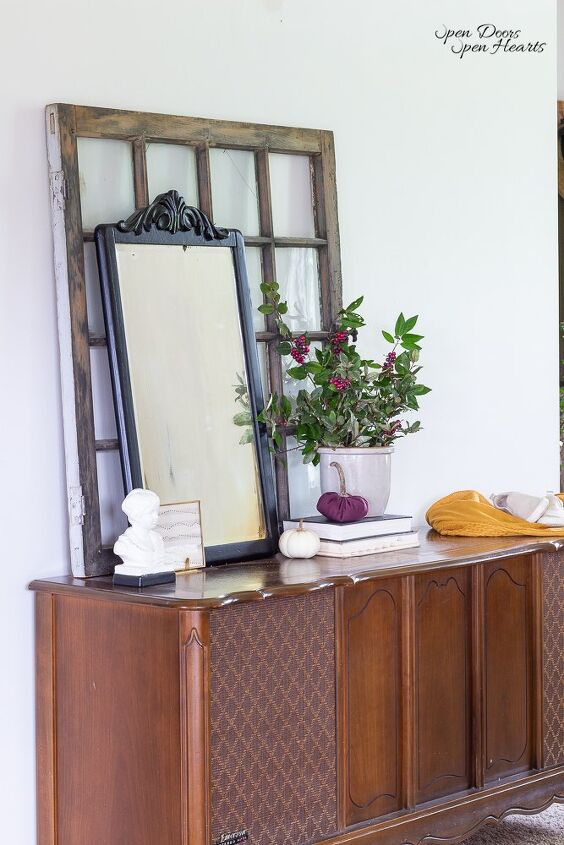
Okay, so in my early Fall entryway post, I told you after I had a basic setup for my Fall decor I was going to start sprinkling in my “full-on” Fall decor.
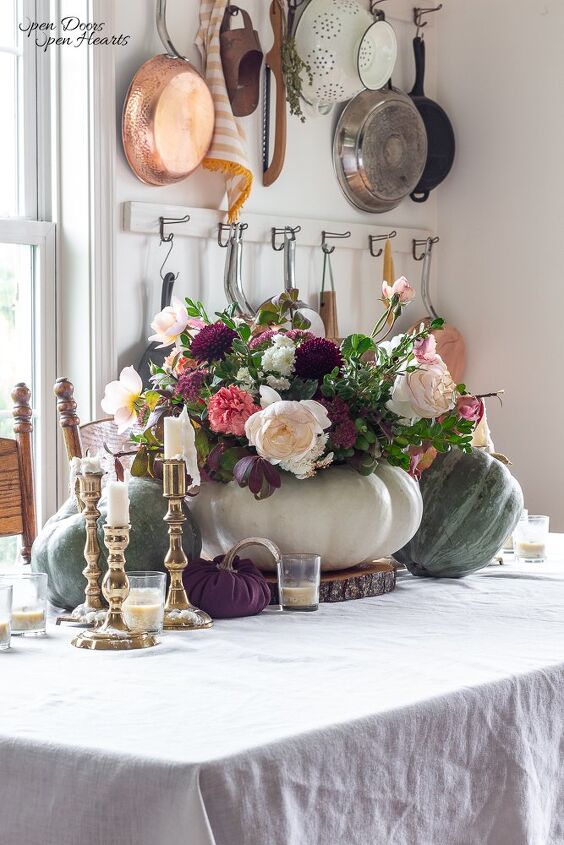
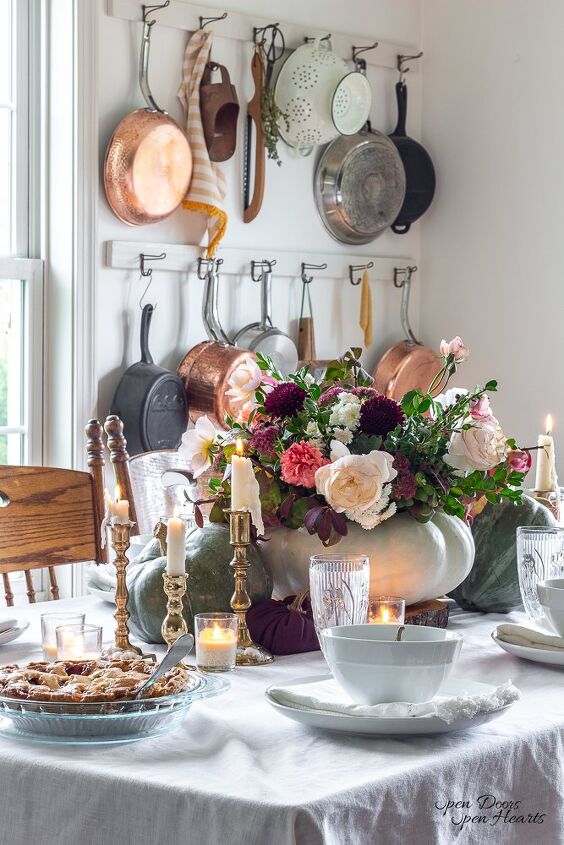
For me and my color scheme this year, that mostly meant plum & copper accents.
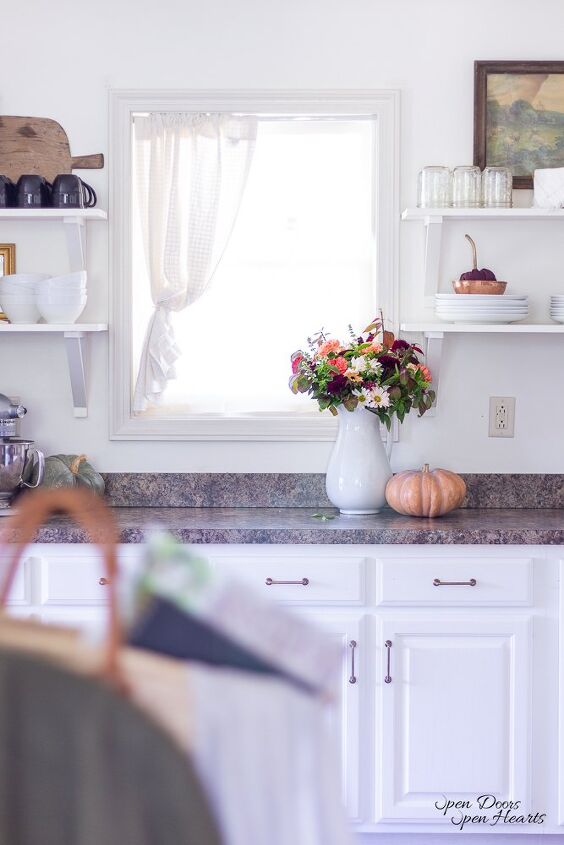
The easiest way to add in my plum accents was through florals, pillows, blankets, and fabric pumpkins.
So off to Joann’s I went.
I’m not a master sewer.
I took a home economics class in school, so I’m not completely lost, but certainly far from a pro.
With this in mind, I decided to start wandering about the aisles of endless fabric to find that perfect piece to bring home.
The best shade with great texture.
Okay, have you ever tried to go shopping with the cutest little girls in your life?
Albeit, they were trying to be helpers, or maybe they were just trying to keep from gouging their eyes out because they were so bored.
I’m not sure.
But regardless, they make it so very difficult to maintain a steady thought process.
I’m trying to remember if I liked the texture of the fabric from one aisle over better or is this more what I’m after.
Is the color the right shade of purple?
AND CLEARLY…which is cheaper?
All while:
“Mommy, I love these unicorns!”
“Mom, can we buy this?”
“Mommy, I want this one for my pillow!”
“Mommy!! You’re gonna love this one! It’s your favorite color! WHITE!”
“Mom, can we buy this?”
“Ummm, Mom…I have to go pee again.”
“Mom!!! I can’t find [my sister]!! She’s hiding in the fabric!”
“Mom, can we buy this?”
I know what you’re thinking.
It sounds ridiculous that I’d be struggling with my thoughts and keeping them in order.
But, here we are.
After way too much time has passed, I’m walking over to the counter where the sweet lady is about to cut my fabric.
That’s when I realize I didn’t even check the discount bin of remnant pieces.
But at this point, my brain was exhausted and all I wanted to do was get my people home and release them out into the wild to run free on the swing set.
So I continue walking and don’t even give it a second thought.
Making My First Plum Fabric Pumpkin
Fast forward to the moment I finish my first fabric pumpkin with the “plum” fabric I selected.
You guys, it wasn’t plum.
It was Halloween purple.
Good grief!
Joann’s here I come again.
Round 2!

This time I went straight for the remnant bin and guess what!
The perfect fabric was sitting in that bin.
I was in and out in no time.
So learn from my mistakes, and check the remnant bin first!
- fabric
- thread
- sewing needle
- scissors
- stuffing (I have poly-fil left over, but grocery store bags would work well)
- hot glue gun
- pumpkin stem
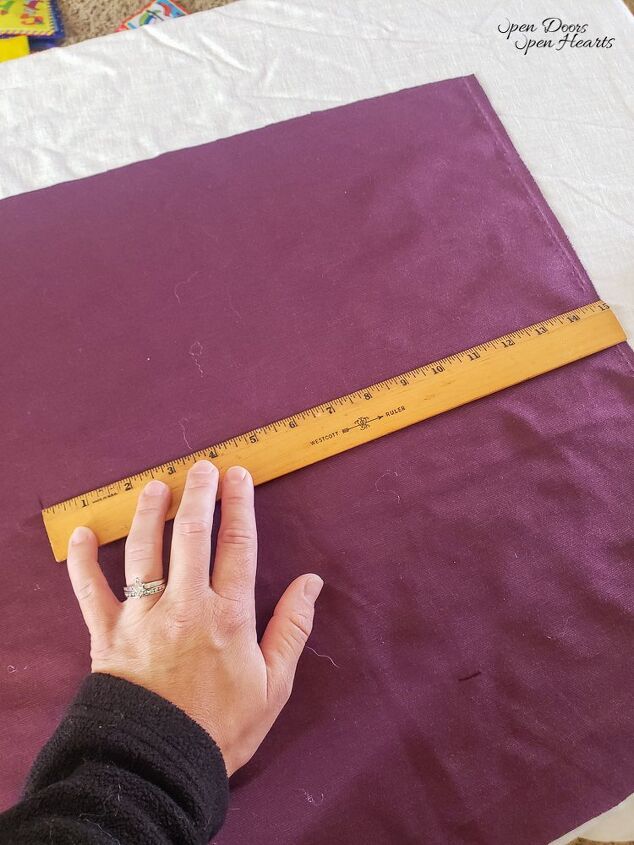
Cut your fabric into a circle. I measured 10, 12, and 14 inches across for these pumpkins and like the size they turned out to be.
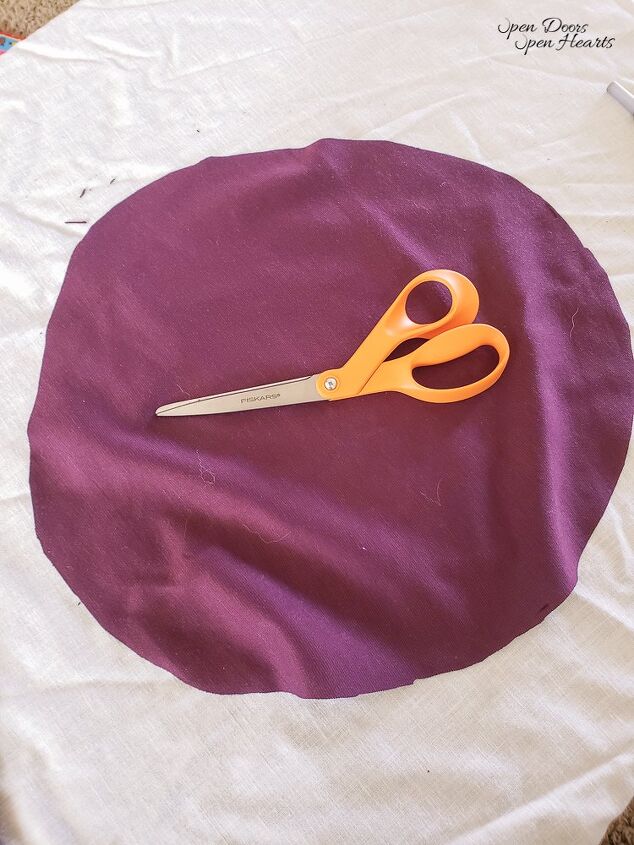
I’ve seen people use bowls to get the perfect circle, but I actually like the way the pumpkins end up a little lopsided when I just eyeballed it.
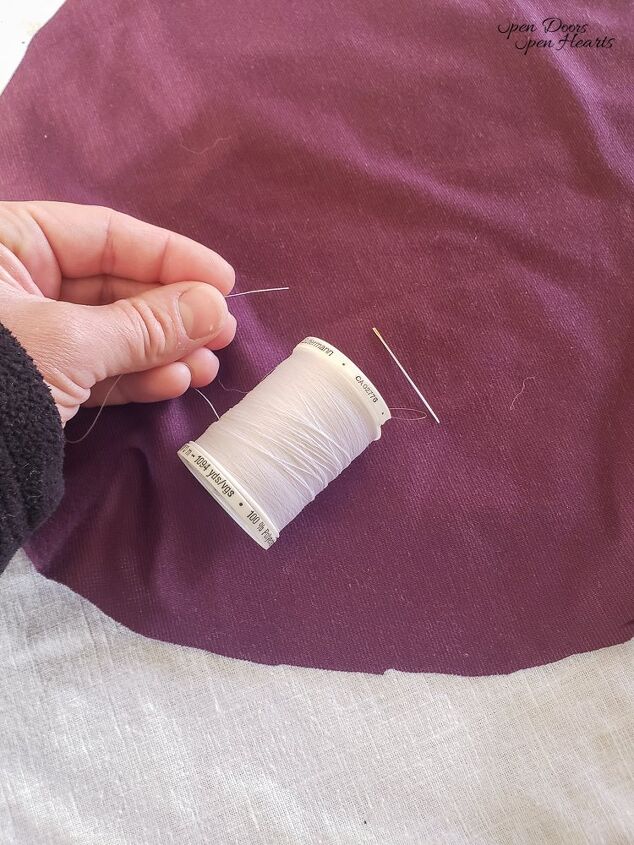
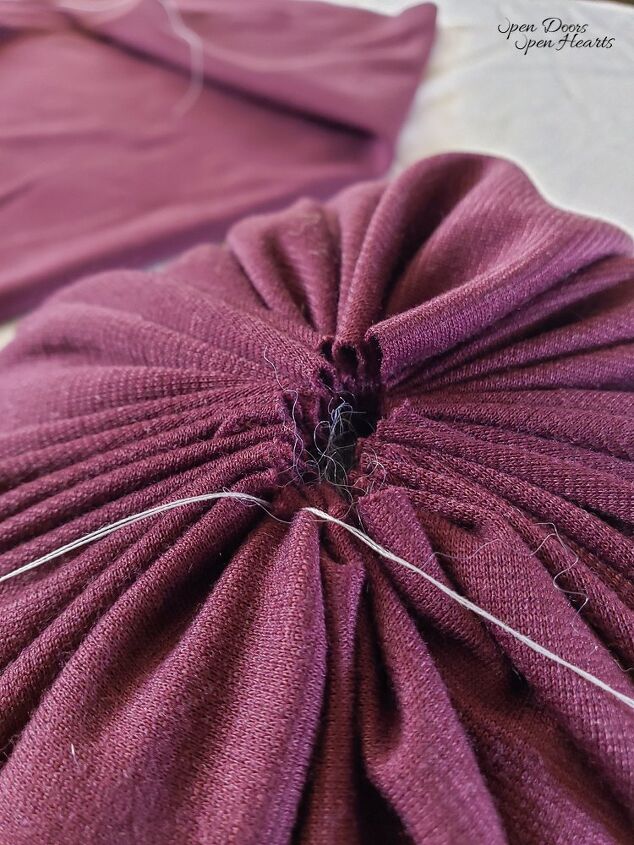
Now that your fabric is cut out, thread your needle, and begin sewing in and out all around the edge of the fabric.
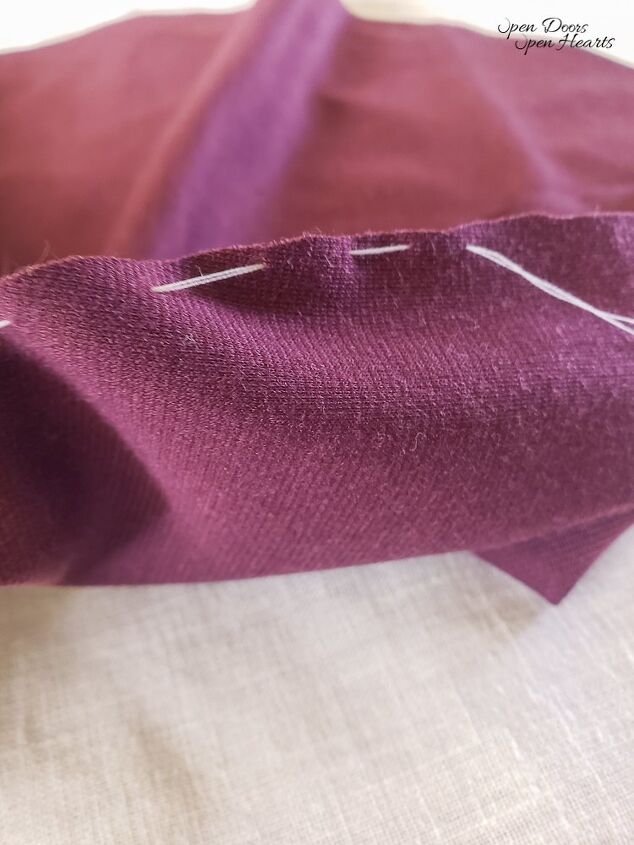
I learned that a small “bite” from inside to outside and a big “bite” from outside to in created a cute sinched-together look at the top of the pumpkin where the stem will go.
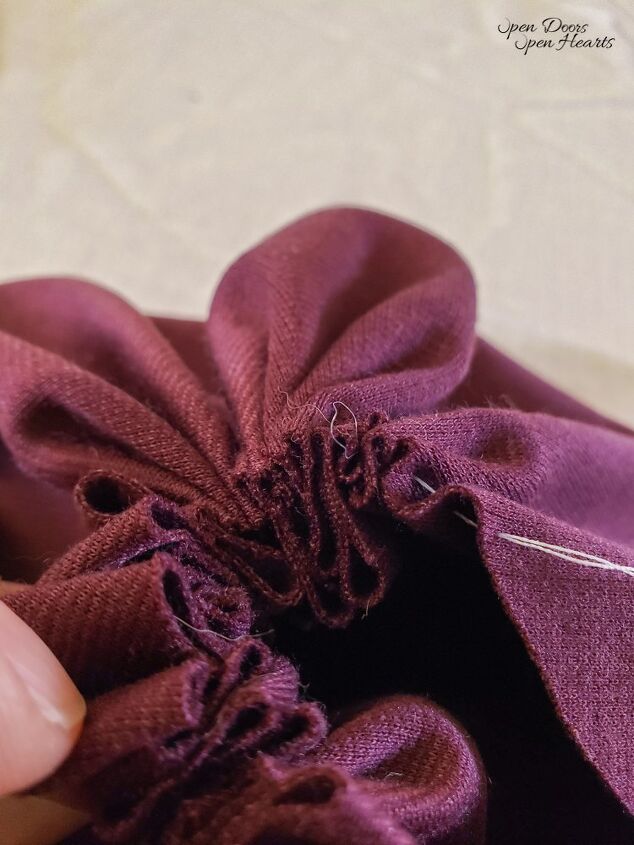
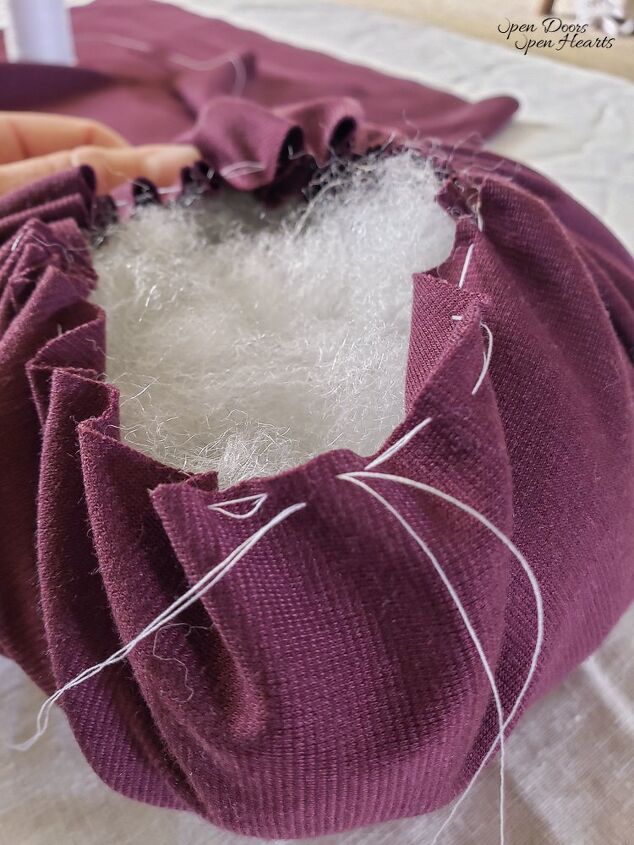
Once you have gone almost all the way around the edge of the circle you can add your stuffing.
Then continue to sew all along the edge until you reach the place you started.
This is the step I’m the most excited to share with you!
I told you I’m not a pro.
But I learned that if I took my last stick past the first stitch when I tightened it to tie the knot, it didn’t get loose before I tied the second knot.
It stayed as tight as I made it the first time!
No-fuss!
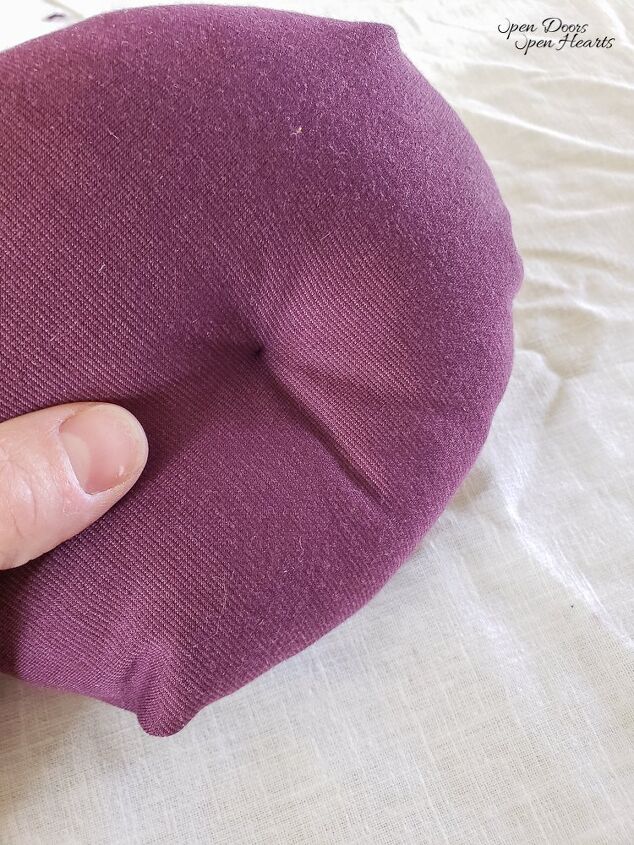
After the knot is tight as the top, I took the needle and stuck it down through the middle of the pumpkin (where the stem will be glued), and then back up from the bottom to the top.
Then I tied another knot.
Doing this created a little divot in the bottom of the pumpkin, which was nice because it helped them lay without rolling when I set them down.
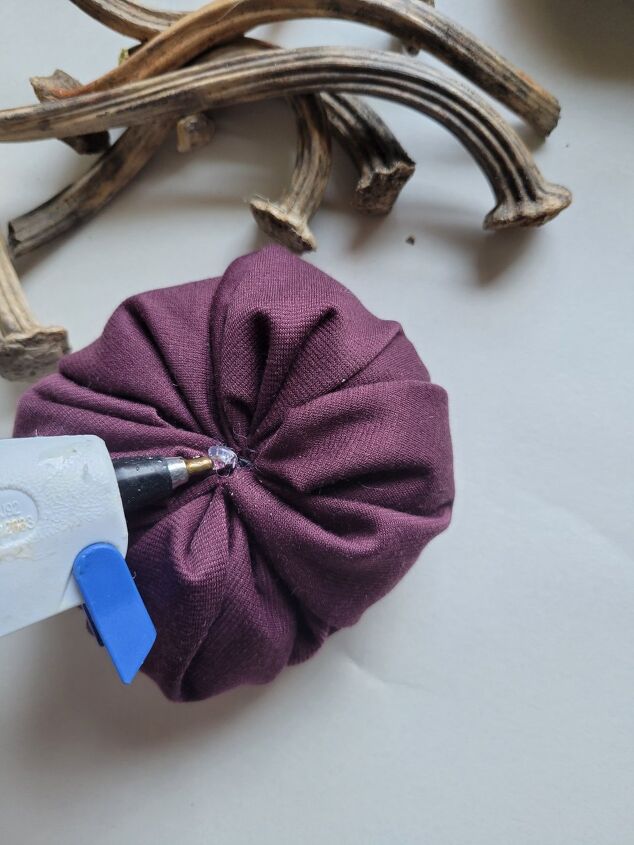
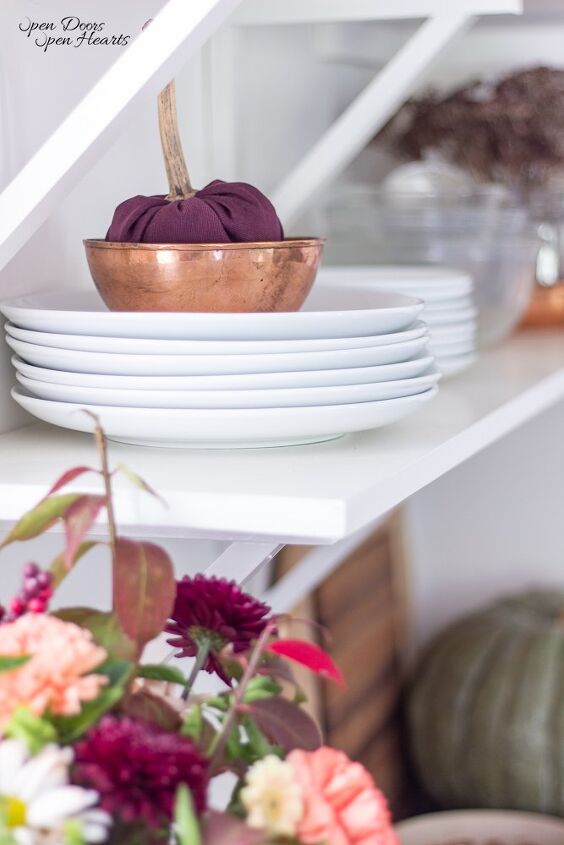
The last step to making fabric pumpkins with real stems is to grab the stems I saved from last year’s baby pumpkins and hot glue them to the top.
That’s it!
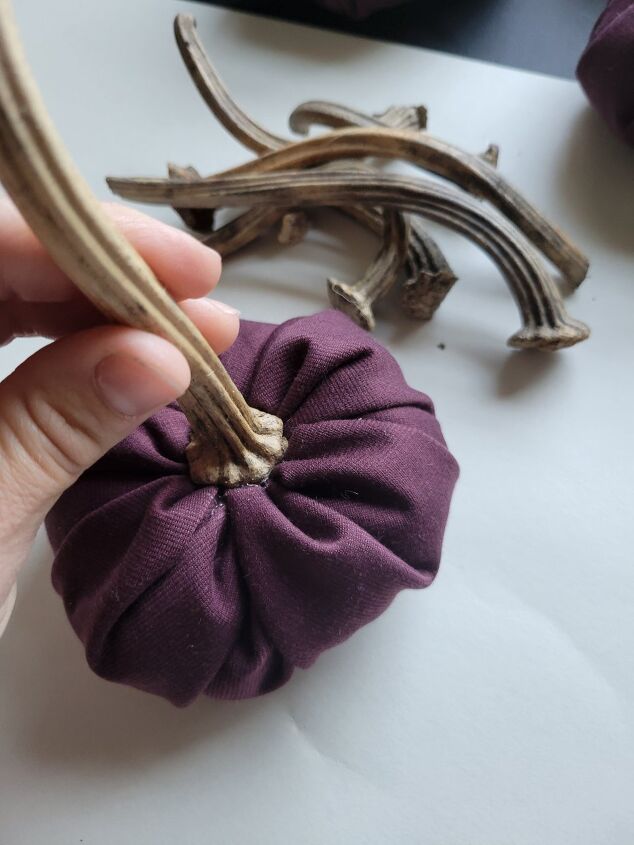
It’s so easy and I absolutely love them!
With that little trick about big bites and little bites, I think the top came together looking as good as the professional fabric pumpkins!
BUT…it cost a fraction of the price!
If you’re interested in any other Fall DIY projects we’ve finished over here check out this Fall wreath, and this simple harvest table setting.
Don’t forget to head over to your favorite social media platforms Facebook or Instagram.
Also, make sure you follow along on Pinterest to check out all the other Fall decor ideas I’ve been pinning for this year!
Have a great week! XoXo
Open Your Doors,
If you missed it, make sure you sign-up to join Open Doors Open Hearts mailing list at the top or bottom of this page.
You’ll be the first to find out all that’s going on over here and you’ll get decor and DIY inspiration!
- A Beautiful Shared Girl Room Update
- How to Organize a Shared Kids Closet
- The Joy In Our Simple Fall Front Porch | Mums & Cabbage
- How to Create a Simple & Stunning Early Fall Apple Tablescape
- European Farmhouse Inspired Early Fall Entryway: Beautiful & Earthy


Frequently asked questions
Have a question about this project?