


Dollar Tree Pumpkin Upgrade
Dollar Tree has been one of my favorite stores lately! I love the fall stuff they have this year.
Here is one of the projects I did with their letter pumpkins.
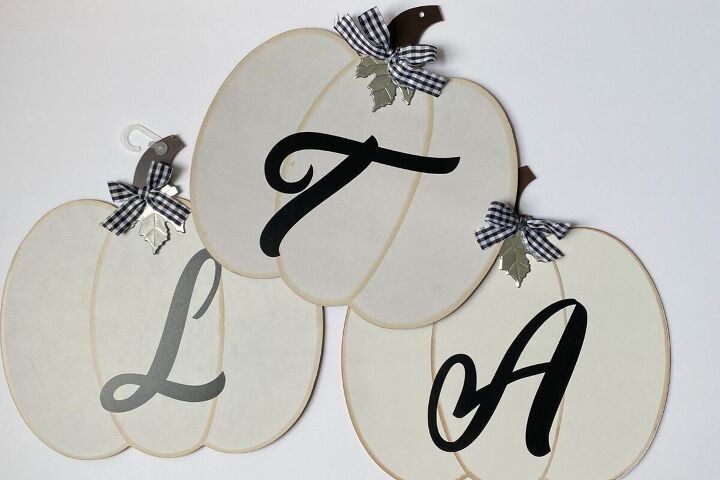
These pumpkins are super cute, but I can never find the letters I want lol.
I combined three of these together to make a larger one.
Step 1: Remove Embelishments
The first thing I did was to remove the bows and leaves that come on it. (Careful, those leaves are sharp!)
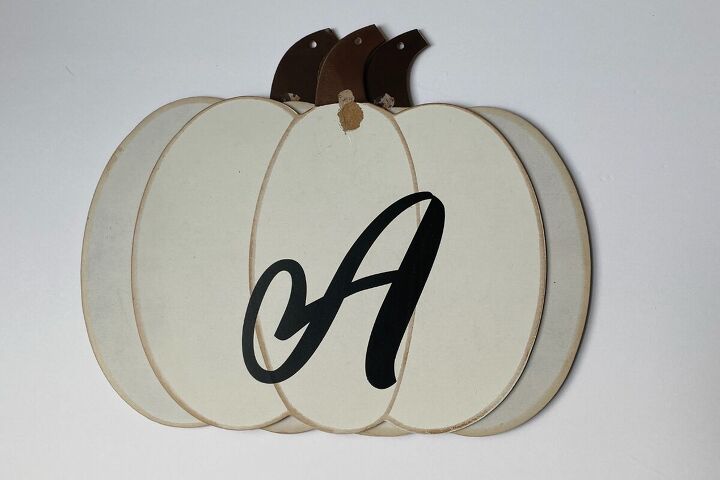
Step 2: Hot Glue Together
Once you decide on a shape, simply hot glue the three pumpkins together.
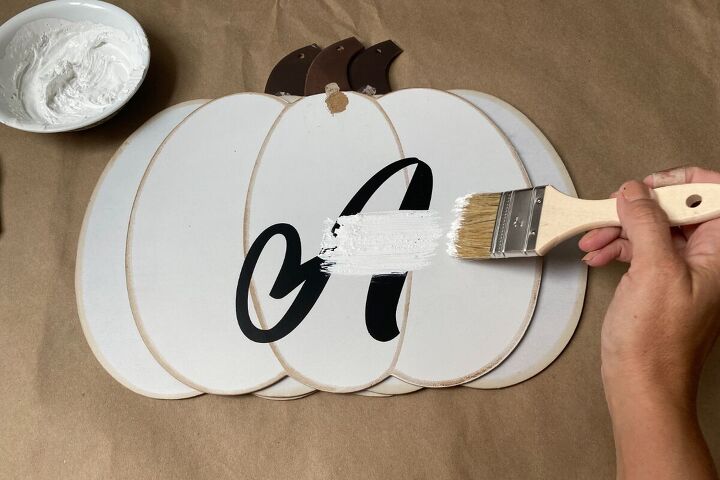
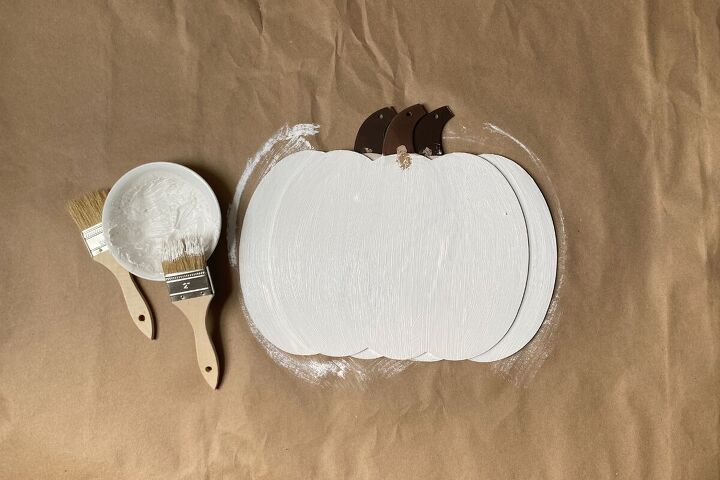
Step 3: Paint
For the paint, I mixed latex white paint with some baking soda to give it some texture.
Then, I gave it two coats of paint.
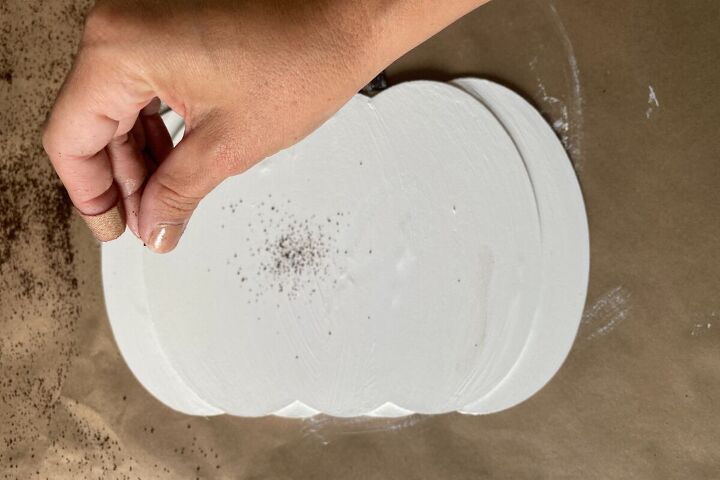
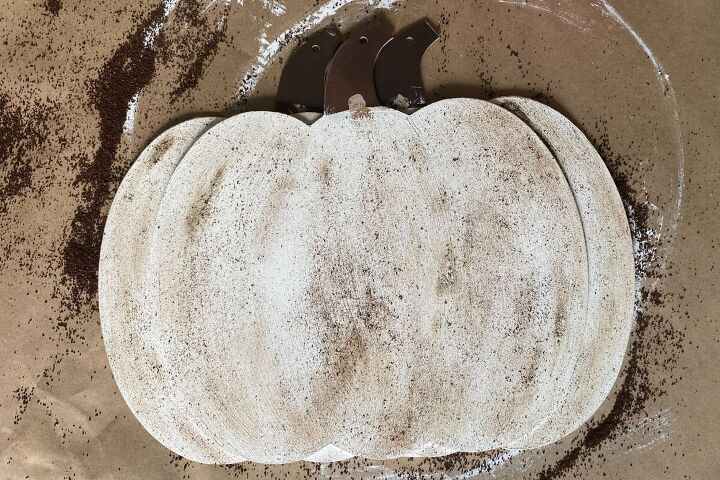
Step 4: Rub in some coffee grounds
Yes, coffee grounds! I used this technique on an old vase and loved how it looks so decided to try it on this project.
Step 5: Seal
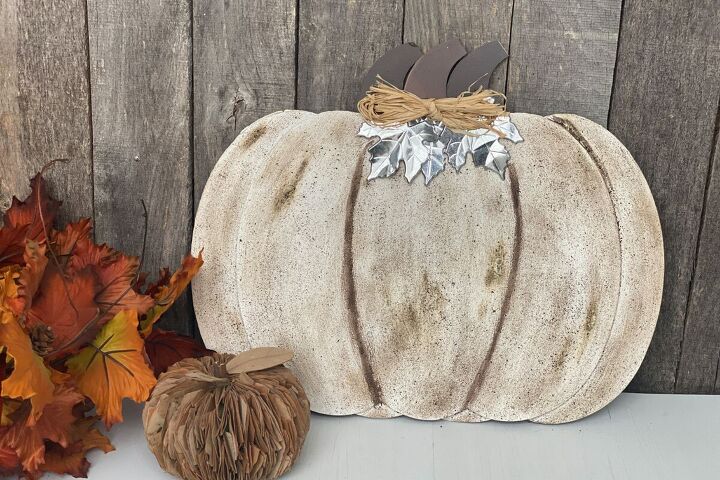
Once it was dry, I added some lines and then I used a clear coat to seal it all.
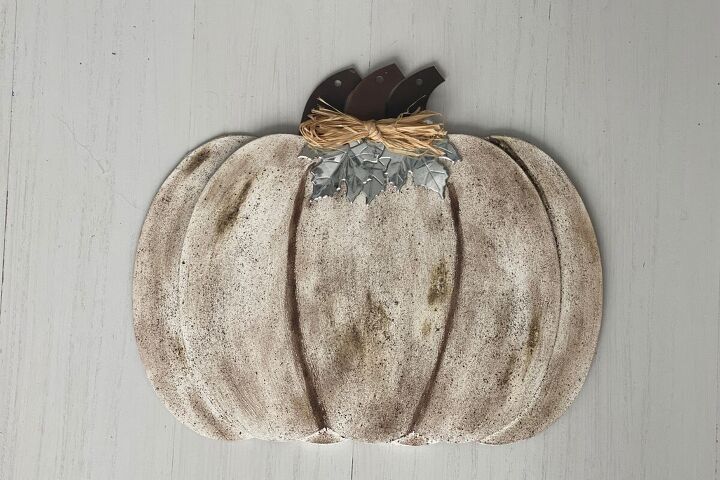
Step 6: Add Embellishments
I added the leaves back on and then put some raffia in a bow to finish it off.

There you have it! A simple dollar tree pumpkin upgrade :)
Thanks for stopping by, if you liked this project check out my favorite Fall Pumpkin Crafts:

Comments
Join the conversation
-
Definitely inspired! I hope I can find similar pumpkins at the $1.00 store tomorrow. I like the muted off white brownish color made by the coffee grounds instead of a solid orange color. Ty
-
Oh, so adorable.....Like Martha, love the coffee ground look...!


Frequently asked questions
Have a question about this project?
How did you get the back two pumpkins to lay next to each other so well?
So cute! I would also like to know how you made that little brown paper(?) pumpkin next to this one.