


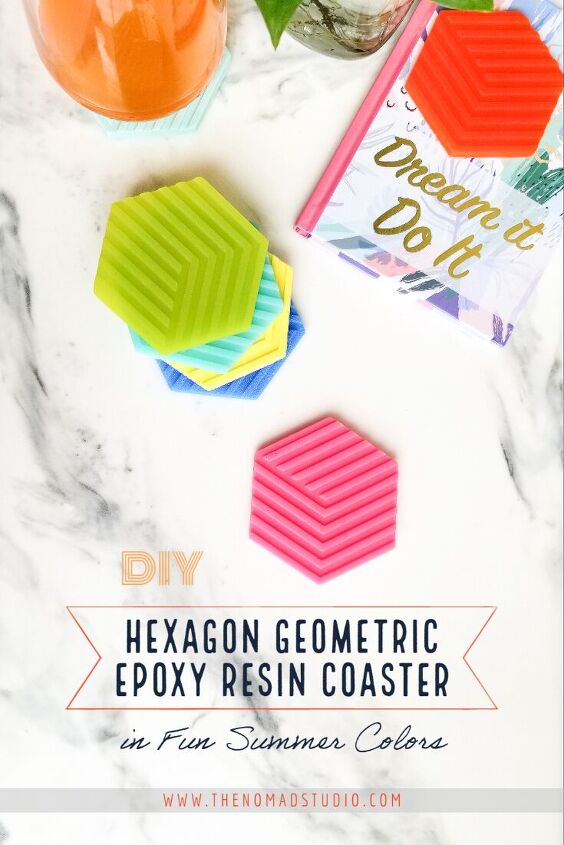
DIY – Hexagon Epoxy Resin Coaster
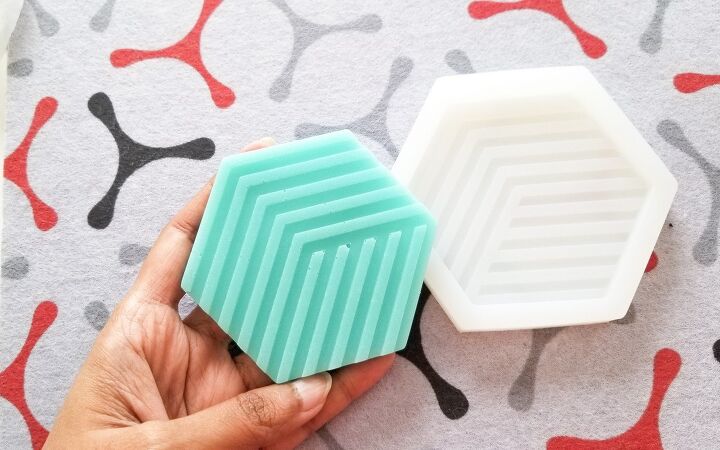
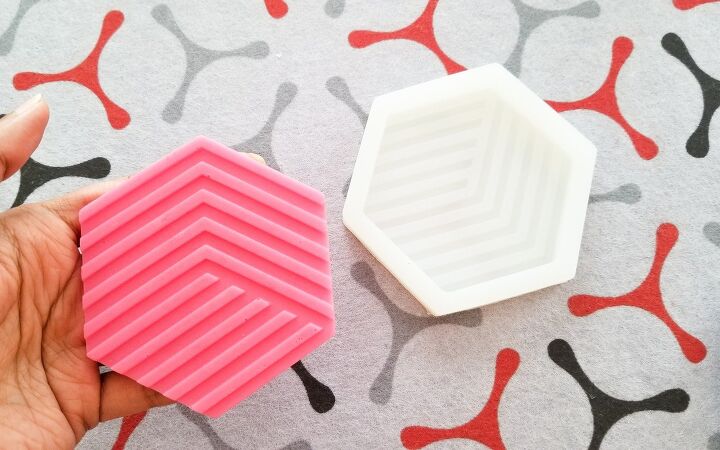
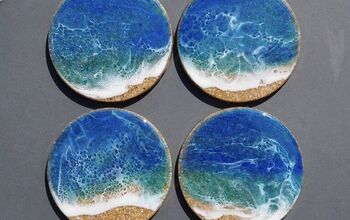
I stumbled upon this silicone mold online with hexagon geometric pattern. It matched my style and immediately felt like making coasters in fun summer colors. Since I am going to use only single colors for each coaster, this project is so easy and simple to make. Requires no skills or techniques except on how to the mix resin properly. If you are a beginner with resin, this is a good DIY to start with.
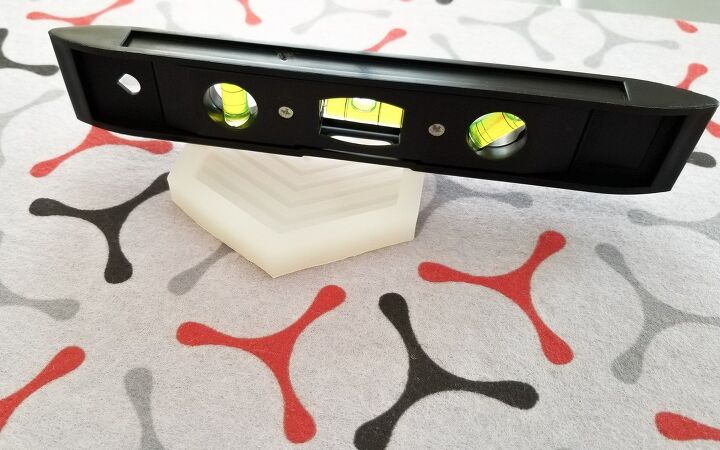
First clean the mold with a lint free towel. Then, set it on a level hard surface/tabletop. Leveling is very important in this case as the resin will settle towards the gravity and so your might end up with an uneven product if not leveled. Also remember to place some scrap board, parchment sheet or silicone sheet underneath to protect table from spills.
RESIN MIXING:
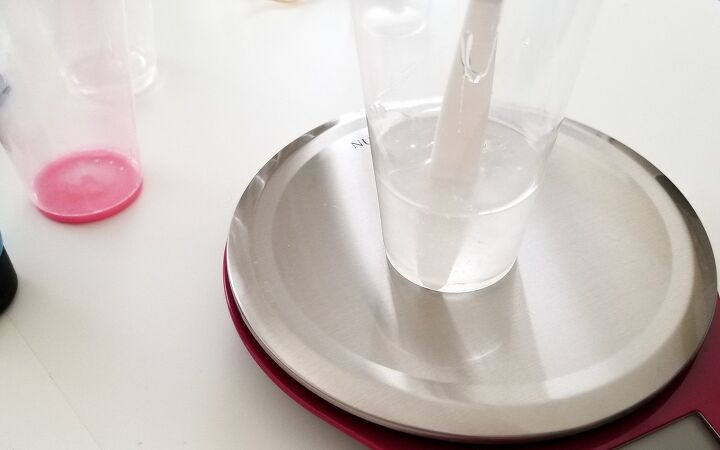
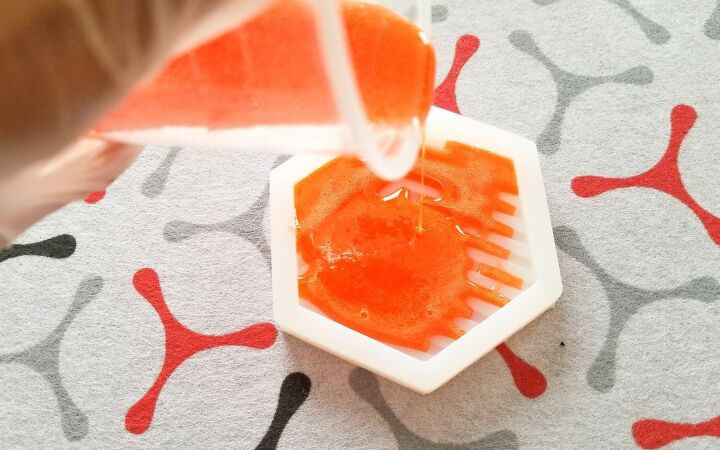
According to the manufacturer specifications mix your resin and hardener in correct proportions. Since I had only one mold, I poured one color each day. To find the right amount of resin pour for one coaster, I poured water into the mold and then poured it back to a cup. Then measured its quantity in a weigh scale. This gave me the right amount of resin that I need to mix for one coaster pour – It was 40ml in my case.
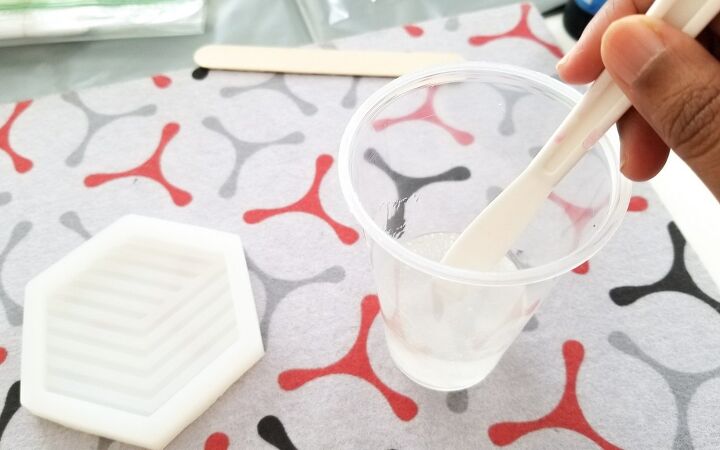
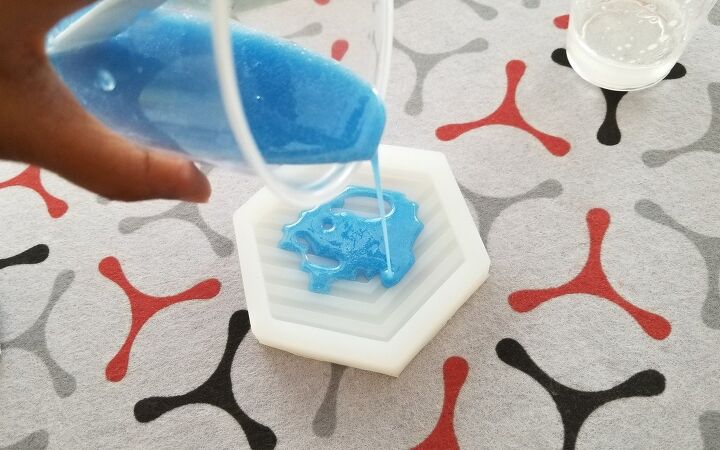
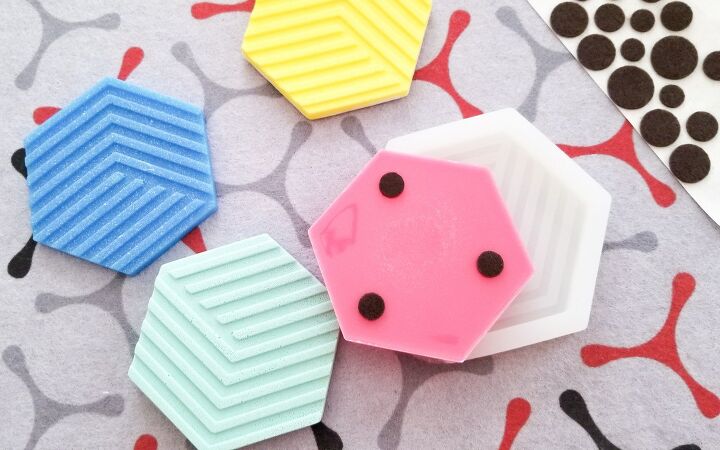
After mixing the resin with hardener pour it into another clean cup and add tiny amount of color and mix again. I used acrylic colors for all the coasters. In blue coaster alone, I added little bit of white to tone it down. But I guess the white I have was not good. Though I mixed it well, it settled as white dots in the blue coaster. So, that coaster alone had mosaic like pattern in it.
THE POUR:
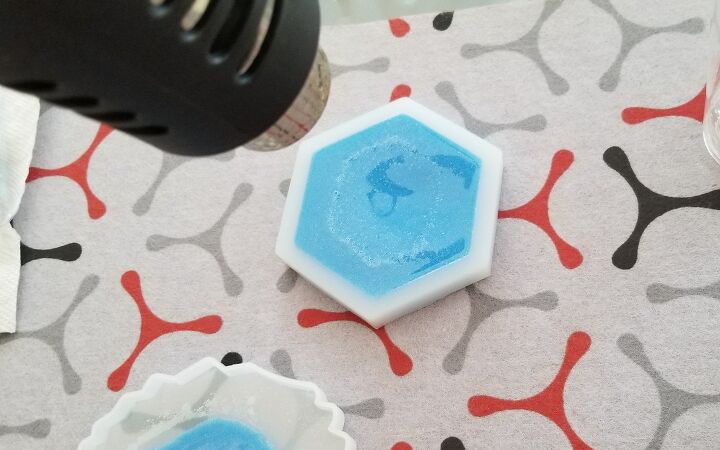
Once mix is ready, pour it into the mold. In few seconds, bubbles will start to raise. Pop them with heat gun. Watch for the bubbles for the next half hour atleast. Then, its time to wait. The curing time depends upon the resin you are using. Mine requires 72 hrs. But I can remove the mold after 24 hrs and move on to next color. If you demold too soon, it could warp the coaster as the resin will be soft & flexible during its curing time. I did that mistake on my first yellow color coaster. That is why it doesn’t sit level. After the curing time, the coaster will become hard as rock.
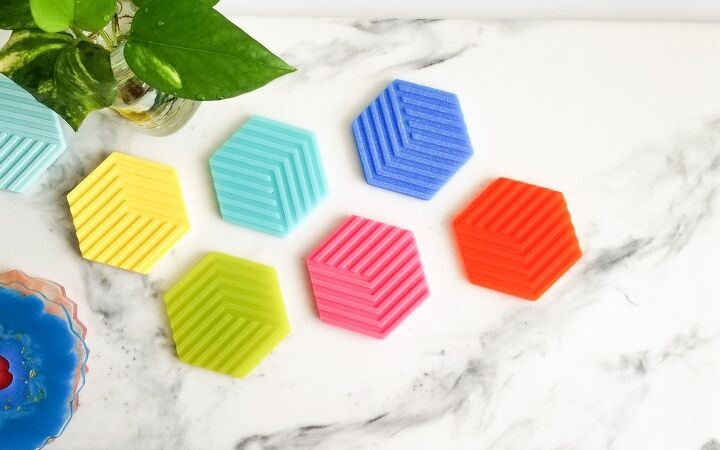
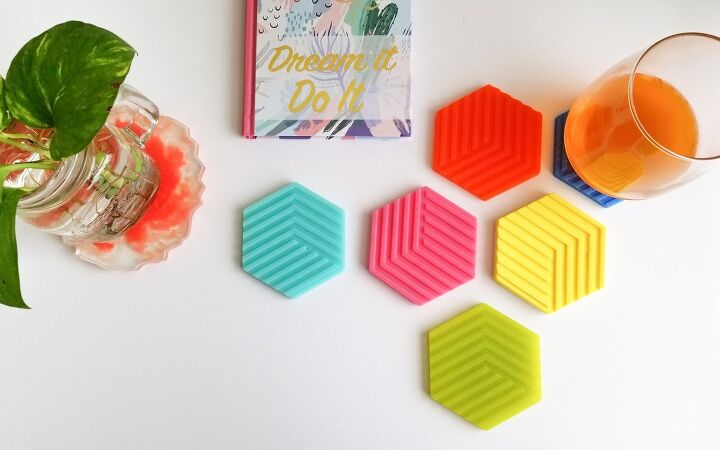
You know the wait is what I can’t resist. The colors were so bright and popping that it looked like candy. I was tempted all the time to take a bite .
Add felt or silicone bumpers behind the coaster and its ready to use!
Learn how to make silicone molds yourself.
For more projects visit my website:
www.thenomadstudio.com
& subscribe to my youtube channel

Comments
Join the conversation
-
I need to do an epoxy project and I’m so scared to do it. I have been putting it off for a couple months now. After reading your post I have a more courage to start it. Thank you!


Frequently asked questions
Have a question about this project?
What keeps the condensation from your glass from running off onto your furniture?