


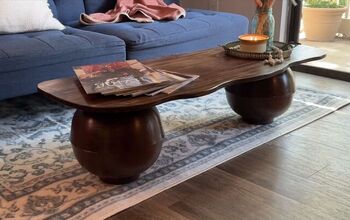
DIY Epoxy Wood Coffee Table
In this HT tutorial, learn how to make a wood coffee table with a glowing epoxy river. I show you many woodworking and resin tips to make this project easier for any DIY'er.
Video Tutorial
There are many things which are difficult to explain with words and images, so be sure to checkout this video tutorial and subscribe to my YouTube channel for more DIY project tutorials.
Step 1: Choose Wood
For this table, I used 2 pieces of Live Edge White Oak. The type of wood you choose is based on preference. In my experience, wood with a live edge works best for epoxy river tables. Make sure the wood is a few inches longer and wider than your desired final dimensions.
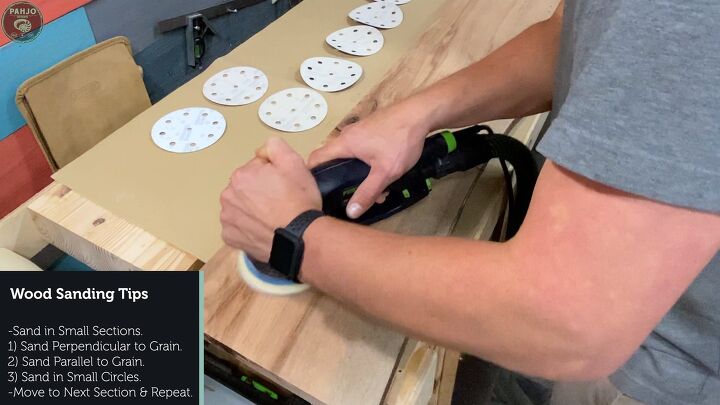
Step 2: Sand Wood
In order to get a professional finish, you need to prepare the wood by sanding it. I used my wood sander and sanded both sides of each piece until the surface was nice and smooth.
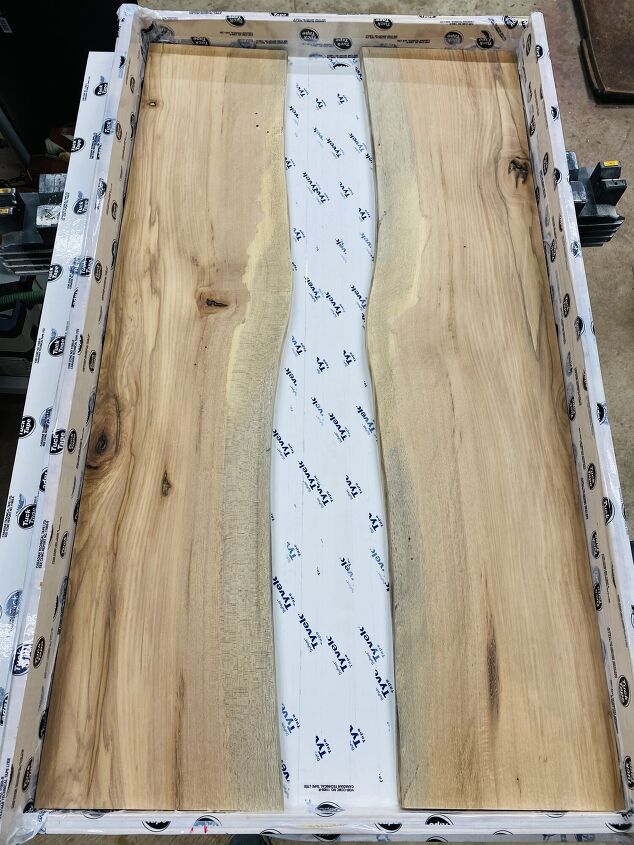
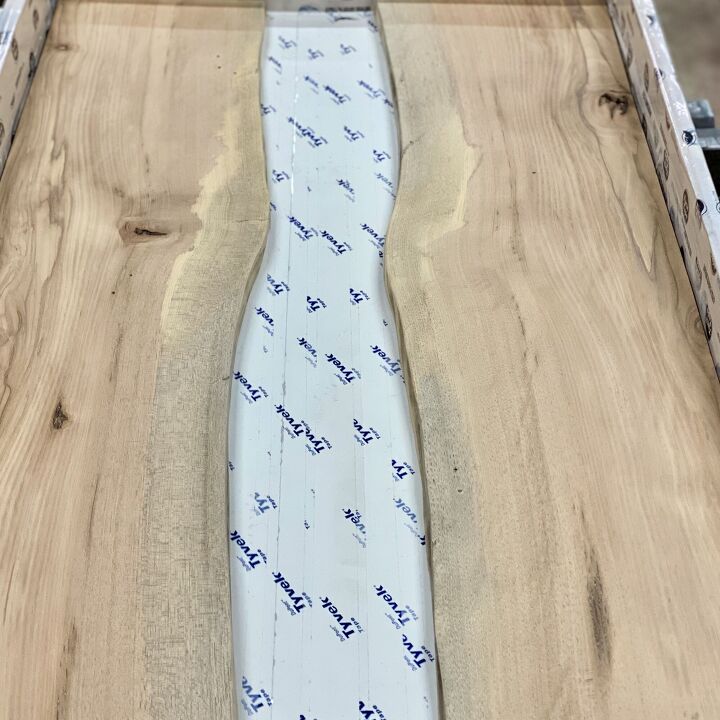
Step 3: Build Epoxy Mold
The purpose of an epoxy mold is to prevent the epoxy from leaking. Although there are many ways to build an epoxy mold, I simply cover cheap plywood or melamine with sheathing tape and position the wood on top. Epoxy doesn't adhere to sheathing tape, which makes it easy to remove.
Then, I cut strips of wood slightly higher than the thickness of the table, cover them with sheathing tape, and attach them with screws from the bottom on the sides and ends of the wood for the table. Essentially, this creates a rectangle around the wood. Finally, I use silicone caulk or hot glue to seal where the sides/ends meet the bottom which prevents leaking.
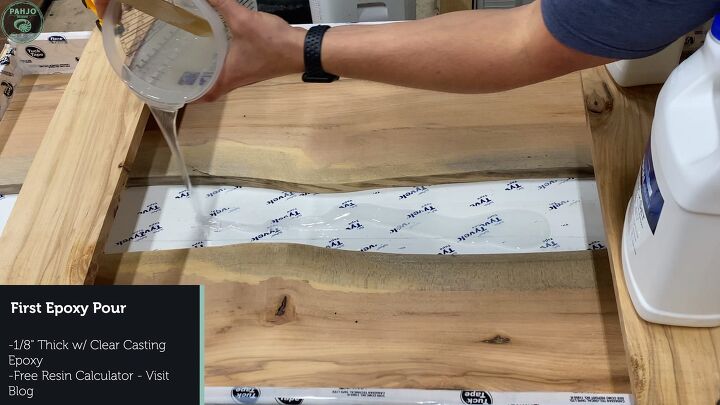
Step 4: First Epoxy Pour
I determined how much resin I needed by using my resin calculator (link to my free resin calculator on my website at the end of this tutorial). I want to the first epoxy pour to be roughly 1/8" thick. Next, mixed casting epoxy according to the manufacturer's instructions and poured the epoxy. I allowed this to cure for 12-24 hours or until it's tacky. In other words, you are ready for the next step if you touch the epoxy and you leave a fingerprint but it doesn't stick to your finger.
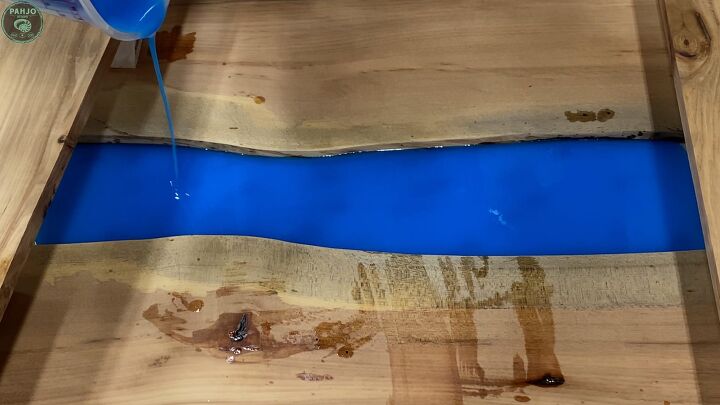
Step 5: Second Epoxy Pour with Glow Powder
Next, I mixed enough casting epoxy to fill the river about 3/4". Once it was thoroughly mixed, I added and mixed epoxy glow powder. I poured this in the river.
Also, the glow powder is protected by the bottom layer and the top layer (next step). If you need to sand the top or bottom of the table, the glow powder will be removed if not protected.
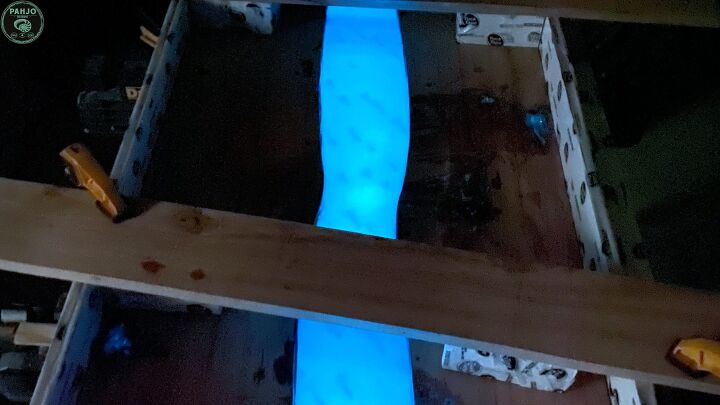
Step 6: Test Glowing River
After allowing this to cure for 12-24 hours (same as previous step), I turned off the lights in my shop to see the amount of glow. Keep in mind, this glow powder charges from natural or artificial light.
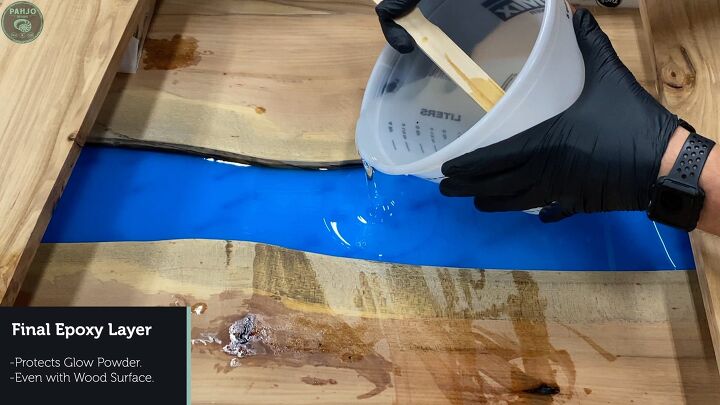
Step 7: Final Epoxy Pour
For the final epoxy pour, I mixed enough resin to fill the epoxy river to the top edge. This was about 1/8".
The wood was 1" thick, so the first epoxy pour was 1/8", second pour was 3/4", and final pour was 1/8". Add this together and it's 1".
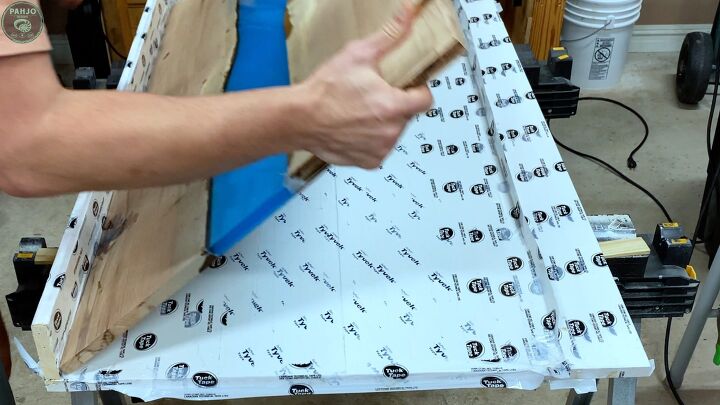
Step 8: Remove Table from Mold and Cut to Size
Once the table cured for 24 to 48 hours, I removed it from the epoxy mold. This may take a small amount of elbow grease to break the initial seal, but it comes up fairly easily.
Step 9: Apply Penetrating Epoxy
This epoxy table with also have an epoxy high gloss finish. So, I prepared the surface by applying penetrating epoxy which seals the wood surface. I applied 1 coat and the second coat when the first coat felt tacky (roughly 6 hours later).
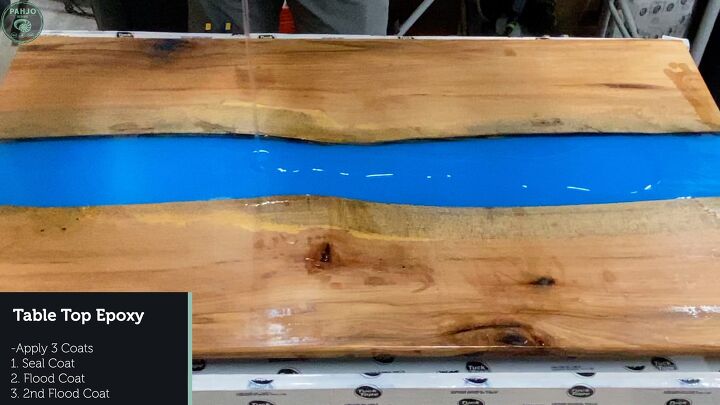
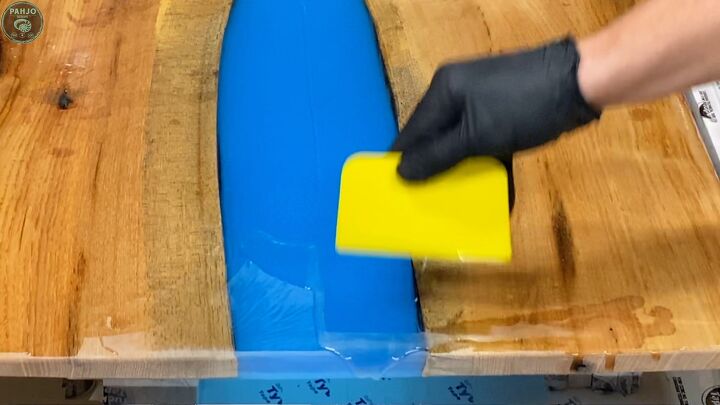
Step 10: Apply Table Top Epoxy
I applied 3 coats of table top epoxy: Seal Coat, 1st Flood Coat, 2nd Flood Coat. When the coat is tacky, proceed to the next coat.
Normally, 1 ounce of epoxy per square foot is the amount I used. However, this could vary based on the wood species. I encourage you to read the manufacturer's instructions on how much you need to mix.
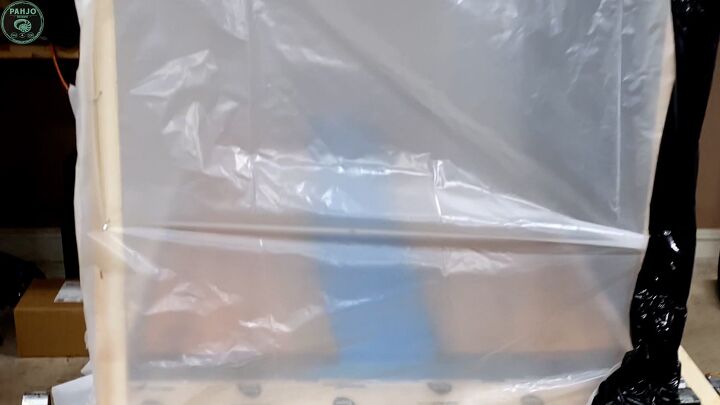
Step 11: Allow to Cure for 24 to 48 Hours
I do a lot of tinkering in my workshop, so I decided to build a tent using garbage bags and pieces of a plastic drop cloth. Basically, I attached a scrap piece of wood at each corner, wrapped plastic wrap and garbage bags around them, and secured them with staples.
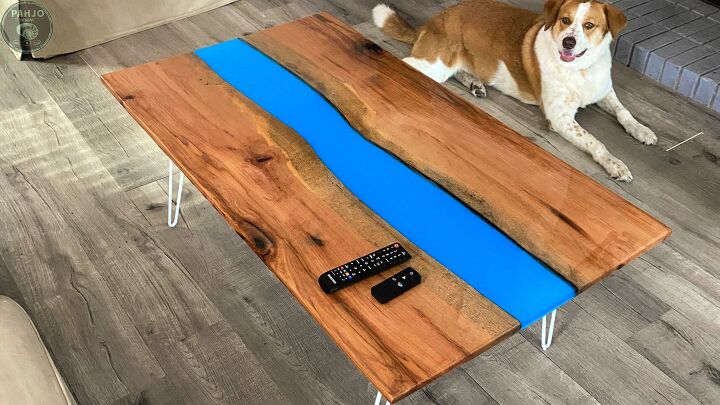
Step 12: Attach Legs and Conclusion
For this table, I my client purchased white hairpin legs from Amazon and attached them using 3 screws.
In conclusion, I hope this HT tutorial provided you with useful tips to build a glowing epoxy coffee table of your own.
Be sure to visit my website for more detail on this project and other DIY projects..
Resources for this project:
See all materials


Comments
Join the conversation
-
Beautiful and cute puppy.


Frequently asked questions
Have a question about this project?
Where can you purchase the glow powder?