


Dry Hydrangea Blooms Perfectly - Everytime
Today, I am sharing my tips & tricks for drying hydrangea blooms in August/September for using in your DIY home decor projects later in fall & winter.
If you love home decorating, chances are you have seen some beautiful DIY home decor ideas that include these beauties… dried hydrangeas! I LOVE hydrangeas… in fact, pink hydrangeas were actually my choice of bouquet flowers for my wedding. Now that’s it’s officially late August/early September in Kentucky, we are in the prime-time window for cutting those blooms for preservation purposes.
If you are lucky enough to have access to some beautiful hydrangea blooms and would like to create some beautiful home decor with them… then, keep reading for some of my tried & true tips & tricks to drying them perfectly every time!If you remember only one thing from this post, remember that TIMING IS EVERYTHING!Typically, late August and into early September is the time that the hydrangea blooms start to fade their color(s) and begin to show some signs of slight browning. If you see this, then the time to cut is NOW! When cutting, be sure to leave the stems long and trim off most of the leaves from the branches. Now, cut, cut, and cut some more… because all too soon, these blooms will wither and fall away anyway… cut way more blooms than you can even imagine using, because chances are, you’ll think of lots of different ways to incorporate them into your decor once you begin, the ideas will just start flowing! … from wreaths, vignettes, basket fillers, to gift wrap embellishments, etc… the list can go on and on!
Once you’ve cut your blooms, place them loosely in a large bucket or vase, in a cool dry place, with VERY LITTLE WATER. Arranging them loosely will prevent the blooms from getting “smushed” against each other and causing them to lose their beautiful shape… no one wants “wonky” hydrangea blooms, right!? Now, the reason for “very little water” is just the fact that we are ultimately wanting these blooms to dry out… slowly, not abruptly, is the key here.So, only add approx a 1/4″ – 1/2″ of water in the bottom of your container. You want it to be just enough water to last the blooms for only a day or two – at the most. After the water evaporates, the blooms will begin to dry naturally for several days…. you may not even notice much of a difference in their appearance during this drying phase.
The drying stage for the hydrangea blooms is a relatively quick process. It really is just that simple… but, only if you get the TIMING just right! Once the blooms feel and sound dry to the touch… (once you touch a dried bloom, you’ll know what i mean by “sound”) you can start using these blooms throughout your home for many diy decor projects!
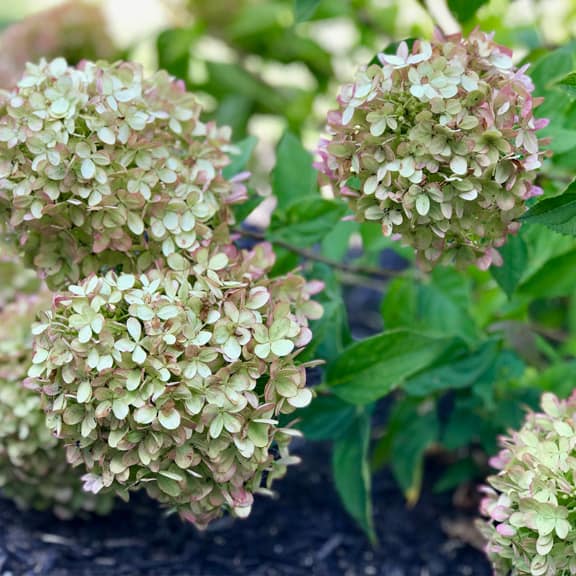
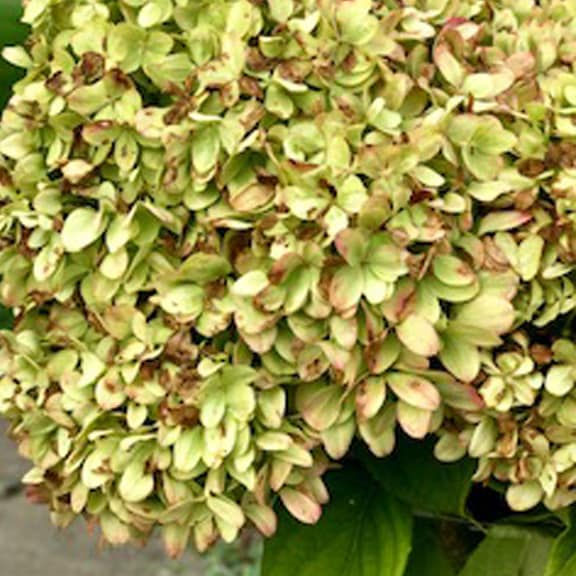
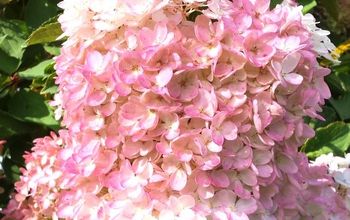
Stage 1
This photo shows exactly how my hydrangeas look when they are ready to be cut.
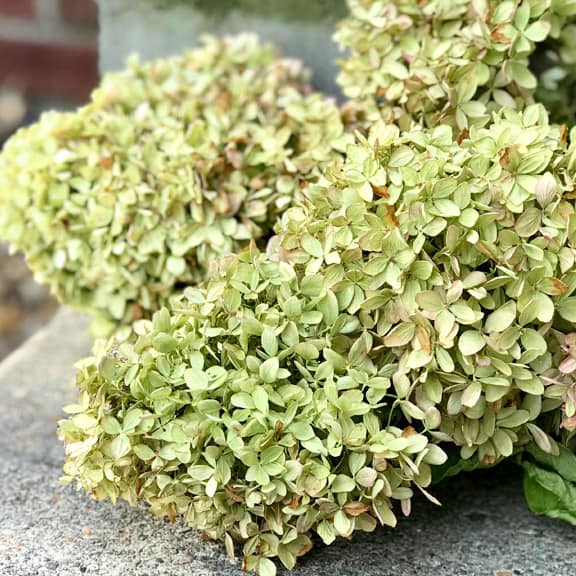
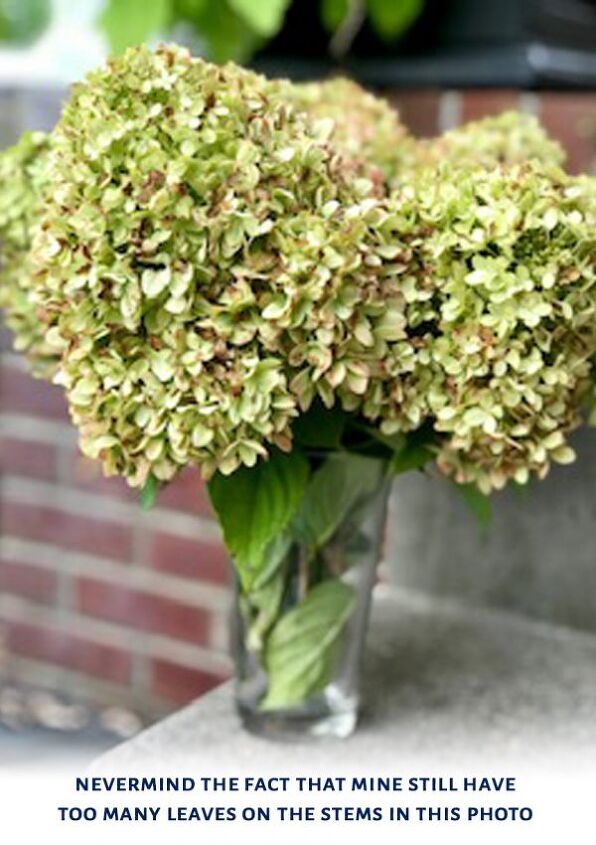
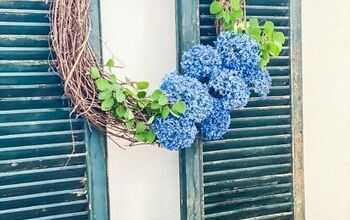
Stage 2
These are my hydrangeas once they have been cut and placed in water for 1-2 days. You can see their color is starting to fade a little bit, but the blooms are still keeping their shape.
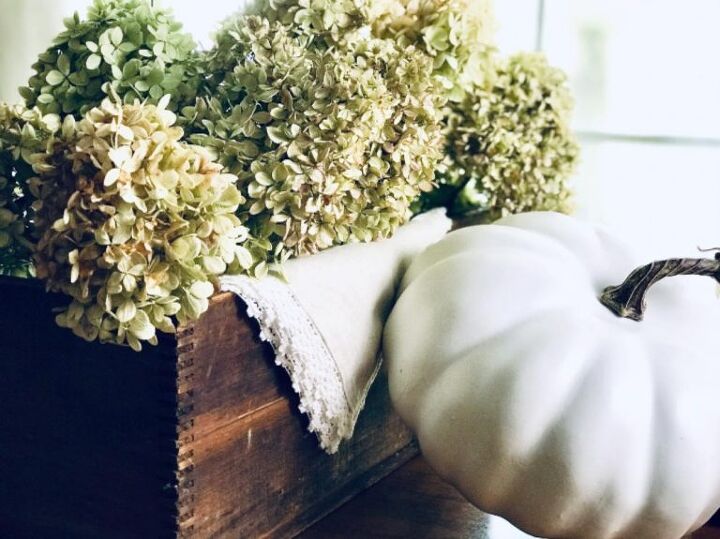
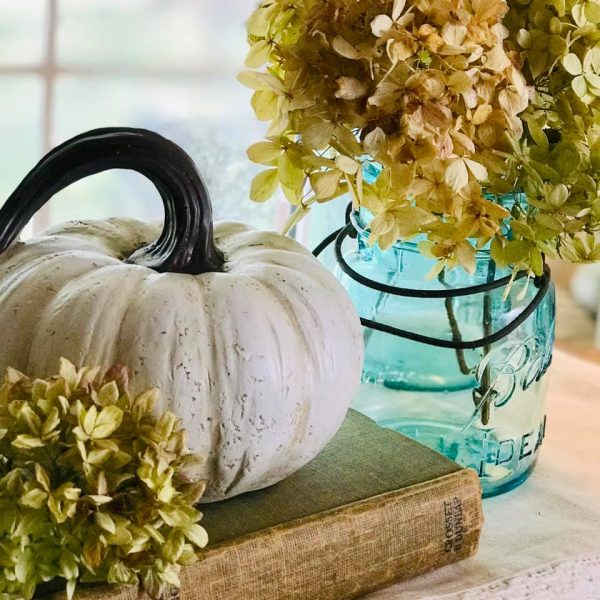
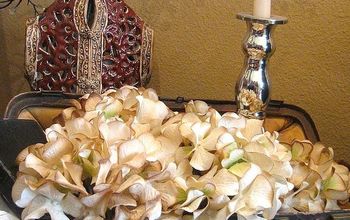
Stage 3
This is how my hydrangeas look after several days to a week after cutting. You can see that the blooms continued to keep their cluster-like shape and now the colors are golden, cream, and give you a wonderful vintage and rustic cottage feel... perfect for decorating!

Like this project? Want to get more home decor & crafting ideas sent straight to your inbox?
Then, CLICK HERE to sign-up for my Extra Sweet Decor Email! My promise to you... no spam, ever!!! Only great ideas to make your home even sweeter than before!
See you next time, sweet friend!
~Tracey
Resources for this project:


Frequently asked questions
Have a question about this project?