


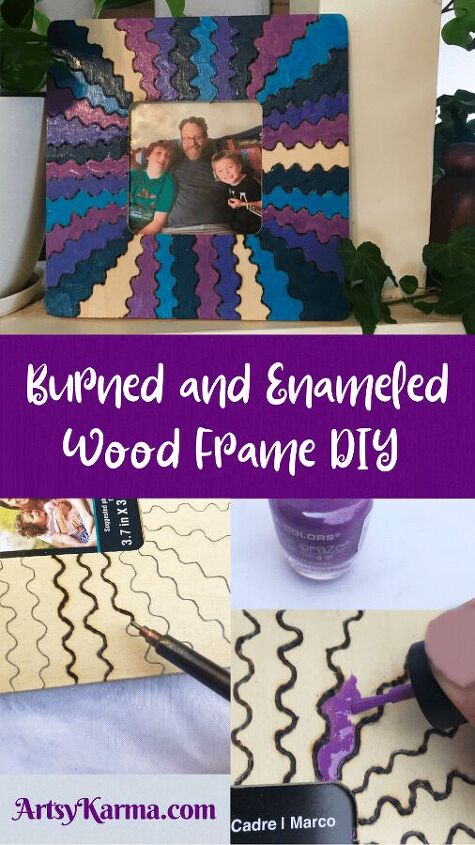
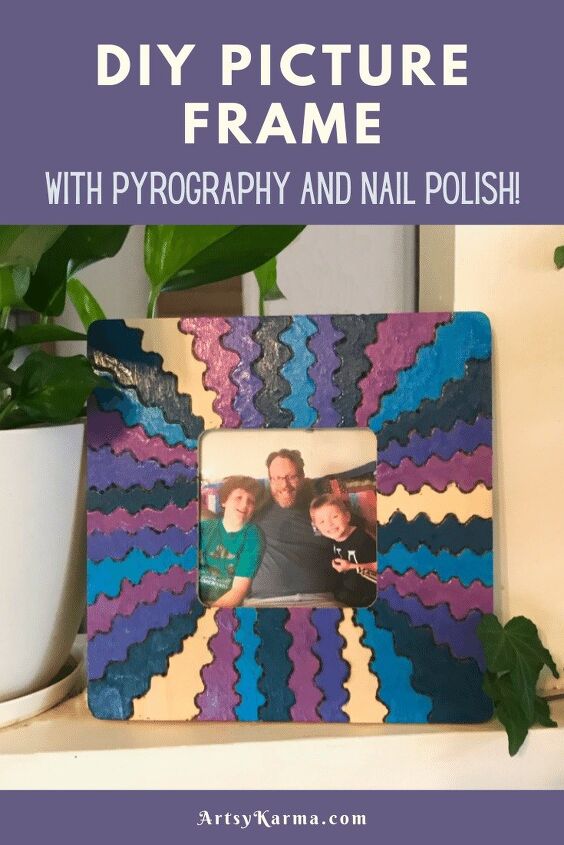
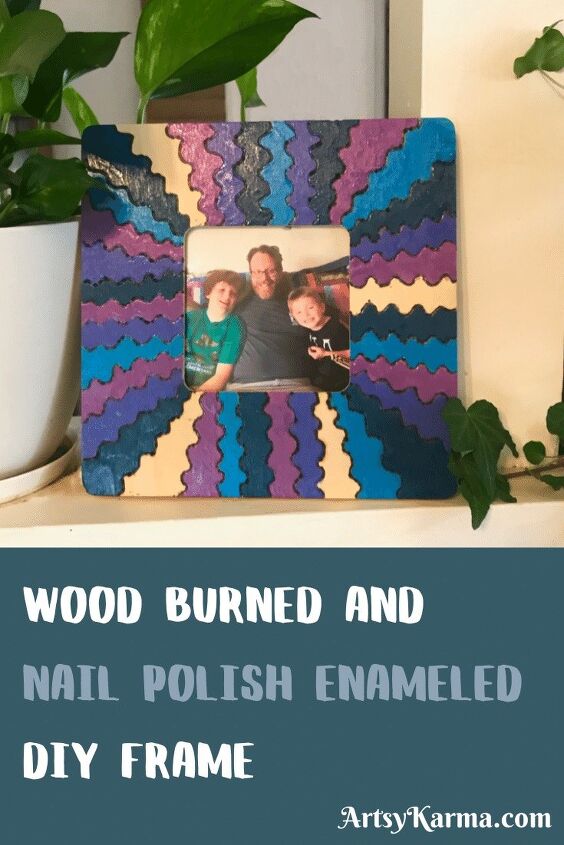
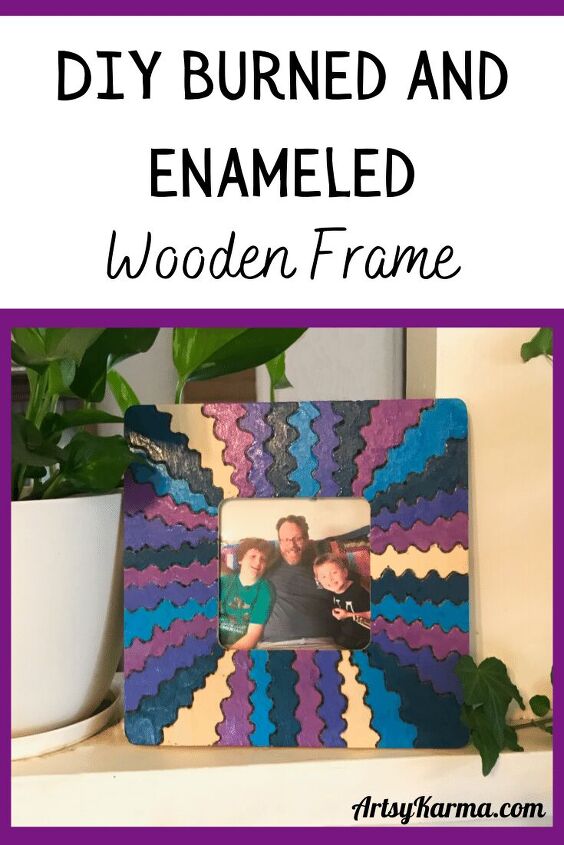
How to Make a Colorful Wood Burned Frame

Oh, what a fun project this is!
Not only do you get to whip out your wood burner or soldering iron, you also get to use your colorful nail polish. A double whammy on fun supplies!

I also get to show off my beautiful family!
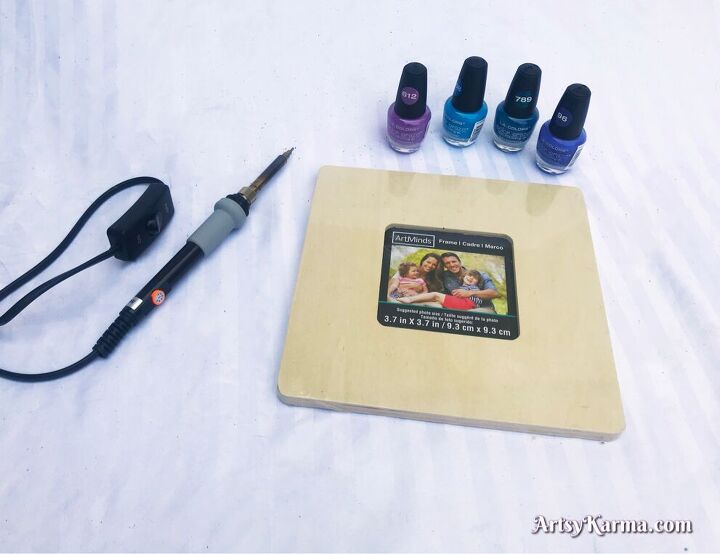
I added links at the bottom and above to purchase the supplies on Amazon, but you can get both a frame and the nail polish at the Dollar Tree.
Step 1:
Choose what design you want to burn into the wood frame and start drawing it with pencil.
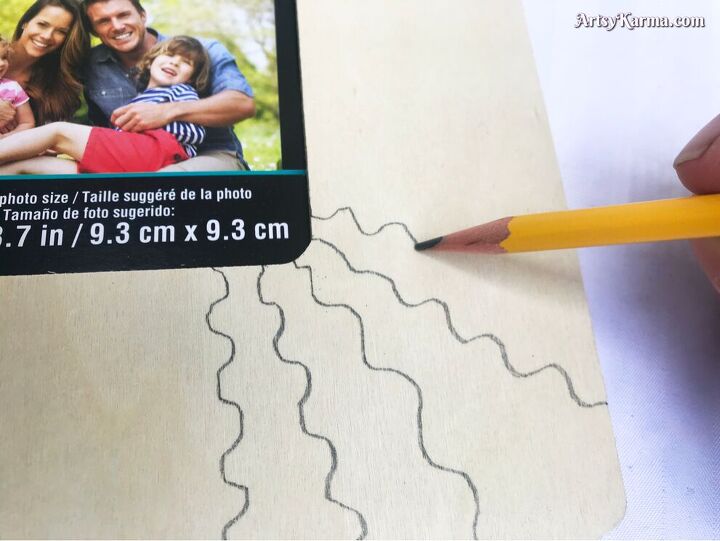
I chose something easy because I'm not that experienced at wood burning.
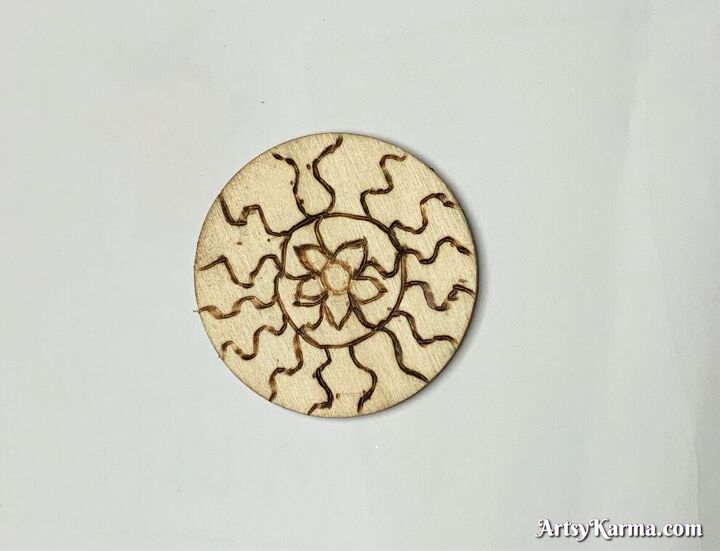
In fact, I grabbed a wooden medallion thingy to practice using the soldering iron on wood.
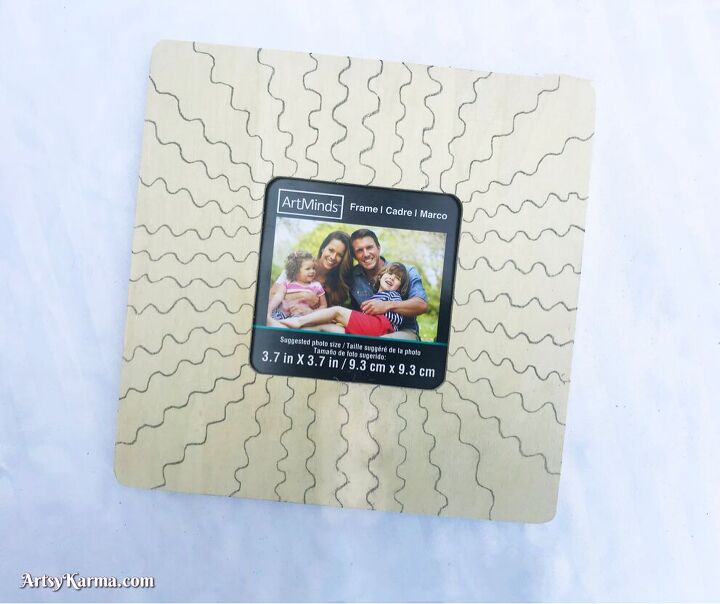
Step 2
Choose a wood-burning tip, turn on your device, and trace your lines.
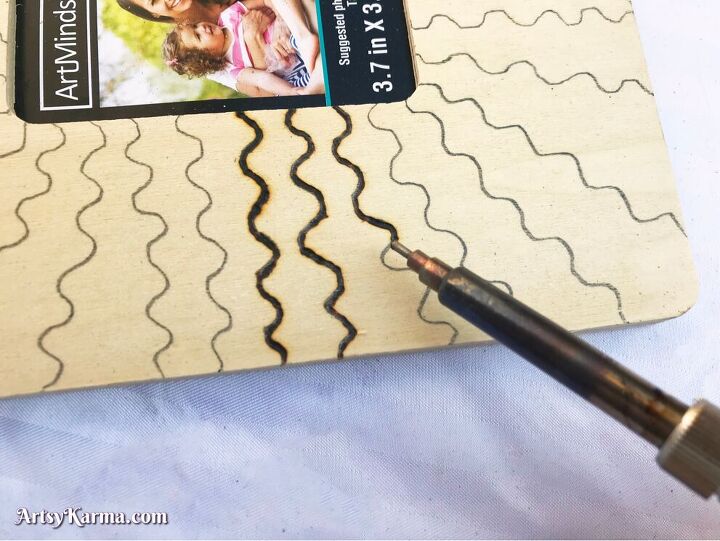
I chose a rounded tip and turned my device as hot as it would go. That let me trace quicker while getting a deeper engraving.

Unless you are experienced at wood burning, youre going to have some spots that burned deeper. I also found that it was easier burning with the grain of the wood, than against. Going against the grain, it seemed my device would get stuck a little, so to speak.
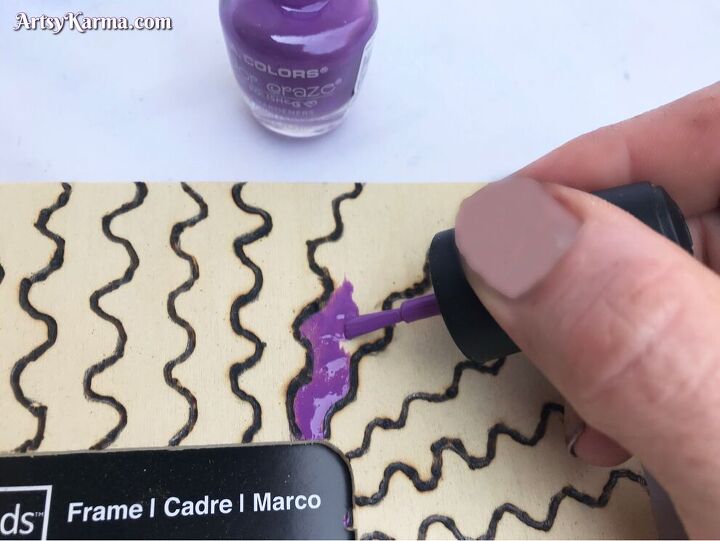
Step 3
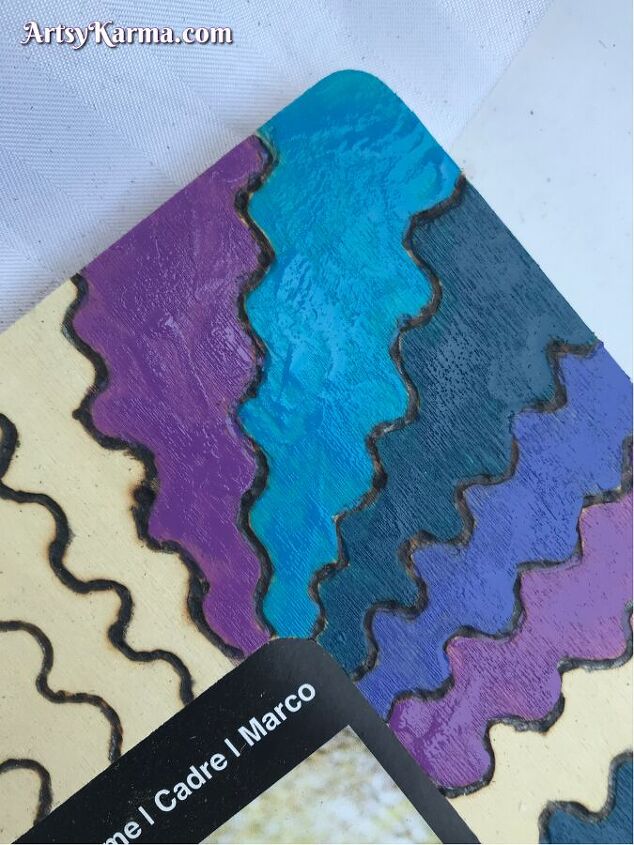
Fill in the spaces between your design with nail polish.
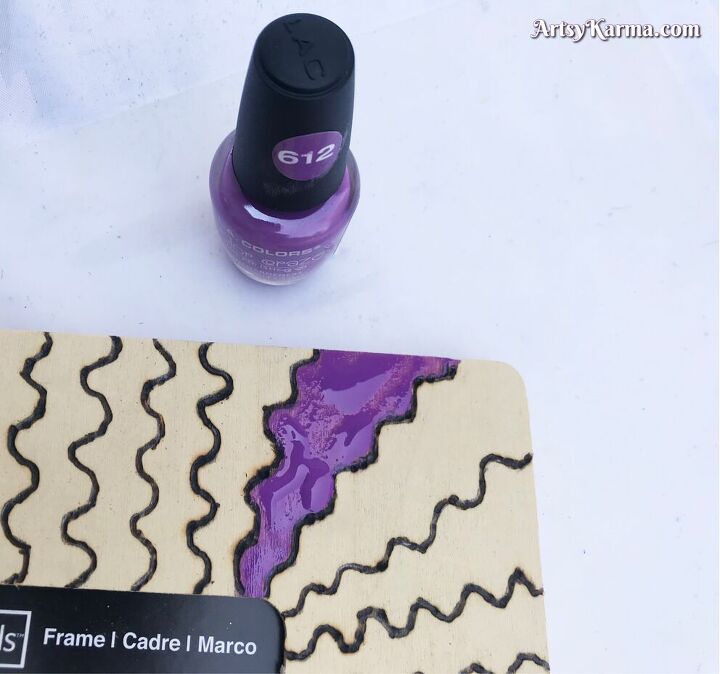
I noticed that with one coat, the coloring came out uneven. You can see it in the lighter blue:
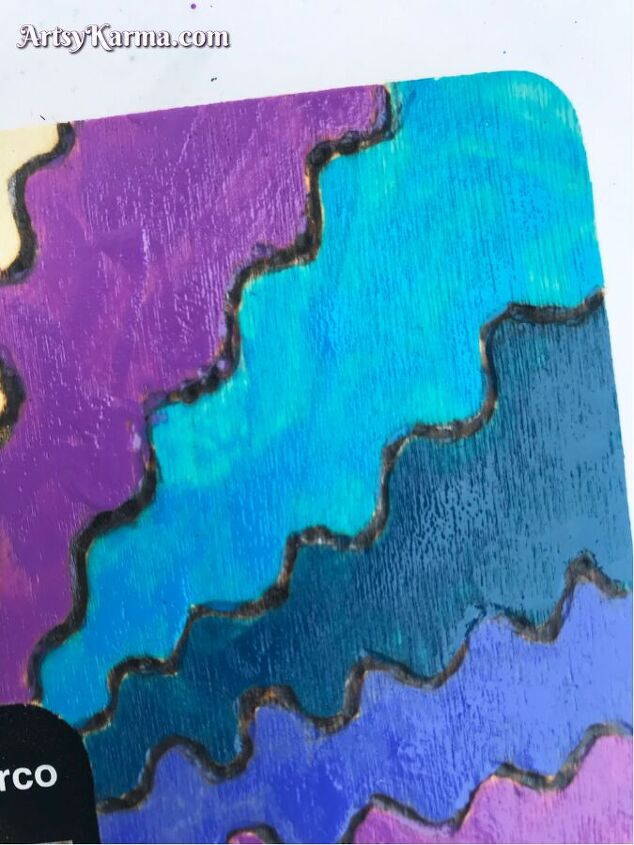
Step 4:
Add a second or even third coat of nail polish.
Here's the same area of blue with a second coat added:
Step 5:
Print out a photo and stick in it!
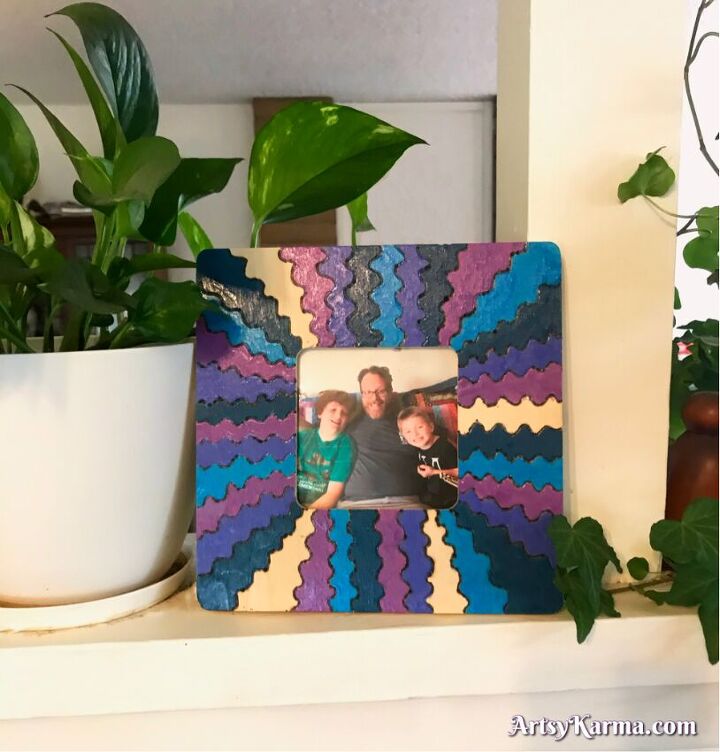
I left a few spaces unpainted, so you can see the unfinished wood.
And you may be wondering why I chose nail polish. I originally planned on using liquid watercolors, but on my test medallion, I saw that the watercolor bled through the grain in the wood and traveled beyond my burn lines:

And when I tested the nail polish, I loved how it gave an enameled look. You've got to try it. I can't wait to try nail polish on metal. I'm sure I'll make a tutorial for that soon. If it turns out, that is. Not all my projects are winners. Maybe I'll make a "don't try this" post with all my flops, someday.
For another project using wood, check out my DIY Cabinet Knobs or Chair Makeover tutorials.
Buy the supplies for this project on Amazon:
Tags:
Comments
Join the conversation
-
I think it looks amazing and creative.
-
It looks great and I'm going to do it. Your directions are so clear and I'm glad you included your test, that really make a difference.


Frequently asked questions
Have a question about this project?