


Make a Topiary From a One-Dollar Christmas Tree
Take a short-cut to a colorful topiary with a one dollar Christmas tree. We used realistic mini trees that we found at Walmart for just one dollar each, plus hydrangea blooms, and spray paint. To see the longer video with many more tips to this project, click here.
These topiaries look great year round, for Thanksgiving, Christmas, Easter and everyday decorating.
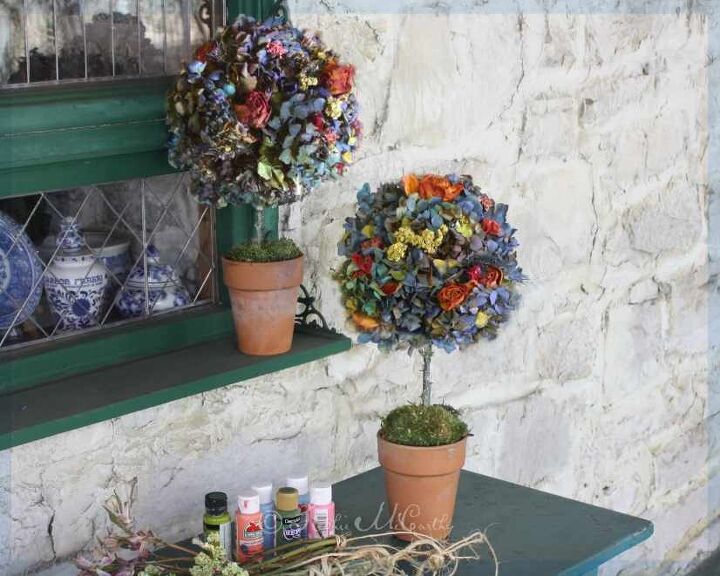
Mini Christmas trees are a great topiary short cut because they have weighted bases, natural looking stems, and the wire branches help hold and shape the globe tops.

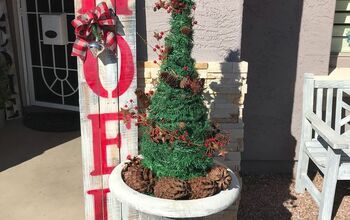
Here's what the tree looks like before it becomes a topiary.
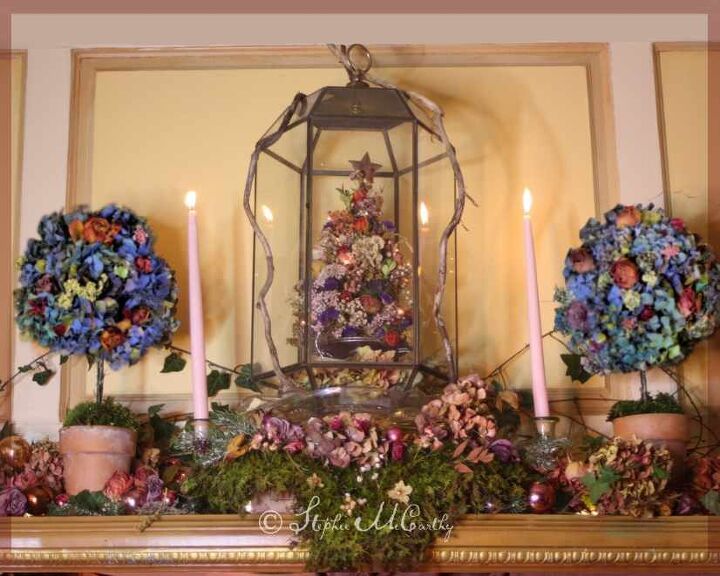
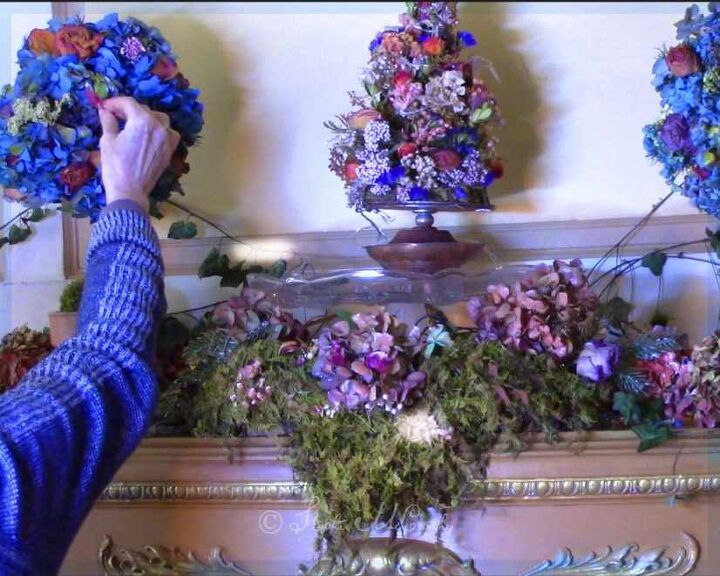
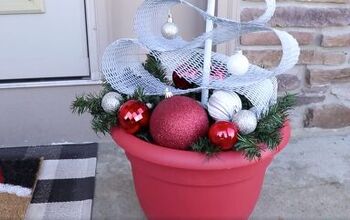
Here are the topiaries at Christmas along with a small dried flower tree inside a recycled lamp globe. We have a tutorial for the dried flower tree on 'Christmas Inspiration' on our YouTube channel.
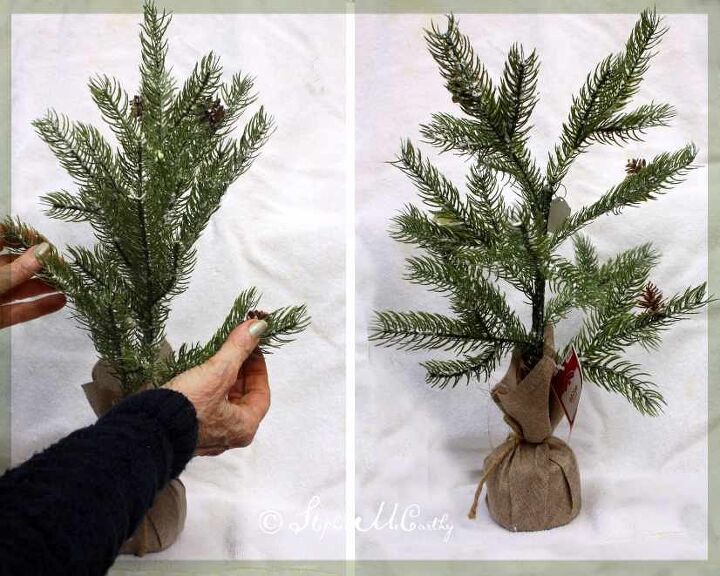
The mini trees usually come folded from the store. The first thing to do is spread and arrange the branches. These look quite natural with plastic needles. We would avoid the paper-needle trees in favor of these.
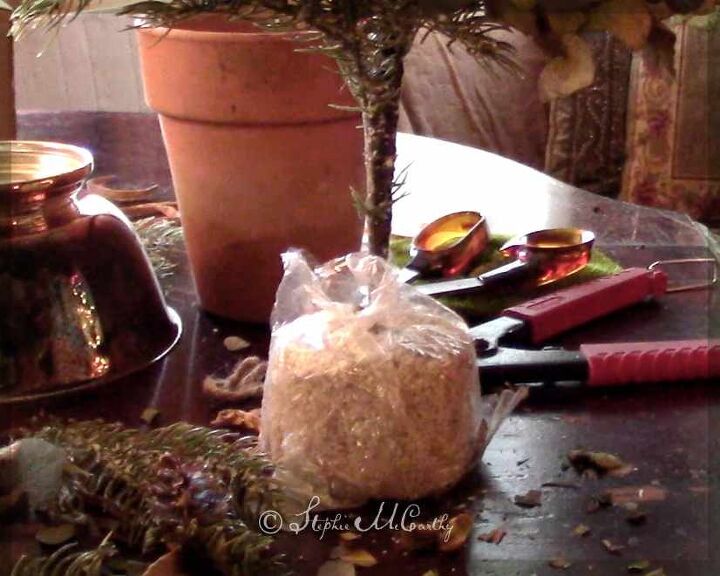
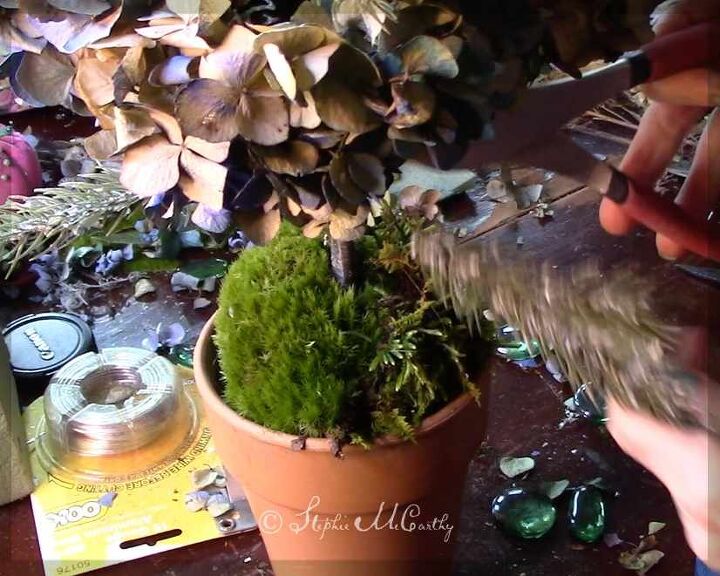
Remove any bottom wrapper to show the plaster base and use wire cutters to remove a few of the lower branches to create the topiary stem. It's okay to leave a few needles. This will make the stem look more natural.

We taped the base of the tree into a small flower pot.
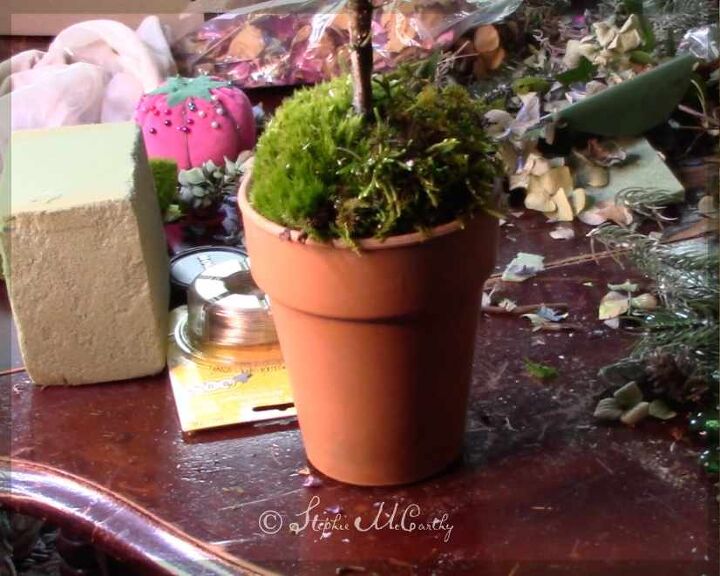
We placed the smaller pot into a larger one and covered the tape with natural moss. You can also use green peas, beans, paper grass, or marbles.
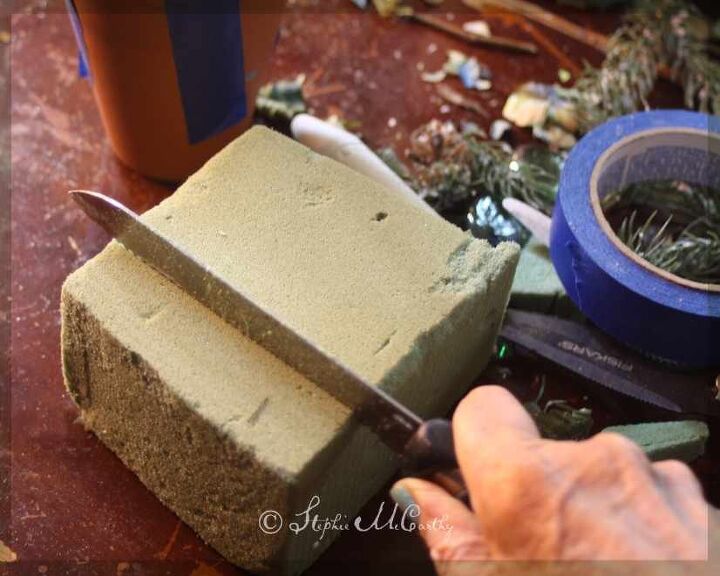
We cut floral foam into rectangles (about 1" x 1" x 3.5") using a serrated kitchen knife. Use about 3 rectangles per tree.

We taped the floral foam to the stem near the top of the tree.

We grew hydrangeas for this craft, but you can also buy dried hydrangea online, collect them from gardens in your region, or use silk (more about that below).
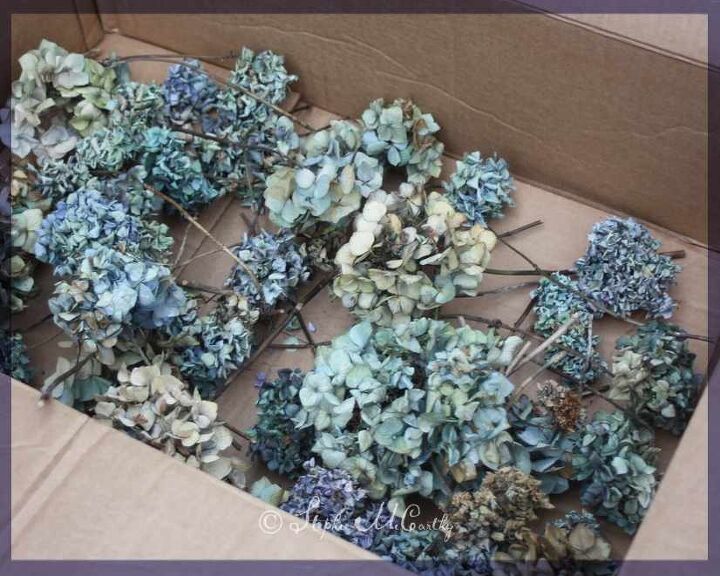
To preserve real hydrangeas, 1) strip the leaves, 2) leave the stems in water until it evaporates … and, something we recently discovered at home, 3) leave them under a light 24 hours a day in their water. We used an LED shop lamp and were able to preserve a lot of the natural blue color as shown above.

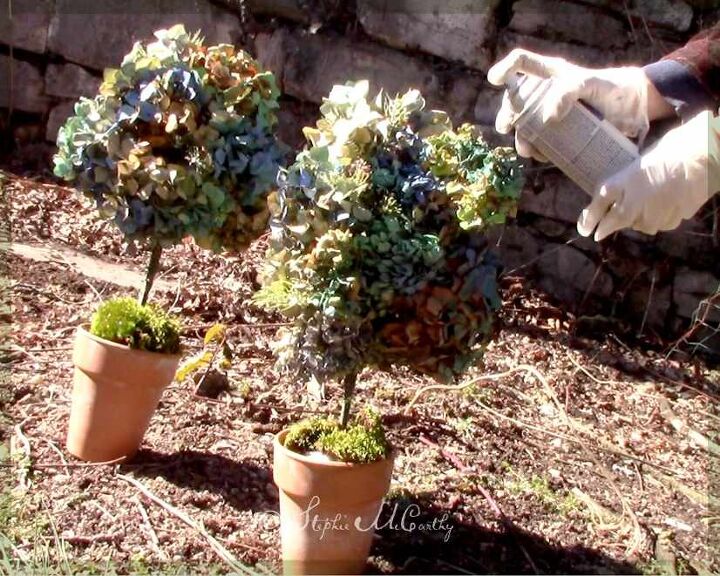
It's not unusual for the color to drain completely from dried hydrangeas. We decided to brighten many of ours with spray paint.

We used lots of greens and blues to spray the blossoms. Rust-Oleum 'Wildflower was our favorite color, shown bottom center. You can also use cranberries, purples, and pinks. Lime green is good for a light top coat, whenever blending or softening is needed.

Place blooms in a box and spray lightly with paint. There is no need for full or heavy coverage. Spotty and incomplete coverage will look most natural.
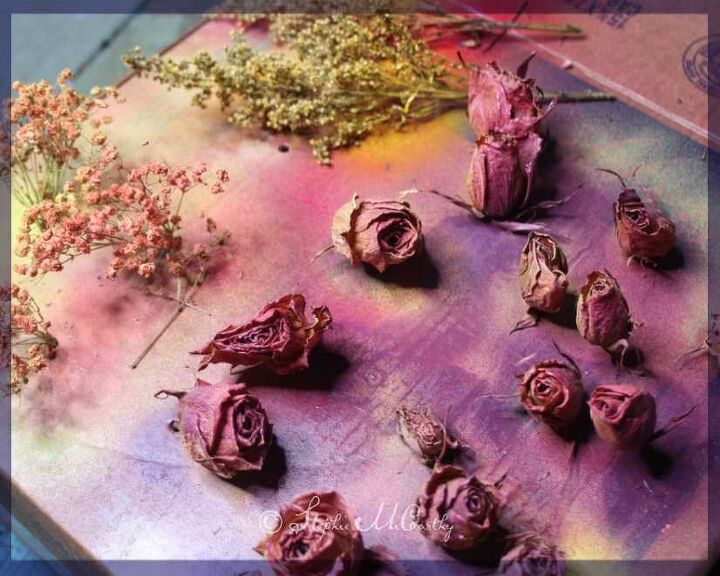
We found that orange roses dried beautifully to a bright natural coral. Other roses needed a color boost with pink and rose spray paint.

When paint is dry, break the stems to about 4 inches long. Press the stems into the floral foam to create a globe.
Trim away branches that are too long … save them for other decorating projects. We also left the mini pinecones for texture.
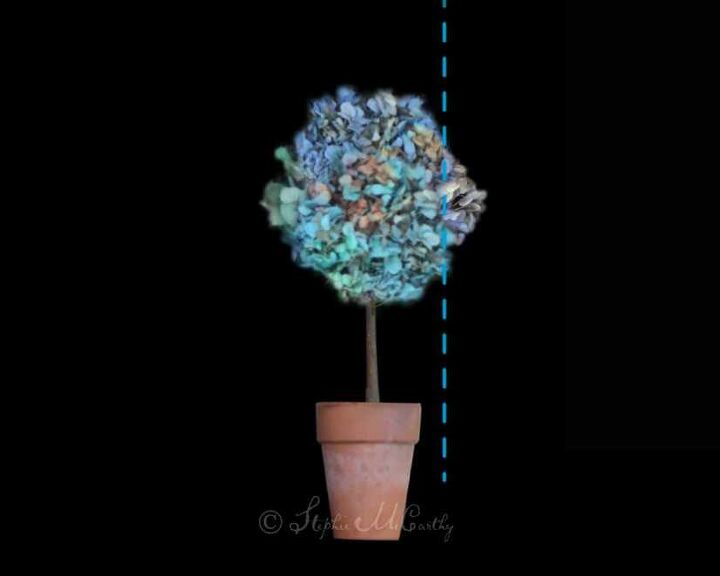
Our globes are a bit over-sized, but a design tip you may like is to make the globe approximately the same volume as the container. The stem can be stretched upward too, for a fun lolly-pop effect.
We gave the globes a second light coat of 'Wildflower' blue to spots that lacked color. Remember, a spotty paint finish will look most natural.
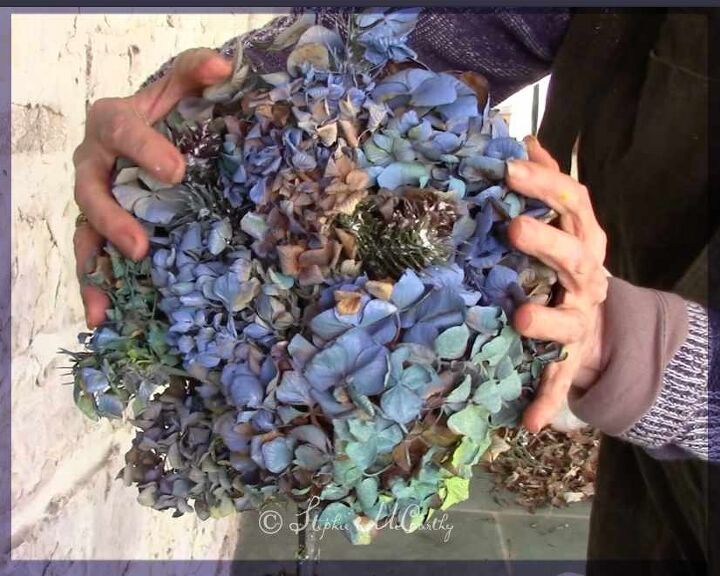
You may lose a few petals, but you can press the blooms firmly into a globe shape with your hands.

Tuck roses and other dried flowers around the globe for accent colors. These need not be inserted into the foam. They will stay in place between the hydrangea petals.

For a bit of sparkle, we used a cotton swab to apply 'FolkArt Color Shift Green Flash' paint to brighten a few petals here and there.
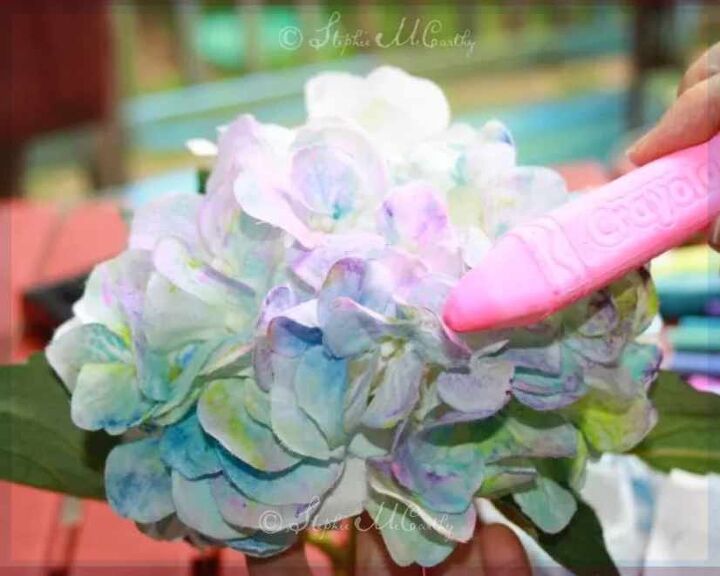
You can use faux flowers for this project too. Add subtle colors to faux flowers with ordinary chalk. A tutorial for how to do this is on our 'Stephie McCarthy' page here on HomeTalk.
Adding a few finishing touches. We found that Christmas cactus blooms retain a lot of color when dry and worked well as accents on the globes.
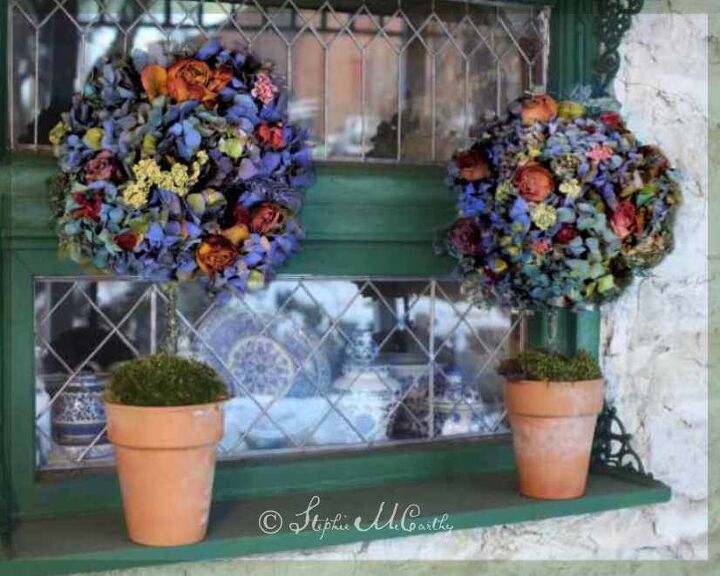
Topiaries ready for display. We'll use these year round, adding complimentary decorations throughout the seasons.

We have a tutorial on how to make the Faux Candy Easter Egg Topiary here on HomeTalk, and an upcoming feature on making plaster bunnies tinted with chalk. For more photos of the topiary project, go to this link.
See you later! 
Resources for this project:
See all materials


Comments
Join the conversation
-
Just adorable!!!
-
Lovely, and creative!!


Frequently asked questions
Have a question about this project?