


Tiered Cupcake Stand
7 Materials
$70.0
3 Hours
Medium
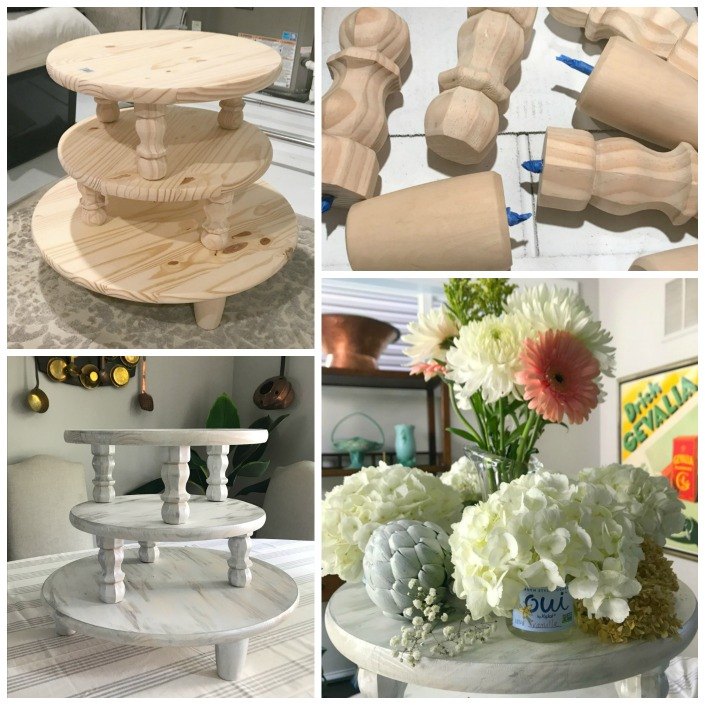
Sure, you could buy an inexpensive cardboard cupcake stand for your next fancy bash, but why? It would only be used once, and it wouldn’t nearly make the same statement or garnish the compliments as a custom tiered cupcake stand you crafted yourself. And this one is easy to make (no saw needed) and will last for years.
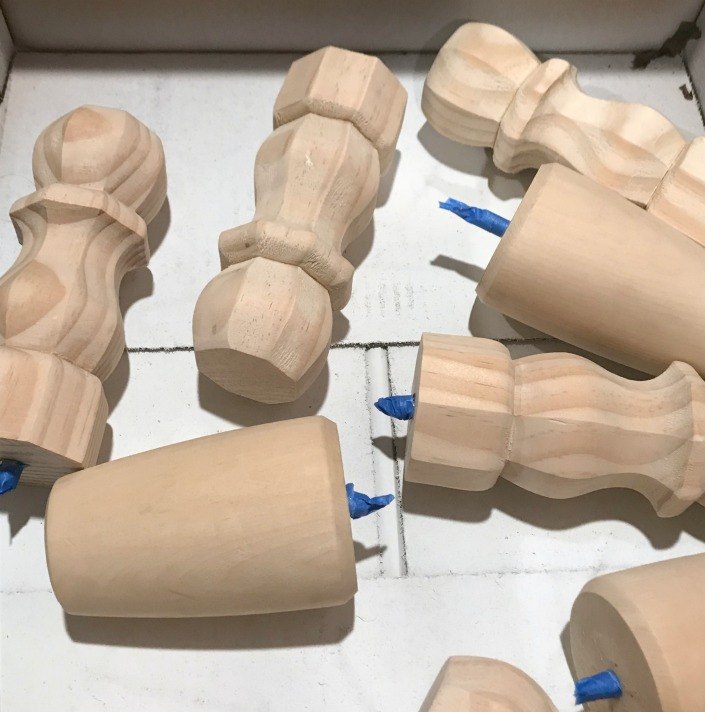
Attaching legs
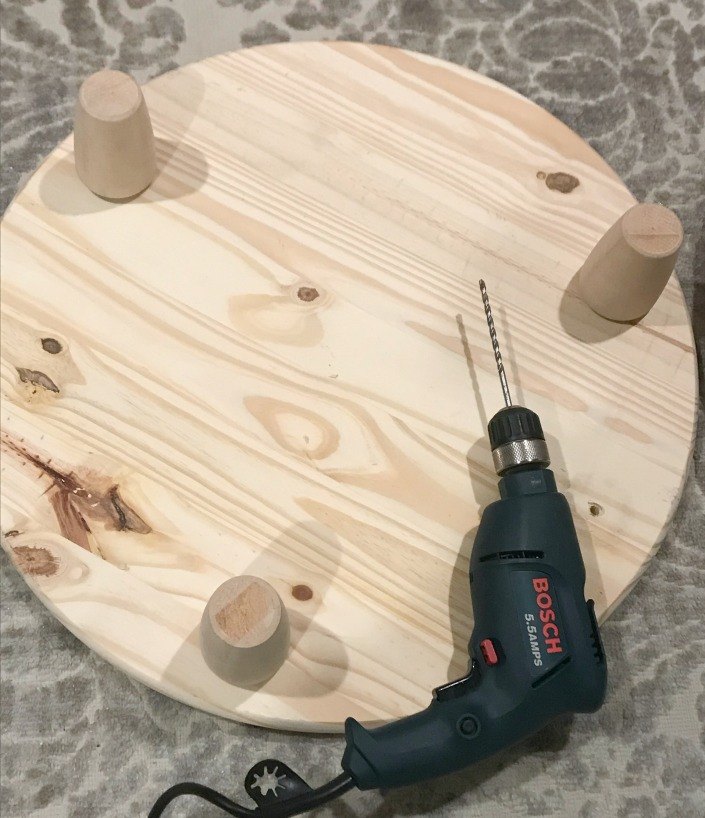
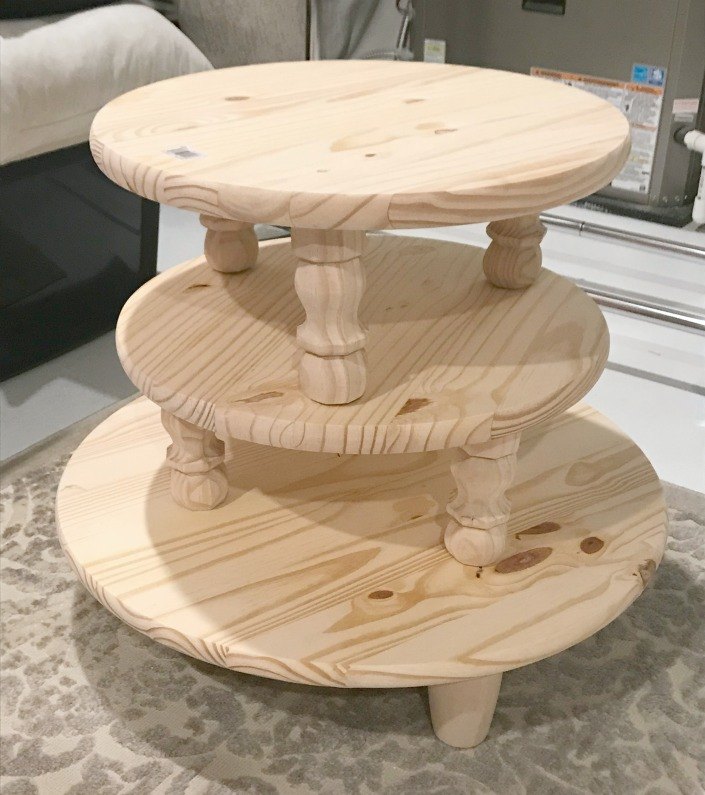
Repeat this process for the other 2 smaller pieces of wood, using the fancier 6″ pine legs. When finished, the pedestals can easily be tiered on top of each other or even used separately.
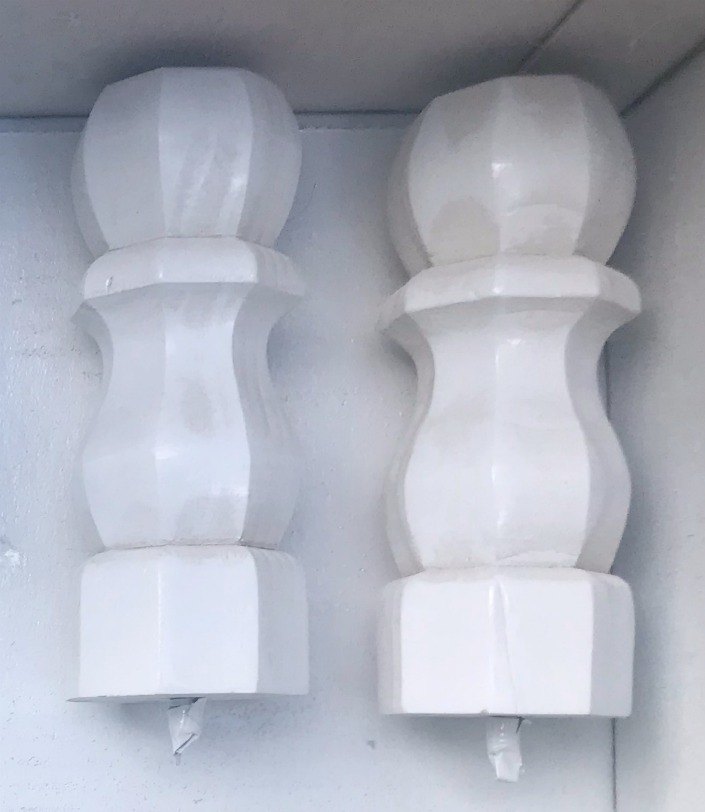
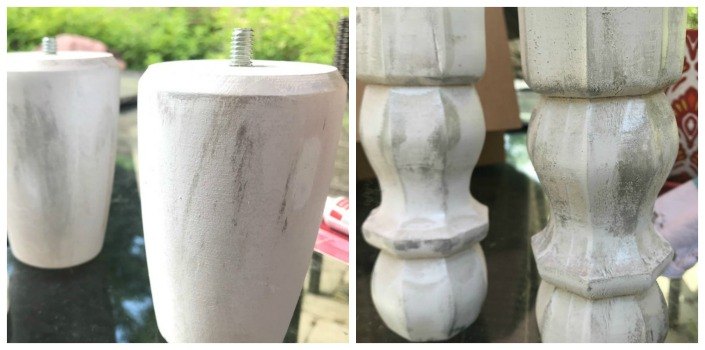
Painting the display
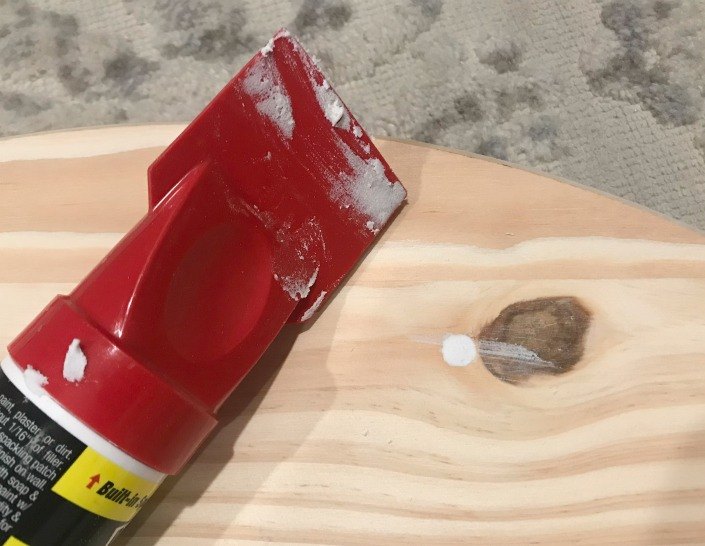
Cover the exposed screws in the legs with masking tape. Then spray paint all the pieces with gloss white spray paint & primer. It will take several coats. Let dry completely between each coat. *NOTE – As you know, sometimes an artist’s mistakes yield the most beautiful outcomes. For some reason, this paint did not cover as thoroughly as I originally wanted. Even after several coats, glimpses of bare wood still remained. However, I decided I actually liked that transparent look as opposed to a solid matte finish.
Adding wax
Assembling the stand

Want more details about this and other DIY projects? Check out my blog post!


Frequently asked questions
Have a question about this project?