


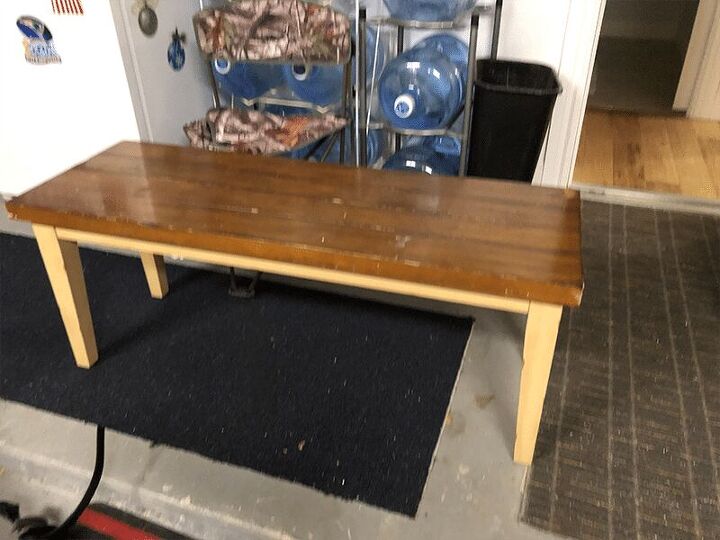
Trash to Treasure – Bench
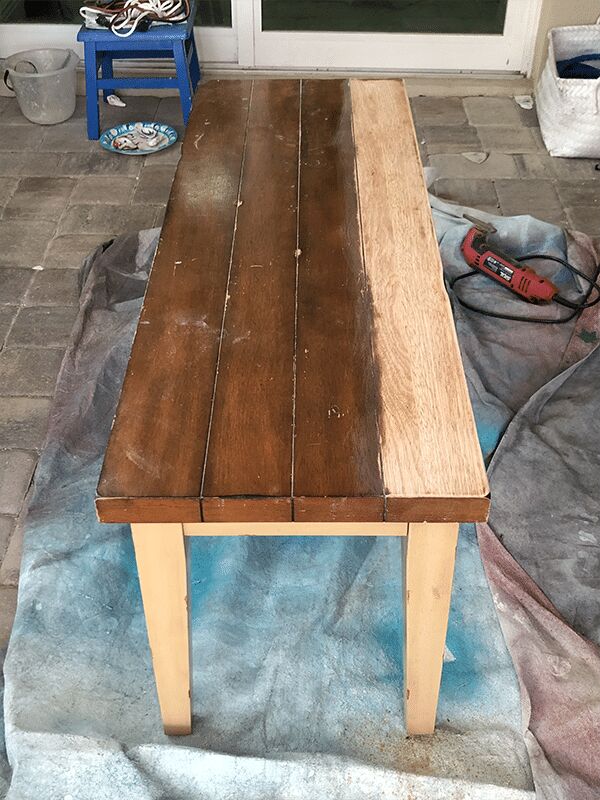
Step 1, Sand…
First, I started by sanding the top. This was the longest step but it really didn’t take me too long. Maybe 45 minutes or an hour total. NOTE – please make sure you wear a safety mask and googles when sanding.
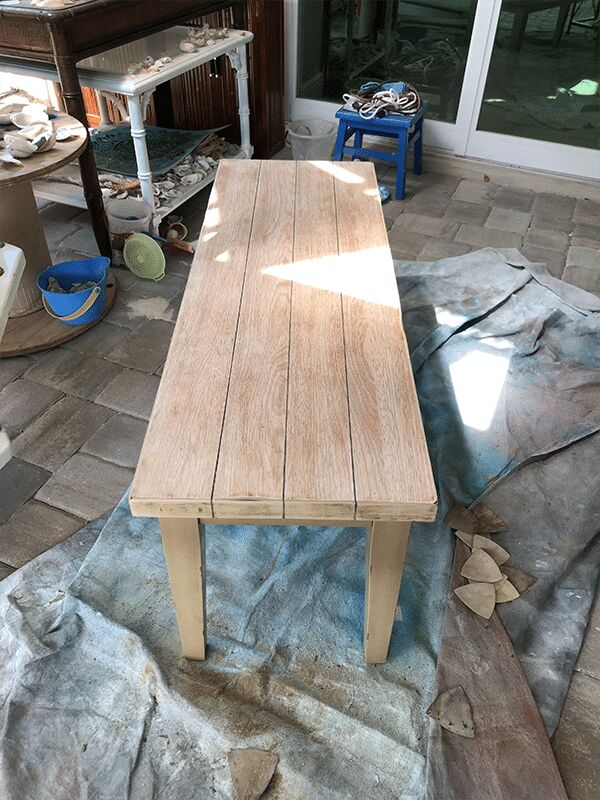
Step 2, Clean…
Next, you need to make sure you clean up all the dust after sanding to prep the area for painting.
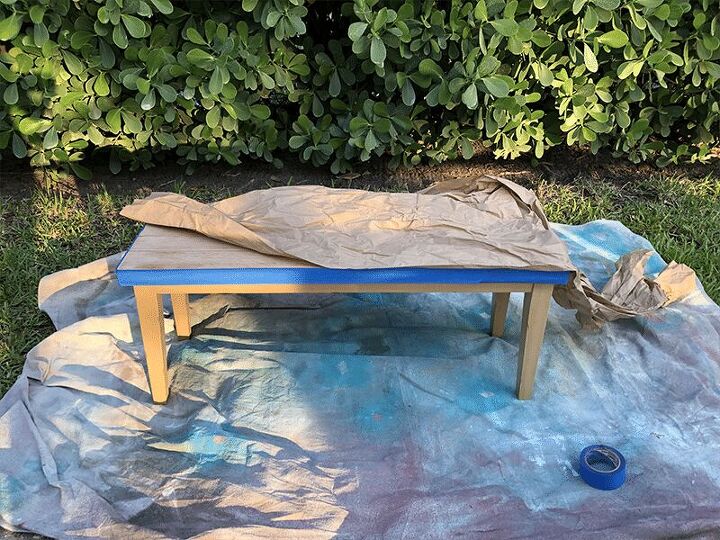
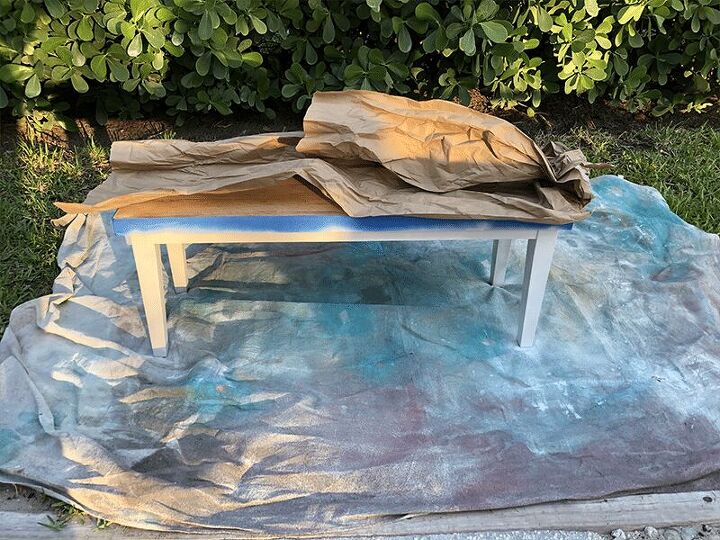
Step 3, Paint the Legs…
Then, using some painters tape, I taped off the top part of the bench and then put some scrap paper on the top to protect it from the paint. I had a can of white spray paint with a built in primer so I used that.
At this point, you could also choose to stain the top. I really liked how the natural wood looked so I chose to keep it as is.
Step 4, Top Coat, Polycrylic…
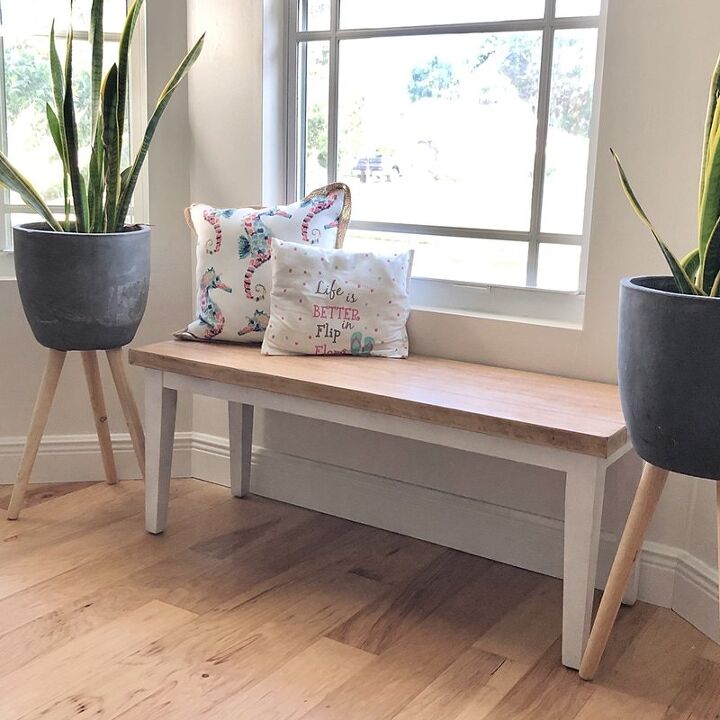
Lastly, after the paint dried, I used a polycrylic as my top coat. I prefer the MinWax. I applied 3 coats to the entire piece.
The finished product…
And here it is all done….This was one of my easiest makeovers and it looks so much better with a fun coastal farmhouse look. Thankfully I was able to sell this on Facebook Marketplace fairly quickly.

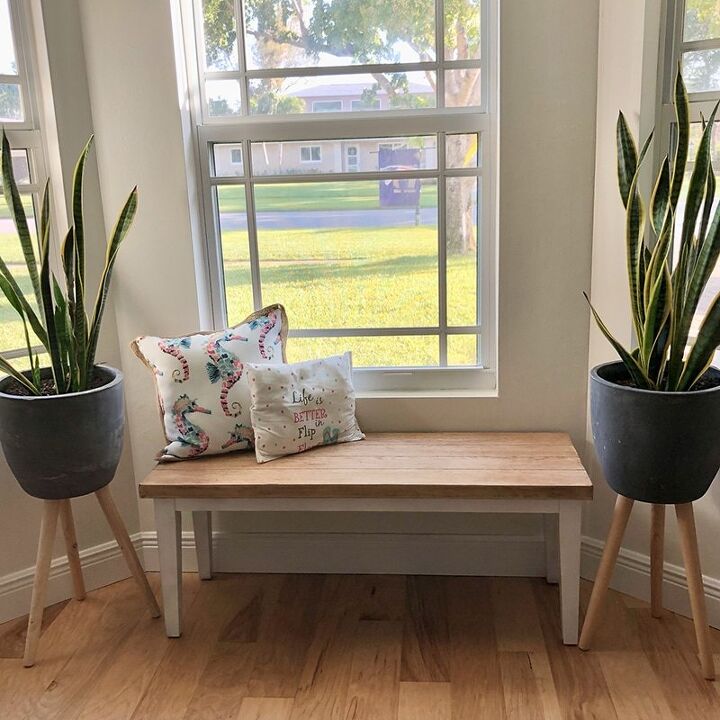
And one more Before and After…

PIN FOR LATER…

Comments
Join the conversation
-
The bench looks great!
-
Awesome save!!


Frequently asked questions
Have a question about this project?