


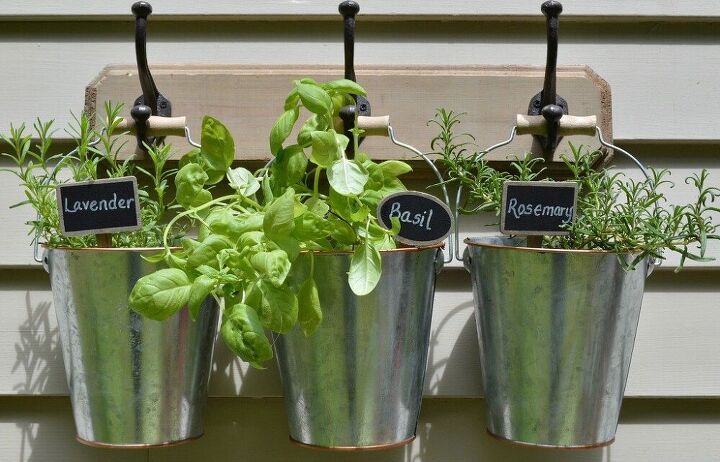
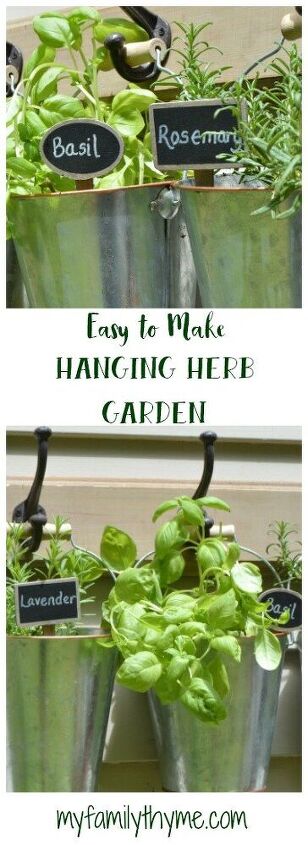
Hanging Herb Garden
Do you love growing and using fresh herbs in your home? Create a simple and inexpensive hanging herb garden!
elcome to My Family Thyme! I am happy you are here! If you are visiting from my sweet friend, Sonya’s, welcome! Don’t you just love her style and all of her ideas for new gardeners? She’s so resourceful and creative!
I am so excited to join in the Garden Blog Tour hosted by the lovely and creative Kippi from Kippi At Home.
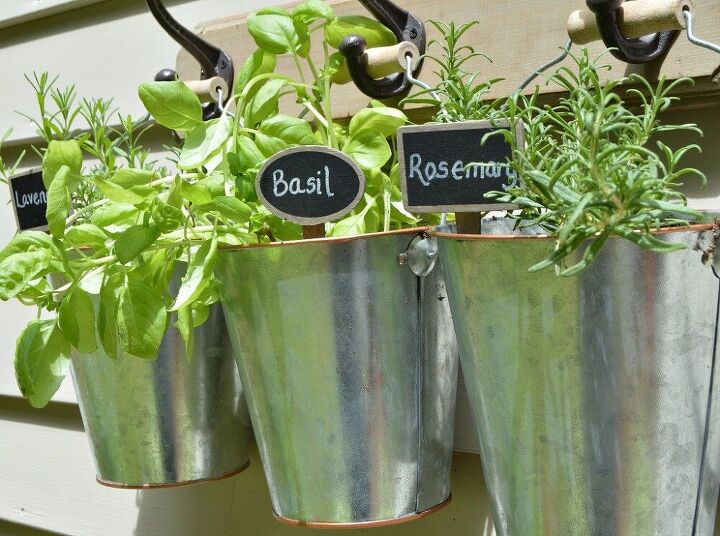
I am one of those people that when I have a problem, I have to find a solution. I love gardening and using fresh herbs in my cooking, but year after year, animals in our area get into some of the herbs in my garden. My thyme and chive plants seem to thrive, but my rosemary, basil, and lavender have attracted animals and end up being dug up or eaten. To prevent this, I created a little hanging herb garden. I’ve had it now for a couple of years and it has worked well. I love how easy it was to put together and that it requires very little space. Plus, having the herbs hanging near the kitchen window brings in fresh, beautiful scents that I just love.
To make your own hanging herb garden, you need just a few simple materials,
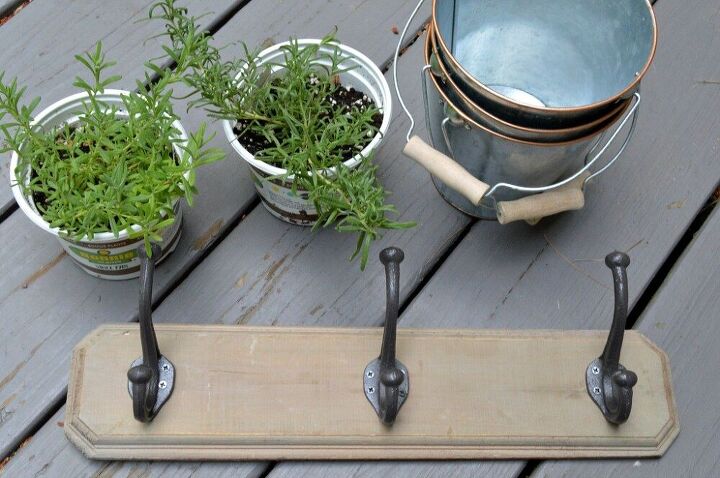
Materials:
- hooks (I found these coat hooks on clearance at Marshalls, but I’ve linked some similar ones here. You could also use hooks like these if you are hanging it on a fence, instead of your home.
- galvanized metal buckets with handles. These buckets are buckets I used.
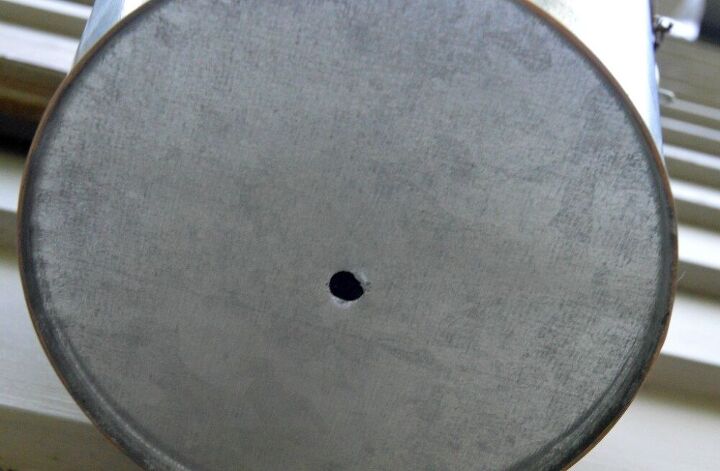
- drill
- fresh herbs of your choice
- chalkboard pot stakes to mark your plants
- chalkboard pen
This post contains affiliate links. There is no additional cost to you if you purchase a product using a link.
Directions:
- Drill a hole into the bottom of each bucket for drainage.
- Using a level, measure and hang your hooks. I have wood clapboard on my home, so I chose to use a drill to anchor screws into the clapboard to hold it securely. It would also work well hung on a fence.
- Add a little potting mix and your herbs.
- Label your herbs. I had also picked up these cute chalkboard pot stakes. Just write on the stakes using a thin chalk pen.
- Hang and enjoy your new hanging herb garden!
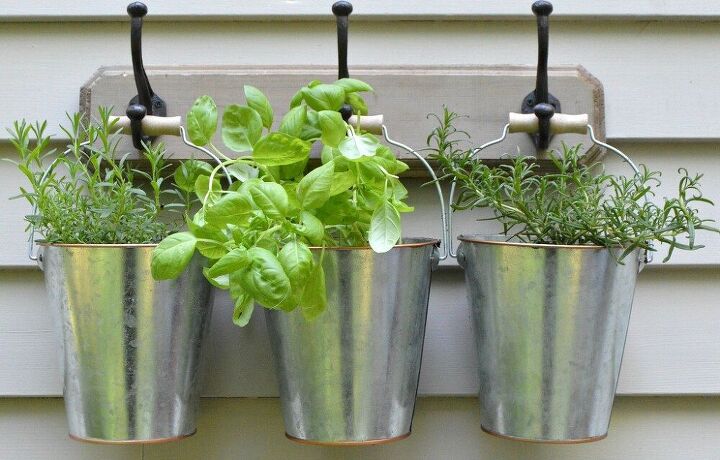
My problem was solved and I just love the results. It took only about 15 minutes to put this together…so simple.
If you love using fresh herbs and are thinking of creating your own herb garden, consider making a hanging herb garden.
Thank you so much for visiting today! I would love to connect with you on Facebook, Instagram, Pinterest, or here on the blog. Be sure and stop by my friend Olivia’s blog. You won’t believe the beautiful clay pots for succulents that she’s sharing. They’re just gorgeous!
Kippi at Home // The House on Silverado // Sand Dollar Lane // Sonya Burgess
🌱 🌱 🌱 🌱 🌱 🌱
My Family Thyme // Olivia O’Hern // Darling & Dapper Life // From Farmhouse to Florida
🌱 🌱 🌱 🌱 🌱 🌱
Feet Under My Table // Peacock Ridge Farm

If you would like to save this post for later, pin it here:
Resources for this project:
See all materials


Comments
Join the conversation
-
Love it!
-
Cute!!


Frequently asked questions
Have a question about this project?
what catches the water if you put a hole in the bucket