Refinishing the Arch Hutch

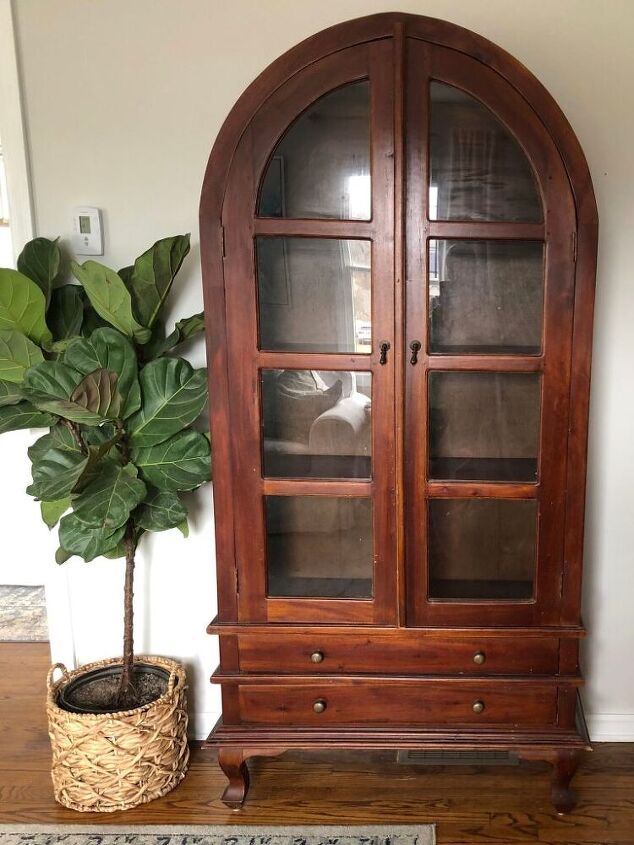
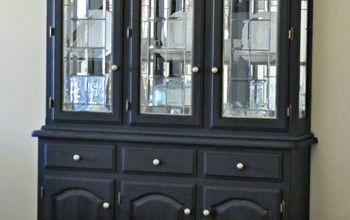
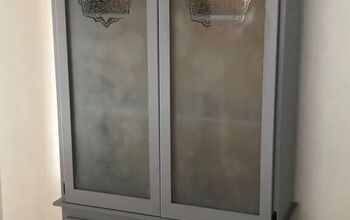
If you follow along on my Instagram you know that I am a sucker for an arch cabinet, especially ones like this one, with the legs and the drawers, its just beautiful. What isn't so beautiful about this piece is the dark stain, it just doesn't suit my style or my home.
At first I wasn't sure what I wanted to do with this piece, however since I already have one that is painted I figured I would try to strip it down and see what was underneath that dark stain.
I started using the method that I used when I striped down my dining room table (I'll document that another time), which was using citristrip.
The citristrip is great for removing paint and stain from pieces, I used it entirely on my dining table. However, when I started to use it on the hutch, it just didn't seem to take the stain off as I wanted it to. So, I decided to break out my mouse sander and take to it.
I started by sanding down the side so I could get a sense of how it handled the sander. I actually had a helper! :)
I started out with 120 grit sand paper, and then once I realized it could handle sanding I went with a lower grit paper at 80.
I used the 80 grit to sand down the majority of this piece, and then I eventually went back and used a higher grit paper to smooth over top.
It was excited to see the raw color of the wood underneath, but I knew once I got the piece completely stripped of the stain I would need to lighten it as it had to much of an orange/red undertone.
In order to do the doors I knew I needed to remove them from the cabinet, thankfully they were only on by a few small screws. I then took the door outside and used the sander around the flat surfaces.
At first I tried to sand the detail spots by hand, and then soon realized that it would be far to difficult to tackle all these small parts by hand using sand paper. I knew that I had afterwash in the basement and knew from previous experience that it removed stain really easily.
When using the afterwash you should really wear gloves, I wasn't here as I wanted to test out if it was going to work the way I wanted. Thankfully it took the stain right off, just needed a bit of pressure to really remove it.
The afterwash is a very strong chemical, so when I use it I pour it into a can (I just use a can from corn or any other food product), and use small amounts as I go. I will then just dip my rag into the can and add more as I need.
After I got both doors completely stripped down I put the back on the cabinet so that I could get a feel for how the piece was turning out.
I was excited to say the least, but now I had to strip off all the stain around the frame of the cabinet and on the detailed part of the legs.
Once I had gotten the exterior of the cabinet sanded I took to the legs and detailed parts of the piece. As mentioned above, I used the afterwash as I found it did the best job at removing the stain in these harder areas.
For this particular section I also used a stronger bristle brush, like this one.
I find this brush has hard enough bristles to really scrub away the stain, but not too hard as to damage the wood surface. I typically dip the brush into the can and then scrub it along the detailed portions.
Once I felt I got enough of the stain off I was going back over the area with my rag and wiping away any excess. I also then used my rag on some of upper portions to remove any stain the sander may have missed.
Here you can check out some videos which show the process. Just scroll down through the post to see the different videos.
https://schoolsidedesign.com/arch-hutch/
I know that was a lot to read and watch, but if you've made it this far and you are tackling a similar project now becomes the fun part! Now that the cabinet was completely stripped of the stain, I chose to not strip the inside as I was going to be painting that white and adding beadboard, it was time to lighten it.
To start, I would recommend wiping down the piece with water to make sure to remove any excess aftewash that might be left on the piece.
Once you have done that, then I would grab your standard regular household bleach and pour some into a cup. I typically grab a fresh rag, and dip the rag into the bleach. For this piece I worked in sections, but I made sure to do the same number of bleach washes at a time.
All you need to do is cover the entire portion of the piece you are working on with the bleach and let it sit on there till it dries. Then assess the look, I was aiming to have the piece very light, so I knew I needed to have several coats of bleach.
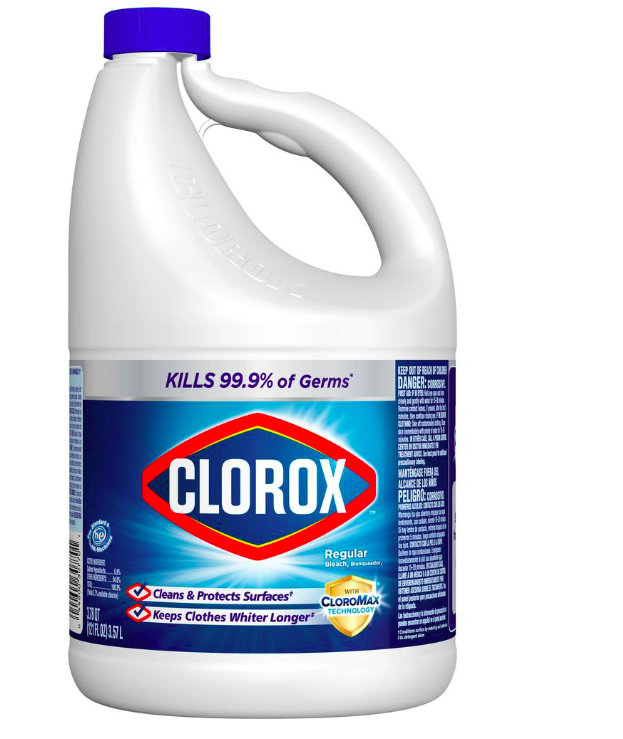
Unfortunately, I didn't capture me wiping down the piece with the bleach, however it was as simple as that, just wiping it down time after time with it until the desired look. I believe I did about 6 coats with bleach and below was the end result, you can see here where I started and now where I was ending for the outside.
I was thrilled with the outcome. Now all I need do was paint the inside and add the beadboard to the back wall.
Since I didn't strip or sand down the inside I used the BIN Zinsser primer to do a first coat prior to finishing it off with my normal white paint.
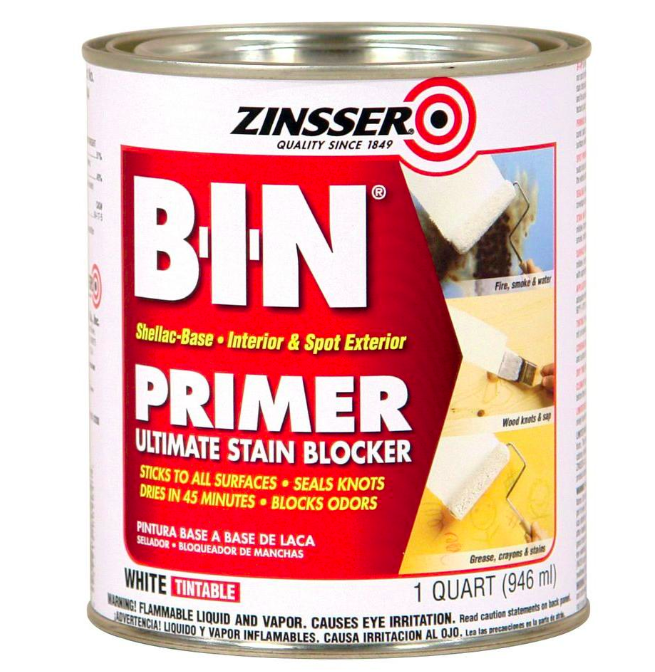
Here you can see a picture of the beadboard in the back, along with my first coat of the primer.
And that was that! Once I got the final coat of interior paint on the whole piece the cabinet was done! I hope that you have found this helpful, please follow along on Instagram I have this all saved to my highlights!
Enjoyed the project?
Resources for this project:
See all materialsComments
Join the conversation
-
 Diana Deiley
on Jun 02, 2023
Not sure if I already commented on this, but after seeing it again, I have to say I love it! The lighter finish if perfect for many decor designs. For me, it's beachy and would look awesome in MY living room! Great job. Thanks for posting. (ps you've got a cute assistant 😉)
-
-
 Phyllis Treese
on Feb 10, 2024
I have a huge solid maple bedroom set that I plan to try this on. Thanks
-










Frequently asked questions
Have a question about this project?
Do you rinse the bleach off of wood when it reaches the color you desire and do you seal it with anything? Your cabinet is truly beautiful!
Thanks
Do you use straight bleach or is it diluted?
where did you get the hutches?