


Sewing New Outdoor Cushion Covers
This is a sponsored post
I don’t know about you but my outdoor cushions get thrashed. Today I am showing you how to sew new outdoor cushion covers! The fabric I am using is from Fabric wholesale direct!
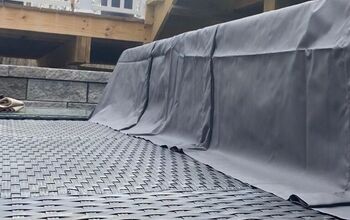
This fabric is a waterproof canvas fabric and features a plastic PVC backing with a waterproof coating, making it extremely durable and resilient.

Perfect when all the grandkids are here and spilling things 😉
The fabric also has mold and UV resistance qualities so it is perfect for my outdoor cushion covers! Fabric wholesale direct has lots of colors and patterns to choose from. Not only waterproof fabric but a large selection of upholstery fabric, event decor fabric which is perfect for weddings or large events as well as apparel and fashion fabrics too!
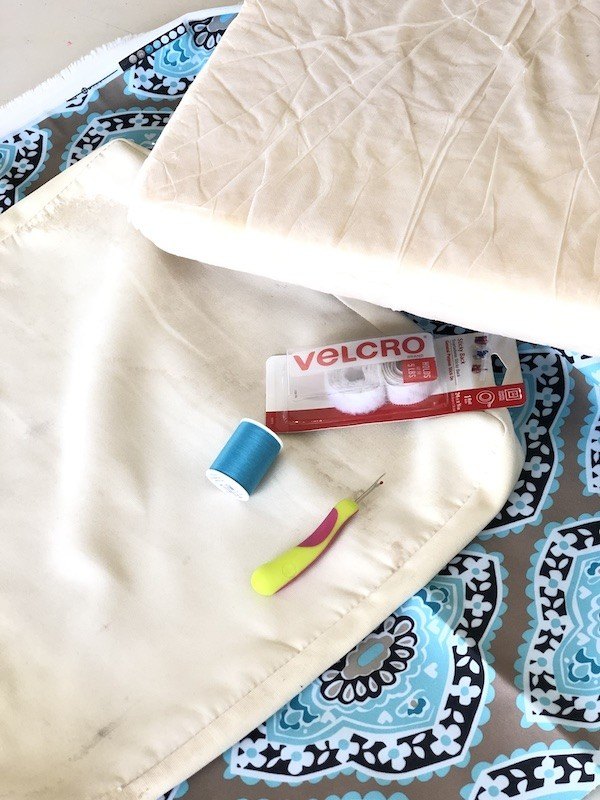
Supplies needed to make cushion covers
Water Proof Fabric
Scissors
Sewing machine
Thread
Velcro
Seam ripper
Old cushion covers
How to begin making a pattern
I took the old cushion covers and used a seam ripper to take it all apart.
By doing this it gives you the perfect pattern to work with!
There was 4 pieces when I unpicked the old cover.
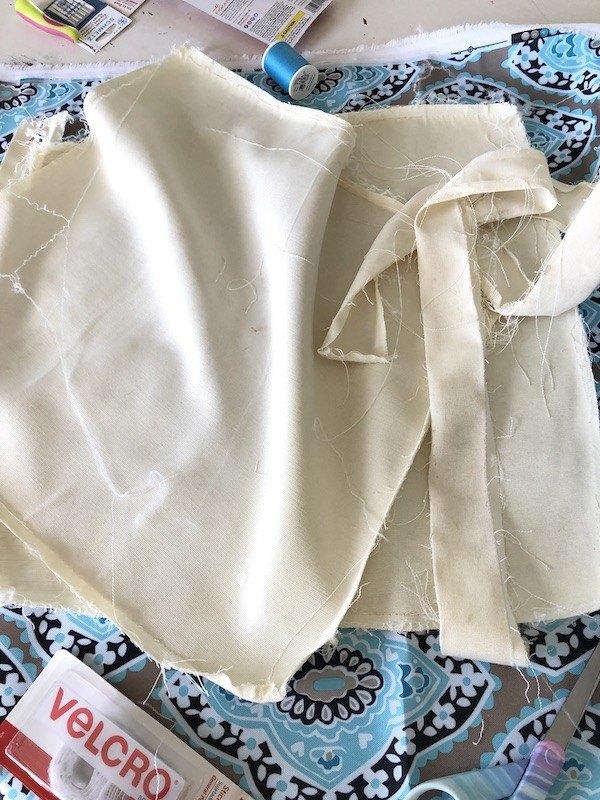
It takes a little bit of time but totally worth it. Sewing new cushion covers for outdoor cushions is relatively easy to do!
Plus there is great satisfaction in making them yourself!
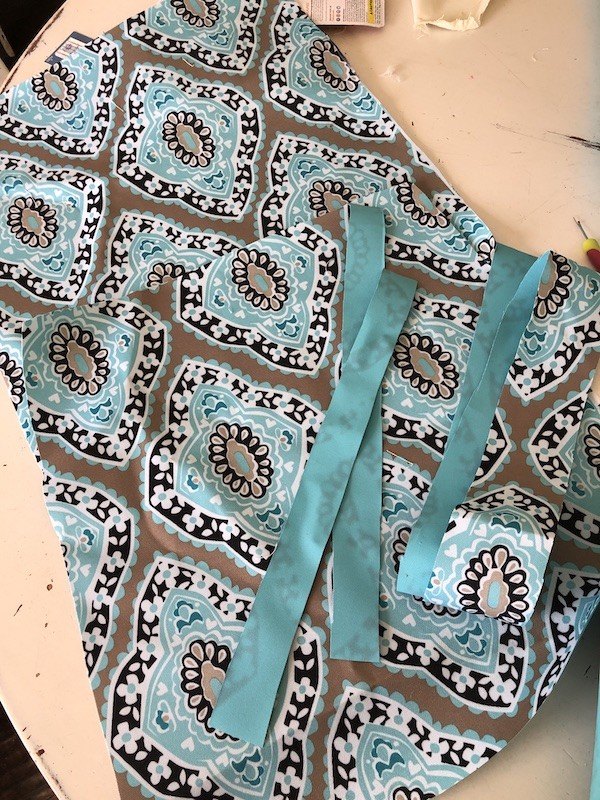
Once you have your pieces you can begin to lay them out on the new fabric to cut out each piece.
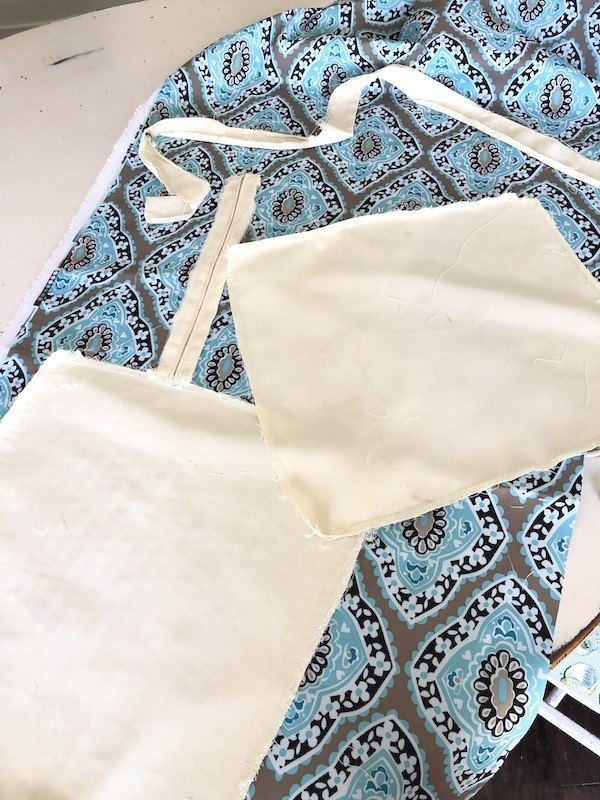
For my box cushion covers I have 4 pieces to cut out.
Front and back of cushion and the box area that wraps all around and creates the box look and the area where the zipper goes.
Here is my envelope pillow tutorial that does not involve a zipper. I think I will use that to make some throw pillows for my outdoor sofa!
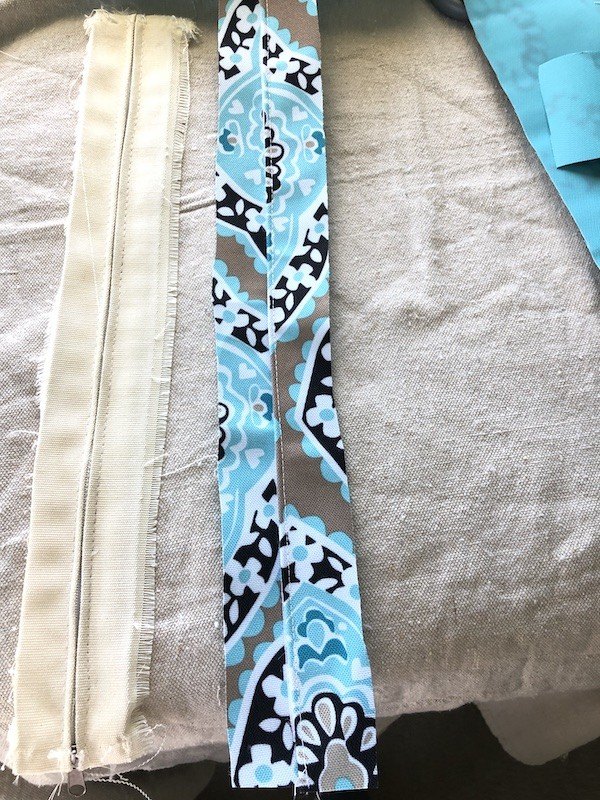
I decided not to use a zipper to close the cushion cover. Instead I am going use velcro!
Make the velcro closure for outdoor cushions
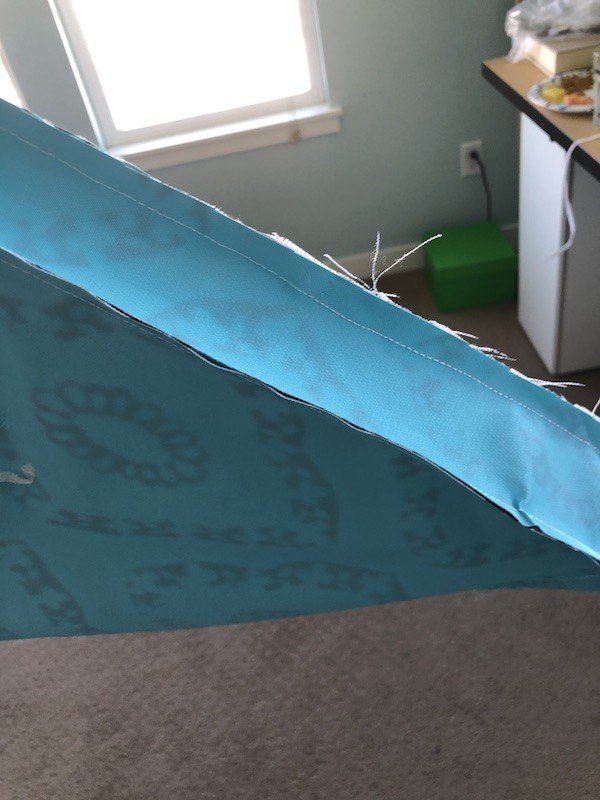
First I created the area where the velcro will go. I cut the shorter rectangle piece right in half.
One side of the opening I left a little wider than the other so that the velcro would overlap and stick together.
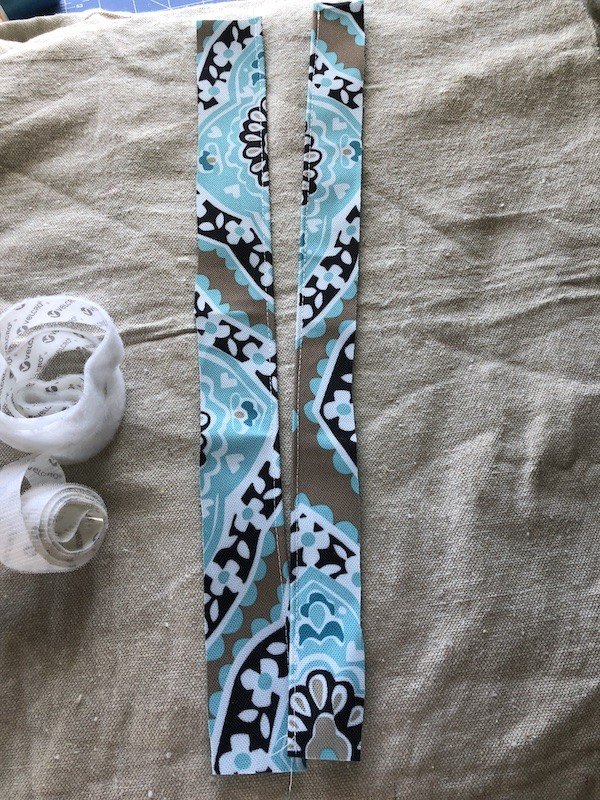
For the wider side, I folded the fabric over about 1/4″ and sewed a straight seam down to create a pretty edge. On the skinnier side I folded the fabric over a bit larger and again sewed a straight seam down.
Then I attached the sticky velcro to each side.
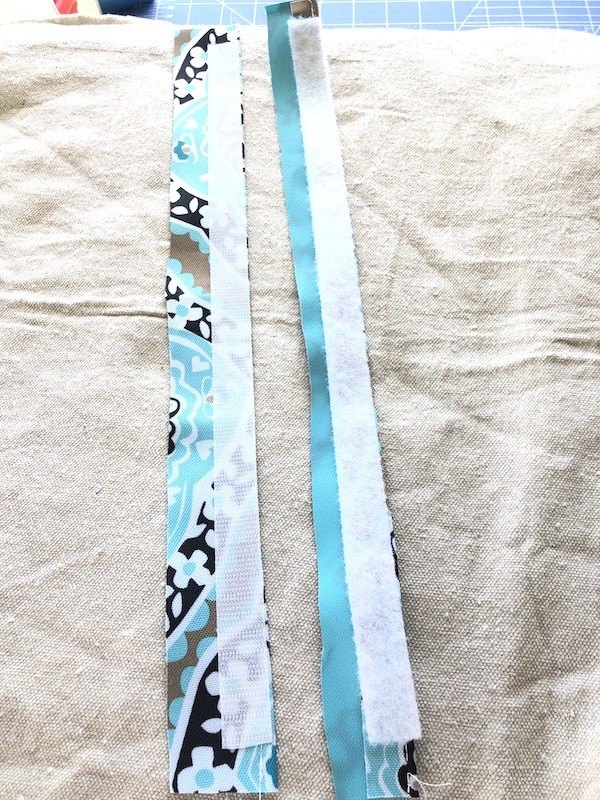
The small side will overlap over the larger side to create the same size opening as if there was a zipper in there.
Hopefully that makes sense.
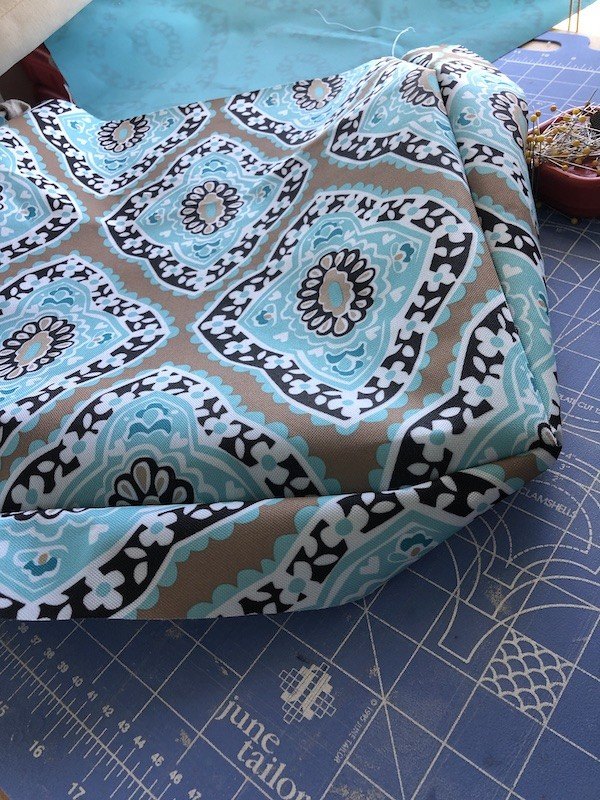
Create the box edge cushion cover
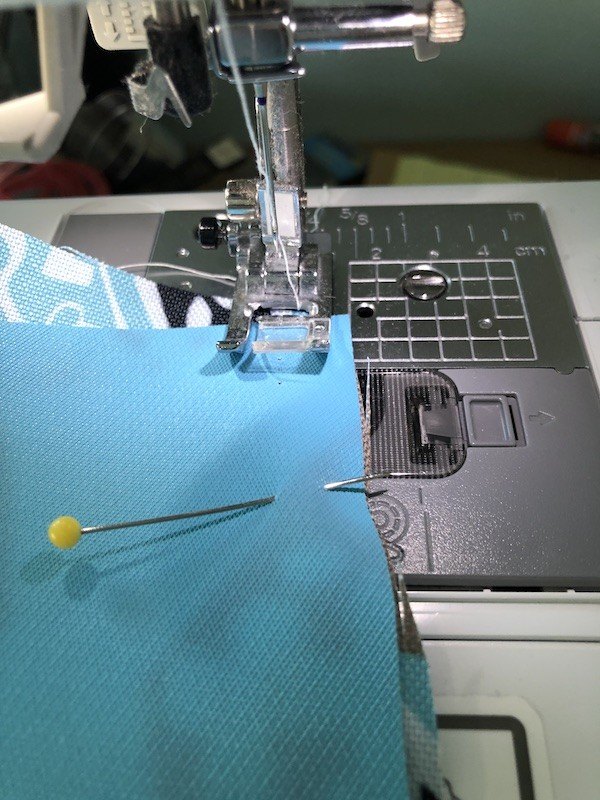
Next I pinned the long piece of boxed edging to one side of the pillow cover and sewed it in place.
The corners are a bit tricky with this type of fabric and it did create a few puckers but it worked out.
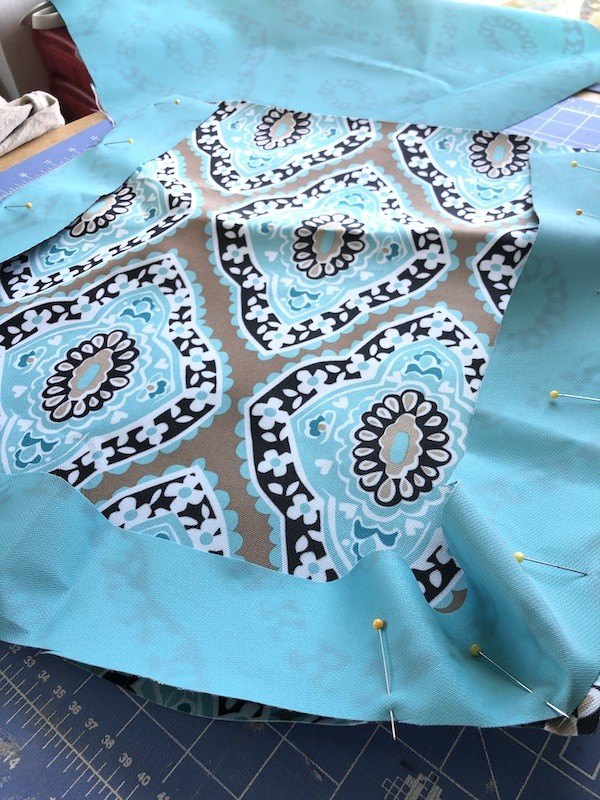
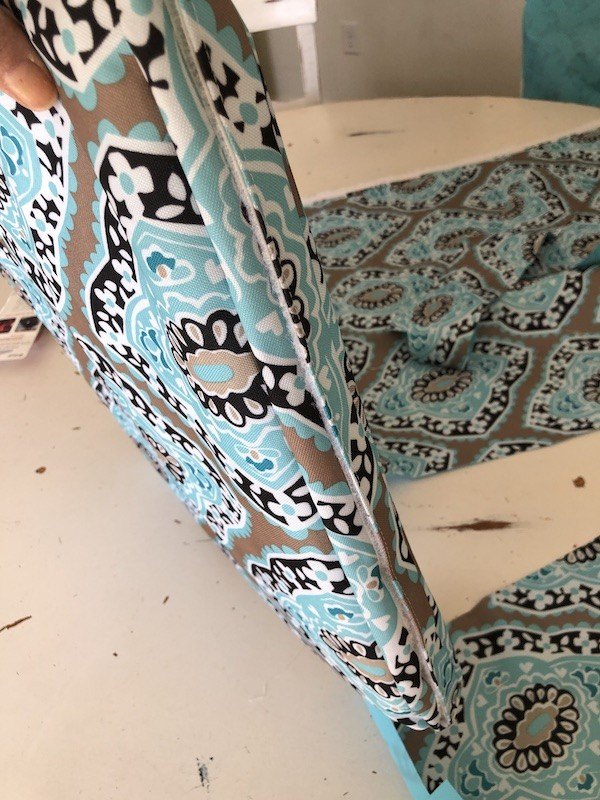
Below is what it looks like when turned over. You an see your box cushion starting to take shape.
Then I pinned the other cushion cover piece to the box edging and sewed it on. This creates the basic pillow form.
Attaching velcro piece to new outdoor cushion covers
Now it is time to sew in the velcro closure piece.
I pinned one side of the velcro closure piece to one side of the cushion opening. Sew in place.
Open up the velcro in a few places, pin to the other side and sew in place.
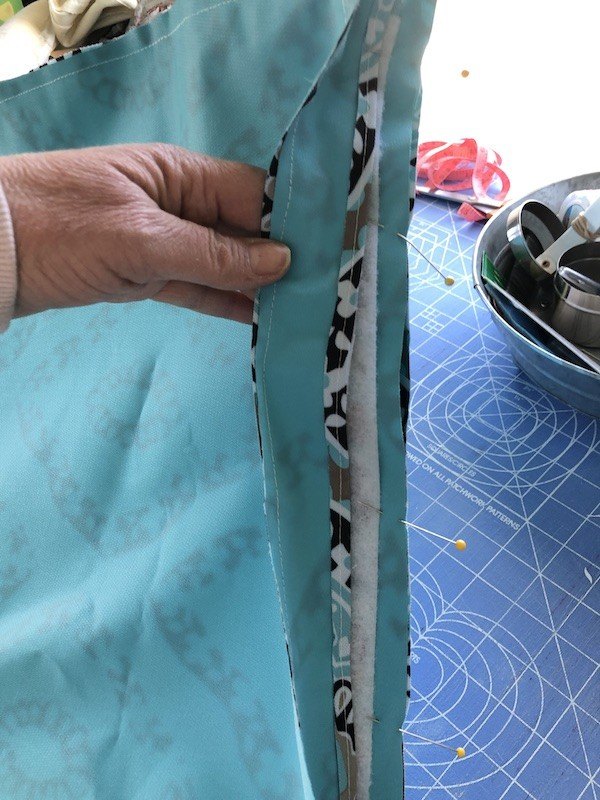
The last step is to sew the two smaller edges of velcro opening closed.
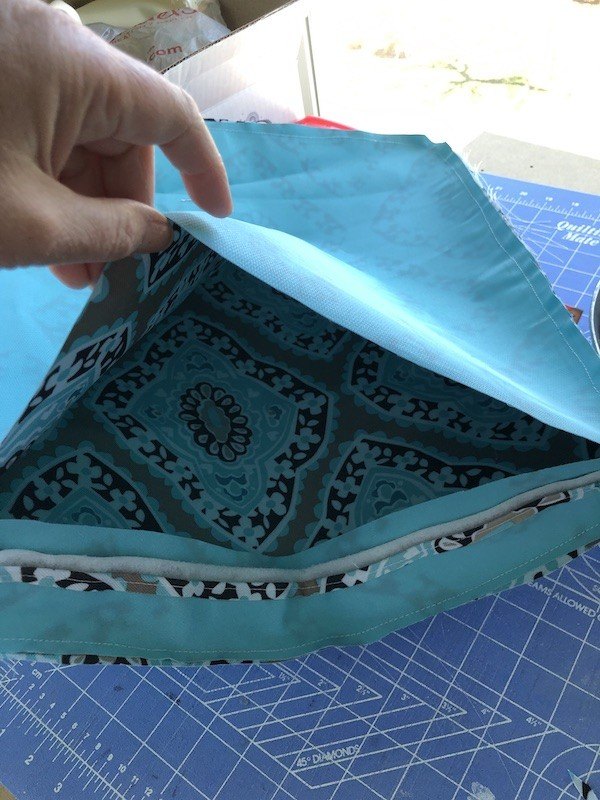
Then flip inside out and look at the new cushion cover you just made!
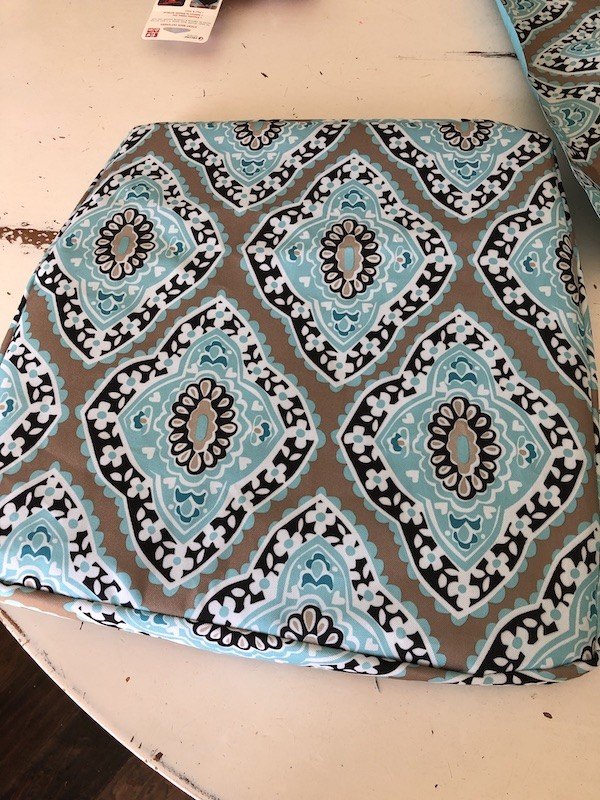
New Outdoor Cushion Covers complete
When finished and stuffed with foam cushion the velcro edge should look like this.
You can watch my video of the entire process here oh and ignore the fact that I call the box edge a box pleat haha
Completed sewn cushion cover!
I am so excited for these new cushion covers because they are not going to have any stains on them, they are waterproof and sun damage proof!
The best part is they look amazing!
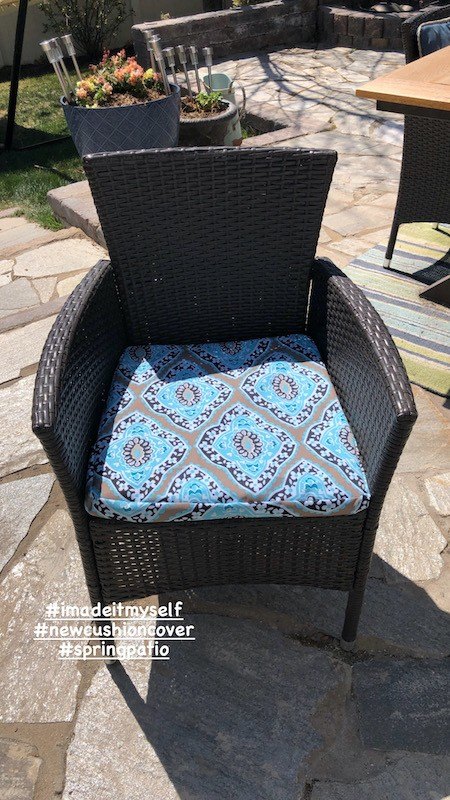
Sewing new outdoor cushion covers makes a world of difference on our patio. We are getting ready for spring and summer!

Comments
Join the conversation
-
Nice job! Sewing hint: when working with corners the more pins you use to keep dividing the "extra" the less puckers or even no puckers you will get.


Frequently asked questions
Have a question about this project?