


DIY Modern Mailbox

by
DIY Modern
5 Materials
$40
3 Hours
Medium
We show you how to make a modern looking mailbox with a painted acrylic front.
{
"id": "3902017",
"alt": "",
"title": "",
"video_link": "https://www.youtube.com/embed/kd1v7WyHZc4",
"youtube_video_id": "kd1v7WyHZc4"
}
{
"width": 634,
"height": 357,
"showRelated": true
}
Check out our video above to see how we made this modern looking mailbox, or follow the article below for a step-by-step.
- Just a note: It's not illegal to make your own mailbox, and manufactured mailboxes must receive a Postmaster General's seal of approval before they are sold to the public. However, before you make a homemade mailbox, you might want to show the plans to your local postmaster first. FROM THE USPS.com WEBSITE: "Every new mailbox design should be reviewed and receive the Postmaster General’s (PMG) seal of approval before it goes to market. If you opt to construct your own mailbox, it must meet the same standards as manufactured boxes, so show the plans to your local postmaster for approval."
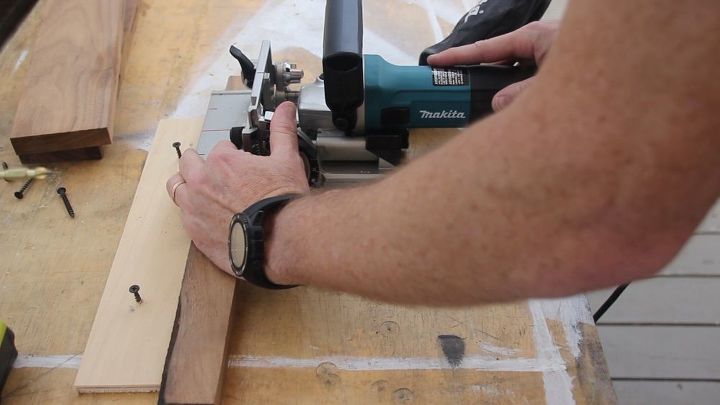
To make the top, we used a plate (biscuit) joiner to help us glue up some scrap walnut we had from a previous build. You can use any wood the suits your fancy.
The biscuits aren't necessary, but help in aligning the boards when gluing the edges together to make the plank top.
The key here is to make sure your boards and base of the tool are perfectly flat to the bench. We screwed a piece of scrap wood to our work table to hold the boards in place while using the joiner.
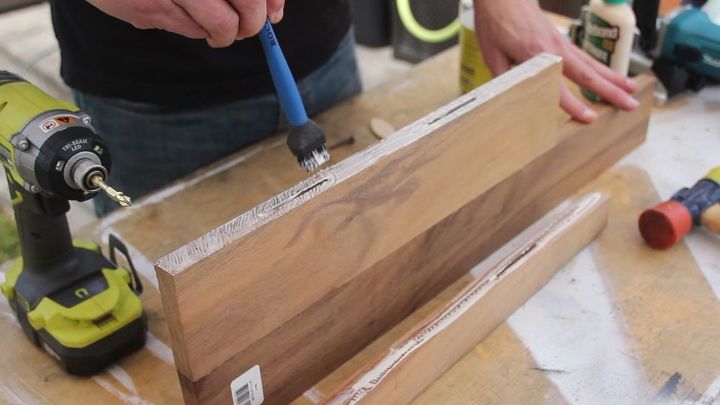
We used tite bond 3 wood glue, which sets slowly to allows for an easy glue up of the boards.
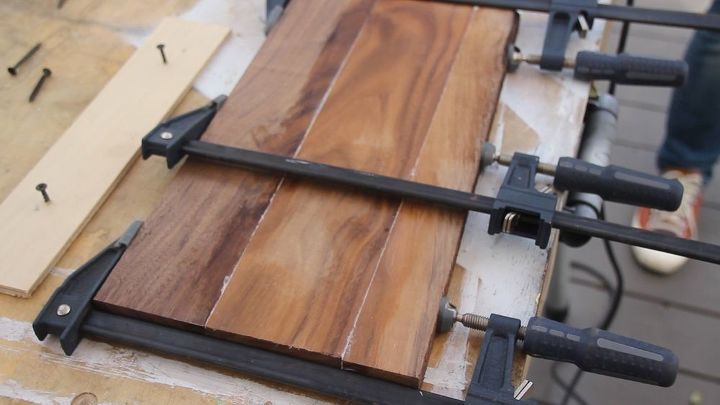
With the boards glued, we used long clamps to hold the pieces together until the glue dried.
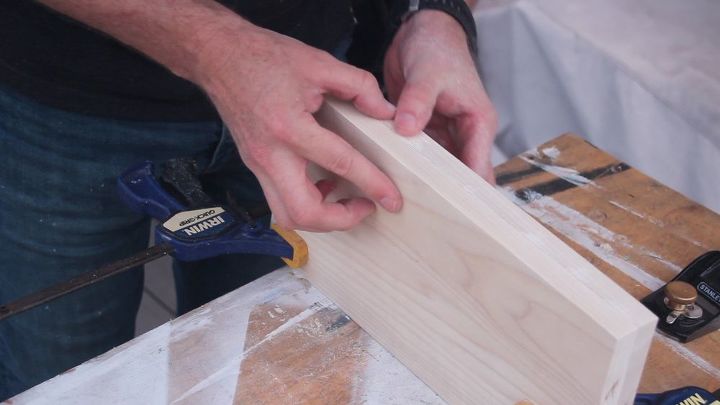
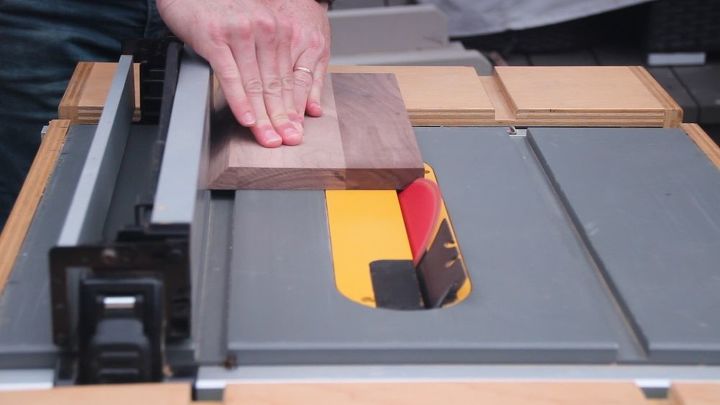
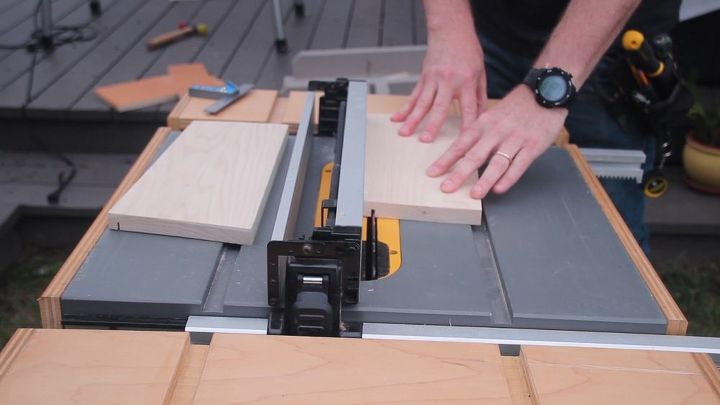
When the glue was dry, we cut the top, side and bottom pieces to length on the table saw.

We used the band saw to cut the angled side pieces. These could also be cut with a circular saw or hand saw.
We clamped the two side pieces together and used a sanding block to clean up the band saw cuts.
We set the saw blade to 45 degrees and cut the angles on the top piece leaving a 1/8” lip on the edge.
We flipped the piece over and cut the other side to match.
Using the table saw, we cut a 1/4” dado into the insides of the side pieces. This is where the two pieces of 1/8” plexi glass will slide into forming the front of the mailbox.
We ran each board thru the table saw with the blade about 1/4" up and the fence 1/2"from the 1/8" thick blade. We then moved the fence over about 1/8" and cut another slot to make a 1/4” wide x 1/4” deep dado.
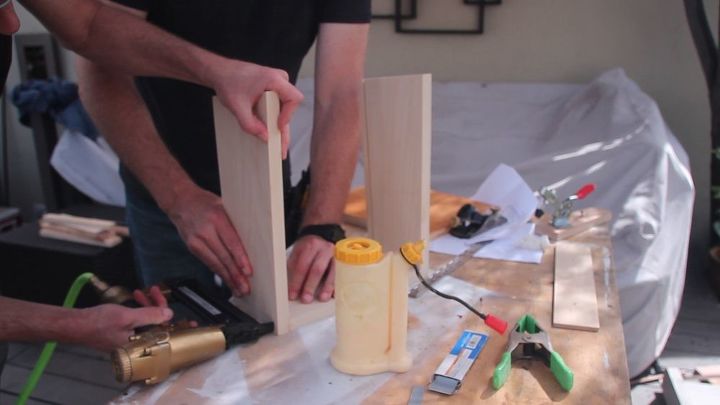
Next we glued the sides, bottom and back together, securing with 1 1/4” brads. Finish nails could easily be substituted. The brads hold the wood together until the glue dries.
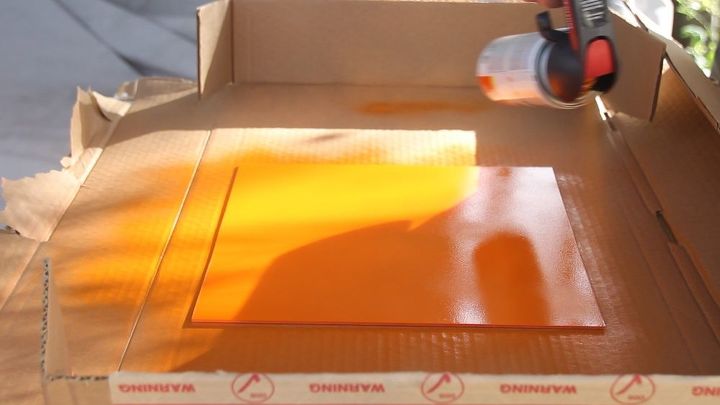
We sprayed one piece of the plexiglass orange. When the paint is dry, the clear piece gets placed on top of the painted piece, so that the painted side sandwiched between the two pieces. This will keep the paint from being scratched off on the inside of the mailbox.
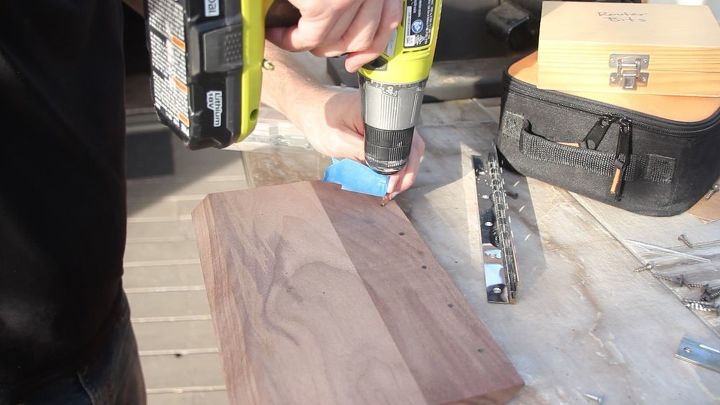
Drill holes in the top for the hinge and screw the hinge to the top.
We secured a piano hinge to the top and back pieces
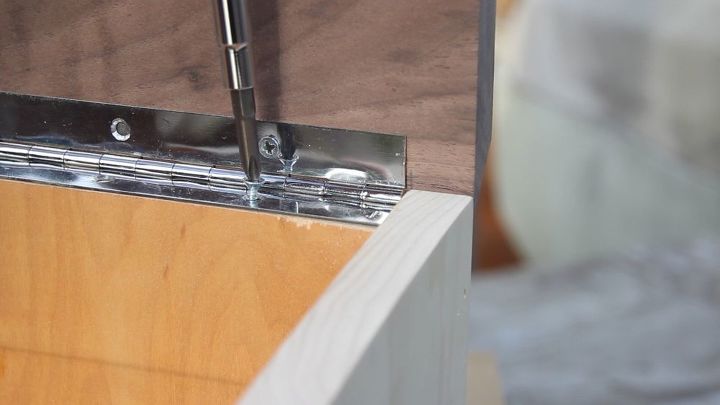
Screw the hinge to the back piece. Note how the back piece is 1/4" shorter than the sides to allow for the thickness of the piano hinge.
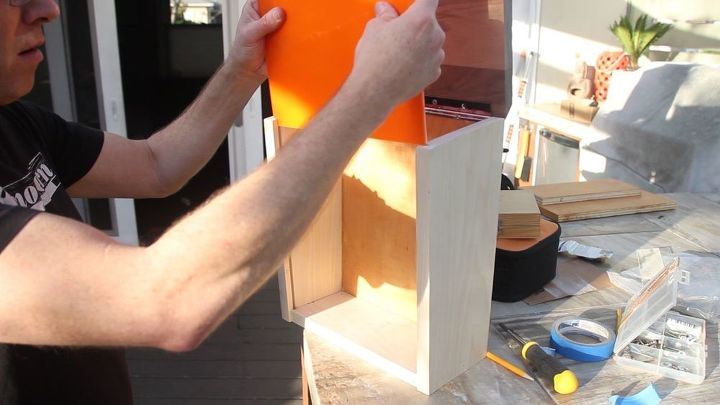
We test fit the front plexiglass then disassembled it, sanded and painted everything white except the walnut top which was sealed with polyurethane.
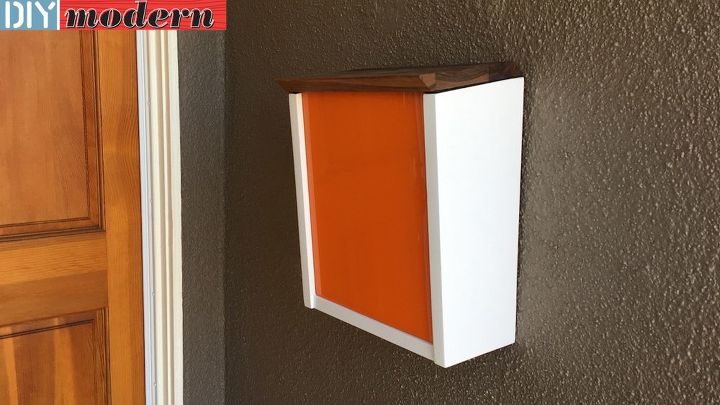
To mount the mailbox to the wall, carefully remove the acrylic sheets and screw it directly through the back onto your mounting surface. Replace the sheets and close the top.
Comments
Join the conversation
2 of 9 comments
-
Thank you so much! Glad you like our project!
-
Thanks Lynne!


Frequently asked questions
Have a question about this project?
I see that this website is no longer active. Is there another way to get the plans for this mailbox please?