


How to Give New Life to an Old Potting Bench
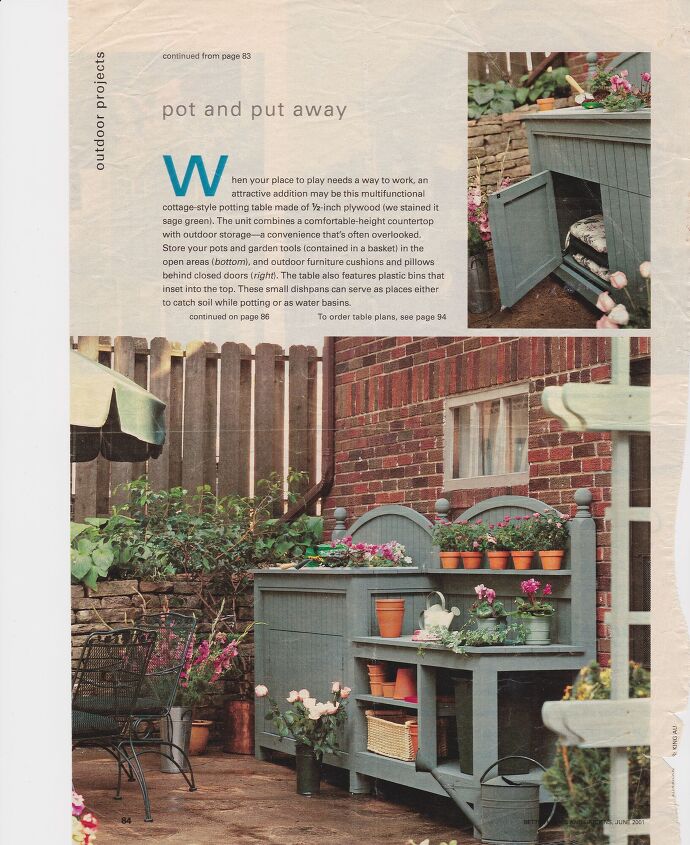
In 2001 I saw a plan for a potting bench in Better Homes and Gardens magazine. I asked Rich if he could build it to fit in a niche of our patio. I thought it would work perfectly for gardening and entertaining as well! So he went to work, sketching and measuring until he came up with a plan. He worked so hard on it and did a fabulous job. After twenty years of use in the outdoors, it was looking pretty rough! It's time for a makeover, so come along and let me show you how I'm going to give new life to an old potting bench!
The Beginning of Our Potting Bench
Can you believe I actually saved the original magazine page all these years? Well, I did! It's a bit discolored and crumpled, but you can see the inspiration for our potting bench. Rich made a few changes, but I actually like mine better than the one in the picture.
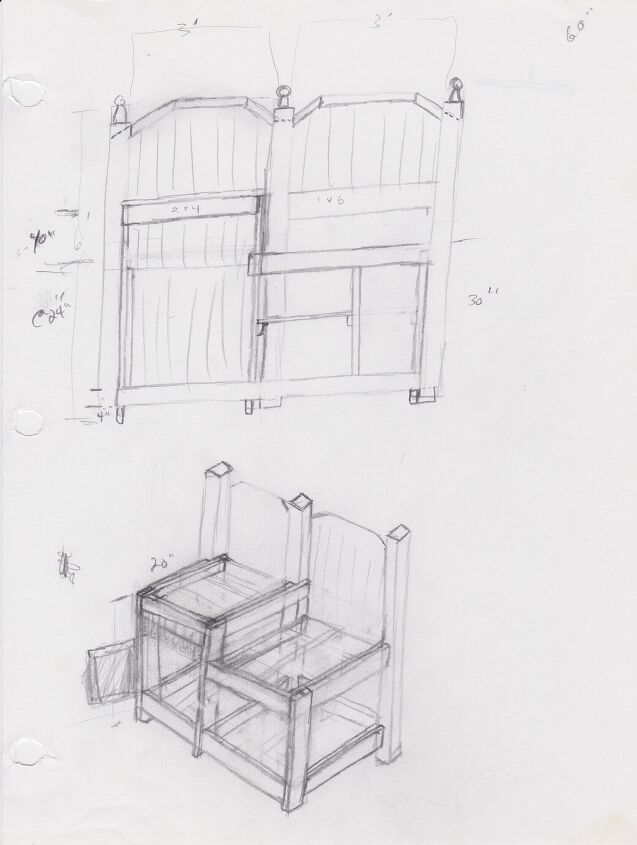
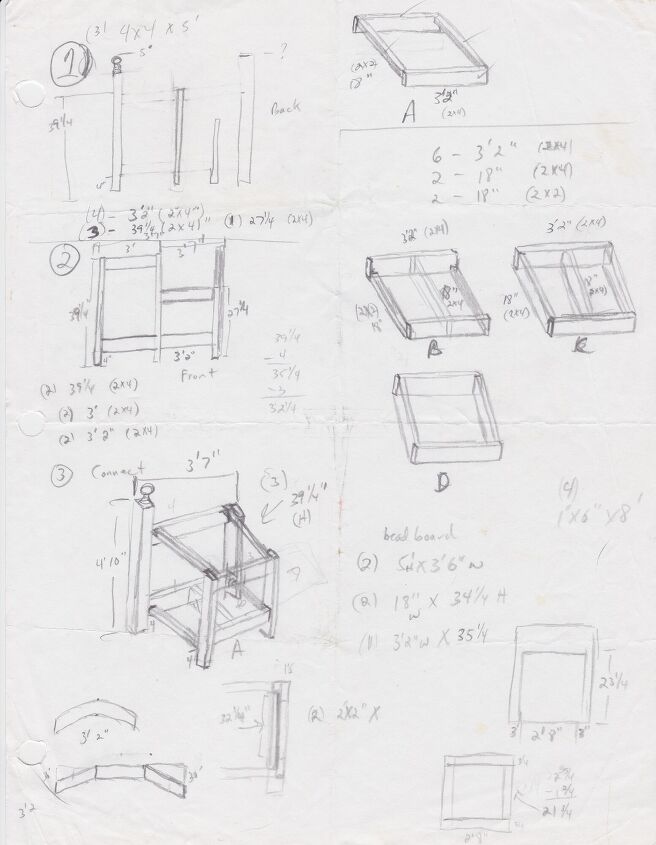
Below are two of the sketches Rich drew for his version of the potting bench.
I searched all of my scrapbooks and can not find one picture of the potting bench in our old Kentucky home! It makes me so sad that I don't have any pictures of it!
When we moved, I knew the potting bench had to come with us. I did not want to leave it behind, even though it fit the patio perfectly. This piece of furniture has a lot of sentimental value to me! However, it's very large and heavy, which meant Rich had to take it apart to move it. This is what the potting bench looked like when it arrived in Florida.
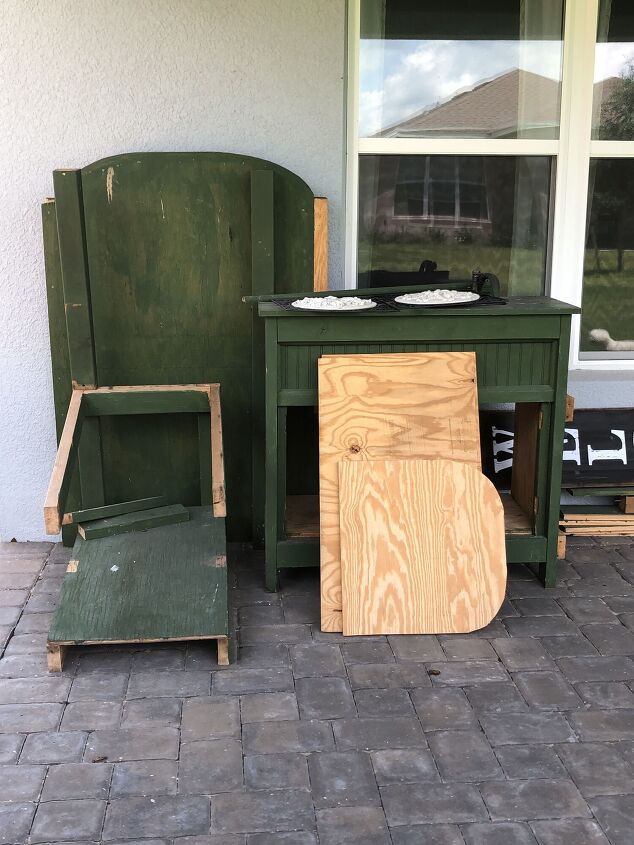
The unfinished wood belongs to something else. Sure doesn't look too good, huh?
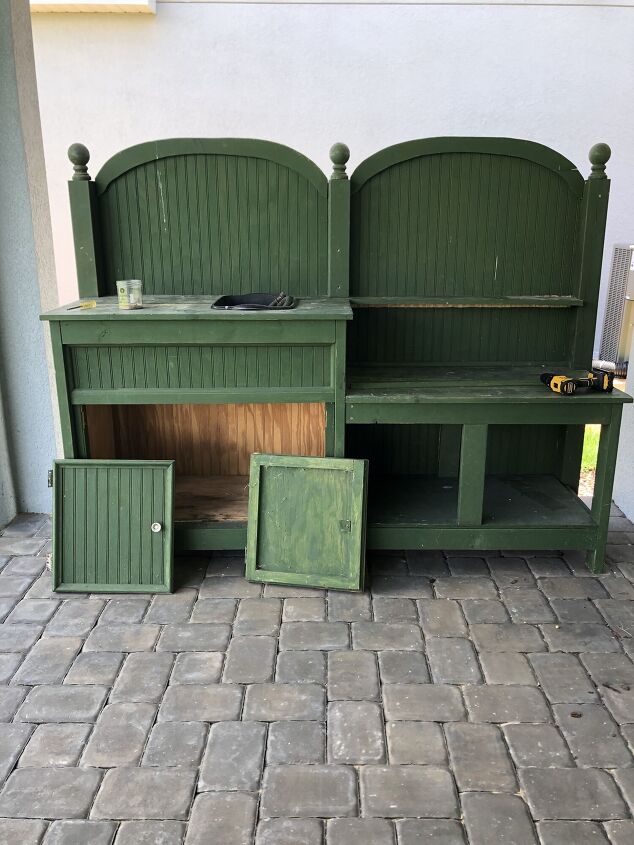
Rich still needs to add the doors. So glad to have it back in one piece! Unfortunately, it's in pretty rough shape. Before I show you all of the problems with the potting bench, I want to list the items I used on this project.
Gather Materials
Gather or purchase the following items you will need for this project:
- wood filler
- sandpaper block
- vacuum
- sander
- cleaner
- paper towels
- tack cloth
- paint
- paintbrush
PREP
I have a great deal of prep work to do on the potting bench before I paint it. Here are the steps I used to prepare the potting bench for paint.
Clean
Look at how much pollen is on the bench! I have to say, I don't think the pollen is as bad in Florida, as it is in Kentucky! I used wet paper towels to remove the pollen since I don't want to sneeze the entire time I'm working on the potting bench!
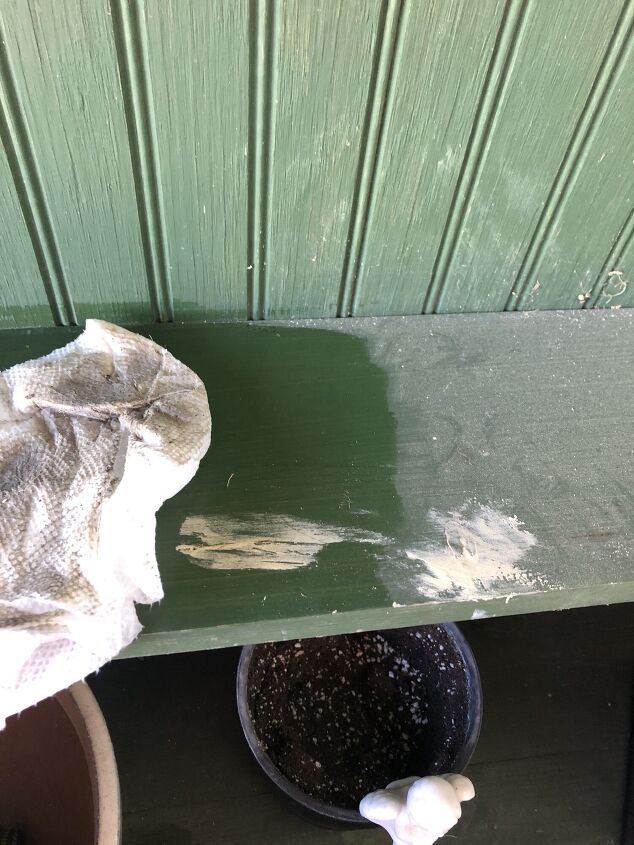
Repair
We had one broken board when we got to Florida. Rich had attempted to put wood putty in the crack, but it did not hold. First, he had to screw the pieces together, and then I added more wood putty to conceal the seam.
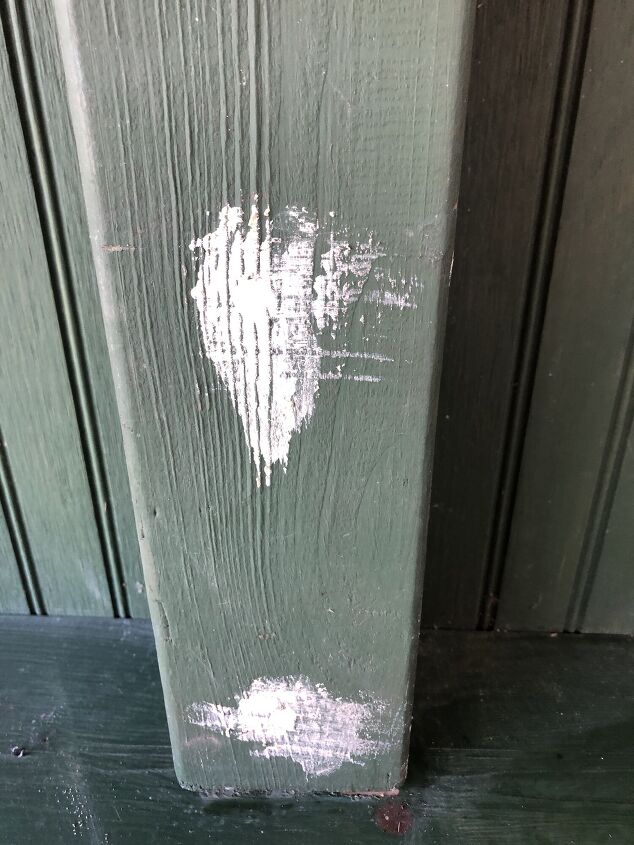
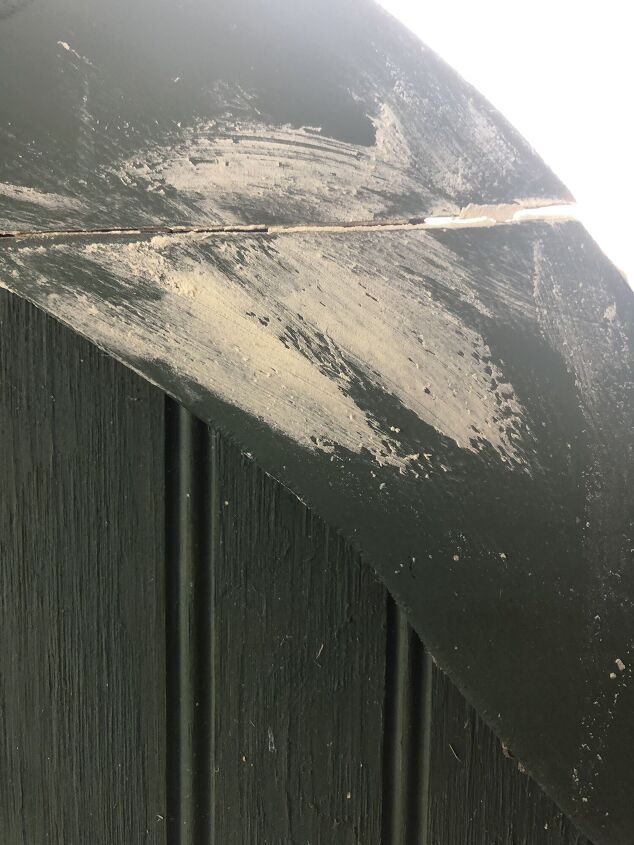
We had several large holes in the posts from wood bees that had to be filled.
Sand
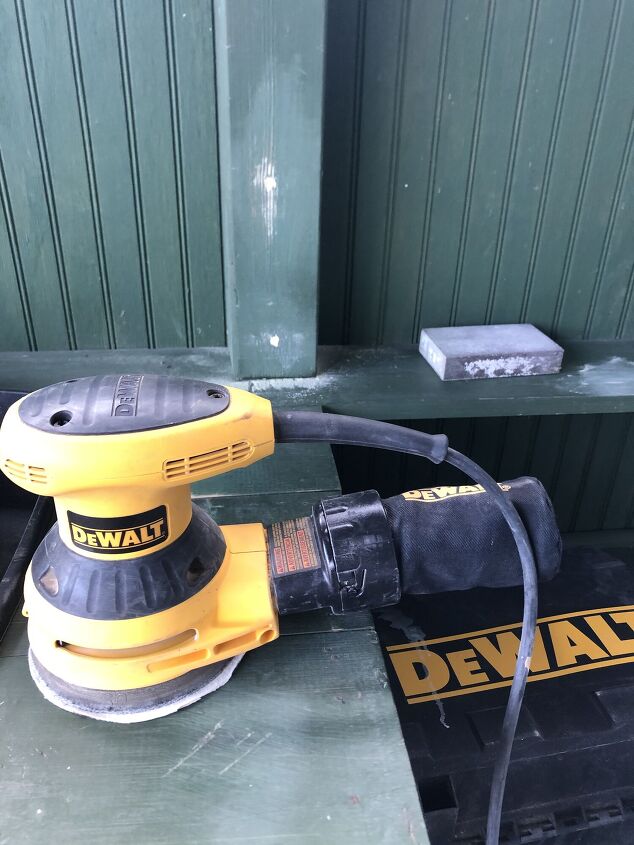
I used a sanding block and a hand sander on this project.
I used the sanding block on the places with wood filler.
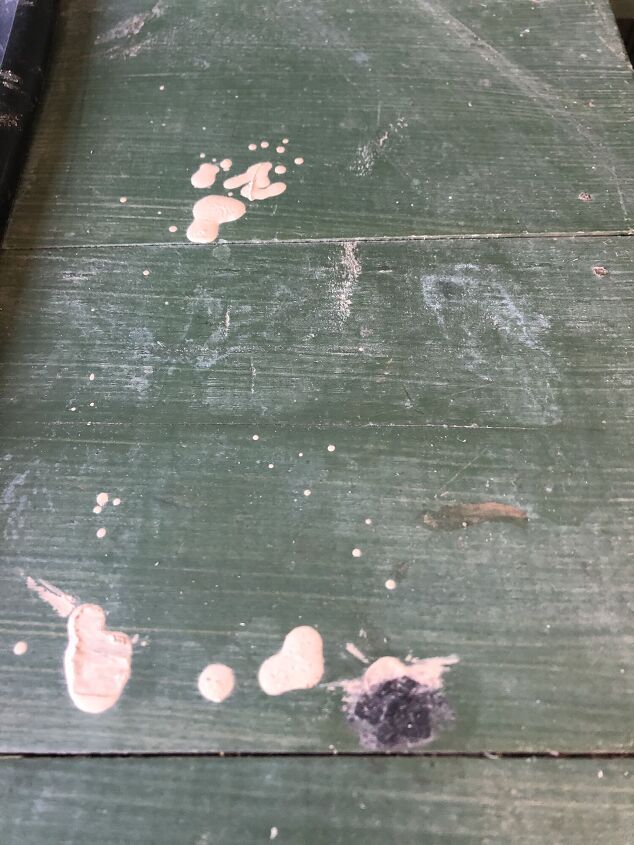
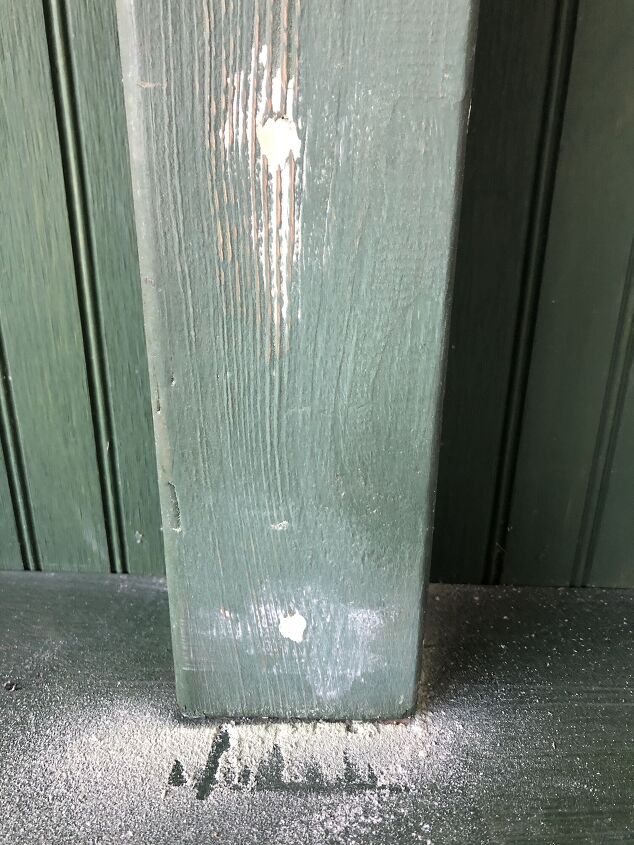
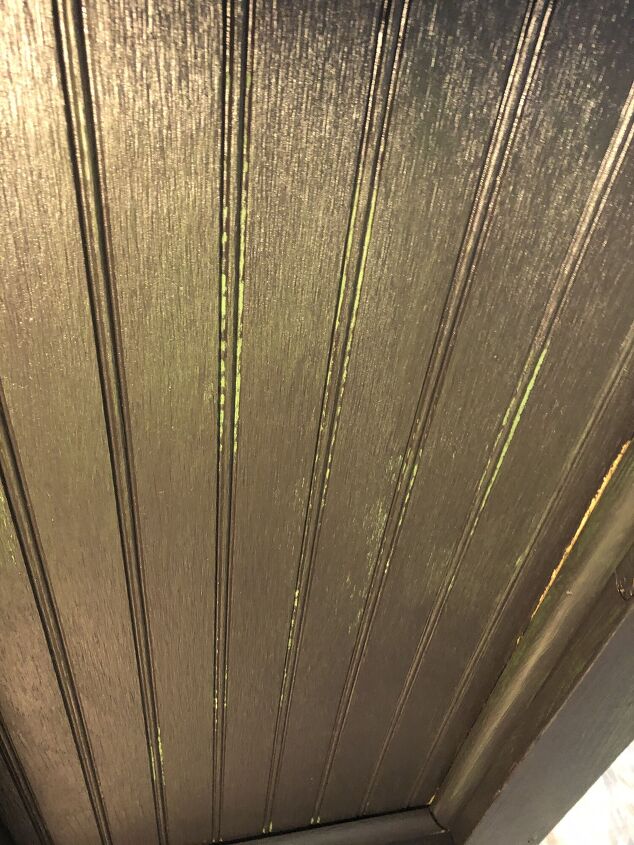
Somehow, there were paint drips on the counter section of the potting bench. Oh yes, and a gift from a nice bird! Yuck! I had to get out the hand sander to remove the paint drips!
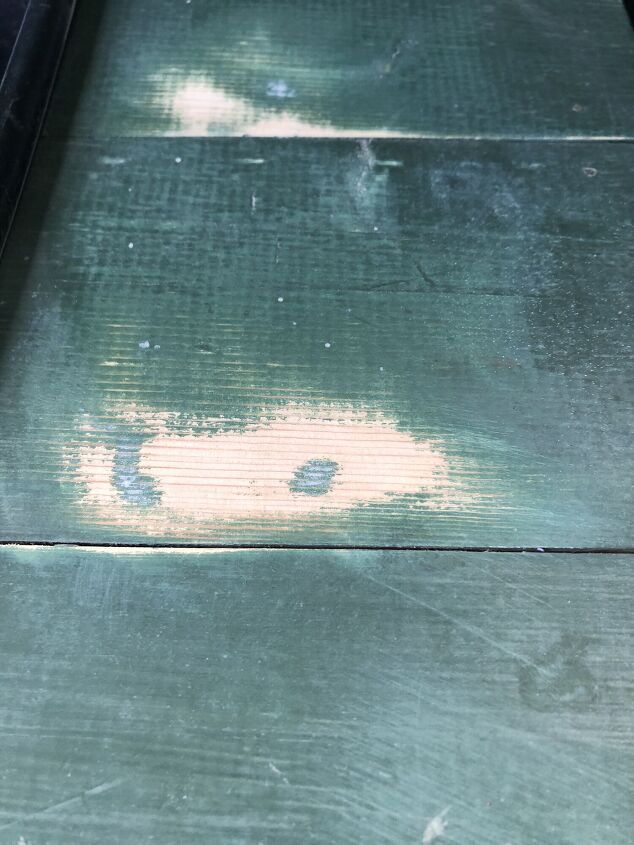
Now it's nice and smooth! Almost ready to paint!
Clean Again
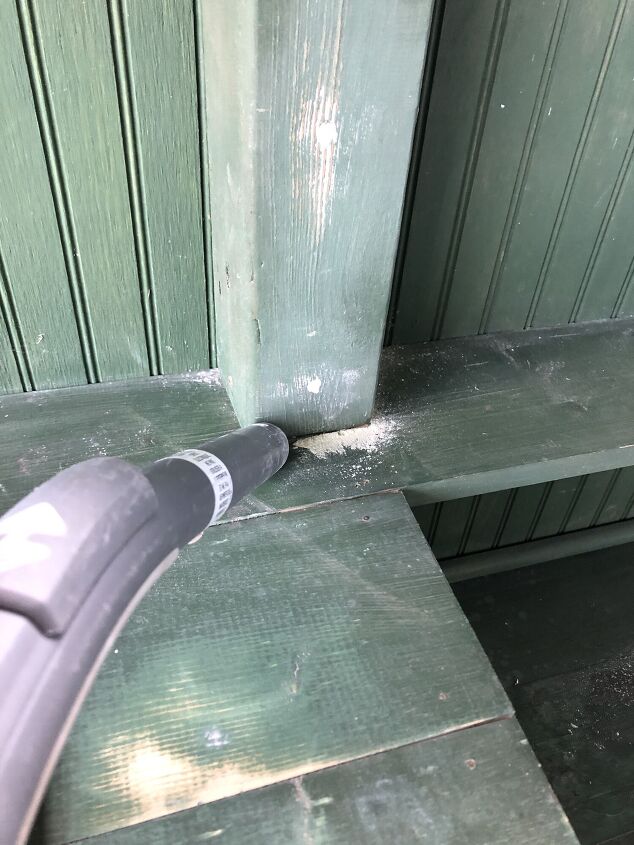
I used an old vacuum to remove the dust from the potting bench. To make sure there was no dust residue, I went over the whole piece with a tack cloth.
Paint
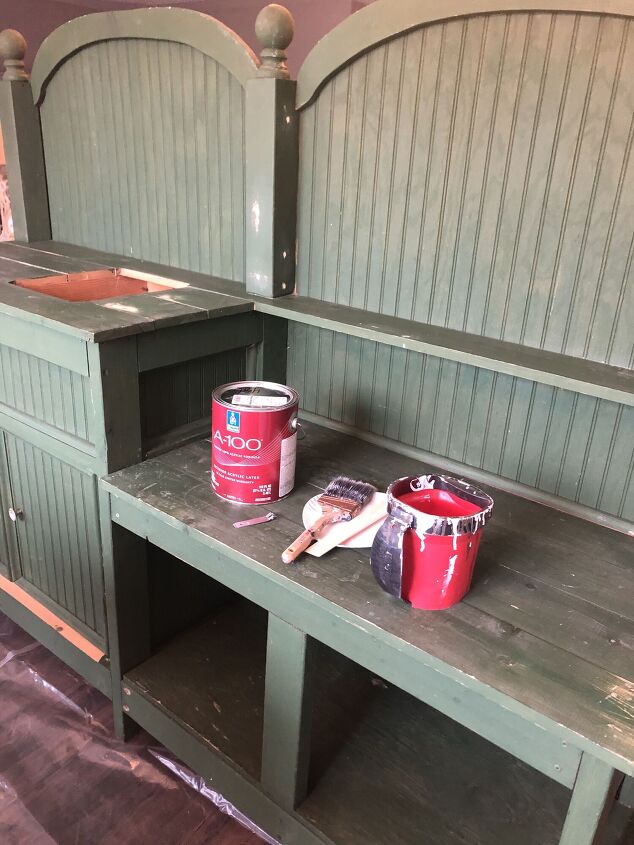
We had to get help from the neighbors to move this huge piece of furniture inside because our porch was being sealed. It is in such bad-looking shape, but not for long! Now the fun part, painting! I chose the color black because it's neutral and it was free!! You see, we had leftover exterior paint from our front door, so I used that to give new life to my old potting bench!!
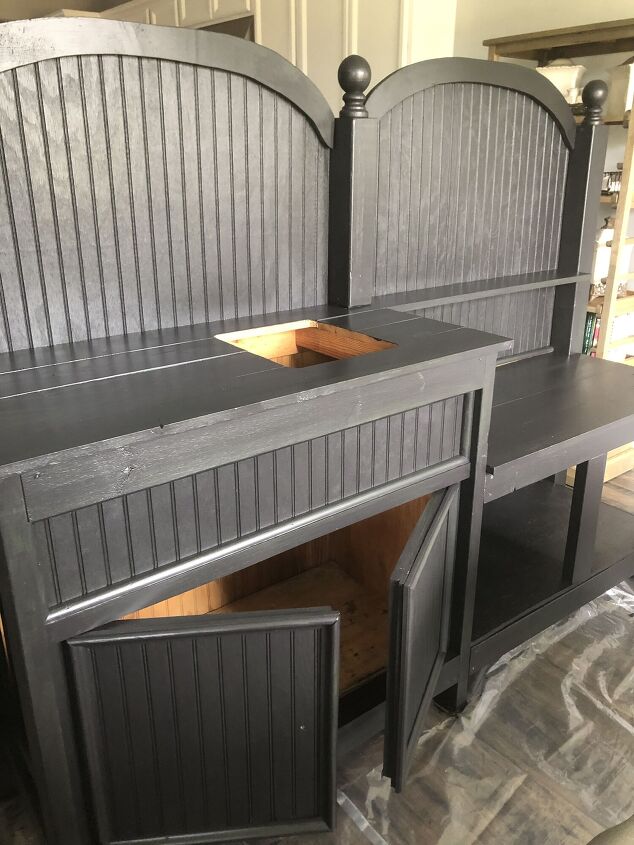
One coat down but it's going to need one more!
You can see how many places I missed with the first coat. It is hard to get the paint in all those crevices! The potting bench is undercover and rarely gets wet or direct sun. So, I did not polyurethane it. I might be sorry, we'll see!
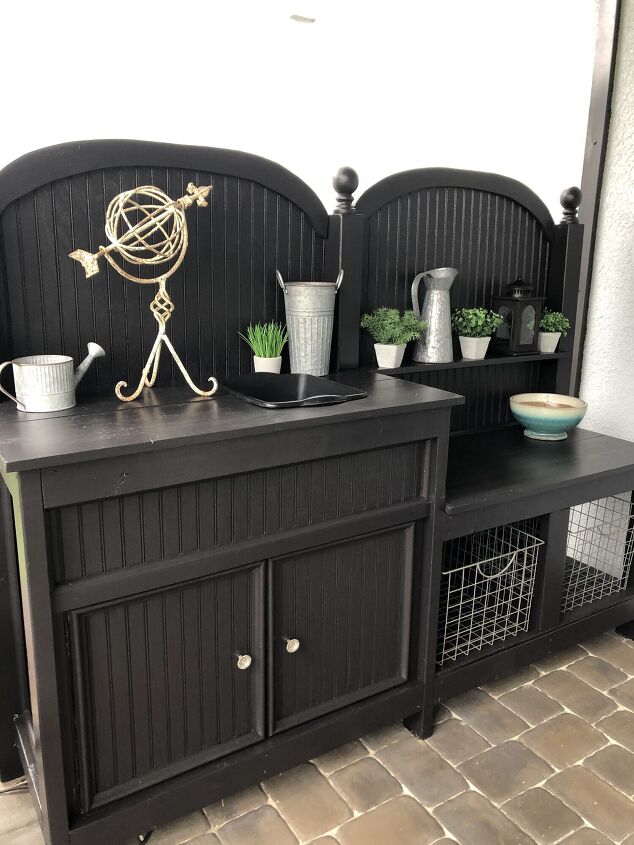
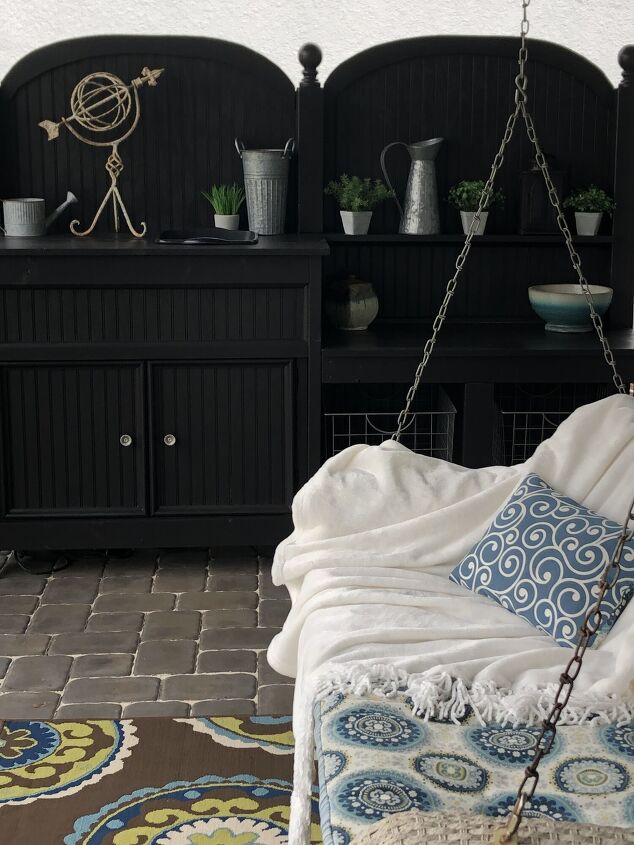
The Finished Product
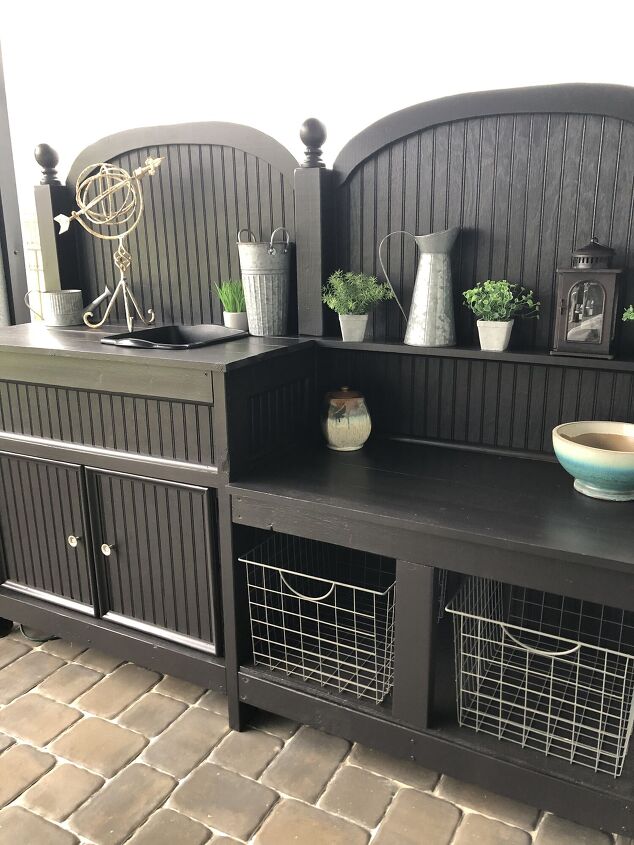
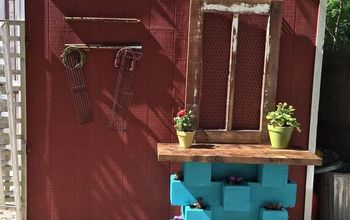
Wow, I just love how the potting bench turned out! I think it looks amazing! Now, I just need to get motivated to clean up my planters and put some flowers in them!
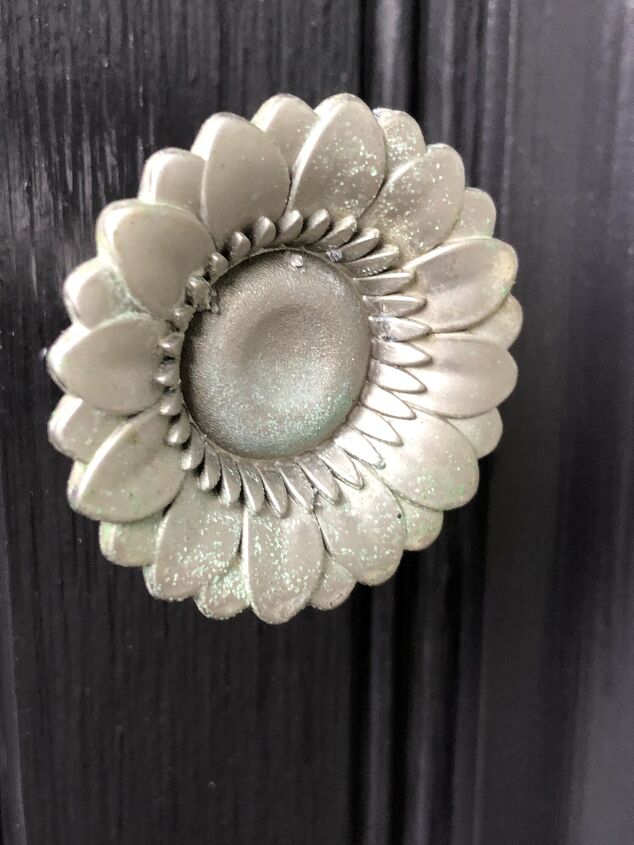
I wanted to show you a close-up of the knobs on the doors. They are silver flowers, and now they have a bit of patina on them!
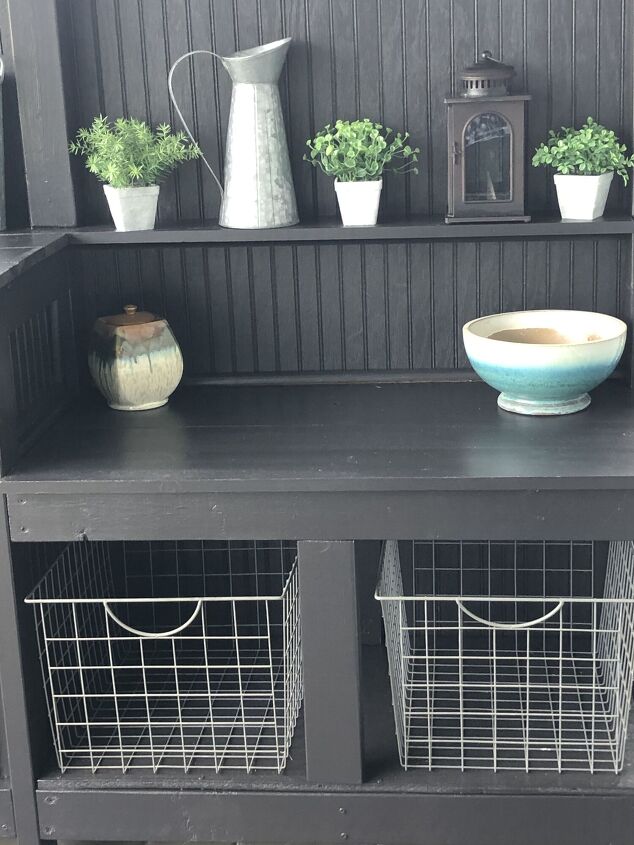
In Kentucky, we used metal baskets to store sports balls in our garage. We did not bring the sports equipment with us to Florida, so I really didn't need them in the garage anymore. When we moved the bench, I grabbed the baskets to store stuff. When I brought them out after painting the bench, I realized they would be a perfect fit in the two cubbies! I love when things come together that way!!
With a bit of scrubbing and paint, I was able to give new life to my old potting bench? All that sanding was definitely worth it! I think it looks like a brand new piece of furniture! I almost hate to dirty it up with potting soil!! There I go procrastinating again! Oh well, I promise I'll get around to planting things soon!
If you'd like to see DIYs and more click here to join our mailing list!
Blessings, Donna and Rich


Comments
Join the conversation
-
I too saved that same issue of Better Homes and Gardens Magazine and had the potting bench built for me. It was painted White and resides in my basement craft room. It was so coincidental finding your DIY about the same bench.
-
I love the black. I too would not want to dirty this up by using it for its intended purpose, I would be potting on my driveway! 😏


Frequently asked questions
Have a question about this project?