


DIY Reversible Porch Sign
This DIY Reversible Porch Sign is easy to make and a great way to change up your porch decor as the seasons (or your mood!) change. By placing different text on each side, it’s as easy as flipping it around to give your porch a whole new look.
What type of wood should I use for a porch sign?
Any kind of wood works. For my Fall Front Porch Sign, I used a scrap piece of cedar left over from our deck. It has a more rustic texture and appearance.
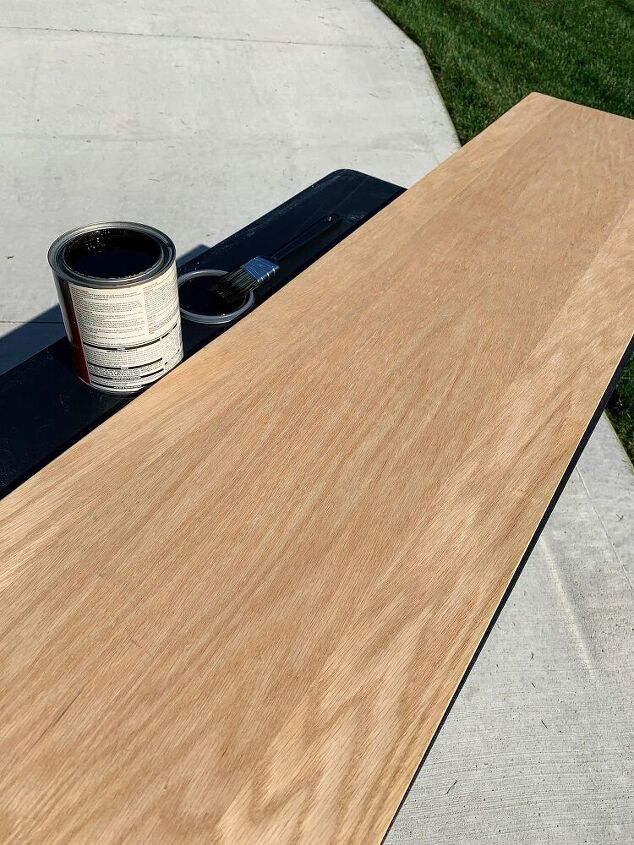
For this sign, I had a nice piece of solid oak that I rescued from my dad’s garage. It’s a remnant from a kitchen remodel he did on my childhood home years and years ago. Because it’s a better quality piece of wood, it gives this sign a more polished look.
But really, you can use whatever pieces of scrap wood you can rustle up. And if you have to buy wood for your sign, begin by looking in the miscut or bargain bins at your local lumberyard or big box store.
Do I need to paint or stain my porch sign?
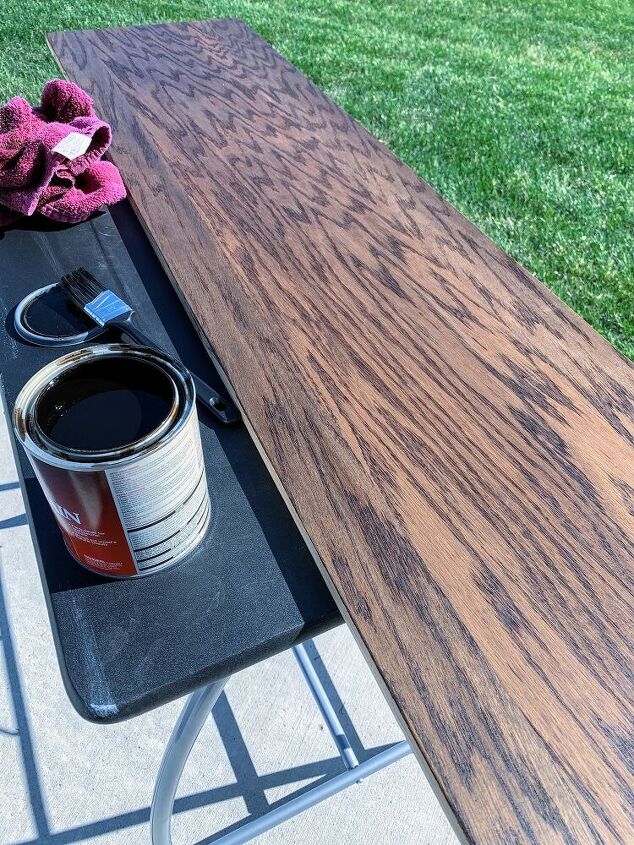
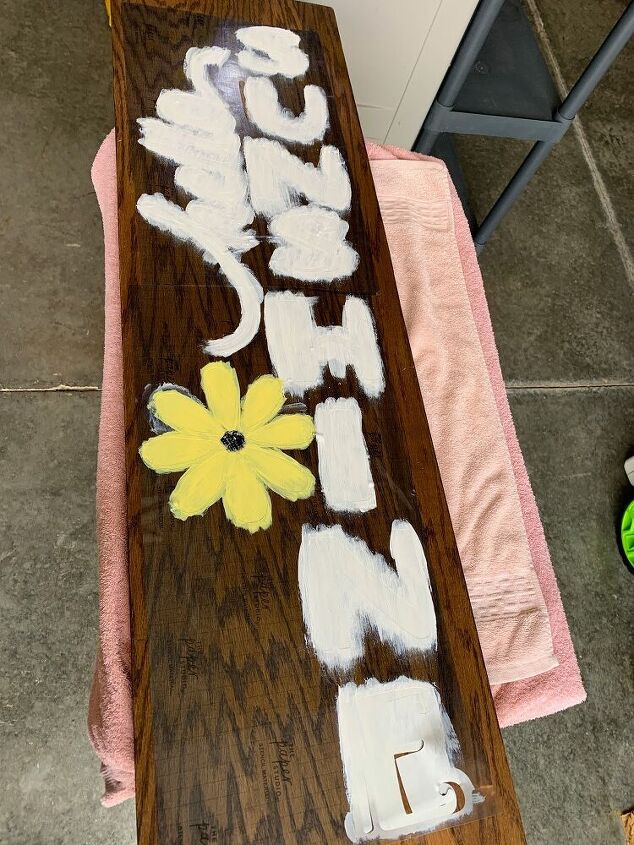
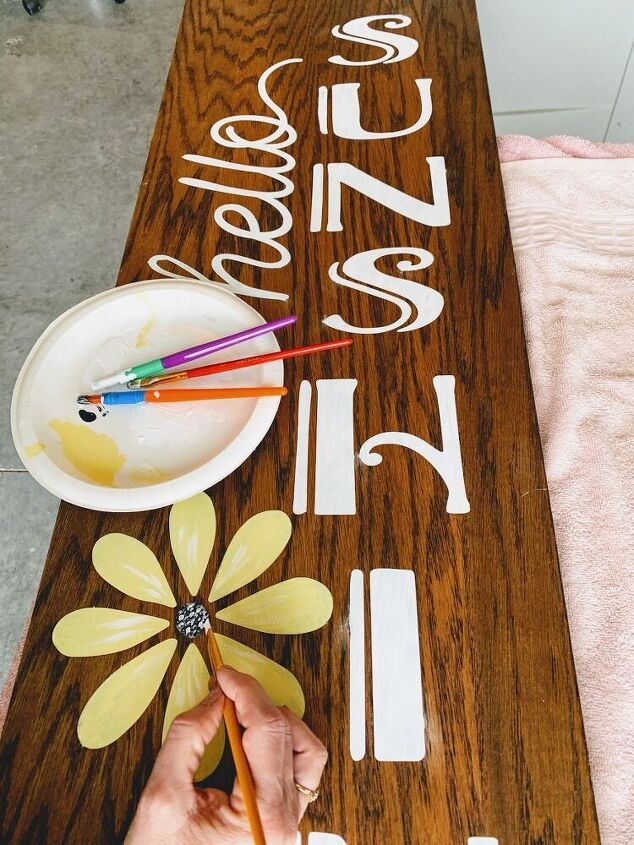
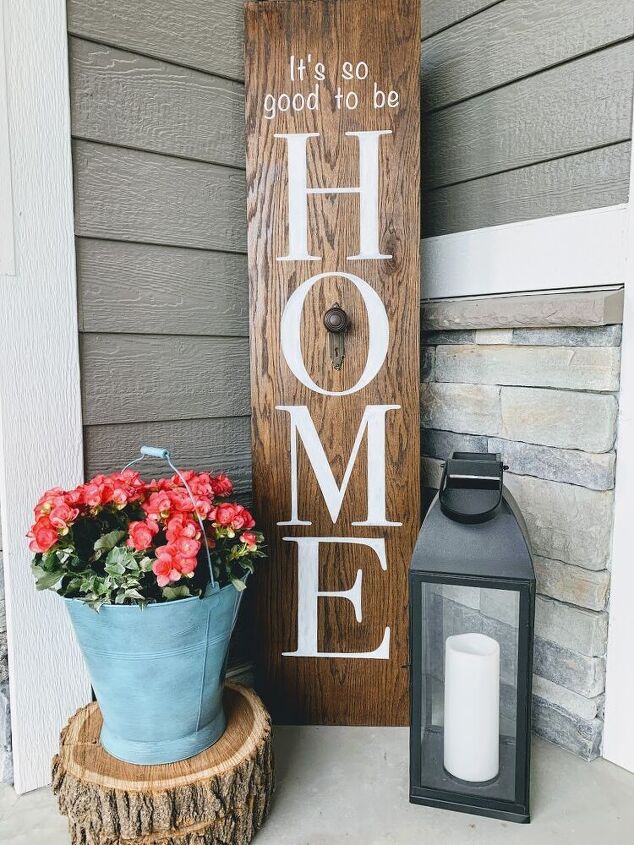
Paint, stain or natural wood as your base color is completely up to you. I painted my Fall Porch Sign a chippy white with black lettering. For this sign, I went with a rich dark stain, to bring out the beautiful wood grain on this solid oak. Then I used contrasting white lettering. This is the great thing about making your own DIY Reversible Porch Sign! You can customize to your own style!

Here you can see both sides of my reversible sign. Do you see the special touch on the "Home" sign? I added a vitnage knob inside the "o". Read on to see more...
Do I need a sealer on my sign?
It depends on where you’re placing it. My signs go underneath a covered porch where they really won’t be exposed to rain or snow. For my Fall Porch Sign that was more rustic, I elected not to put a clear coat, but for this sign, since it’s a really nice piece of wood with some sentimental value, I did give the whole thing, both sides, a couple of even coats of an acrylic clear coat spray to make sure it was protected.
What size should the porch sign be?
Most vertical porch signs run between 3 1/2 feet and 6 feet tall. But, this is one of the benefits of making your own! You can customize it to whatever sign works best for the space on your porch where you plan to use it. For my signs, I simply worked with the size the wood already was, so I didn’t have to do any cutting! 😂
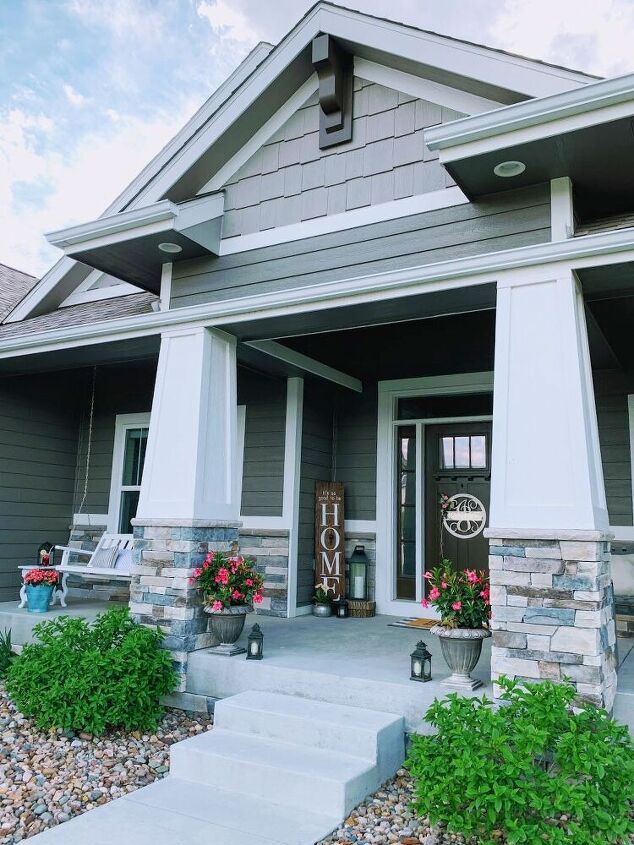
My Fall Porch Sign measures about 53″x12″, and this DIY Reversible Porch Sign is 60″x14″. I have a fairly large front porch, so these bigger signs are the right size and scale for the area. If your porch is smaller, you might want to adjust the size of your sign.
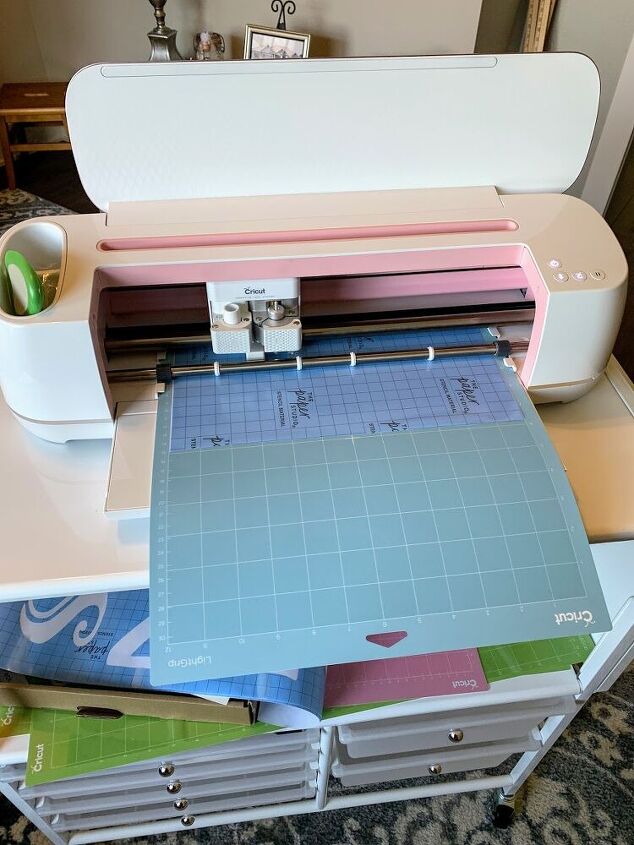
How can I make the letters for my porch sign?
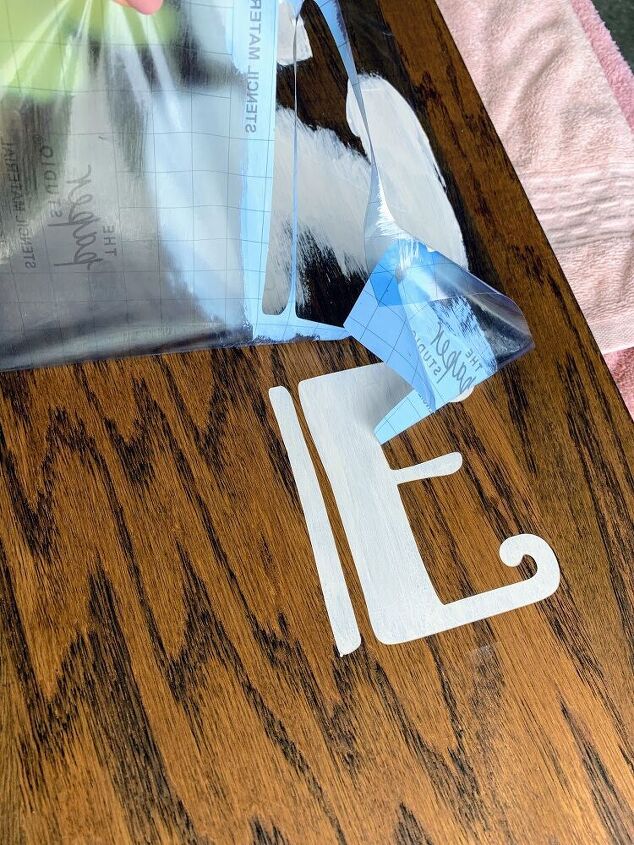
For this sign, I used my Cricut Maker, and vinyl meant especially for creating stencils. For my Fall Porch Sign, I printed out block letters on my computer and traced them, after shading heavy pencil lead on the back. Some people also use carbon paper for this method.
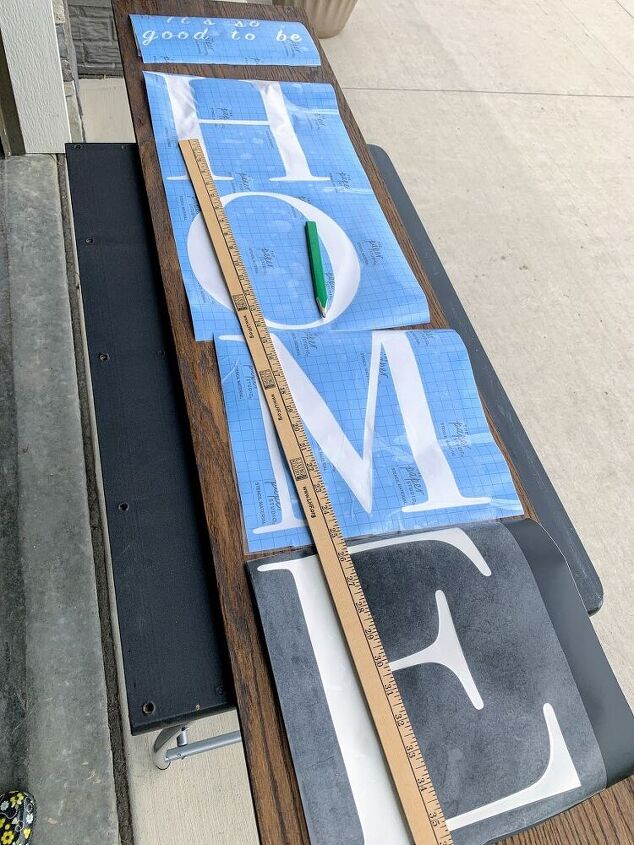
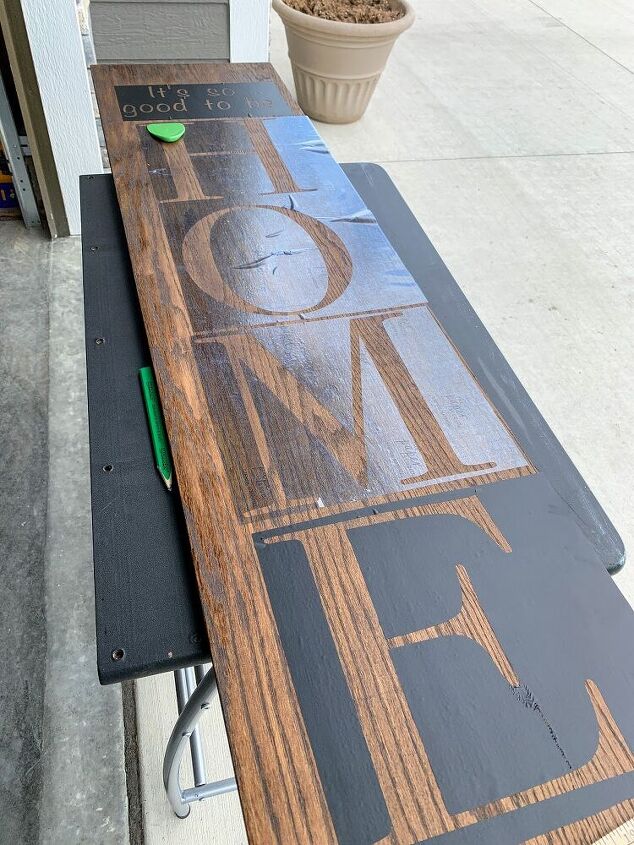
If you’re using Cricut stenciling vinyl, be sure you also use transfer tape. This helps get the stencils lined up more easily on your wood.
How do I keep the paint from bleeding under my stencils?
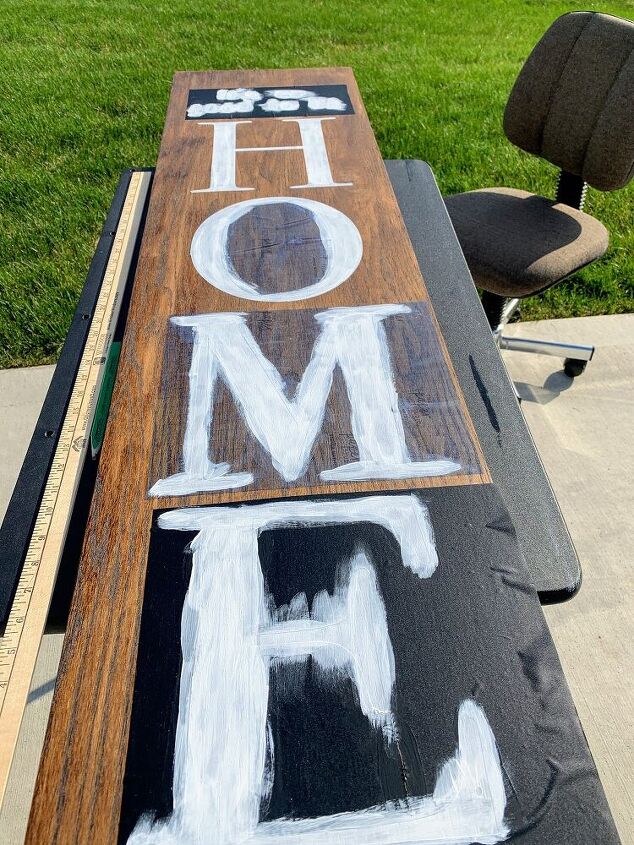
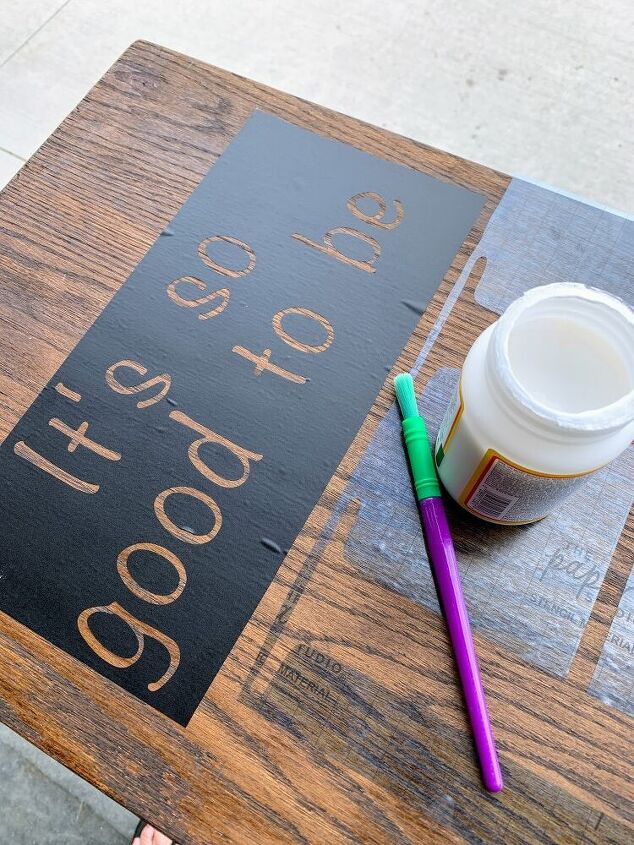
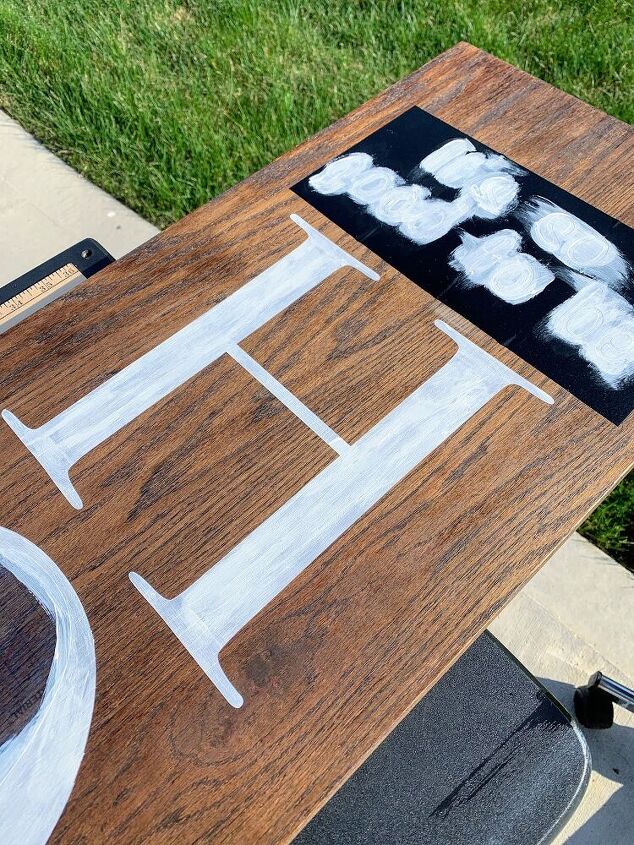
Mod Podge works perfectly for this! Simply paint around the edges of your stencil with the Mod Podg e, allow it to dry, and then fill in the letters with your paint of choice. The Mod Podg e “seals” the edges of the stencil and prevents the paint from seeping under.
Another tip for nice, clean lettering is to remove your stencils when the paint is still slightly wet. This prevents the stencil from pulling off pieces of paint when you lift it.
How can I fix any small defects in the paint?
THESE Sharpie Paint Pens are my best friend when it comes to small touch-ups on my signs! They come in both black and white, and are perfecting for filling in little spots on the paint that don’t quite look right, or for evening out a line. I’m a perfectionist, so little glitches like that bug me. These paint pens make it so easy to fix those spots right up!

How can I add a special touch to my sign?
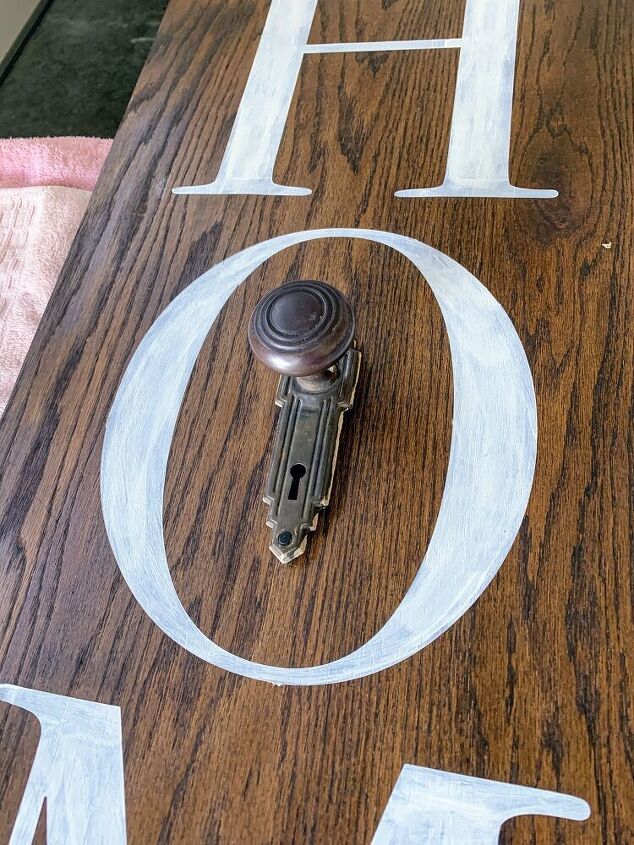
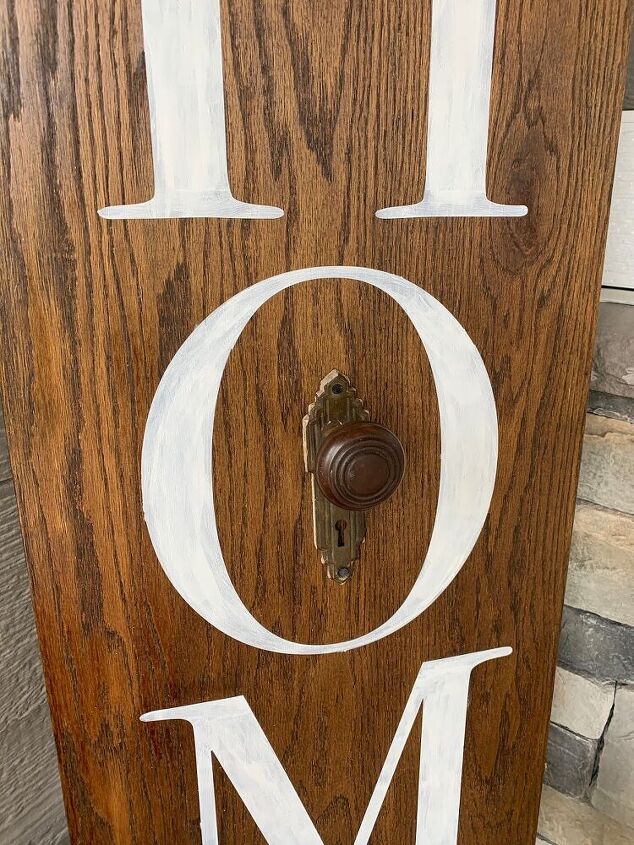
Customizing your own DIY signs is so much fun, and allows you to add special touches that make them unique. For my Fall Porch Sign, I hand-painted a little white pumpkin on the bottom, to coordinate with my Fall Front Porch Decor. For this “HOME” sign, I added an antique door knob that my son-in-law saved for me from a project his construction company was working on. It was the perfect finishing touch for this sign, and makes it a true one-of-a-kind!
What other embellishments could you add to your sign?
- faux flowers
- a bow
- twine
- vintage hinges, knobs, or locks
- wooden craft shapes
- a monogram
My DIY Reversible Porch Sign
For the “HOME” side of my sign, I designed the lettering myself on my Cricut. For the “Hello Sunshine” side, I used an SVG from Etsy (you can find the link to the exact one on my blog) because it was inexpensive and exactly what I had in mind. There are so many free cut files available online too.
With all of these options, you should easily be able to customize your own DIY Reversible Porch Sign, and make it exactly how you want it!
Let's stay in touch! Visit me at The House on Silverado for more fun projects like this.
-Niky


Frequently asked questions
Have a question about this project?