


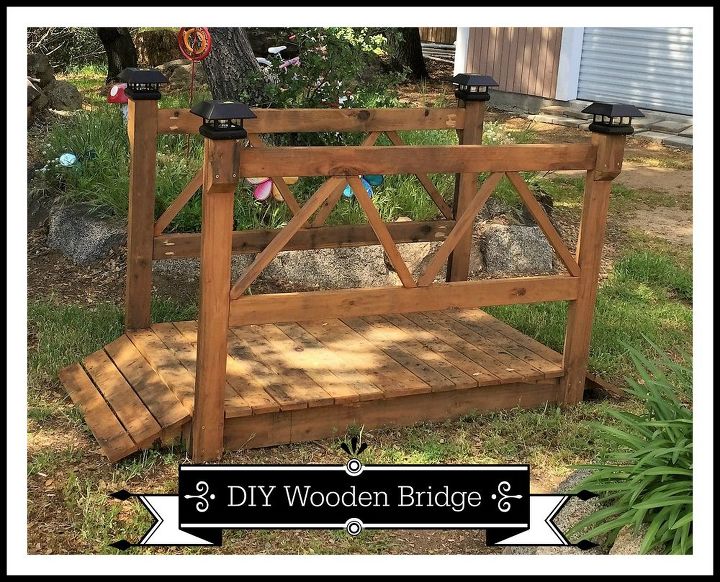
DIY Wood Garden Bridge
Instructions for building a wooden garden bridge.
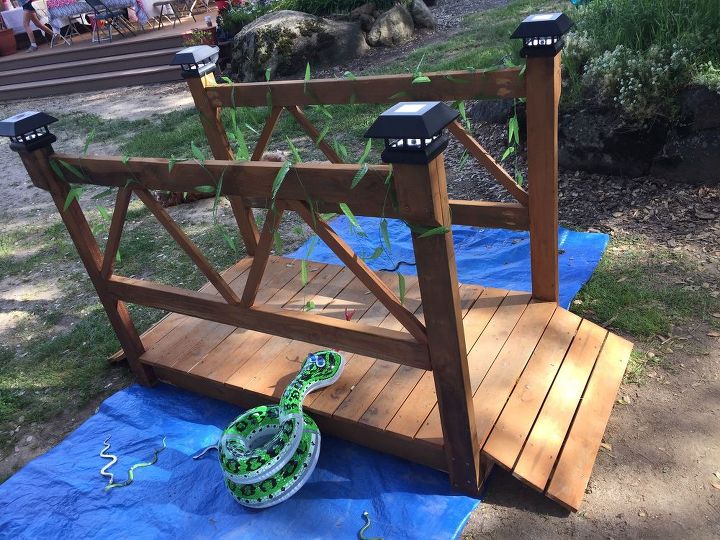
This project started out as what was supposed to be a quick and easy prop for my daughter’s 6th birthday, which was a safari-themed party (you can view all the details on the safari party here). I planned for it to be a rustic, old bridge that the kids would have to walk over to cross a snake-infested body of water (which was actually a blue tarp with some rubber and inflatable snakes on it!):
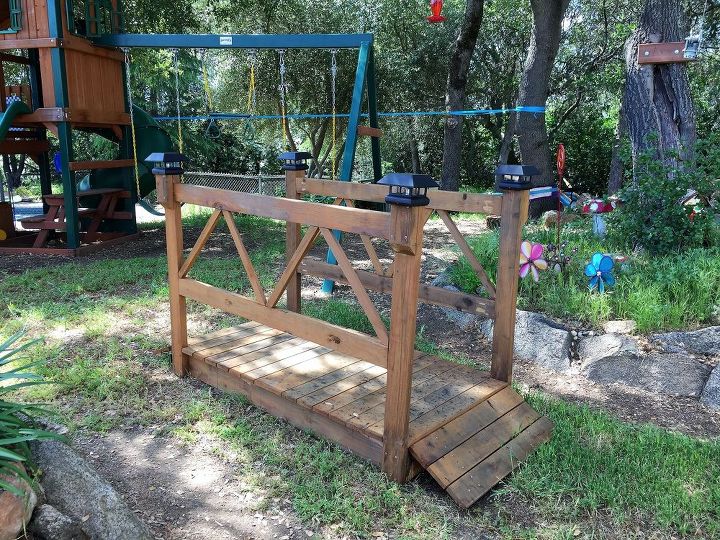
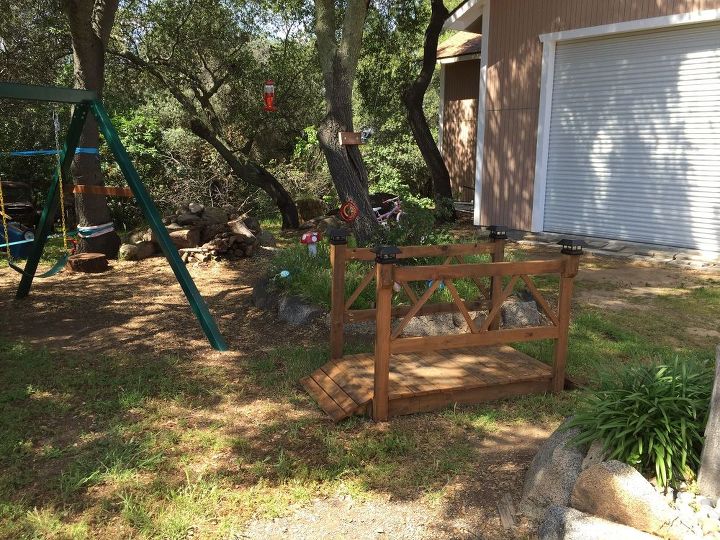
But as I started building it, my design became much less rustic and old-looking, and instead morphed into a pretty garden bridge that I now want to use as part of the decor for my yard! It’s funny how that happens! So, instead of being a quick weekend project, it ended up taking a few weekends, working on it a few hours each weekend, but I love the way it turned out (and I still used it for the party, even though it didn’t have the look of an old, rustic bridge that I originally planned for). 🙂
Here is an abridged version of how I built the bridge. For full details and plans, please visit my blog by clicking on the link at the bottom.
Materials:
4 – 2×6 @ 72″
8 – 2×4 @ 72″
7 – 1×4 @ 72″
2 – 1×4 @ 96″
1 – 1×8 @ 48″
2 – 1×2 @ 96″
2 1/2″ exterior wood screws
1 1/2″ exterior wood screws
Kreg Pocket Hole Jig
2 1/2″ exterior pocket hole screws (have a blue coating)
wood glue
4 – Solar Light Post caps
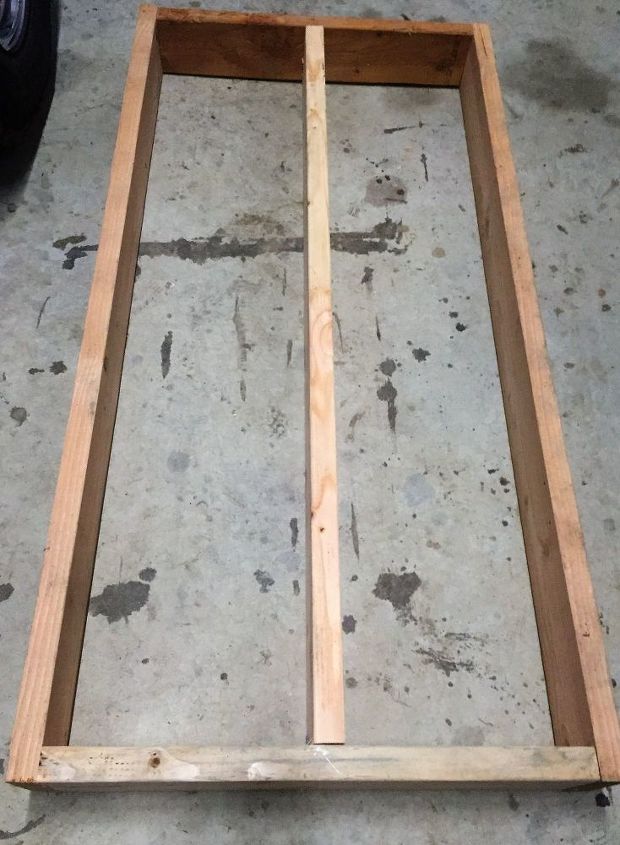
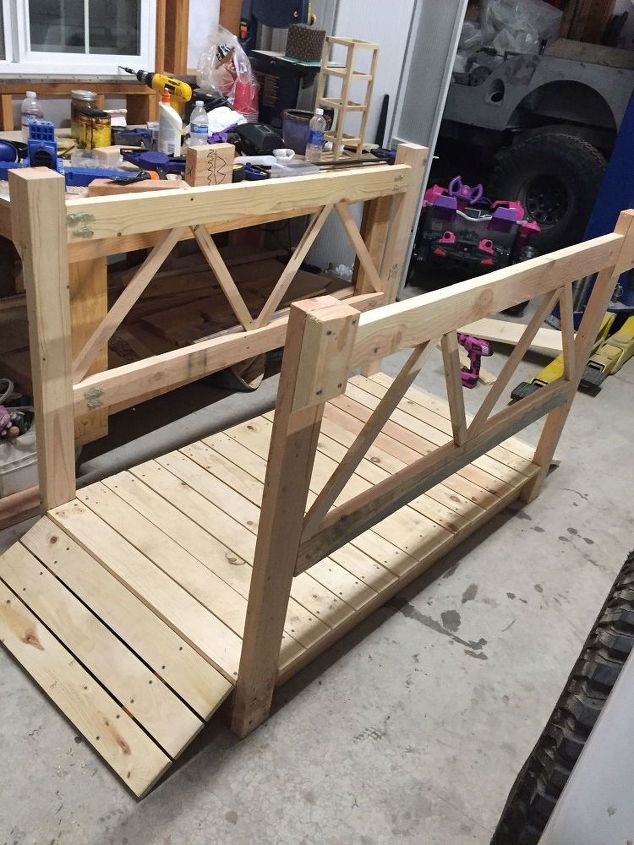
First, begin by creating the base/frame of the bridge.
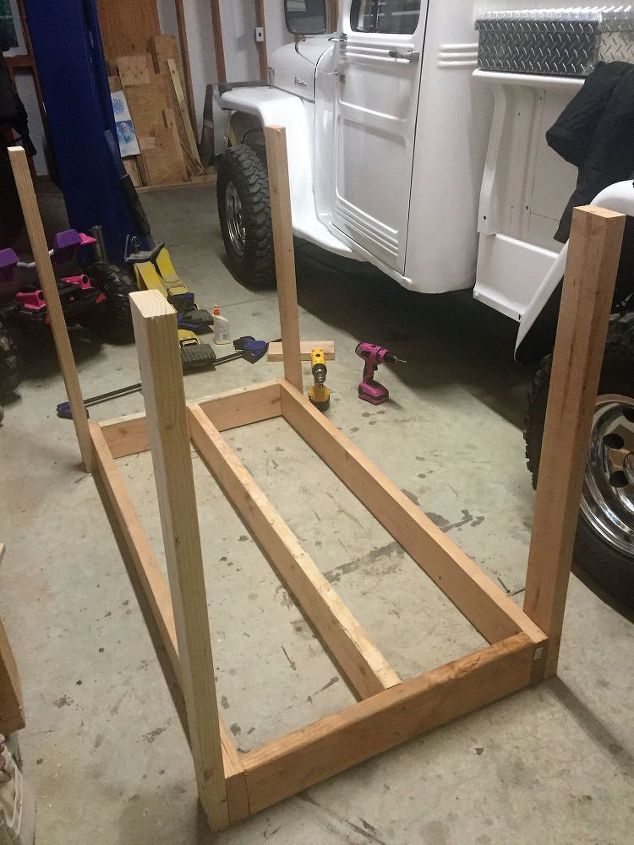
Next, attach the corner posts.
Then, cut and attach the slats.

Next come the side rails and decorative pieces, and then the ramps on both sides.
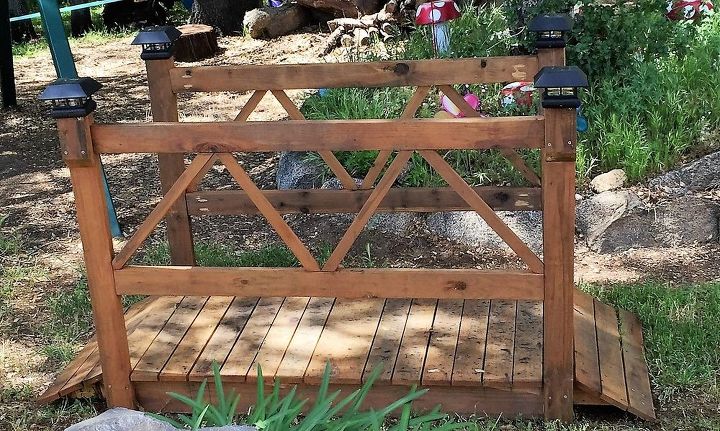
Lastly, stain with your choice of wood stain (I used a homemade vinegar and steel wool stain to add that rustic, aged look), add exterior varnish, and add the solar light post caps and now you have a decorative and useable garden bridge!
More Gorgeous Garden Projects


Comments
Join the conversation
-
Love it
-
This is definitely the garden bridge I want. Thank you for all the detail


Frequently asked questions
Have a question about this project?
Bu owns did you attach the ends of the curved walkway
I was inspired by your post and I made a similar bridge last year but my side ramps broke, they weren't very sturdy. How did you construct yours? Any tips?
This shows that making a bridge can be very simple, I like the idea. However, is this the permanent place for it?