


Garden Gazing Balls
This post was transcribed by a member of the Hometalk editorial team from the original HometalkTV episode.
Grab some styrofoam balls and sparkly items for this stunning garden project.
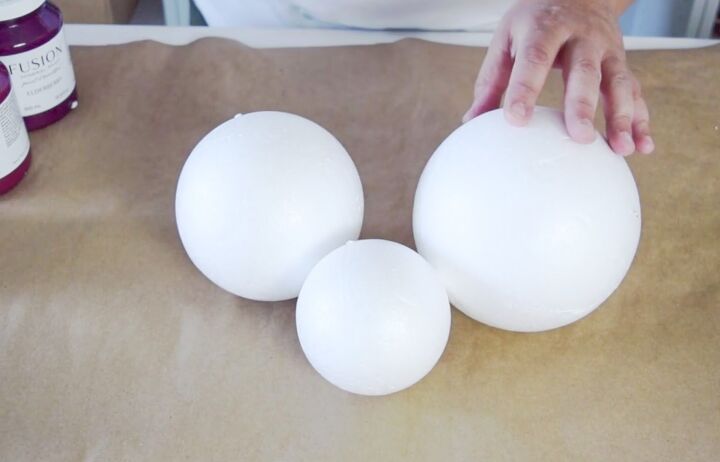
I picked up three of these styrofoam balls when I was at the Dollar Store. I wanted three different sizes and each one is going to be covered differently.
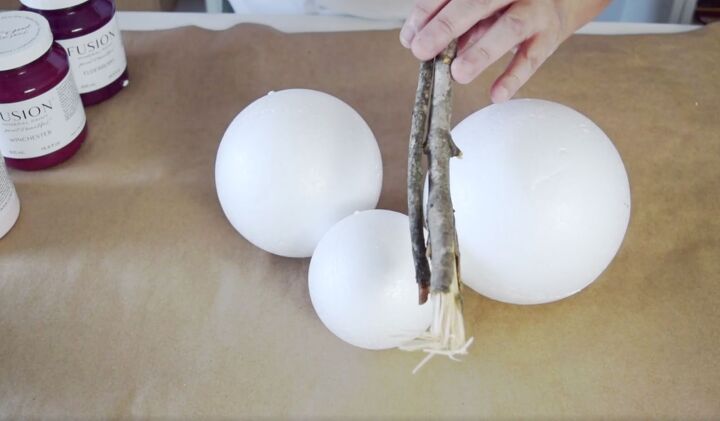
The first thing I want to do is create a way to stand these up in the garden. Regular old sticks that I picked up outside work perfectly, and one will be put in each of the balls.
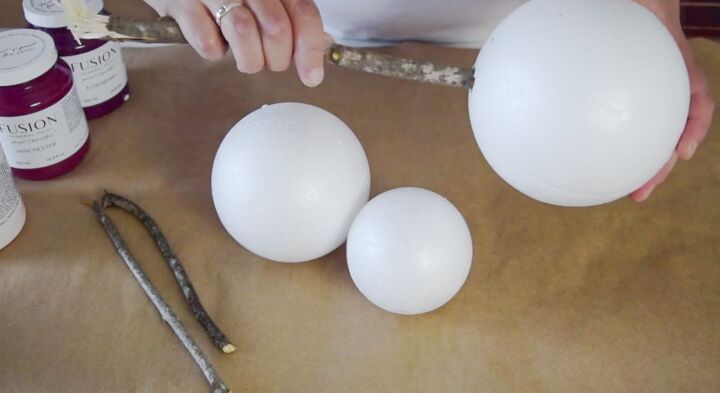
All you have to do with the sticks is push them right into the bottom of the ball. It's as easy as that.
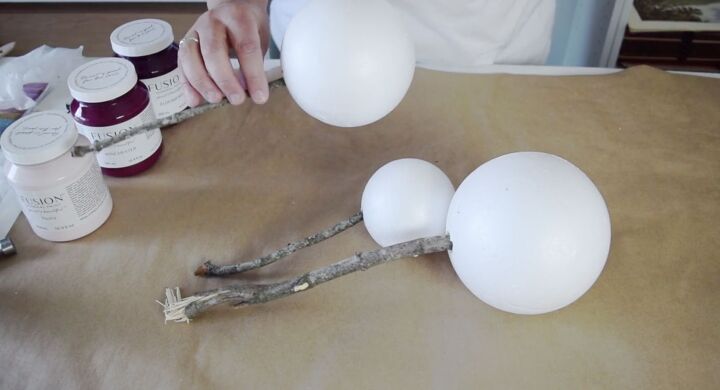
Now that I've got my styrofoam balls on the sticks, I want to go ahead and paint each of these balls. To paint each one, I used the stick as a way to hold it while I'm painting it.

Each ball will get a coat of paint. It doesn't have to be perfect because they will be covered with something after we've painted it. You want to go ahead and cover that styrofoam though because you don't want any white peeking through once we cover the balls.
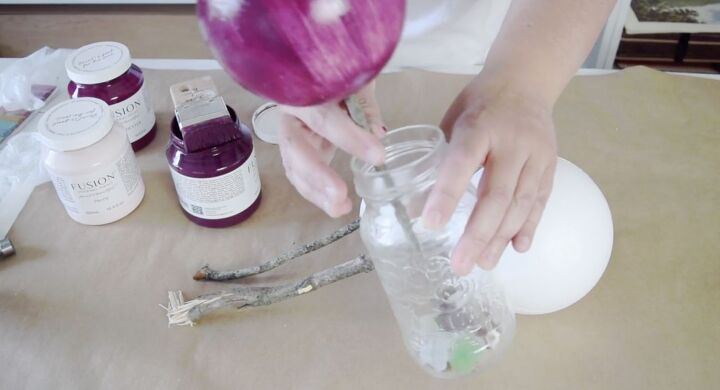
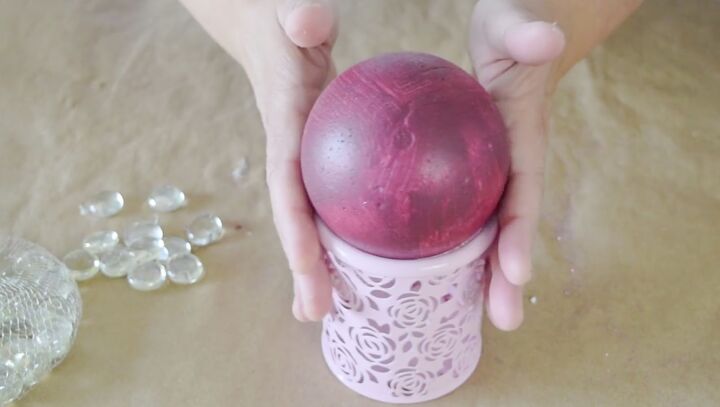
Once you've got your coat of paint on, you can go ahead and take a jar and just stand up your ball in the jar until it's dry.
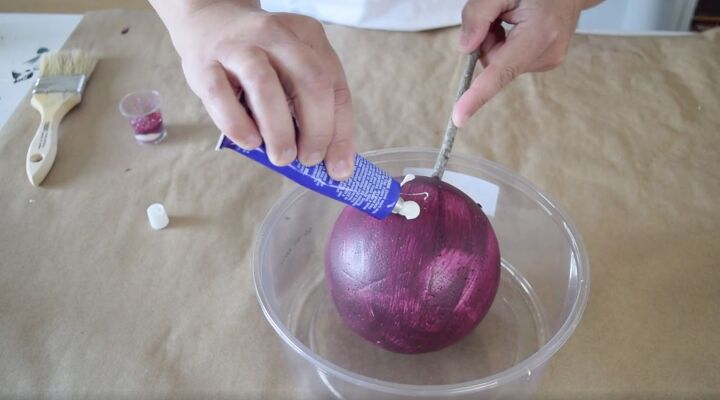
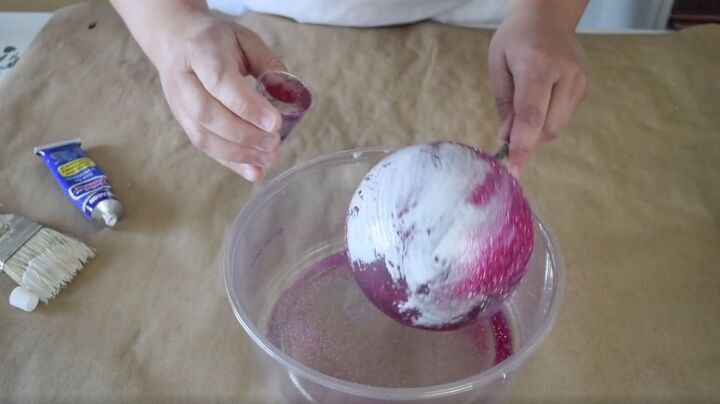
Now that the paint is all dry on the styrofoam balls, it's time to start adding some sparkle to our gazing balls for the garden. I started with the medium one and covered it in glue first.
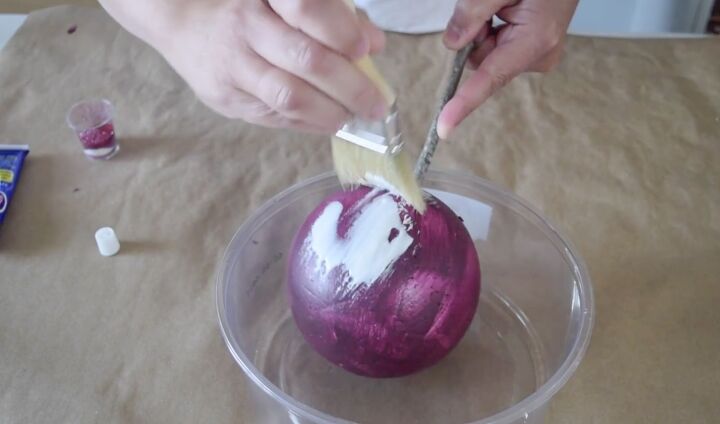
I'm using glue specifically for styrofoam because I want to make sure it doesn't disintegrate the styrofoam. You can use a brush to spead the glue all over. The glue dries clear so I don't have to worry about it changing the color.
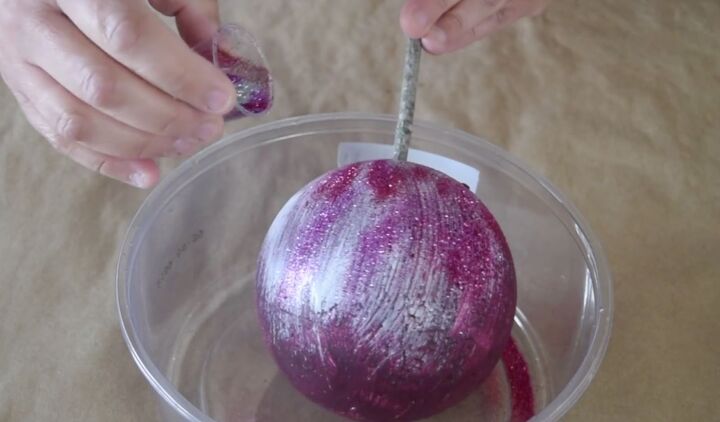
Once the ball is covered in glue, I will sprinkle on all different colors of glitter.
I've got nice berry colors and some silver mixed in and will be working my way around the ball with this glue and just keep sprinkling around my glitter.
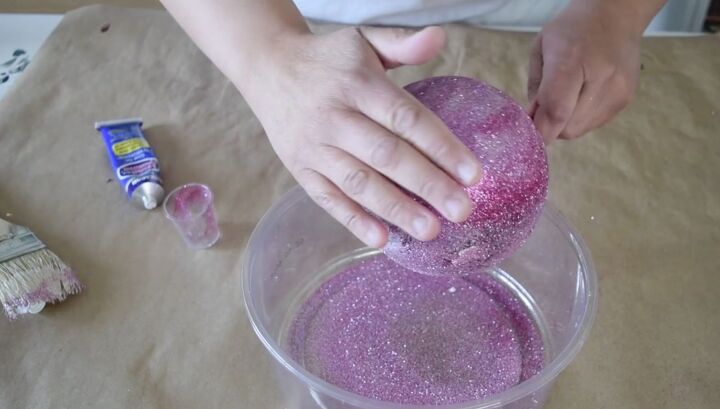
Once it is all covered, I lightly smooshed it in with my hand so that I know that the glitter is all nice and stuck to the styrofoam ball.
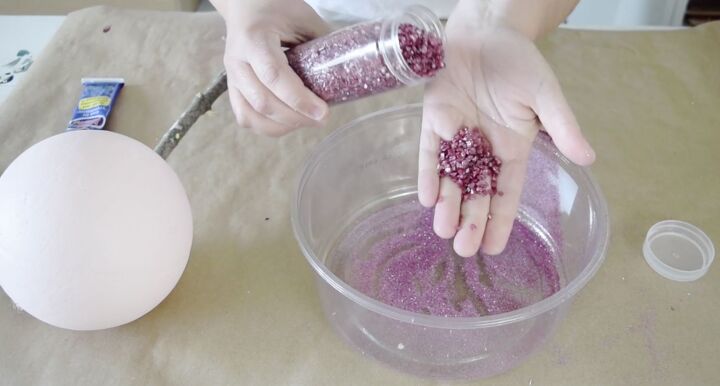
For my next gazing ball, I will use the same container with the sparkle in it and use some of this metallic glass gravel.
Dump it all into the bucket to start.

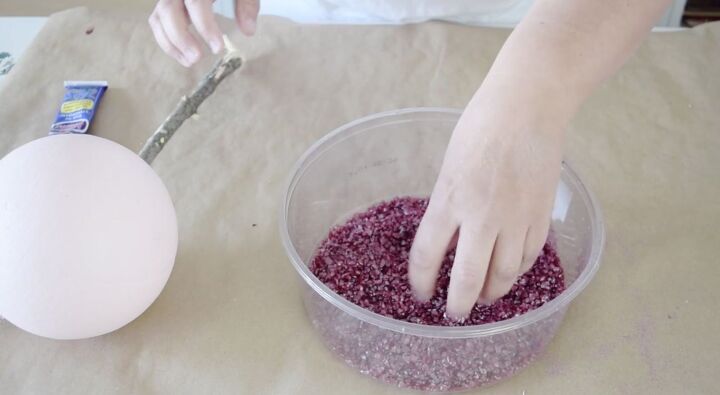
Next, do the same thing as the first ball and covered it all in glue.
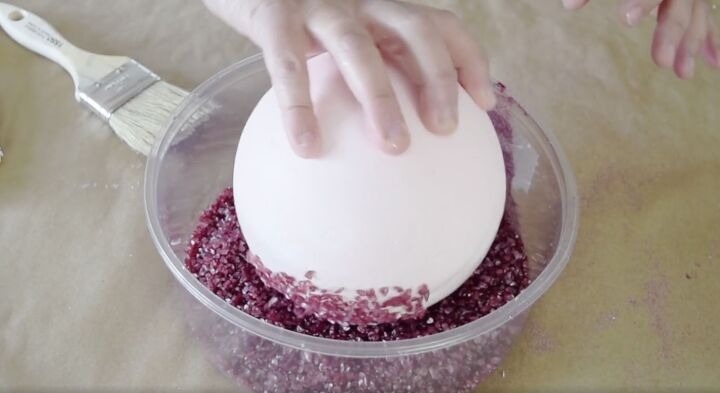
Once it’s all covered, take that glued side and just start rolling it in the gravel. You can see all of that beautiful gravel sticks to the glue becuase it’s nice and tacky.
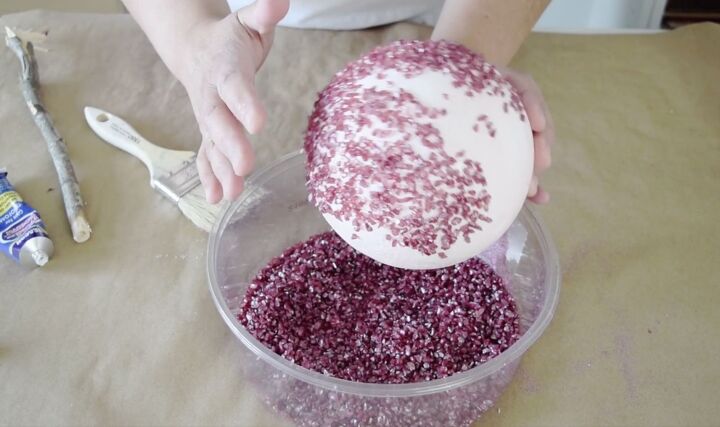
This is why I wanted to paint the balls first because the gravel is not going to be 100% on here so will see a little bit of that styrofoam.
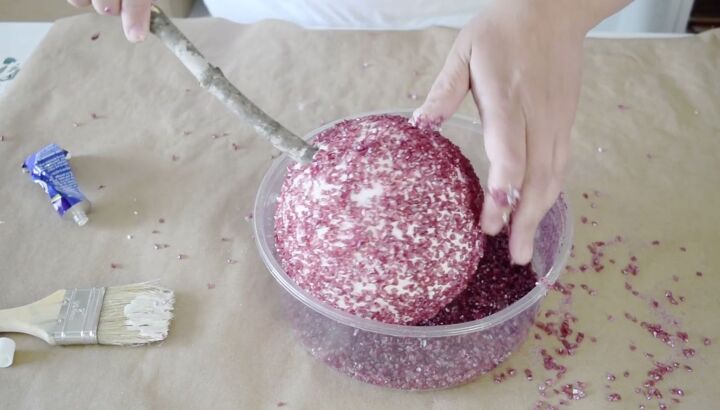
After everything is covered in gravel, the stick goes back into the ball and it can sit in a jar to dry.
For my final gazing ball, I've gone ahead and taken off the stick to the ball because I find it easiest to put it in a little container like this to keep it steady while I'm working on it.
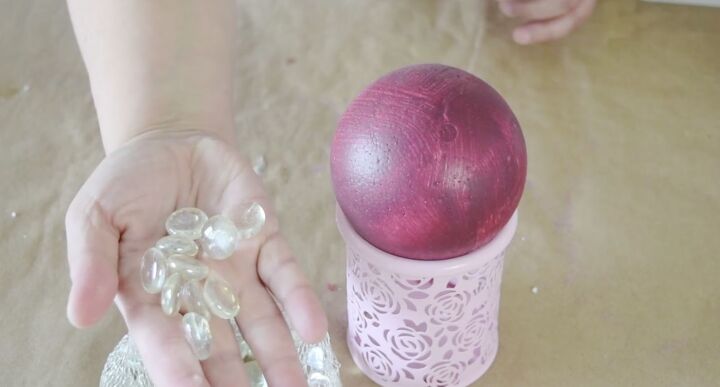
This ball will get covered with something else I found at the Dollar Store; these beautiful glass stones.
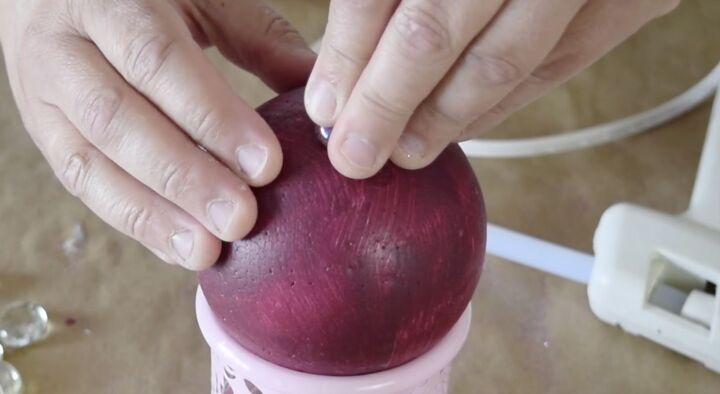
To attach these to the styrofoam use low temp hot glue this time. I will add a little glue to each stone and then stick it in place.
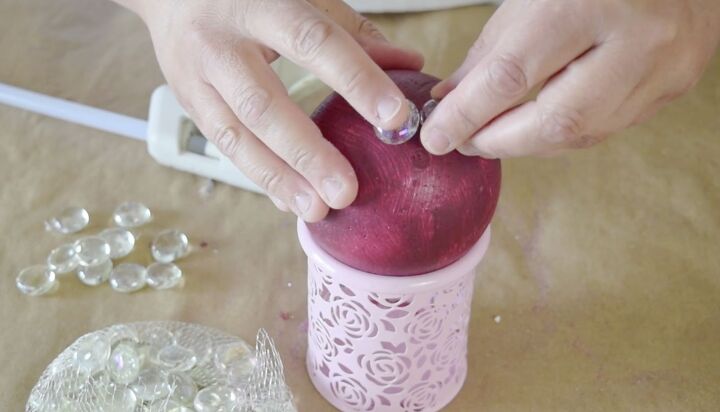
I want to cover and put these all over this gazing ball.
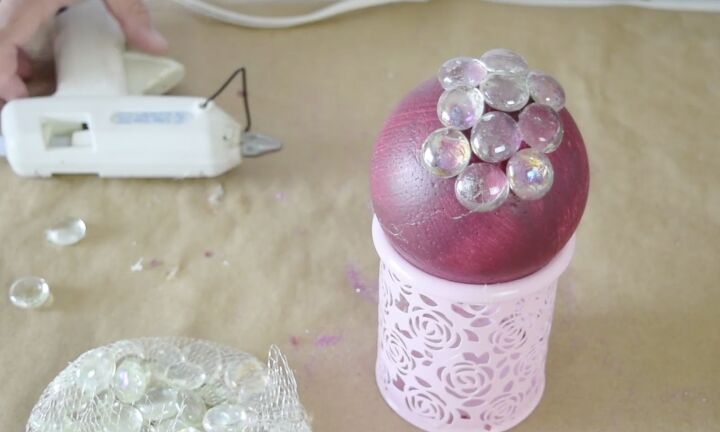
Keep working around until I've covered the entire ball with these beautiful glass stones. You'll have to shift it around a little bit as you're working on it, just because the glass beads can be heavy and may tip the ball.
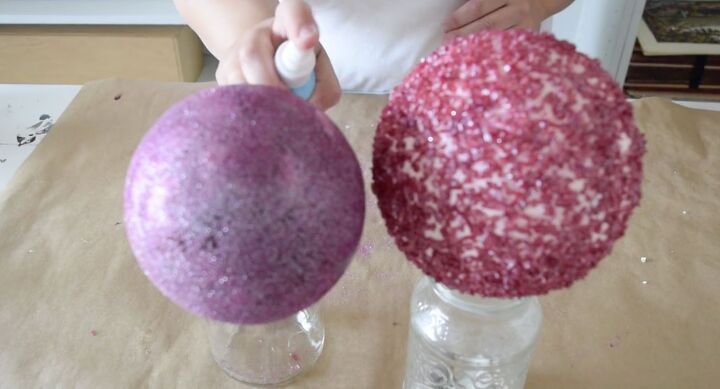
The final thing I want to do to my gazing balls before putting them outside is to give them a little spray with a clear top coat. This is a water-based top coat that I have in a spray bottle, and it's just a 50% flat top coat and 50% water. This is just going to protect these when they're out in the elements.
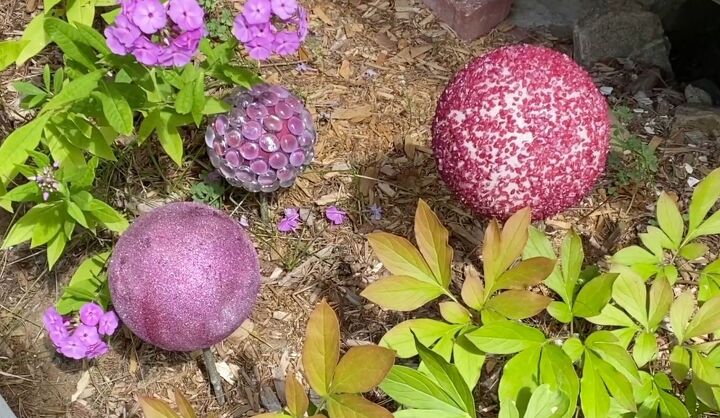
These garden gazing balls were so easy to make with just a few supplies from the Dollar store. They add such a beautiful touch to the garden and can be covered with just about anything sparkly and pretty.
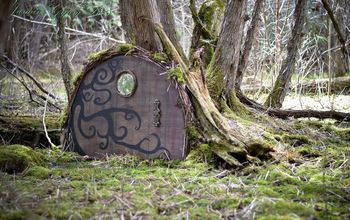
Make a fun Halloween garden sign using a piece of scrap wood and a spindle with easy step-by-step directions here...

Comments
Join the conversation
-
OOOH, PRETTY, PRETTY, PRETTY!!!
-
I've seen these done with old bowling balls.


Frequently asked questions
Have a question about this project?
Will the wind blow them away?
Won’t the sun melt the hot glue?
will rain wash everything off the strofoam