


Patio Ceiling "Disquise"

3 Materials
$175
2 Days
Easy
When we purchased our home in Florida, there was a lovely covered open air patio that ran about 2/3rds of the length of the house. The original portion was covered underneath using the waterproof panels you use in showers. The "addition" had only the raw wood 2 X 4's that were exposed.
I wanted to cover it up for both aesthetic and practical reasons. Here in Florida (and I imagine other places too) we have carpenter bees. I have never had experience with them, but basically, they bore perfectly round holes in wood, borough down and lay eggs. Not too much you can do except fill the holes with steel wool after you fill the holes with a special powder to kill them. They typically stay away from painted wood, so here's what I came up with.
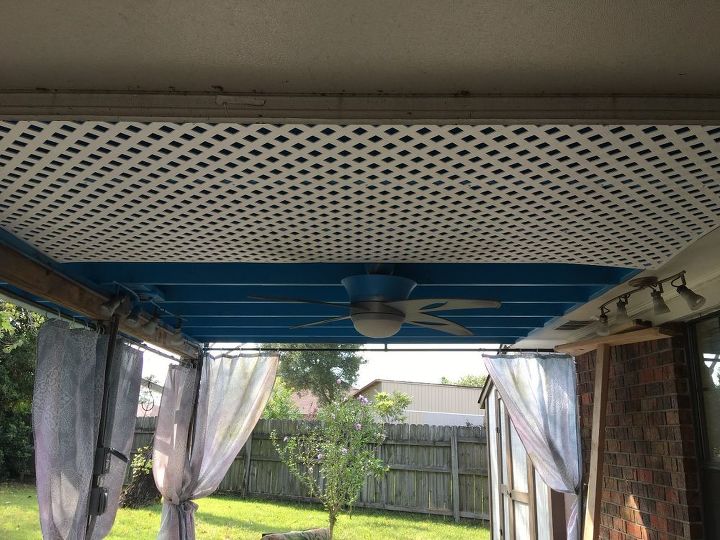
First I plugged the existing holes with steel wool covered by wood putty. Next, I painted the wooden 2 X 4's and the plywood roofing underlayment a beautiful Caribbean blue.
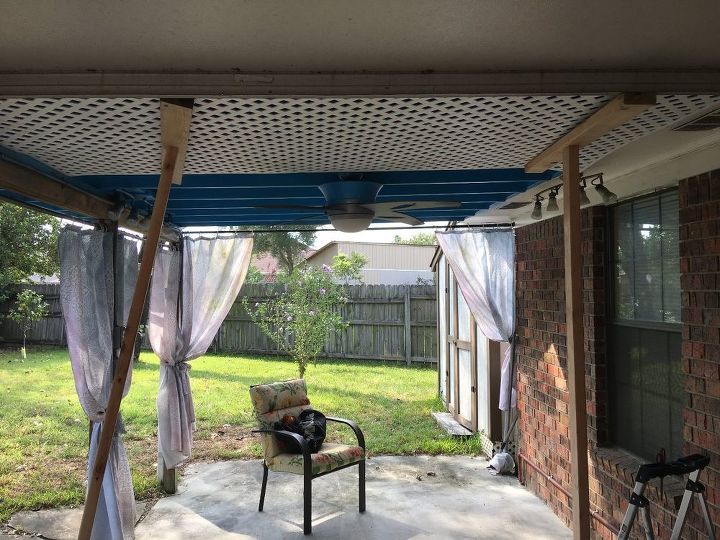
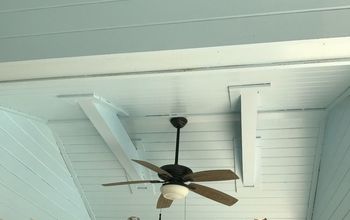
Finally, I screwed in white vinyl lattice panels, 3 fit perfectly! In order to hold them up, I built 2 "dead man's" out of 2 X 4's I already had. Just screw into a "T" shape. Then prop up both ends of the lattice, similarly to hanging dry wall and begin screwing into the supports. At first I pre drilled the holes, but quickly realized that I could screw in as quickly without doing that. I had to use my dremel to cut out a small section for the ceiling fan to fit through.
All said and done, I paid about $30 for the paint, and $95.00 for the three panels.
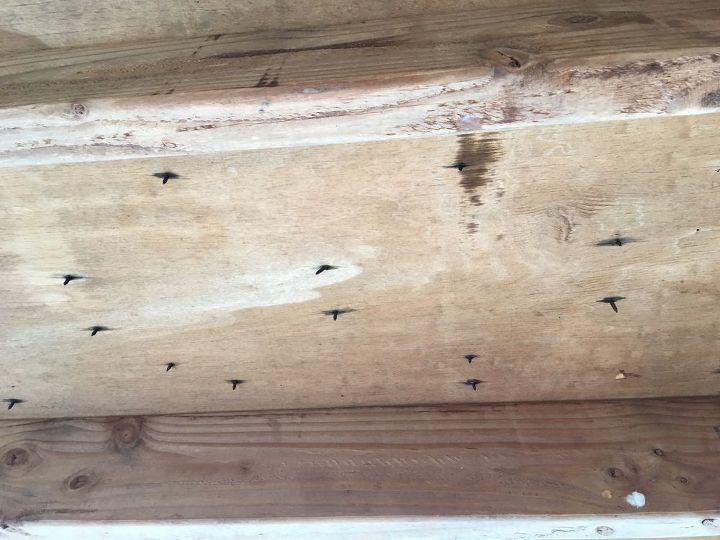
As you can see, this unfinished ceiling was not very appealing!
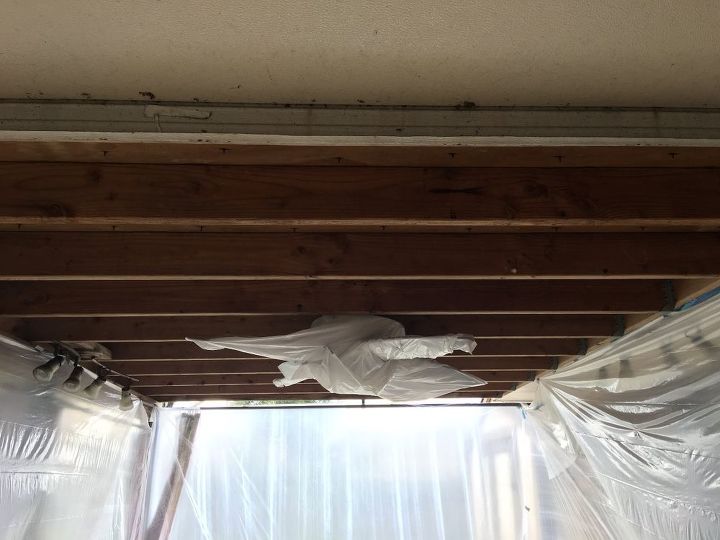
Here is the view after I taped up plastic sheeting to protect the house and fan from spray over while spray painting. (Spray guns save so much time!!!)
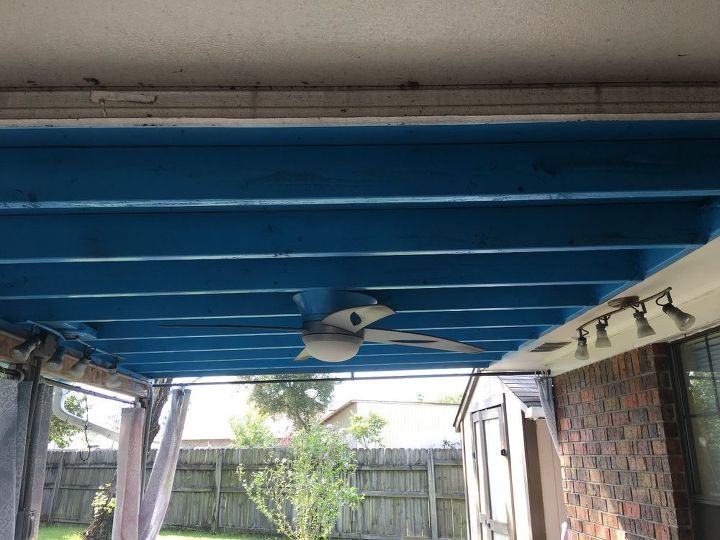
Here is the ceiling painted "Caribbean Blue" I wanted this as the back drop that could be seen through the Vinyl Lattice Panels. The Fan Has been rehung.
This is the view of the two "dead men" that propped up the panels while I screwed them in. This made it easy to do as I was working alone.
Here is the first panel up, quite pleased with the results!
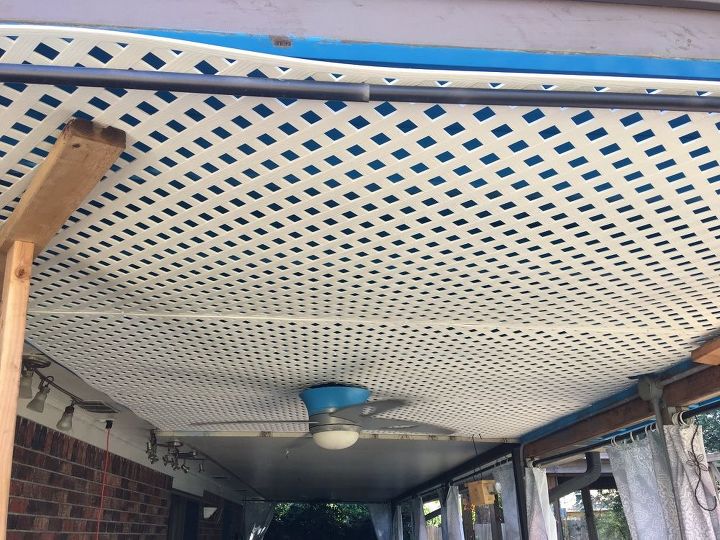
UP goes the Last panel, as you can see I used the panels that had boarders. This made screwing them in more stable than if I had used the non-bordered panels.
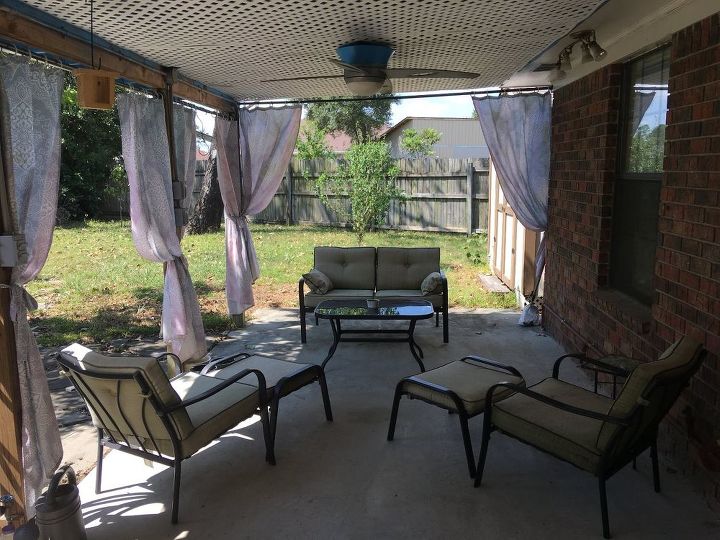
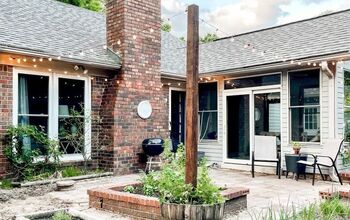
Here is the final finished patio. Curtains rehung, and ready for lounging!
Resources for this project:

Glidden Outdoor Paint

Vinyl Lattice Bordered Panels 3 - 4 X 8 each
Any price and availability information displayed on [relevant Amazon Site(s), as applicable] at the time of purchase will apply to the purchase of this product.
Hometalk may collect a small share of sales from the links on this page.More info
Comments
Join the conversation
2 of 18 comments
-
Makes such a dierrence and you now have a nice view when looking up. Instead of just staring at the before ugly ceiling with nails sticking out over you. Good job.
-
I would be afraid of having problems with birds making a nest up there or Wasp. I live in Oklahoma and we have a lot of Wasp


Frequently asked questions
Have a question about this project?
Carol Great job! I always wanted to do this and do an artificial grapevine and small white lights to mine. If you don't mind me asking how did you prevent the overspray on the upper deck board or is there no gap where the paint can sneak through?
We love the vinyl lattice but when we had used it there was an issue with sagging and I'm wondering how it's holding up for you.
Hi I love the idea of a lattice ceiling. Could you tell me where I can buy this please? Oh I also love the blue