Stencil DIYs With the Haute and Trending Otomi Patterns

Royal Design Studio
by Royal Design Studio
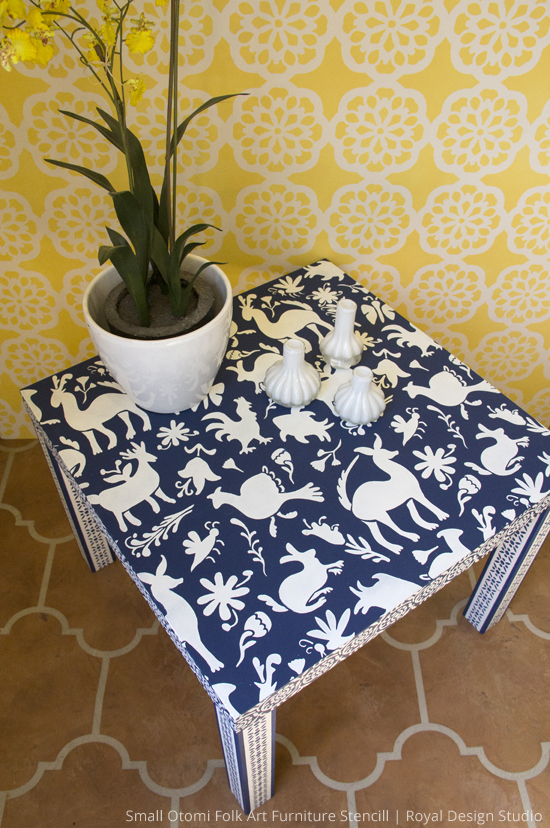
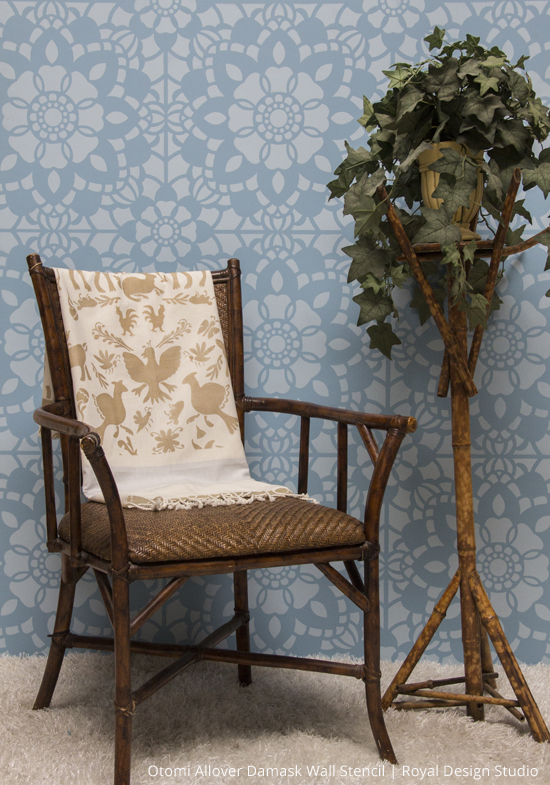
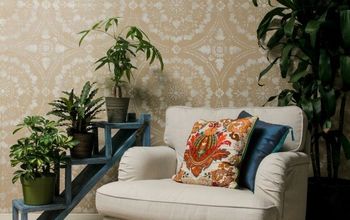
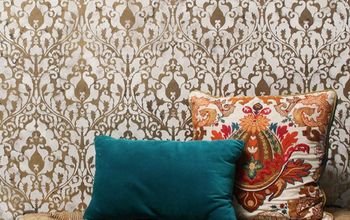
Today was a fun pattern-filled day! We used our brand new Otomi Allover Damask Stencil to liven up one of our favorite Ikea products. This pattern was inspired by the vibrant and whimsical textile designs of the Otomi Indians of Mexico. Who knew that a simple DIY would let you create something exotic out of a mere $8 table! We also thought the Otomi pattern on fabric would make a fabulous looking table runner. That puts a couple hundred dollars back in your wallet! Let us know how you would use the Otomi design to add colorful pattern in your home tables, fabric, walls the possibilities are endless!
Buy the Otomi Folk Art Furniture Stencil http://www.royaldesignstudio.com/products/small-otomi-folk-art-furniture-stencil
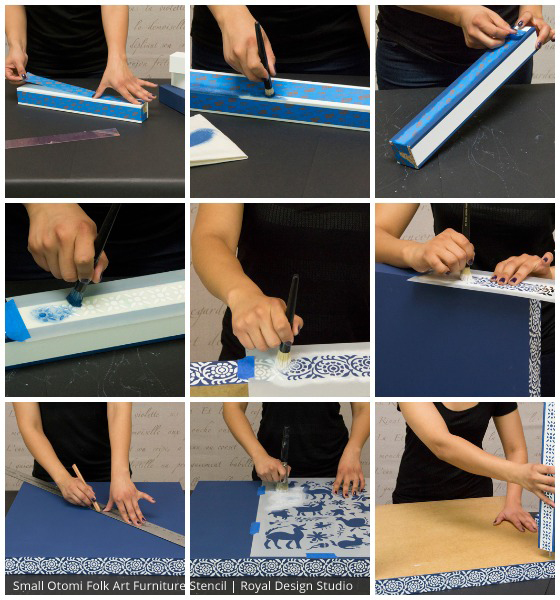
Step 1: Start with painting the four legs of the Ikea hack with pure white chalk paint using a foam roller. Also, paint the table top with Napoleonic Blue chalk paint.


Step 2: Place a 1 " inch painters tape centered on all four vertical surfaces of the table's legs. Now, using a stencil brush, paint the edges of the legs with Napoleonic Blue chalk paint to create a border on all four sides.


Step 3: Once the paint is dry, remove the tape and stencil the pure white chalk painted area of the legs with stencil 'C' of the Sari Border Stencil Collection. Repeat this for all four sides of all the legs.


Step 4: Similarly, use stencil 'A' from the Sari Border Stencil Collection to stencil the edges of the blue table top with the Pure White Chalk paint.


Step 5: Define the center of the table by finding the intersection point of the two diagonal lines of the table top (this will help center the stencil pattern). And finally, use the Pure White chalk paint to stencil the table top with the beautiful Otomi Furniture Stencil!


Ta-da! Easy breezy and gorgeous both at the same time, isn't it?!
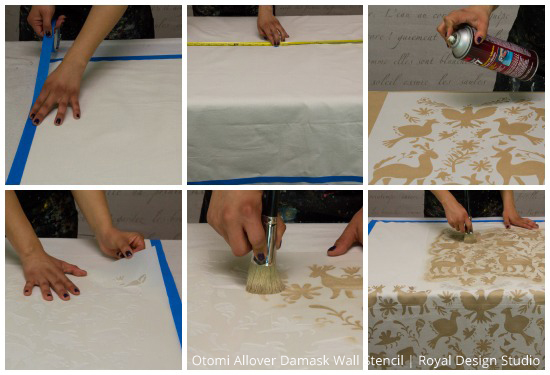
Step 1: Tape around the edges of the table runner to give it a defined border and find its center in order to properly center the stencil pattern.


Step 2: To secure the stencil on the fabric and to avoid any potential bleeds, use spray adhesive and place the stencil on the fabric. Now, using a large stencil brush stencil with the Champagne stencil crme we made earlier.


Step 3: Repeat step 2 for the entire length of the fabric that you are using and once the stencil crme's have dried off, remove the tape. That's it. Super easy.
Visit our blog for more inspiring stencil pattern ideas and full How-to:
Frequently asked questions
Have a question about this project?
Comments
Join the conversation
Next