


Pantry Door Glow Up


Hometalk Recommends!
This pantry door project was supposed to be a quick 1 day project. But turned into a quick 2 day project with a little hiccup with my paintable wallpaper. I'm getting ahead of myself here though...
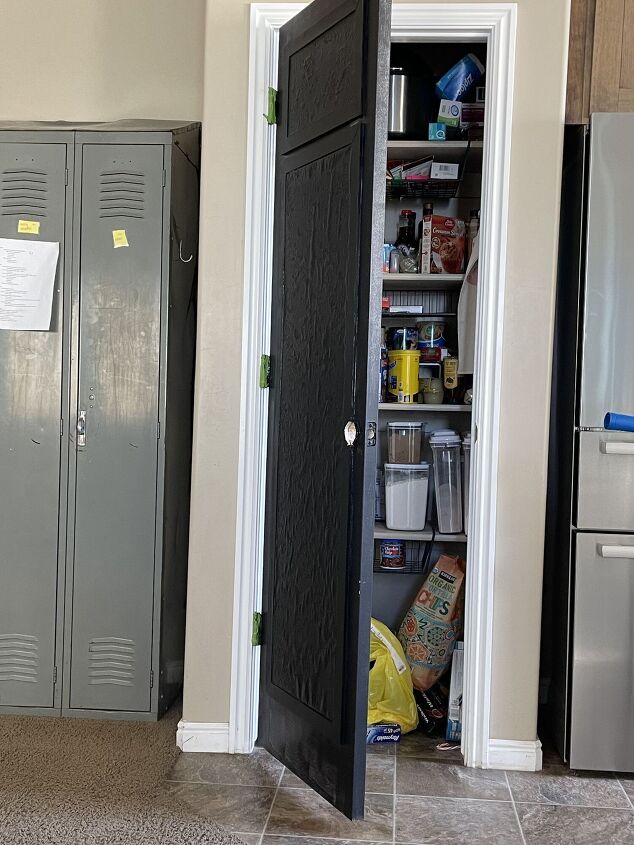
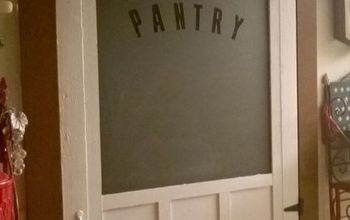
I love the look of black doors in a home. I wasn't sure it it would look ok in my home though. So I decided to try it out on this pantry door. Since I knew we would be replacing it at some point in the future when we extend this tiny pantry. If it turned out that I didn't like the look, I figured it would just motivate me to get the extension project underway sooner than planned.
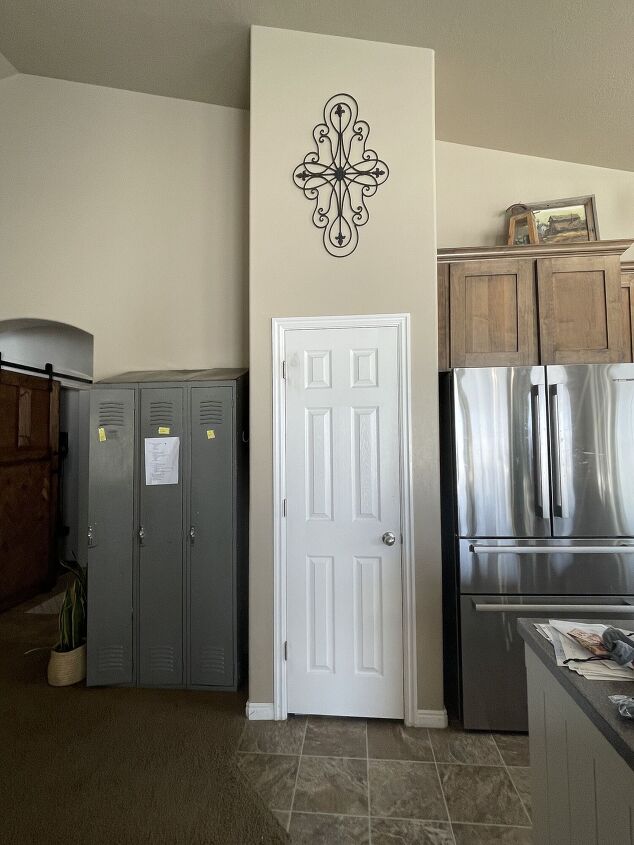
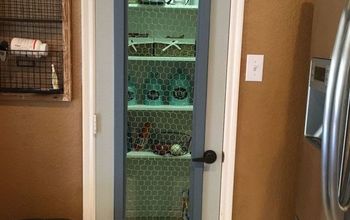
I started out with just a basic builder grade white door. You can see the lovely patch in the top left side of the door. This patch has been there for 11 years thanks to an adorable little (at the time) 2 year old boy that punched a hole in the door with the doorstop RIGHT after we moved into our bran new home. The wrought iron piece came with us from our old house and desperately needed swapped out for something a little more current.
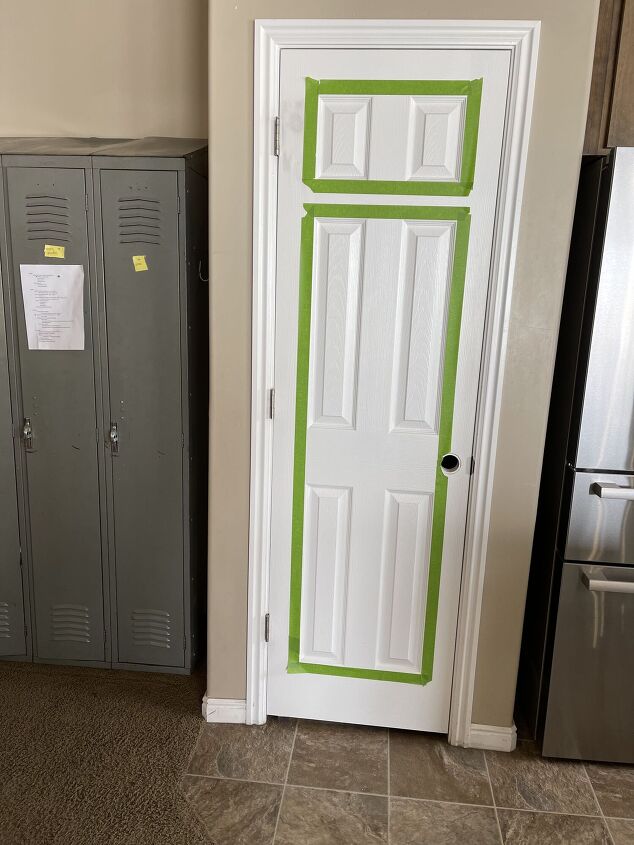
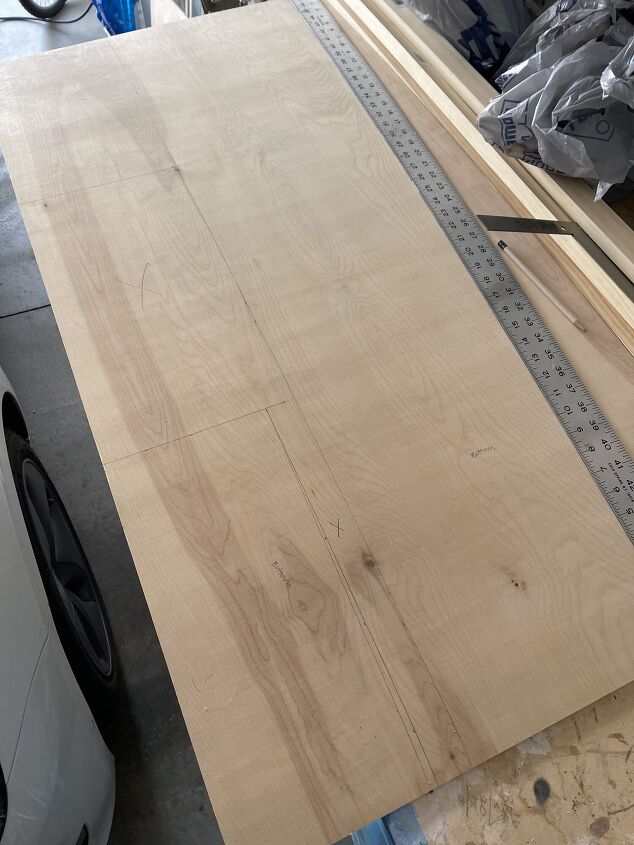
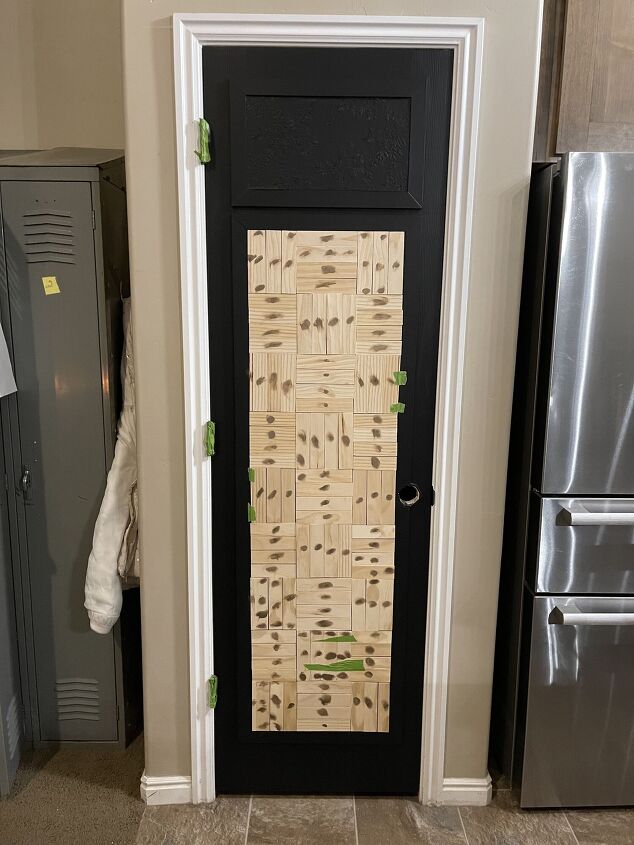
I started the project off by washing down my door, then taping out different designs to see what I liked. Ultimately landed on this simple design of a smaller rectangle on top of a larger longer (vertical) rectangle. I got to work cutting 1/4 in plywood to fit the space inside the tape line. I wanted to add a little texture to the plywood so I opted to use some paintable wallpaper. This is where I went wrong. I applied some wood glue to the front of the plywood pieces, attempting to smooth it all over the wood before applying the wallpaper. I didn't do a very good job of this an ended up with so many bubbles! I didn't realize how bad it was so I just kept going.
I glued my plywood on to the door with wood glue as well as used some brad nails to hold it in place while the glued dried. This door is a hollow door so I knew the nails alone wouldn't be enough. Then I moved onto framing out the plywood by using 1x's. I ripped them down on my table saw to be about 1/2 in thick. I didn't want them sticking too far out from the door.
After trimming everything out It was time to wood fill, caulk and paint. As soon as I got the paint (Tricorn Black by Sherwin Williams) on the bottom section of wallpaper I saw my mistake and all the bubbles. It was BAD! I was frustrated and I know myself well enough to know that I don't make good choices when I'm frustrated. It was time to walk away for the day.
The next day I had come up with a solution. I would attach wooden pieces over the wallpaper that was bubbled up. I got to work ripping down more 1x's to the correct depth and then into small 4" strips. I began laying out my pattern. Gluing and nailing the pieces to the door. There were a few pieces that I had to use tape on to keep them in place until they dried. Then it was back to wood filling all at the holes, sanding and painting again.
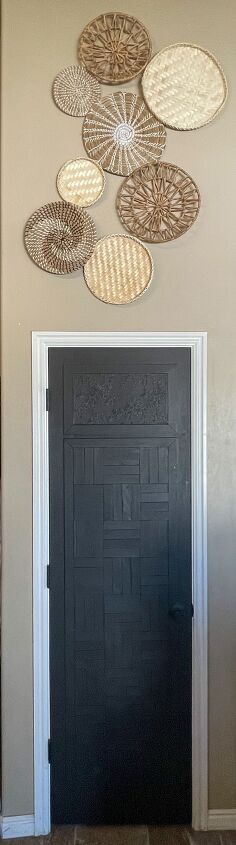
Once everything was dry I attached the new black hinges and knob. I was originally going to keep the silver hinges (which is why they are tapped off in the photos.) But when I saw them against the black of the door and knob, I knew I needed to swap them out too. The final step was getting my basket wall up. I used this, this and this set of baskets to get the look I wanted.
0 views0 commentsPost not marked as liked
Resources for this project:
See all materials


Comments
Join the conversation
-
Yes, we’ve purchased a 1950 Dance/Bingo/Everything else-Knight's of Columbus Hall and an Oil Business extra parts bone yard. We won’t live in it, but it wouldn’t hurt to jazz it up a bit as a storage place for hubby’s car and motorcycle projects that have taken over our 3 car garage, an acre and his 2100’ older workshop he grew out of. Now, just what to do with all the extra old and stained potties🤣🤣
-
I love the black door and had plans to paint mine white but am not going with black.


Frequently asked questions
Have a question about this project?