


An Old Table Without Legs Gets Transformed Into A Summer Drink Station
11 Materials
$35.00
3 Days
Medium
I bought this $5 table a while back at a thrift store just for the legs. The tapered legs were just what I was looking for at the time. Since then this table top has been in the garage waiting for its makeover!
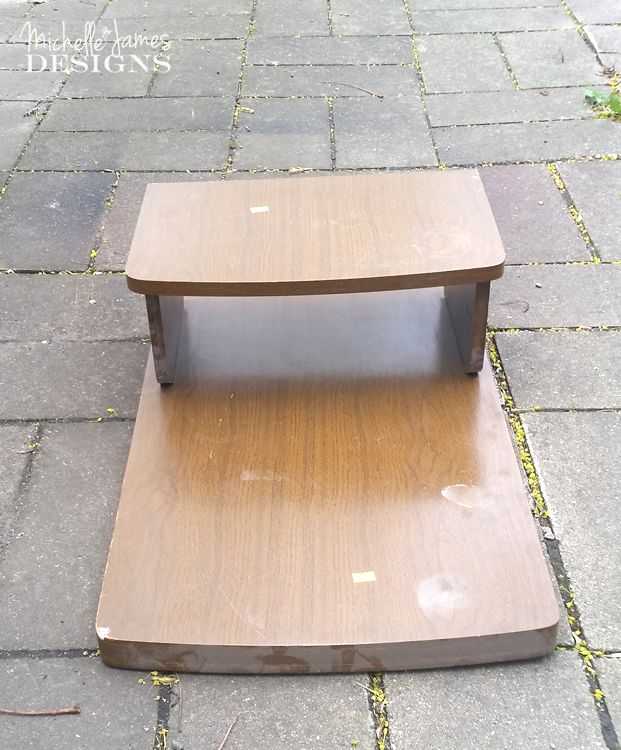
I have to admit that Jeff helped me a lot on this one. It needed, a handle, wheels, a back, some little feet and some small scraps of wood to hold in the ice caddy that I made. We had most of these things already so did not need to spend on everything.
Here are some of the pics of these stages! You can see the full story on the blog. It is a long post!
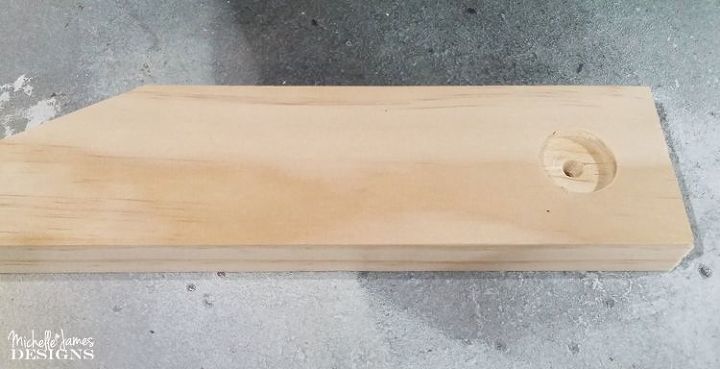
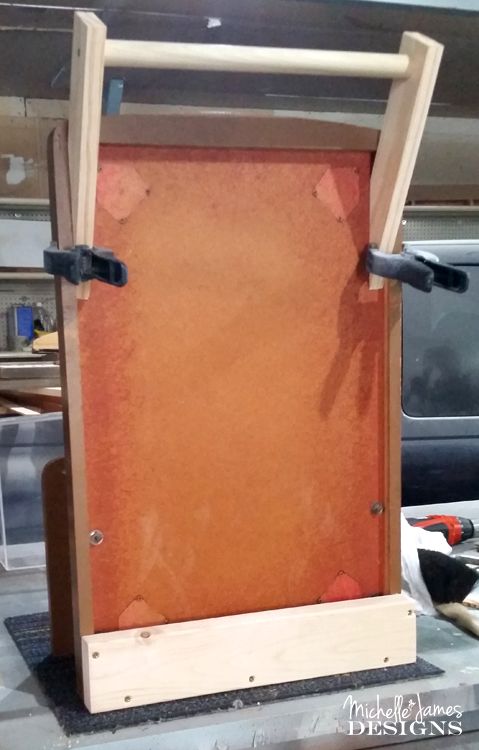
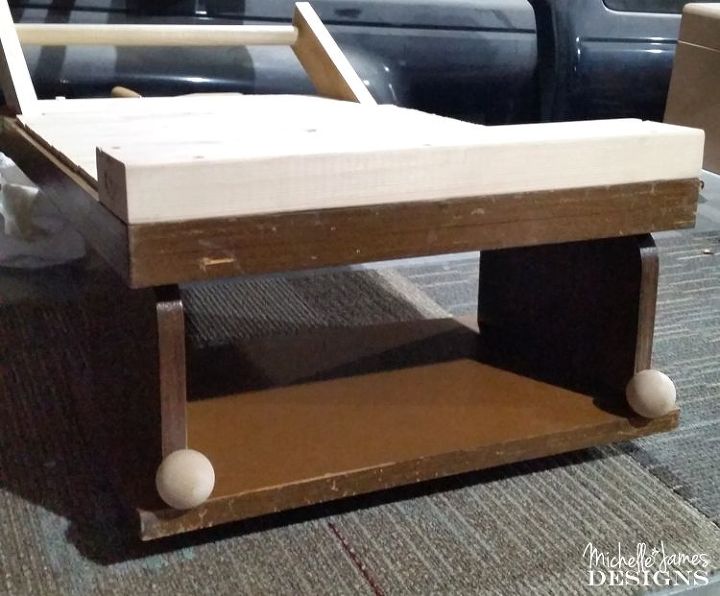
Two of these were made for the dowel handle and to attache to the back of the "cart".
We also added a 2x4 along the width of the back at the bottom so the wheels could be attached to something stronger than the sides of the table top.
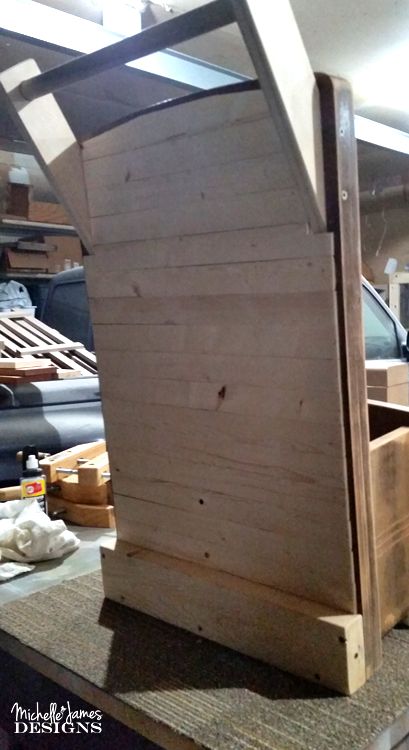
Jeff added lath pieces all the up the back to hide what was the bottom of the table.
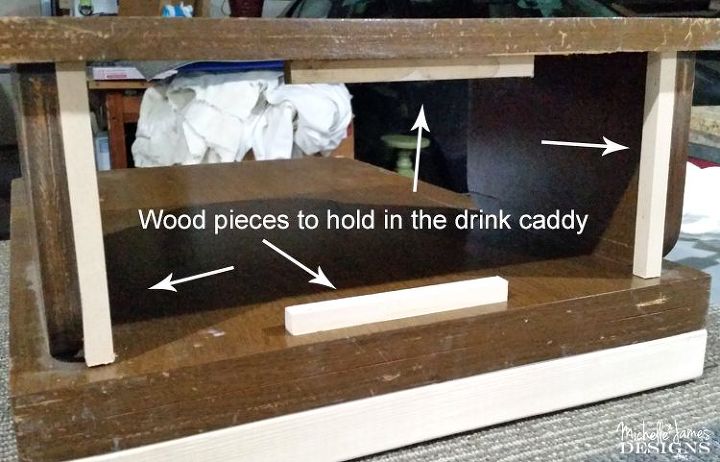
Then he added little wooden knobs for feet and small pieces of square basswood to help hold in the basket for the ice.
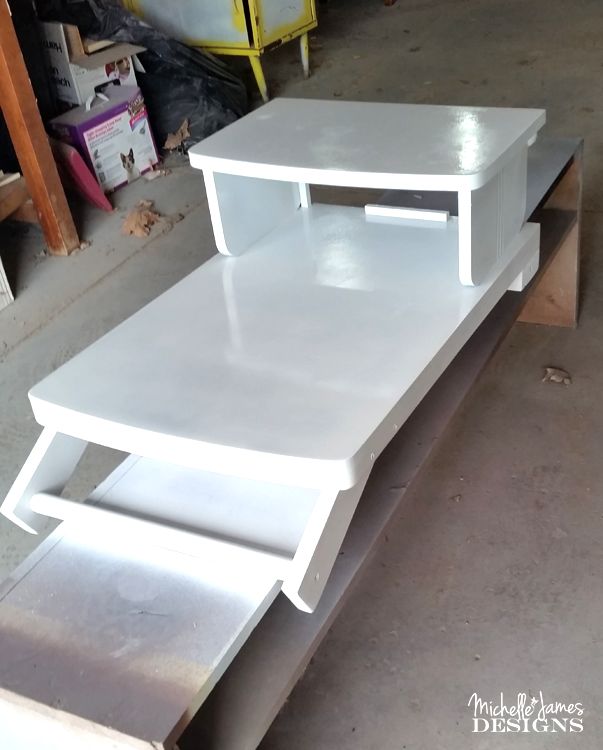
After he finished with all of the modifications I sanded and sanded and sanded...then sanded some more.
It was ready for primer then the pretty Rustoleum Chalked Serentity Blue paint Below is a pic of the white primer stage.
When I had the actual, pretty blue/teal paint on it I used this amazing product from Rustoleum called (affiliate link) NeverWet. Have you seen this stuff? It is amazing. You apply a coat of step one and and a coat of step two waiting about 30 minutes in between. After the 2nd step is dry the piece is water repellant. This means the drinks can spill and the ice can melt and the water will bead up and roll off.
It can be reapplied later if the water starts to not bead up anymore too. So cool!
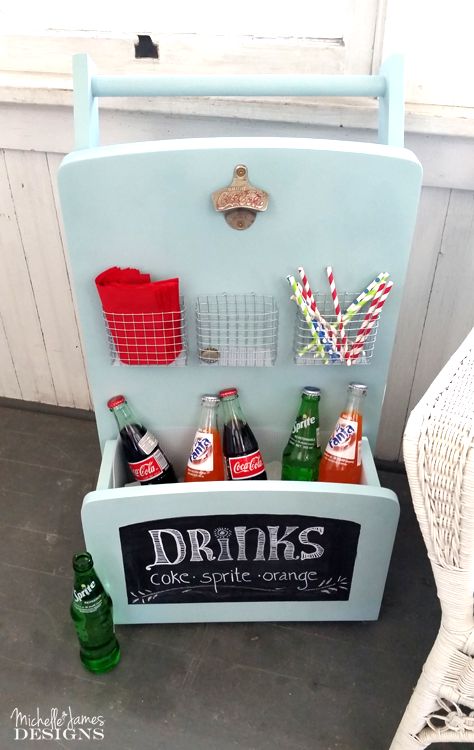
I also added some chalkboard paint to the front.
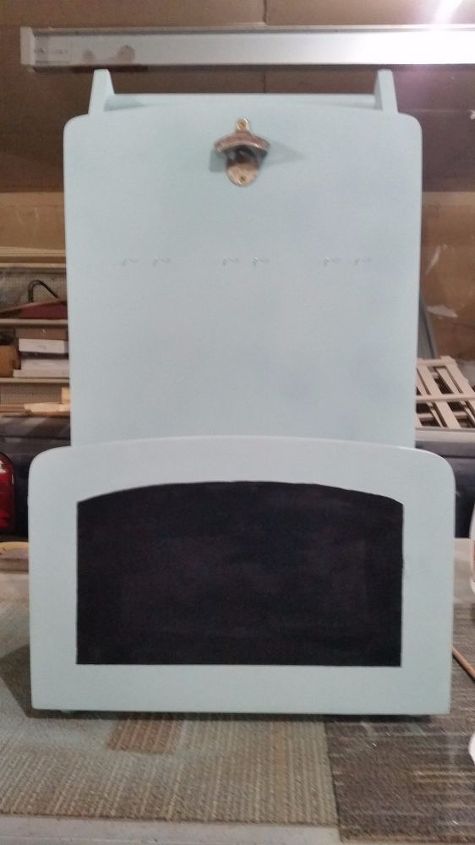
A bottle opener and some wire baskets that I made were added to the front too. The middle basket will catch the bottle caps and the outer two baskets can be used for napkins, straws or whatever you want.
The wire baskets are hanging from small eyelets. He used wire cutters to clip them so they would become more a cup holder. I could only find the cup holders in brass and I wanted silver.
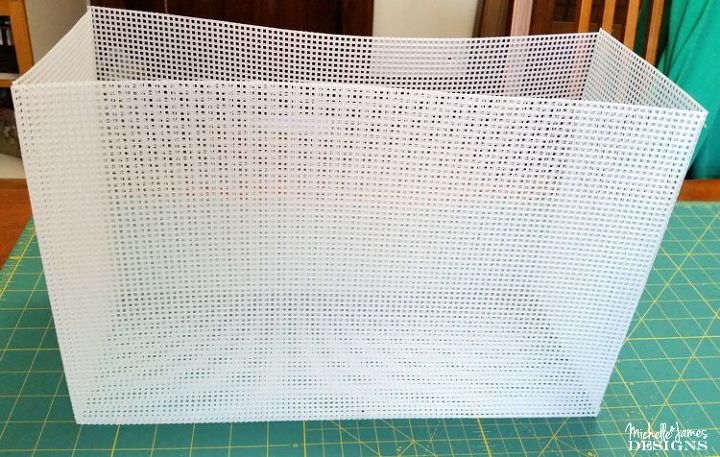
We added the wheels back on and I made a holder for the ice from plastic canvas. This is the stuff used for needle work I think. We got it at Hobby Lobby.
We put it all together and got the most fun portable drink station ever!


What do you think? If you like this you will probably like more of my projects. You can sign up for my email/newsletter and receive a free printable too!

Want more details about this and other DIY projects? Check out my blog post!
Comments
Join the conversation
4 of 12 comments
-
Terrific upgrade!
-
I love this!! I seriously looked hard at an old two-tiered end table at the thrift store today after seeing this awesome project


Frequently asked questions
Have a question about this project?