


Hanging Curtain Rods for an Average Window (no Complications)

by
A
1 Material
$30
30 Minutes
Easy
First, let me say that this is one of a long list of things that I am doing to makeover my guest room. If all goes well, February is going to be a very busy month for me – I am vowing to become a Weekend Warrior until this room is complete! Anyway, in this room is an average window. Nothing special, no quirks; just average. It is in my Master Plan to make drapes for this window (future post), but I also wanted to use the sheers that I have left over from my move last year. I found this great curtain rod on Amazon.com and so today I set about to hang it. Keep in mind that this is a general tutorial and no two curtain rods are alike. Please, always consult the instructions that come with your rods before going about the business of hanging them. That said, there are some general things that apply across the board and that is what this tutorial covers.
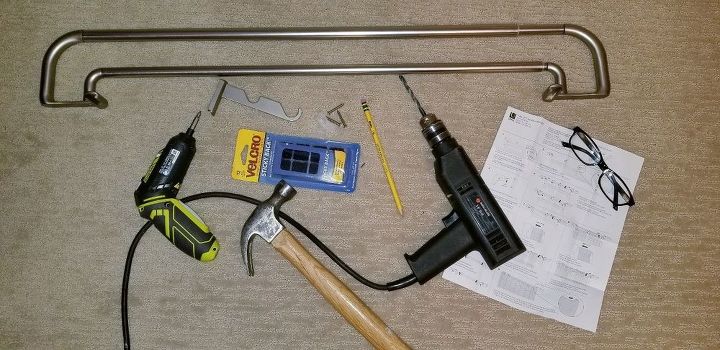
Before beginning your project, get all of your supplies together. In most cases, you will need a drill, hammer, pencil, screw gun or screwdriver (or both!), a measuring tape / ruler, rods, hardware that comes with the rods, and the instructions. You might be wondering what the Velcro in the photo is for…I used the package to measure and equal distance from the top of the window molding (you’ll see in the next step). Another tool to consider (but I was too lazy to use) is a level.

You want to be sure that when you mark out the location for your hardware, it is level on the wall. If you’re like me (and your window appears fairly level), you’ll skip the level and find something that will space your markings equally from the top of the molding. In this instance, a Velcro package. Using a pencil and the hanging hardware as a sort of stencil, mark the holes where you will need to drill.
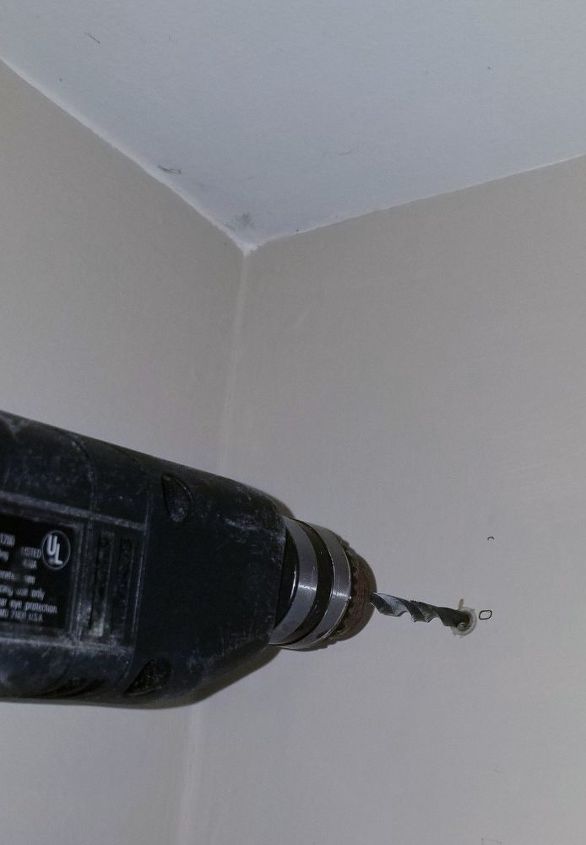
The instructions will tell you what size drill bit to use – ¼” is common when using plastic wall anchors. Drill the holes as you have marked them on the wall. NOTE: Line yourself directly in front of the drill, and at least at eye level so that your hole will be straight. This is important if you want your screws to go in all the way, nice and tight.
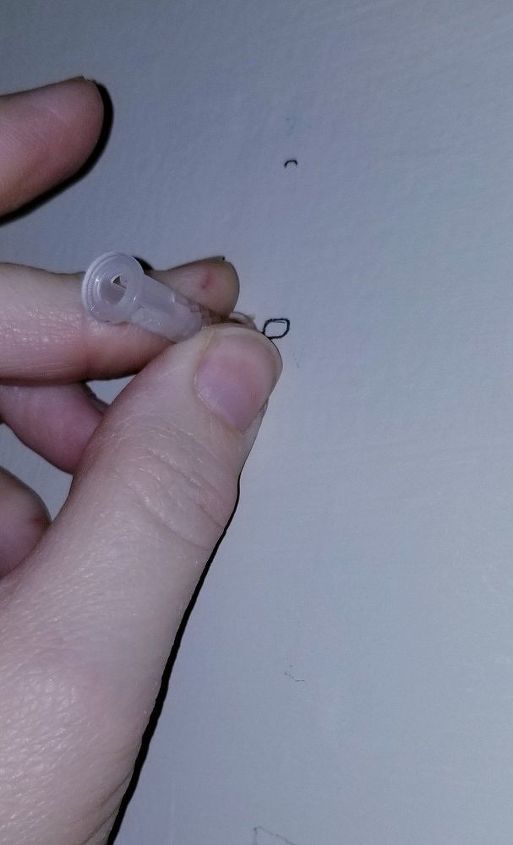
Tap in the plastic wall anchors that come in your hardware packet with a hammer, or the heel of a shoe (as I have used in the past).
Using a screwdriver or screw gun, screw the hardware in place, making sure it is straight. If your wall anchor isn’t in perfectly straight, you may have to finish the job with a screwdriver to get the screw all the way in.

Using a screwdriver or screw gun, screw the hardware in place, making sure it is straight. If your wall anchor isn’t in perfectly straight, you may have to finish the job with a screwdriver to get the screw all the way in.
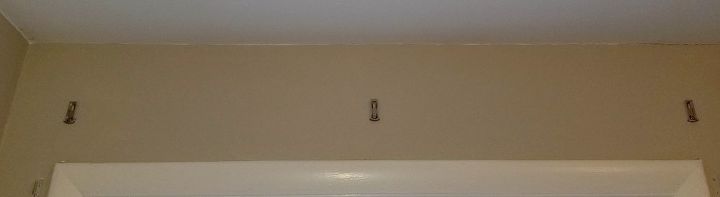
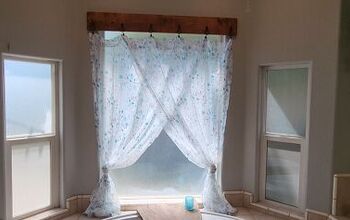
You'll notice a hanger in the center. Although my window isn't large, this will allow me to hang a considerable amount of fabric (if I decide to) without ever having to worry about sagging. It also helps to keep the rod from pulling away from the wall on the ends.
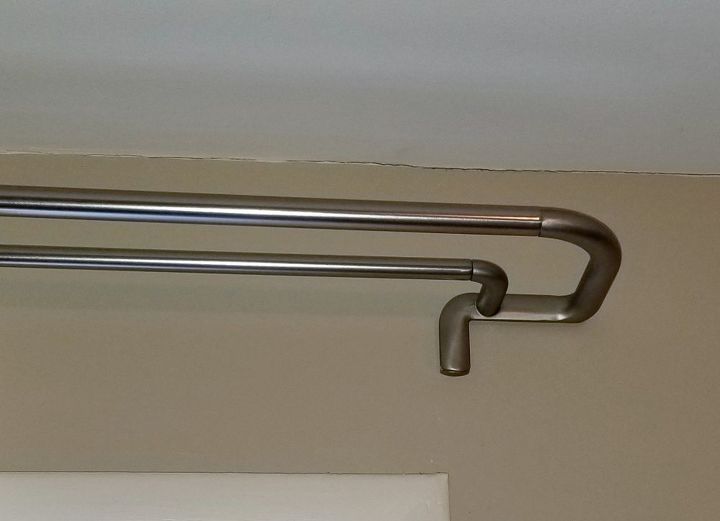
As I said in the beginning, I found this really neat double rod on Amazon. It is a perfect design. It is called Twilight Double Rod Set by Umbra. I bought it because I wanted an attractive rod with a return and this fit the bill. At this point, you will hang your rods (according to the directions) to be sure everything is in place as it should be.
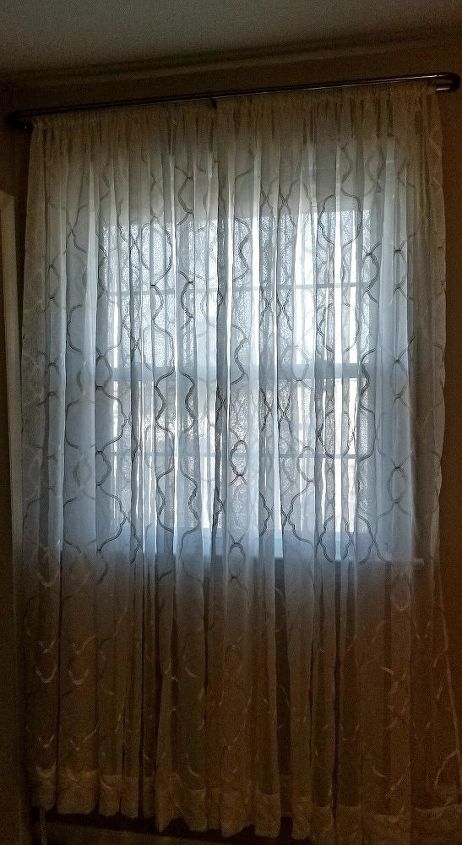
I used to sell custom draperies and if you have ever been around them, you know the difference immediately. I can’t afford custom, so I either make them myself or work with store bought (inexpensive). With sheers, the trick to getting that custom look is to double up on the fabric. When you would normally use two panels, use four. That is what I did here and it made a world of difference in appearance.
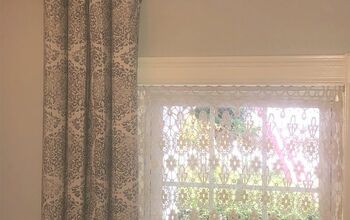
That’s it for this tutorial, but here’s a teaser…
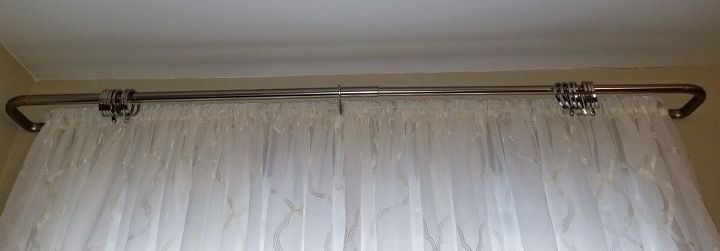
Notice the rings that I’ve added to the outer rod? As soon as my fabric arrives, I’ll be making the panels to attach to those rings. See you then!
Comments
Join the conversation
3 of 6 comments
-
I love that double rod!!
-
Very eye appealing
Great smart. Idea
thank you


Frequently asked questions
Have a question about this project?
I have never seen this style of rod before.
Thanks for sharing your project.
Did you thread the sheer panels on to the rod before the rod was mounted on the wall, or does the rod unhook somehow to allow for this (and removal of the sheers for washing) after it is mounted on the wall?
What a great rod! When will you be posting the tutorial for the drapes. I look forward to it.