


Easy Rustic Farmhouse DIY Slide-In Picture Ledge
Do you have a space on your walls that just needs a little oomph? This is the perfect solution! We built a sliding picture ledge to display some of our favorite family photos and we even squeezed in a space for a calendar.
Check out our video tutorial to create your picture ledges! With small adjustments, you could customize this project to fit frames of a different size (we used 16X20s). Get the building plans on Remodelaholic.com.
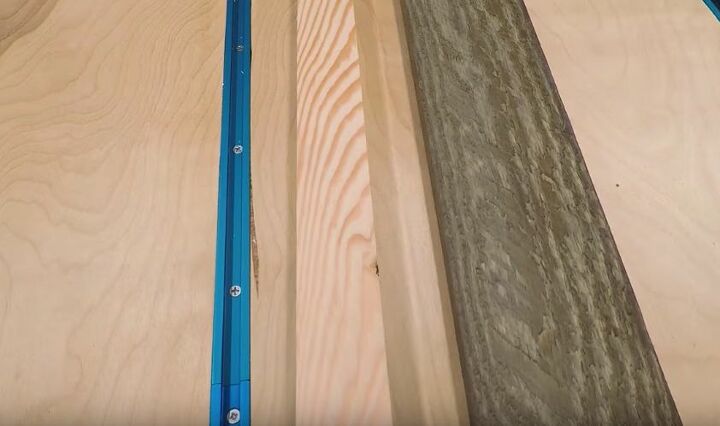
Head over to the lumber store and choose your boards. You will need 2x2s and a 1x4s. Cut them to length according to the building plans. Then, sand the rough edges.
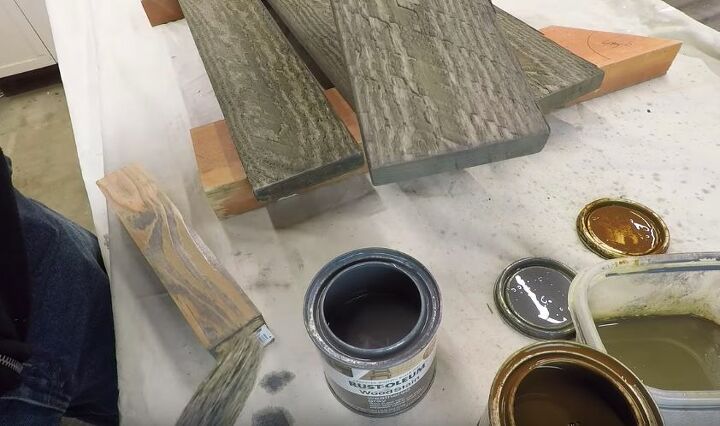
You may choose to leave your lumber natural, but we mixed stain to cover the ends of the cut boards.

Mark the locations on your wall where your ledges will go. Be sure to find the studs.
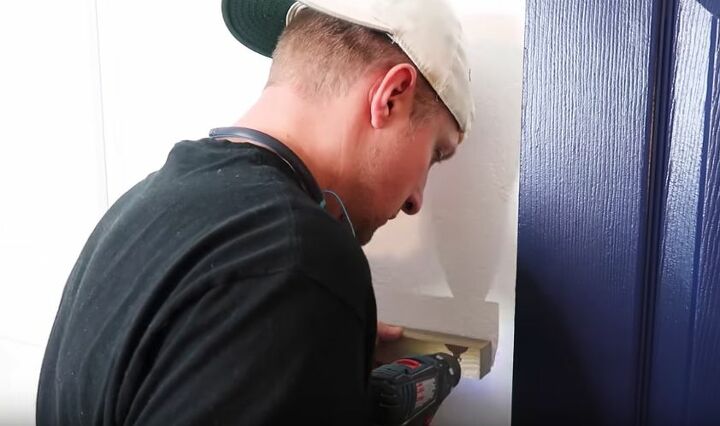
It's helpful to pre-drill the holes for your wood screws (the video shows how to do this step). Attach the base pieces to the wall and then nail on the outer ledges. It's that simple!
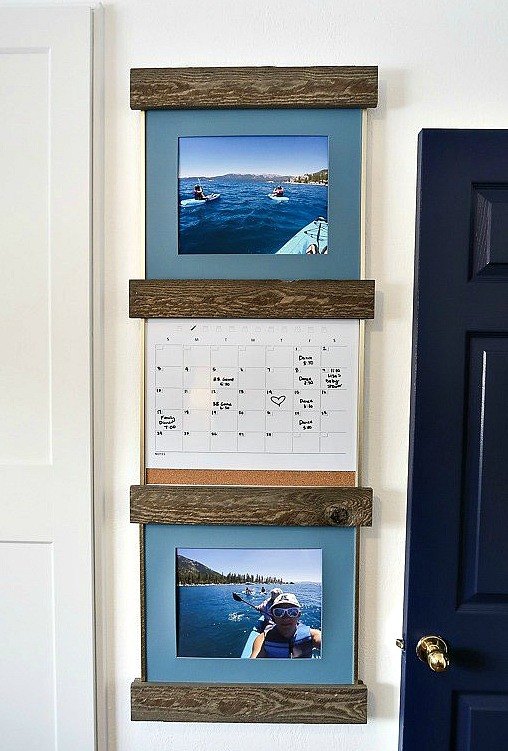
In just a couple of hours, our wall went from blah to a statement piece. What types of decor/photos will you use in your sliding ledges?
Resources for this project:
See all materials


Comments
Join the conversation
-
I can see using this for painting and reproductions. Really cool idea!
-
Great idea! And LOVE that blue door!


Frequently asked questions
Have a question about this project?
You mentioned the program "sketch up". Is that a free program or do you have to buy the software? I could really benefit from a program like that
I'll have one handyman to go, please.....lol