


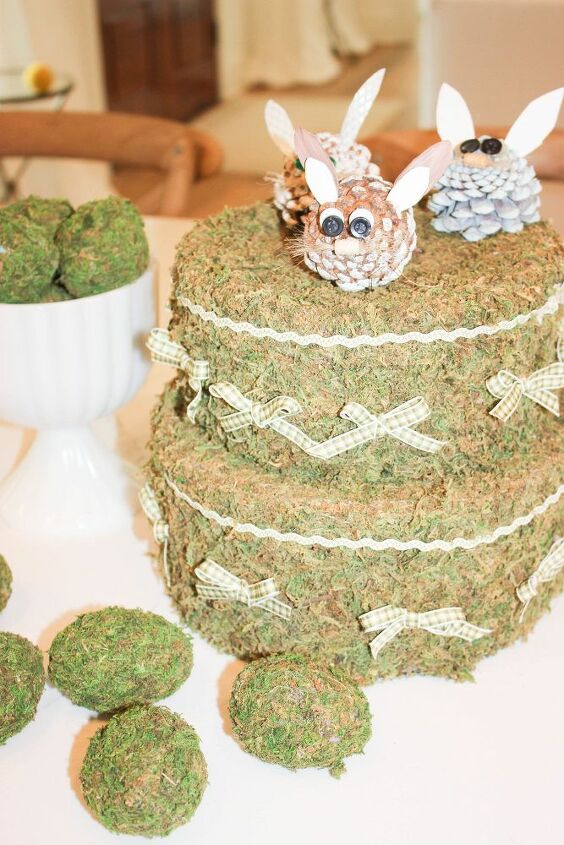
How To Make Pine Cone Bunnies
I am seeing lots of baby bunnies in my yard. My grandson enjoys watching them hop around the yard eating the weeds. So I got inspired to create some pine cone bunnies. These are a great pine cone crafts for kids.
This is a great craft to get your child connected with nature,
and teaching him how to create something. So clear a table and learn how to
make Pine cone bunnies.
Supplies:
- Pinecones
- Buttons
- Beads
- Glue gun
- Twine
- Cardboard

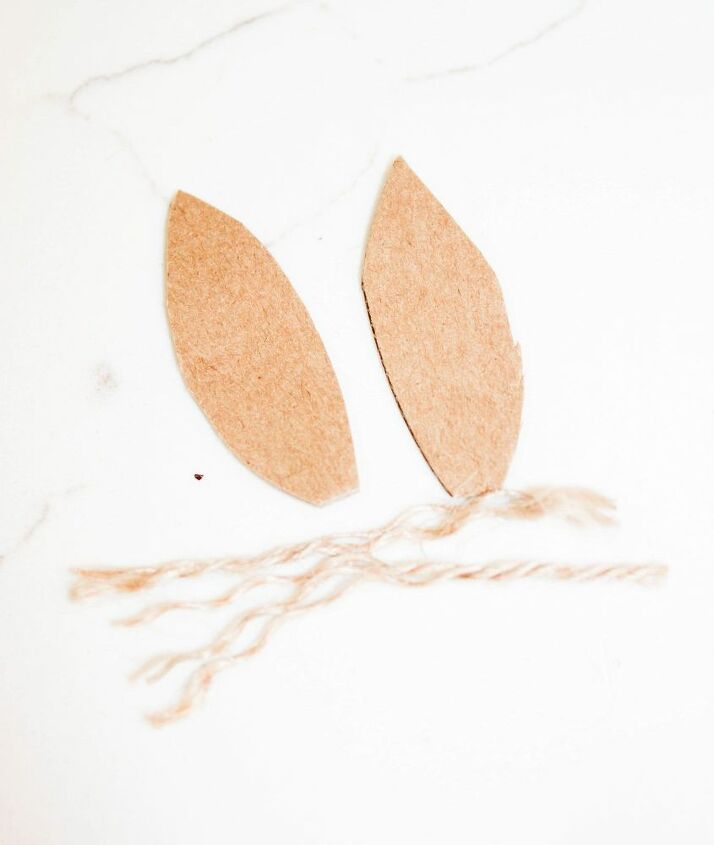
Step 1:Cutting The Ears and Whiskers
With a magic marker draw long bunnies ears on the cardboard and cut them out. For the whiskers cut out a small piece of twine.( 1 1/2 inches long)
Step 2 The Eyes & Nose:
Everyone has buttons stored somewhere. Take 2 white buttons and 2 black beads. Plus one small cone shape bead for the nose. Glue the 2 white buttons on the pine cone. Glue the 2 black beads on top of the white buttons to create the eyes. Take the twine and insert through the hole on the bead. Add some glue to the back of the bead and glue it on the pine cone and create the nose
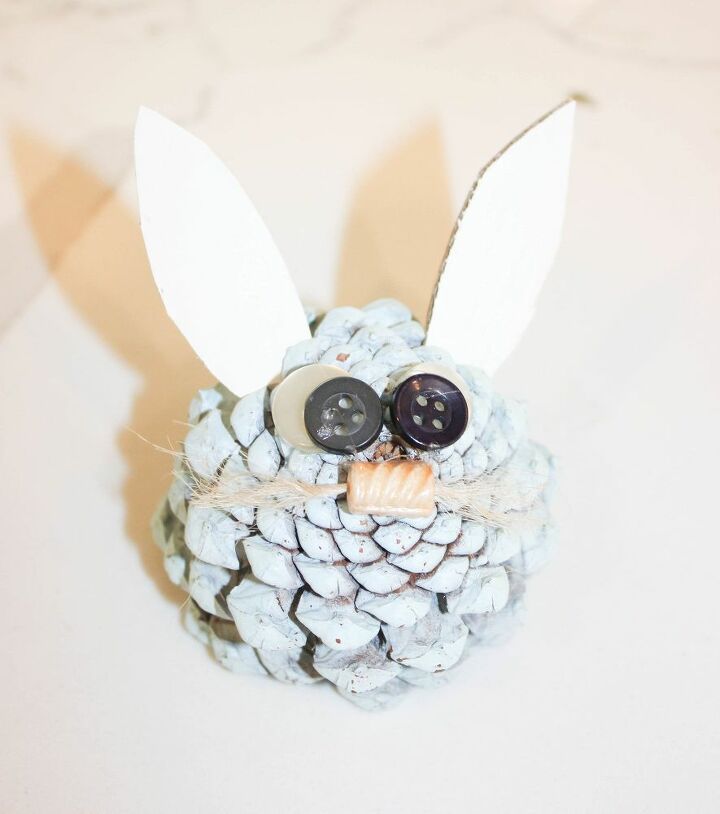
Step 3: Painting The Ears
Paint the large ears with
white acrylic paint. After the large ears dry add a little glue to the edge and stick them into the pine cone.
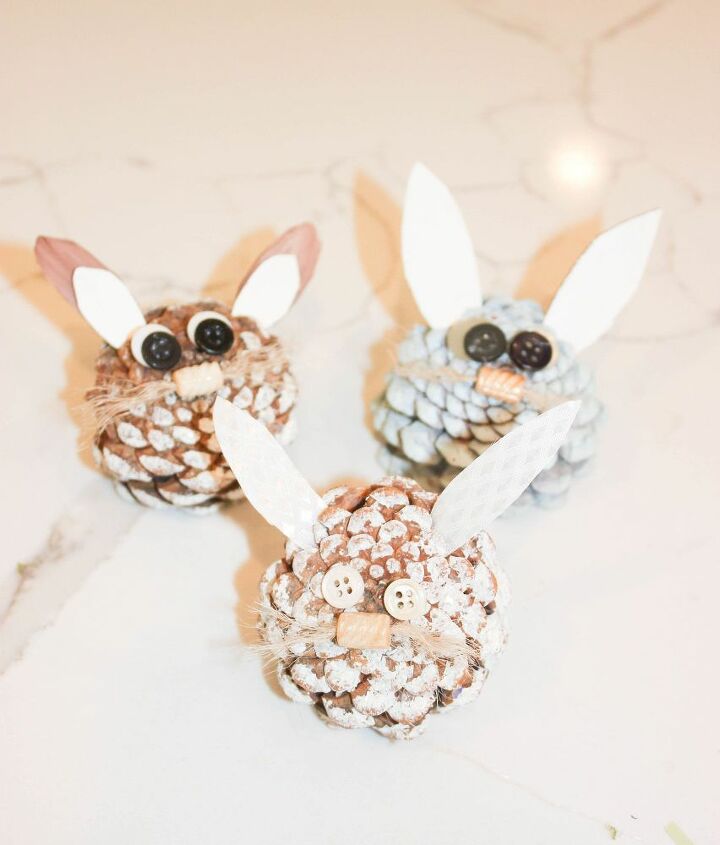
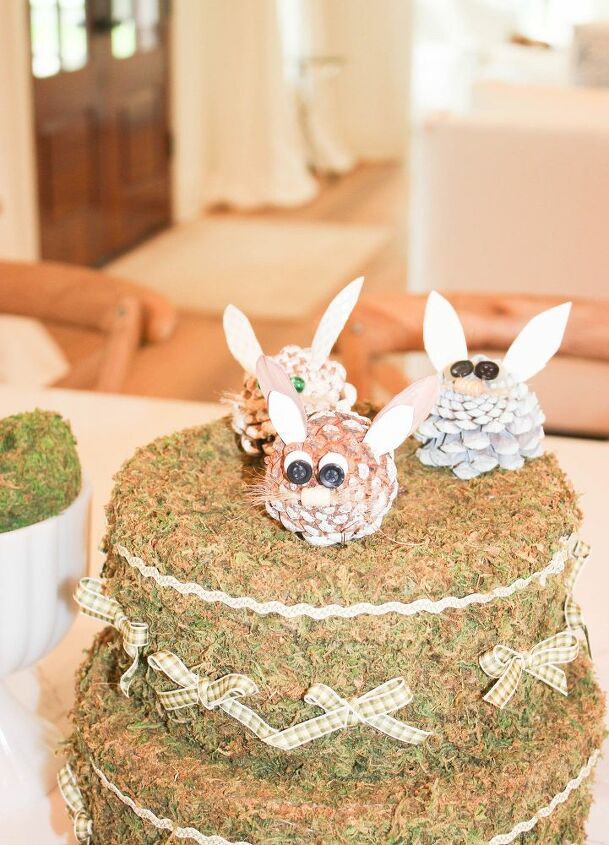
Now you can place them anywhere in the house. They are great for any season especially Spring and summer.


Frequently asked questions
Have a question about this project?