


Blended Finish Blanket Chest
In this tutorial, a vintage blanket chest gets a pick-me-up with two colors of General Finishes Milk Paint, and the inside shines like new with the help of a citrus oil polish.
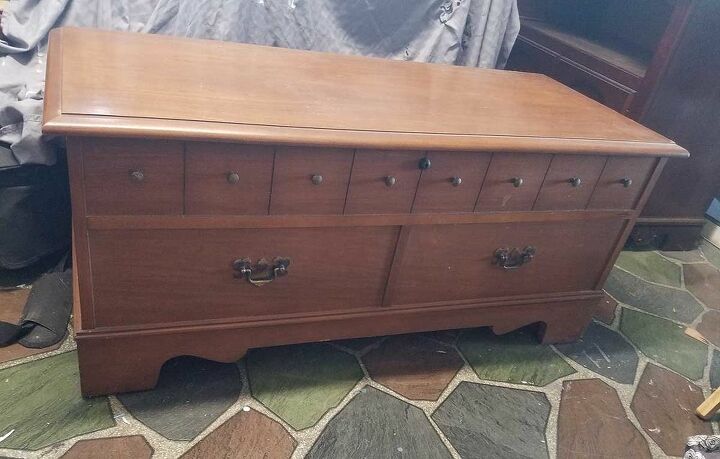
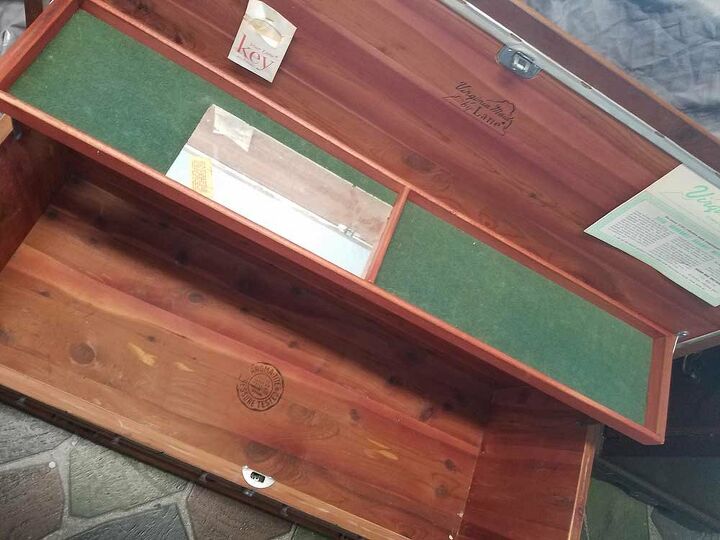
My dad purchased an older home that he eventually tore down, but there were a few treasures to be found amongst the rubbish before that occurred. A Lane cedar chest was one of them, and it still had the original documentation in it. After he cleaned it up a little, it wasn’t half bad, other than the smell inside. I didn’t get a true “before” pic but trust me, it was gross.
I had been wanting something for the end of our bed, and this chest was going to be the perfect fit! When I brought it home, I kept the chest open for several weeks to air it out, but it kept a funky smell. We’ll address that in a minute.
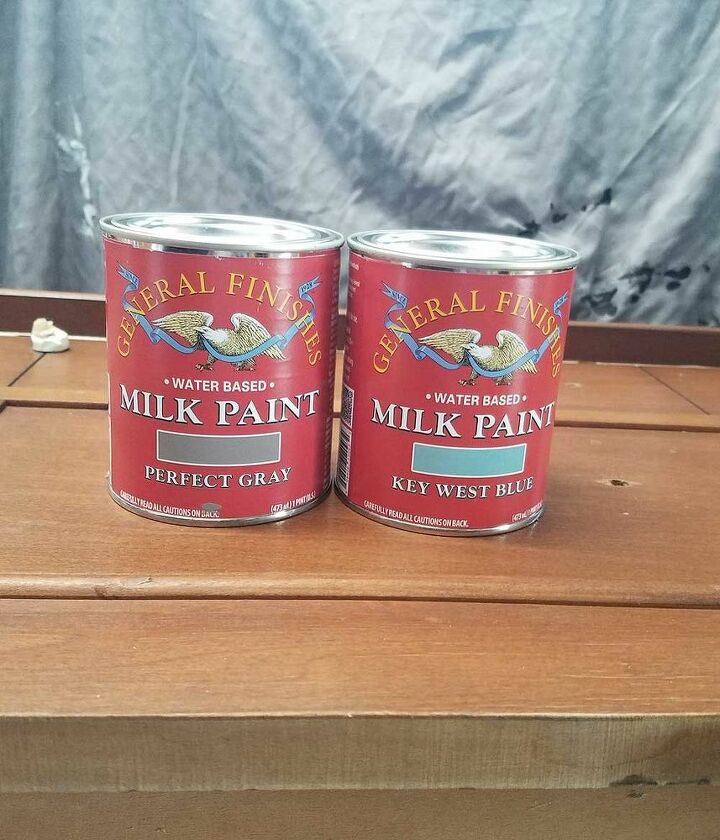
I chose to paint it to match my décor so I used a blend of General Finishes Perfect Gray and Key West Blue Milk Paint. But the first thing needed was a thorough cleaning of the surface with some Krud Kutter.
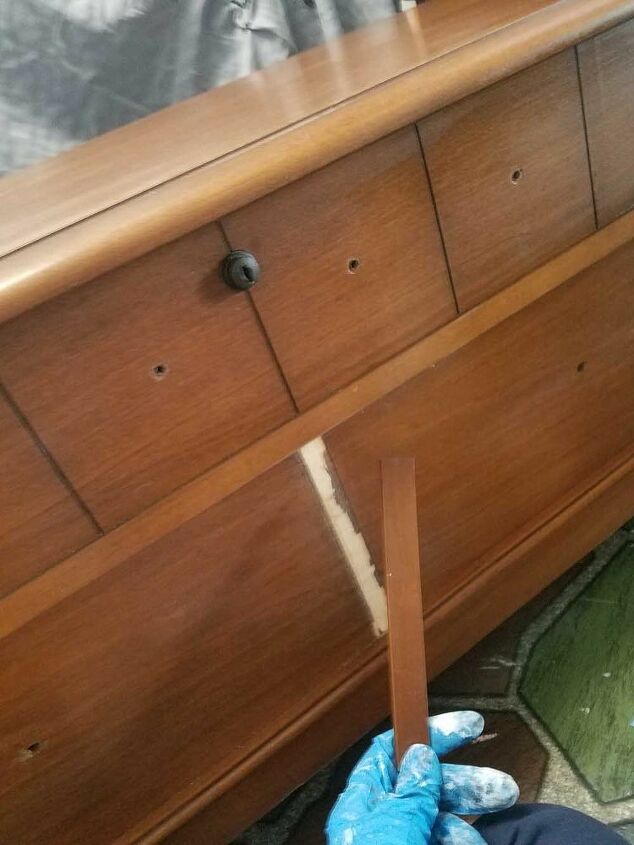
Next I removed all of the hardware (besides the lock) and set it aside. I taped around the lock itself to avoid getting paint on it.
An “oops” moment occurred when some of the trim pieces came off, but no worries. A little Titebond Ultimate Wood Glue did the trick.
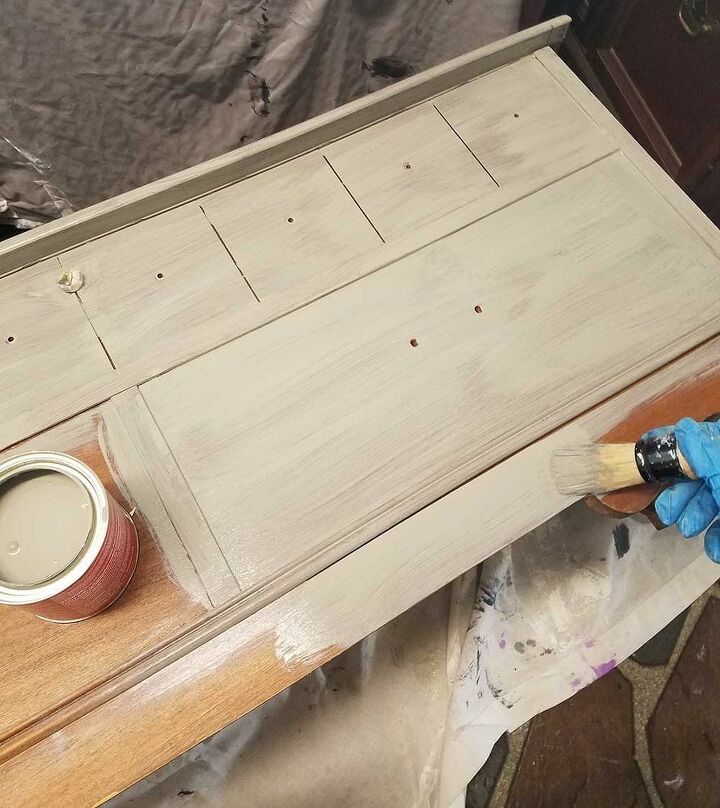
Then I was ready to start painting. One coat of Perfect Gray went on first. Normally I would probably do two, but I knew I would be adding more paint in order to achieve the blended look.
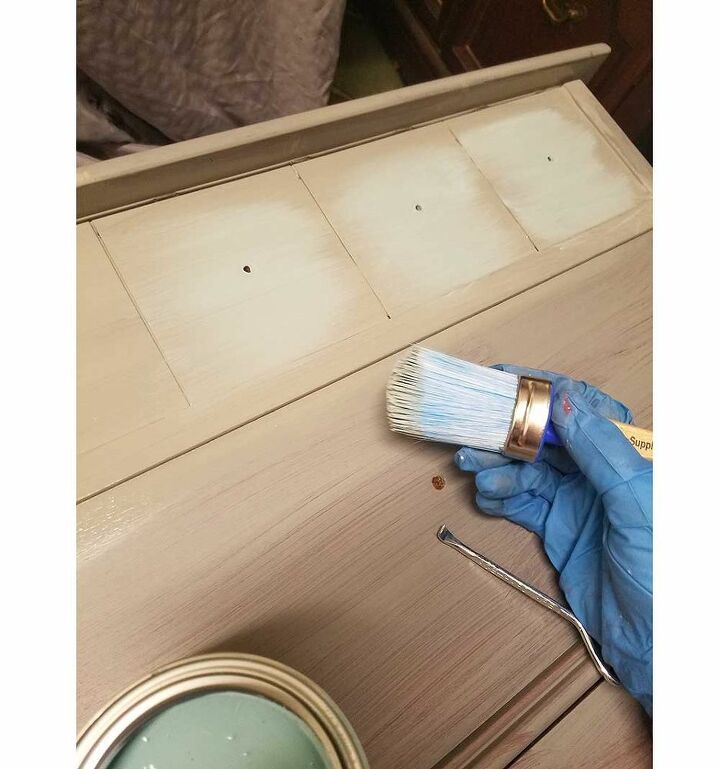
For the next step, I started on the upper sections of the front of the chest, adding some of the Key West Blue in the middle part of each square. With the brush I used for the Perfect Gray, I came back and lightly blended the blue into the gray. I did the same thing on the two faux drawers.
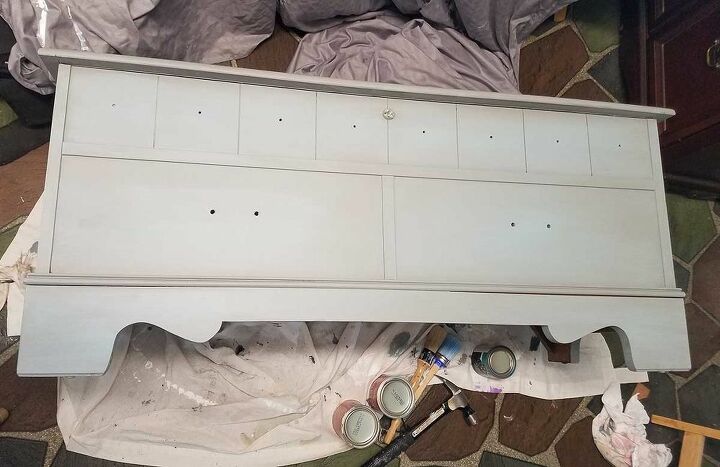
I continued on the bottom edge, the sides and the top of the chest in the same manner. Now, if you try this and the blended areas don’t look good to you, give them a spritz of water and reapply. I did that more than once.
The entire piece got two coats of Flat GF High Performance Topcoat.
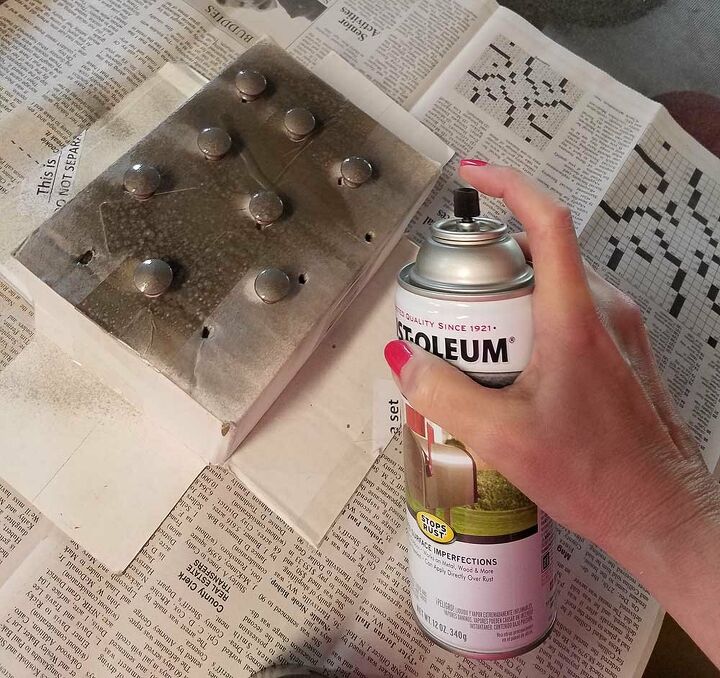
The eight little knobs got a refresh with Rust-Oleum Dark Bronze Hammered Paint. I found some different hardware for the faux drawers in my stash and spiffed them up to match. Once dry, I screwed all of the hardware in place.

Now, remember the funky smell? I used some Howard Orange Oil Wood Polish on the interior of the chest and not only did it remove the smell, but the cedar looks gorgeous now. This product contains real citrus oils to clean, polish and preserve the beauty of the wood. Isn’t that pretty?
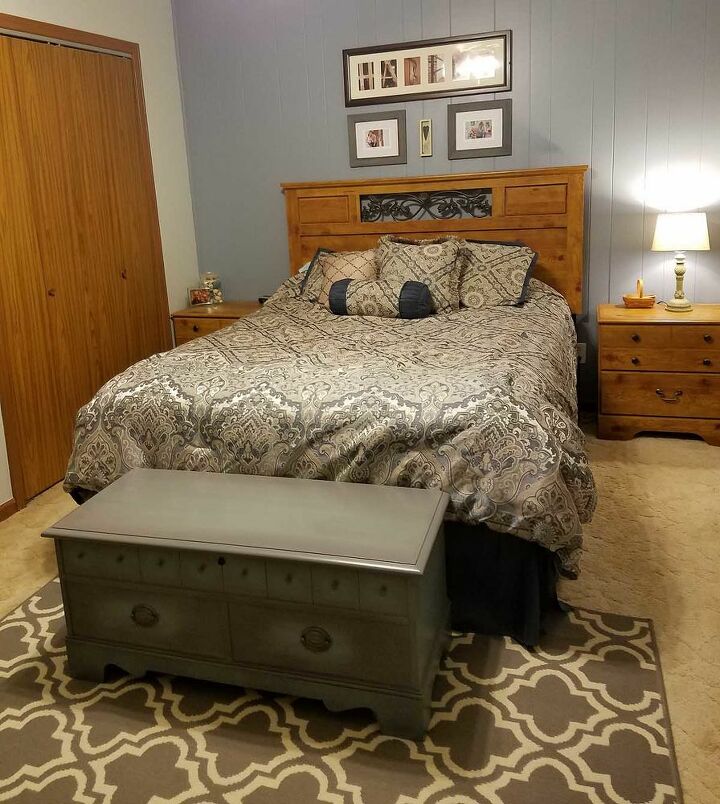
And here is my treasure in its new home. I think it’s perfect!
Don’t be so quick to declare something as junk. Often a little elbow grease is all you need to polish that diamond in the rough!
Check out my blog link below for this and other refinishing and DIY tutorials.
Resources for this project:
See all materials


Comments
Join the conversation
-
I have my Grandmother's Lane Cedar Chest. I've had it refinished once. Personally, I would never paint such beautiful wood.
-
That is beautiful! Great job!


Frequently asked questions
Have a question about this project?
Couldn't you have either sanded the inside or applied cedar oil to bring back that wonder aroma? It also repels moths which is why they made cedar chests in the first place. 😎
Did you sand the chest before painting???